Measurements
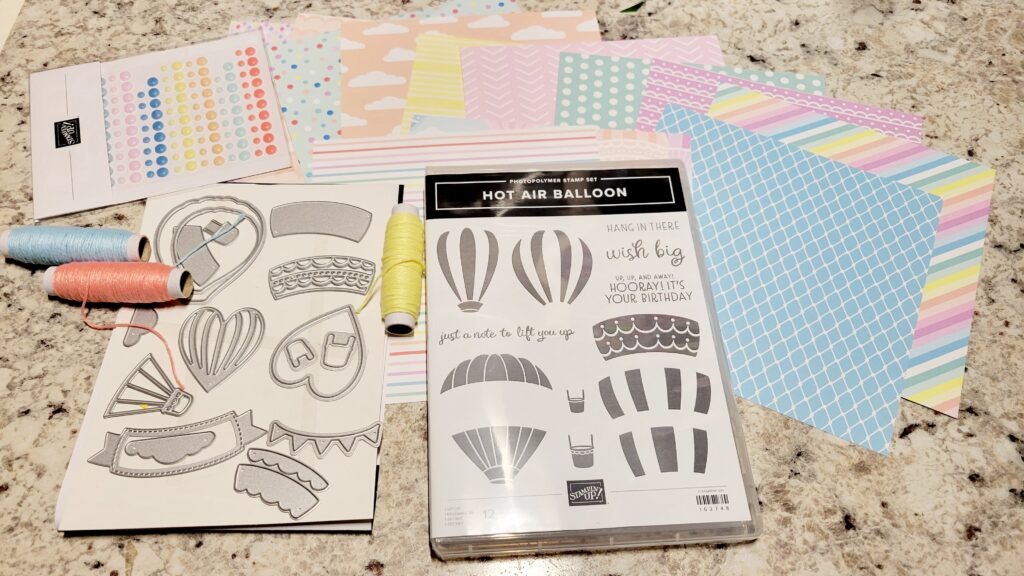
Full list of supplies needed, listed below. A die cutting machine is needed for this card.
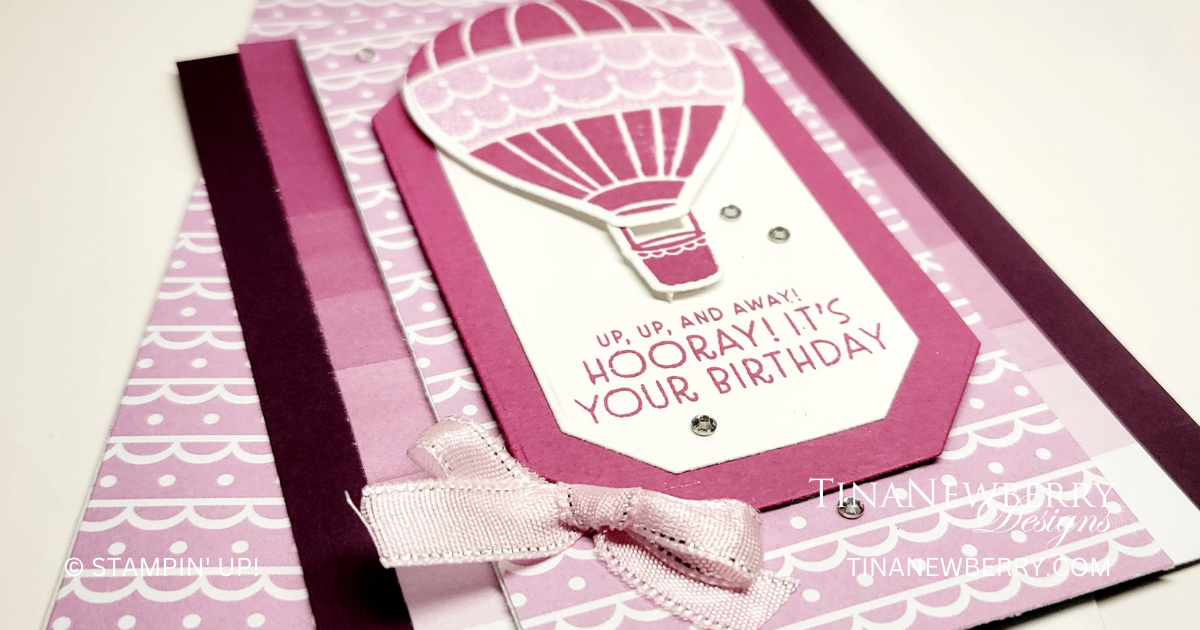
Blackberry Bliss Cardstock: 5 ½” h x 4 ¼” w
Basic White Cardstock:
- 11” h x 3” w
- Scrap for tag die cut, balloon and basket
Berry Burst Cardstock: scrap for die cut
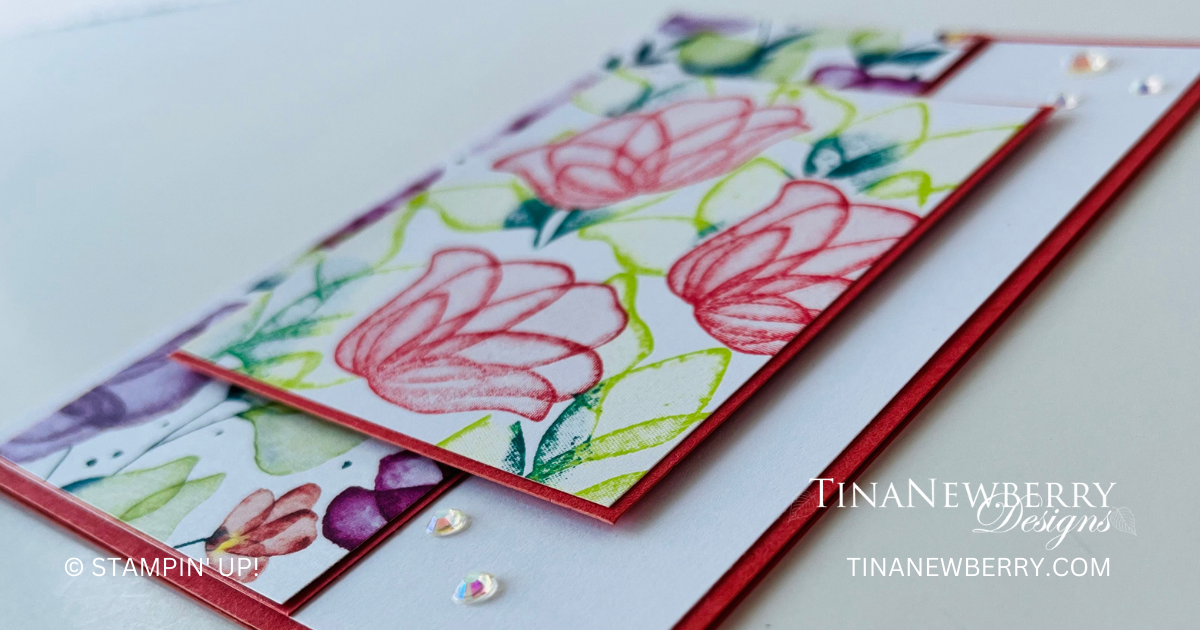
Lighter Than Air Designer Series Paper (DSP): 5 ½” h x 3” w
Bright & Beautiful Designer Series Paper (DSP): 5 ½” h x 3 ½” w
Let’s Create
- Affix all stamps to Acrylic Blocks.
- Attach the Bright & Beautiful DSP to the Blackberry Bliss cardstock panel with Stampin’ Seal.
- Fold the 11” h x 3” w Basic White in half using a Bone Folder to sharpen the crease and attach to the Bright & Beautiful DSP with Stampin’ Seal.
- Use Stampin’ Seal to attach the LIghter Than Air DSP.
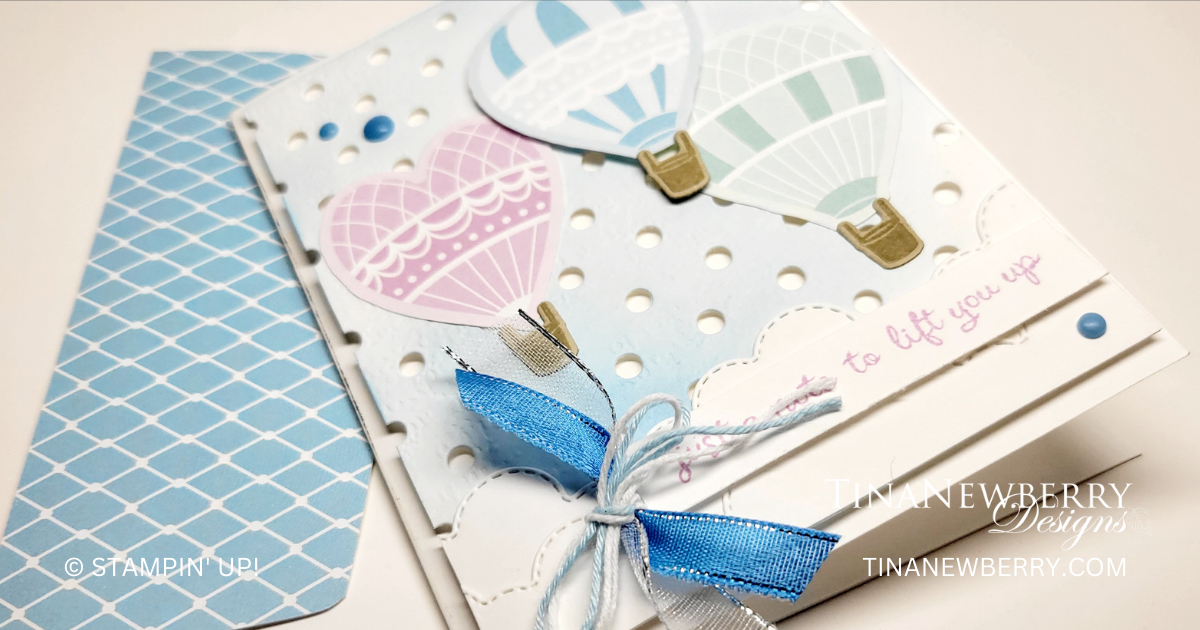
- Stamp the Balloon a Basket on Basic White cardstock scrap and die cut.
- Use two concentric Countryside Corners Dies to die cut a Berry Burst and Basic White label.
- On the bottom of the Basic White Countryside Corners label, stamp the sentiment in Berry Burst ink.
- Layer the Countryside Corner labels and attach to each other with Stampin’ Seal.
- Attach the Balloon and Basket to the sentiment label with Stampin’ Dimensionals, then attach the entire layered panel to the card with Stampin’ Seal.
- Sprinkle on Rhinestone Basic Jewels
- Tie a Bubble Bath ribbon and attach with a Mini Glue Dot.
- Stamp and decorate the inside
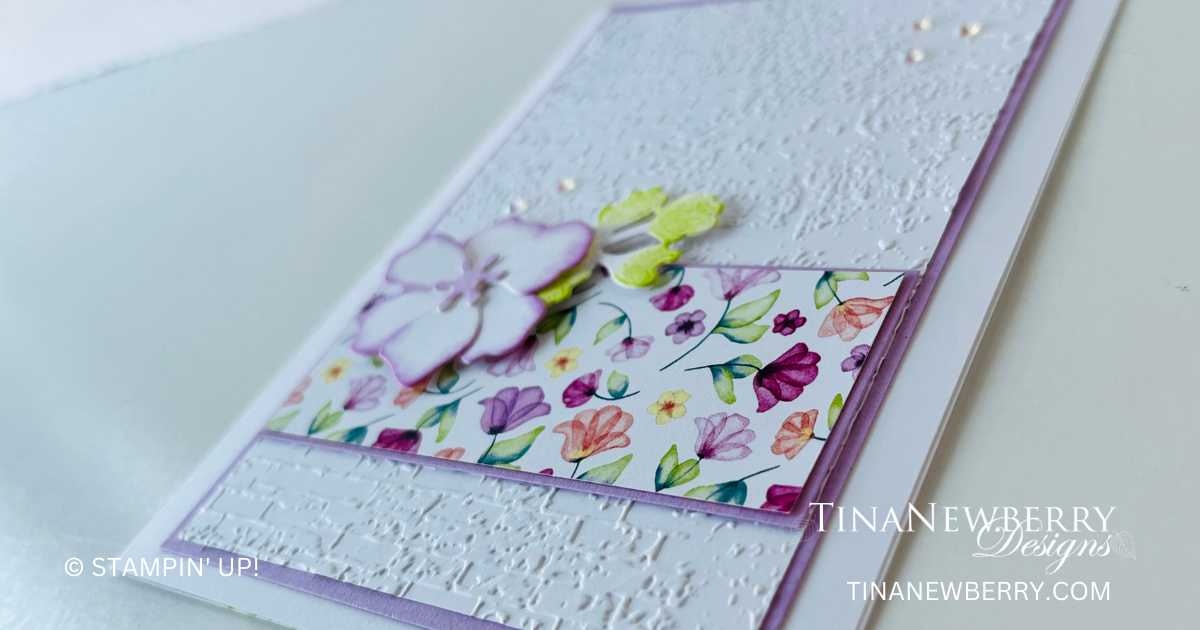
- Decorate your envelope.
- So pretty! Send this pretty birthday wish today.
Shopping List
This project also uses the Hot Air Balloon Bundle [162755] and Lighter Than Air Designer Series Paper [162747] available Jan. 4, 2024 in the January to April Mini Catalog. Access products in this catalog a month early when you join my Sunshine Sending Squad.


 Designer Series Paper")
 Sheer Ribbon Combo Pack")

$6.00

$28.00
Recommended Stamper’s Toolkit ❤

$12.00

$7.00

$4.25

$5.75

$5.50

$11.00

$26.00

$7.00

$6.50

$11.00

$20.00

$11.00

$80.75

$128.00


$16.00

$13.00


 Sheer Ribbon")


")


 Designer Series Paper")


