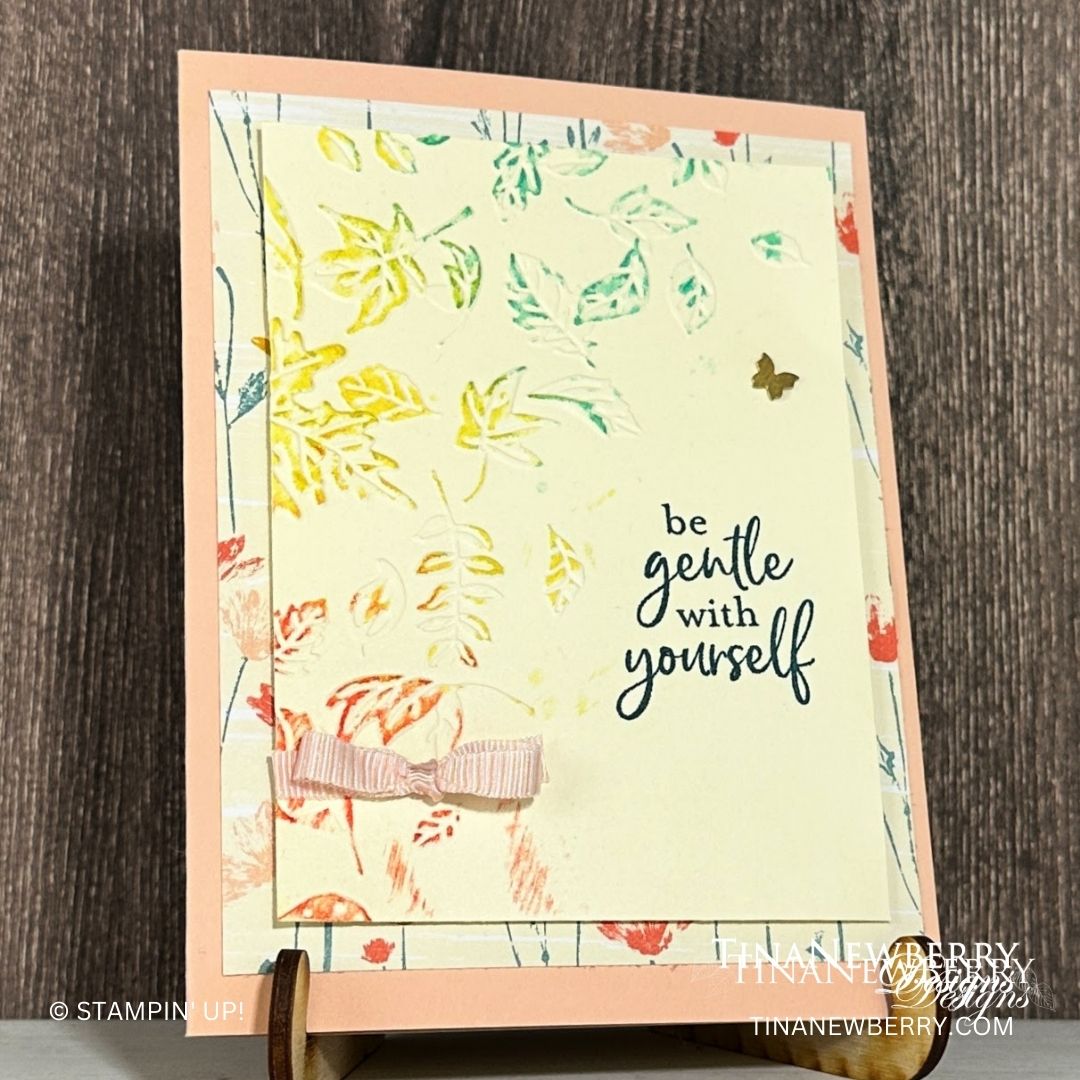
Be Gentle With Yourself

Use Soft Pastels to add color to your embossing folders! Read on for details on this technique.
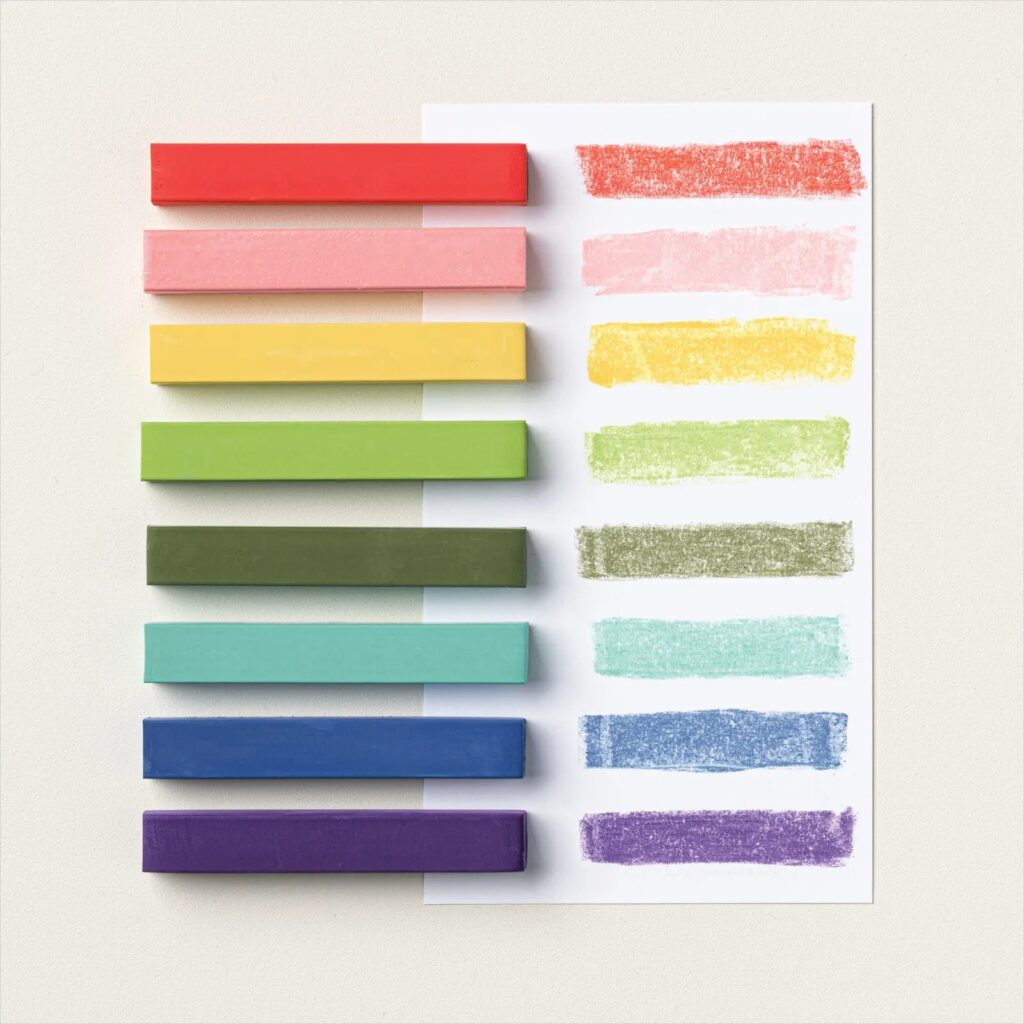
Expand your coloring repertoire with the Soft Pastels Assortment! These easy-to-use chalk pastels work with a variety of coloring tools like Stampin’ Up!’s Sponge Daubers, Blending Brushes, and Water Painters. Try scribbling a pastel chalk on a scrap piece of paper to create chalk dust, then use Water Painters to create your very own watercolor paints!

Measurements

Full list of supplies needed, listed below. A die cutting machine is needed for this card.
Card Base Petal Pink 8 ½” x 5 ½”, scored at 4 ¼”
Inside Layer Very Vanilla 4” x 5 ¼”
Front Layer Inked Botanicals Designer Series Paper 4” x 5 ¼”
Very Vanilla 3 ½” x 4 ¾”, rolled through Leaf Fall 3D Embossing folder (paper on the diagonal)
Petal Pink bow (RIbbon Duo Pack)
Brass Butterfly Gem
Optional: Extra DSP scrap to add a little splash of color to the inside of the card


Let’s Create

  1. Affix all stamps to Acrylic Blocks.
  2. Cut Card Base Petal Pink 8 ½” x 5 ½”, score at 4 ¼”. Fold the Card Base in half using a Bone Folder to sharpen the crease.
  3. Cut Inside Layer Very Vanilla 4” x 5 ¼”. Adhere to inside.
  4. Cut Front Layer Inked Botanicals Designer Series Paper 4” x 5 ¼”. Adhere centered to front of card.
  5. Cut Very Vanilla 3 ½” x 4 ¾”, and roll through Leaf Fall 3D Embossing folder (paper on the diagonal)
  6. Use side of pastel stick to add color. Going from top right to bottom left, add a section of Coastal Cabana in the upper right. DO NOT rub in, let it set on top of the embossed image. Add a section of Daffodil Delight down the center. Add a small amount of Poppy Parade in the bottom left corner. Again, DO NOT rub in. Let the pastels set on top of the embossed image.
  7. Take your layer outside, and cover the bottom right on the diagonal. Apply a light spray of Krylon Fixatif across the pastel areas. Let dry.
  8. Take card back inside. Stamp sentiment in Pretty Peacock. Adhere a little butterfly.
  9. Add layer to card front, centered, with Stampin’ Dimensionals.
  10. Tie a cute little bow and add it to the bottom left corner.
  11. Decorate your envelope.
  12. Pretty!! Now send it to someone special.

Shopping List

Recommended Stamper’s Toolkit ❤


Grateful Heart Greeting Card

Show off your stunning patterned paper with this layout! Swap up the two rectangles and accent with coordinating cardstock for a whole new look.

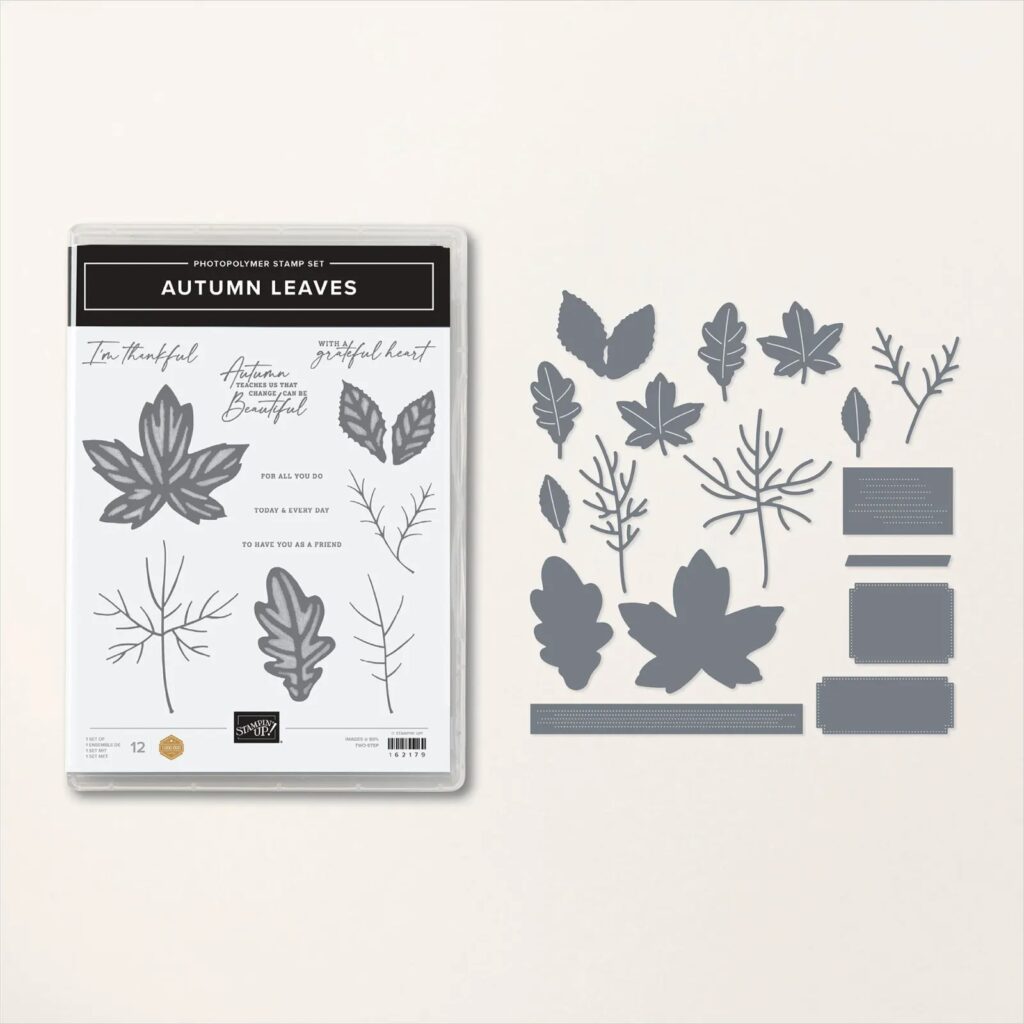
Share the ambience of autumn with your friends and family this season using the Autumn Leaves Bundle. Add die-cut leaves and stamped leaf images to your paper crafting projects, perfect for stunning cards, decorated gift packaging, and elegant gift tags. Just cut out your paper using the detailed leaf-shaped or square-shaped dies to frame the sentiments or the leaf-shaped stamps.

Measurements

Full list of supplies needed, listed below. A die cutting machine is needed for this card.

Very Vanilla

  • 5 ½” x 8 ½”  scored and folded on the long-side at 4 ¼” 
  • 3” x 2 ¼” (for die cutting the rectangle layer behind the leaf)
  • 2 ⅛” x ¾” (for stamping the sentiment)
  • 3” x 3” (for stamping and die leaf)

Copper Clay

  • 1 ⅞” x 5 ⅜”
  • 3 ⅜” x 2 ⅞”

Gold Foil

  • 2 ½” x 1 ¼” (for die cutting the mat around the sentiment)
  • 3 ½” x 3” (for die cutting the veins in the leaf)

All About Autumn Designer Series Paper

  • 5 ¼” x 1 ¾” (Wood Print)
  • 4 ¼” x 2 ¾” (Leaf Print)


Let’s Create

  1. Affix all stamps to Acrylic Blocks.
  2. Fold the Card Base in half using a Bone Folder to sharpen the crease.
  3. Using Copper Clay ink pad, stamp the large maple leaf onto the 3” square Very Vanilla piece of cardstock. 
  4. Using Copper Clay ink pad, stamp the sentiment onto the 5 ⅜” x ¾” piece of Very Vanilla cardstock.  
  5. Using the 2nd largest rectangle die from the Nested Essentials Dies, cut the 3” x 2 ¼”  piece of Very Vanilla. Using the Fold Foil Paper, Die cut the layer that goes behind the sentiment.
  6. Die cut the Leaf using the Maple Leaf die from the Autumn Leaves Die Set.  Die cut the maple leaf veins from the Gold Foil paper.
  7. Assemble your card: Adhere the wood print Designer Series Paper to the coordinating size Copper Clay Cardstock, and adhere this toward the left side of the folded card base.  Adhere the Leaf print Designer Series Paper to the coordinating size of Copper Clay Cardstock, and adhere this toward the right side of the folded card, overlapping the other panel just a bit.
  8. Adhere the die cut rectangle to the card front off setting it towards the left just a bit.
  9. Adhere the gold foil veins to the stamped maple leaf. Using Stampin’ Dimensionals, adhere the die cut leaf to the Very Vanilla rectangle.
  10. Adhere the sentiment to the die cut foil piece. And adhere these layers to the lower edge of the card.
  11. Tie a small bow and adhere it to the stem of the leaf using a Mini Glue Dot.
  12. Randomly place 3 gold sequins Neutrals Adhesive Backed Sequins onto your card.
  13. Be sure to decorate the inside of your card and the envelope!

Shopping List

Recommended Stamper’s Toolkit ❤
 

Autumn Leaves

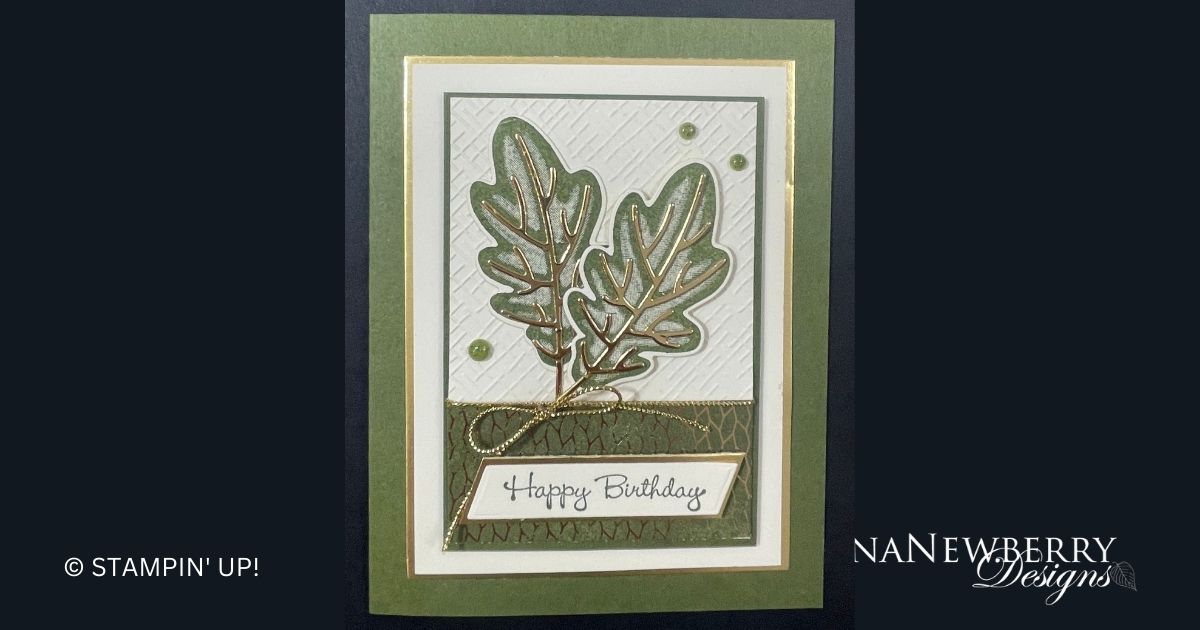
Another round of inspiration with the beautiful Autumn Leaves Bundle. This color combination is on point! So pretty! Thank you to my friend Janice for these beautiful ideas.

Share the ambience of autumn with your friends and family this season using the Autumn Leaves Bundle. Add die-cut leaves and stamped leaf images to your paper crafting projects, perfect for stunning cards, decorated gift packaging, and elegant gift tags. Just cut out your paper using the detailed leaf-shaped or square-shaped dies to frame the sentiments or the leaf-shaped stamps.

Measurements

Full list of supplies needed, listed below. A die cutting machine is needed for this card.

Very Vanilla

  • 5 ½” x 8 ½”  scored and folded on the long-side at 4 ¼” 
  • 3 ½” x 2 ¼” 
  • 5” x 3”  (for stamping and die cutting leaves)

Copper Clay

  • 4 ⅛” x 5 ⅜”
  • 4 ⅛” x 2 ¾”
  • 3 ⅝” x 2 ⅜”

Gold Foil

  • 5” x 4” (For die cutting Leaf Veins and 2 small leaves)

All About Autumn Designer Series Paper

  • 4” x 1” (Pretty Peacock/Copper Clay/Gold Print)
  • 4” x 1 ¾” (Pretty Peacock/Copper Clay/Gold Print)
  • 4 x 2 ⅝” (Copper Clay/Gold Print)


Let’s Create

  1. Affix all stamps to Acrylic Blocks.  
  2. Fold the Card Base in half using a Bone Folder to sharpen the crease.
  3. Using Cajun Craze ink, stamp the maple leaf onto the 5” x 3” Very Vanilla Cardstock.  Using Pretty Peacock ink, stamp the set of 2 leaves onto the same piece of cardstock.  Die cut both of these images.  
  4. Die cut the veins for both the maple leaf and the double leaf from the Gold Foil paper.  You’ll get 2 smaller leaves from this piece of Gold Foil as well.  (one of each of the smaller leaf dies)
  5. Adhere the gold leaf veins to each of their coordinating leaves.  Cut apart the double leaf. 
  6. Using the 3 ½” x 2 ¼” Very Vanilla and the die from the Autumn Leaves die that just puts holes in the paper, run it through the Die Cutting Machine twice.  I did this so I got an impression on the upper right as well as the lower left.  
  7. Assembling your card:  Adhere the 4” x 1 ¾” Designer Series Paper – along the top edge of the 5 ⅜” x 4 ⅛” Copper Clay layer.  Adhere the 4” x 1” Designer Series Paper – along the lower edge of this same layer.  
  8. Adhere the 4” x 2 ⅝” Copper Clay Designer Series Paper to the 4 ⅛” x 2 ¾” Copper Clay Cardstock. Adhere these layers to the center of the 5 ⅜” x 4 ⅛” Copper Clay Cardstock, covering the edges of the other printed paper. Adhere these layers to the folded Very Vanilla card base.
  9. Adhere the 3 ½” x 2 ¼” Very Vanilla cardstock layer to the 3 ⅝” x 2 ⅜” Copper Clay cardstock. Using Stampin’ Dimensionals, adhere these layers to your card.
  10. Adhere the leaves to the popped up Very Vanilla layers.  
  11. Using 2 strands of Gold Cord, tie a small bow and adhere it with a Mini Glue Dot to the stem of the leaf.
  12. Randomly place 3 gold sequins from the Neutrals Adhesive Backed Sequins onto your card.
  13. Be sure to decorate the inside of the card and the envelope!

Shopping List

Recommended Stamper’s Toolkit ❤


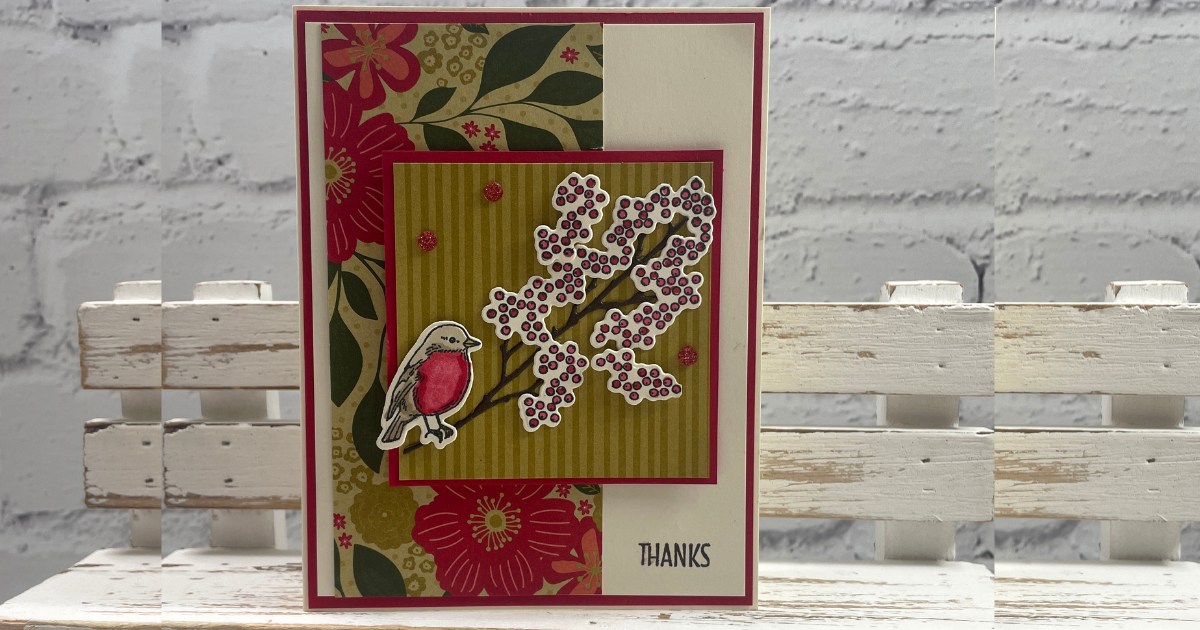
Seasonal Branches – Thanks 2

Thank you for your interest in this project. Some projects are exclusive to subscribers who will receive passwords by email.

Are you a subscriber? Awesome! Check your email for the password and enter it here to view this project.

Not yet subscribed?  We’d love for you to join us.  Subscribe to my email list and receive news, information and inspiration by email.