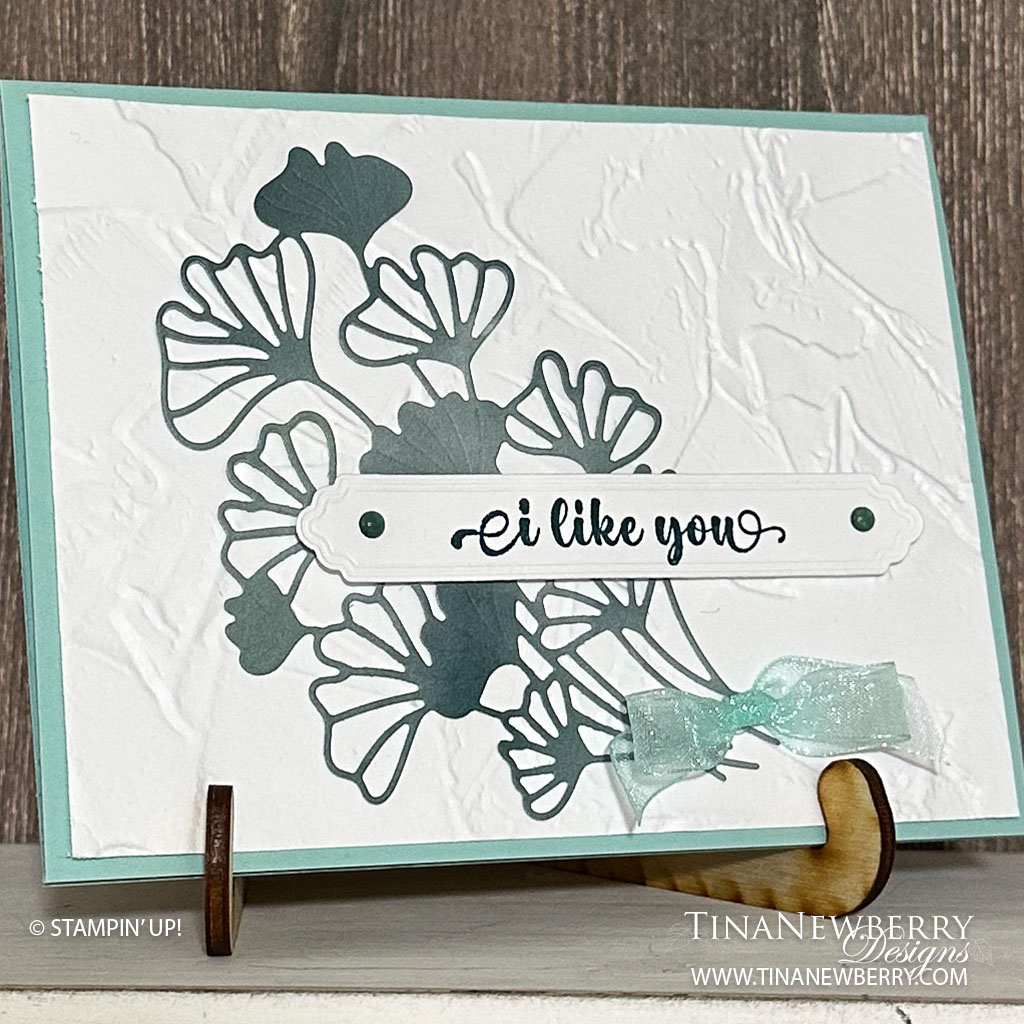
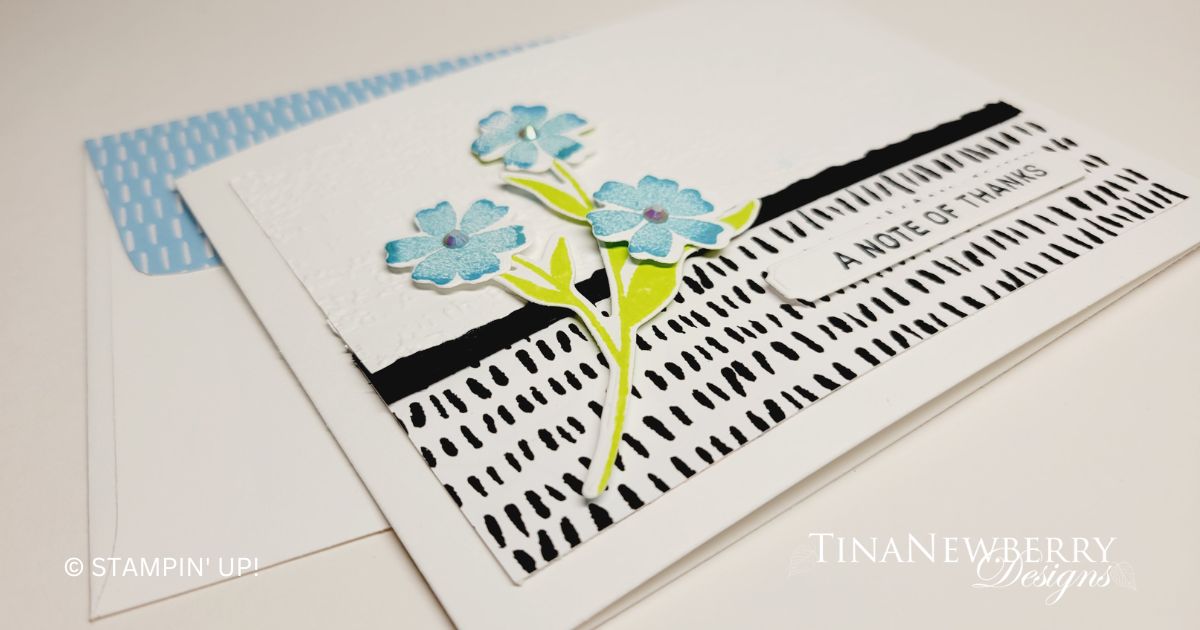
You never know what you’re going to get when you die cut Designer Series Paper, but this combo looks great together. I love the variation of color in the ginko botanical on this super simple, elegant card.
Measurements
Full list of supplies needed, listed below. A die cutting machine is needed for this card.
Card Base Pool Party 8 ½” x 5 ½”, score at 4 ¼”
Basic White layer 4” x 5 ¼”, embossed with Painted Texture 3D Embossing Folder
Hello, Irresistible Designer Series Paper (DSP) scrap for branch
Basic White scrap for sentiment
Let’s Create
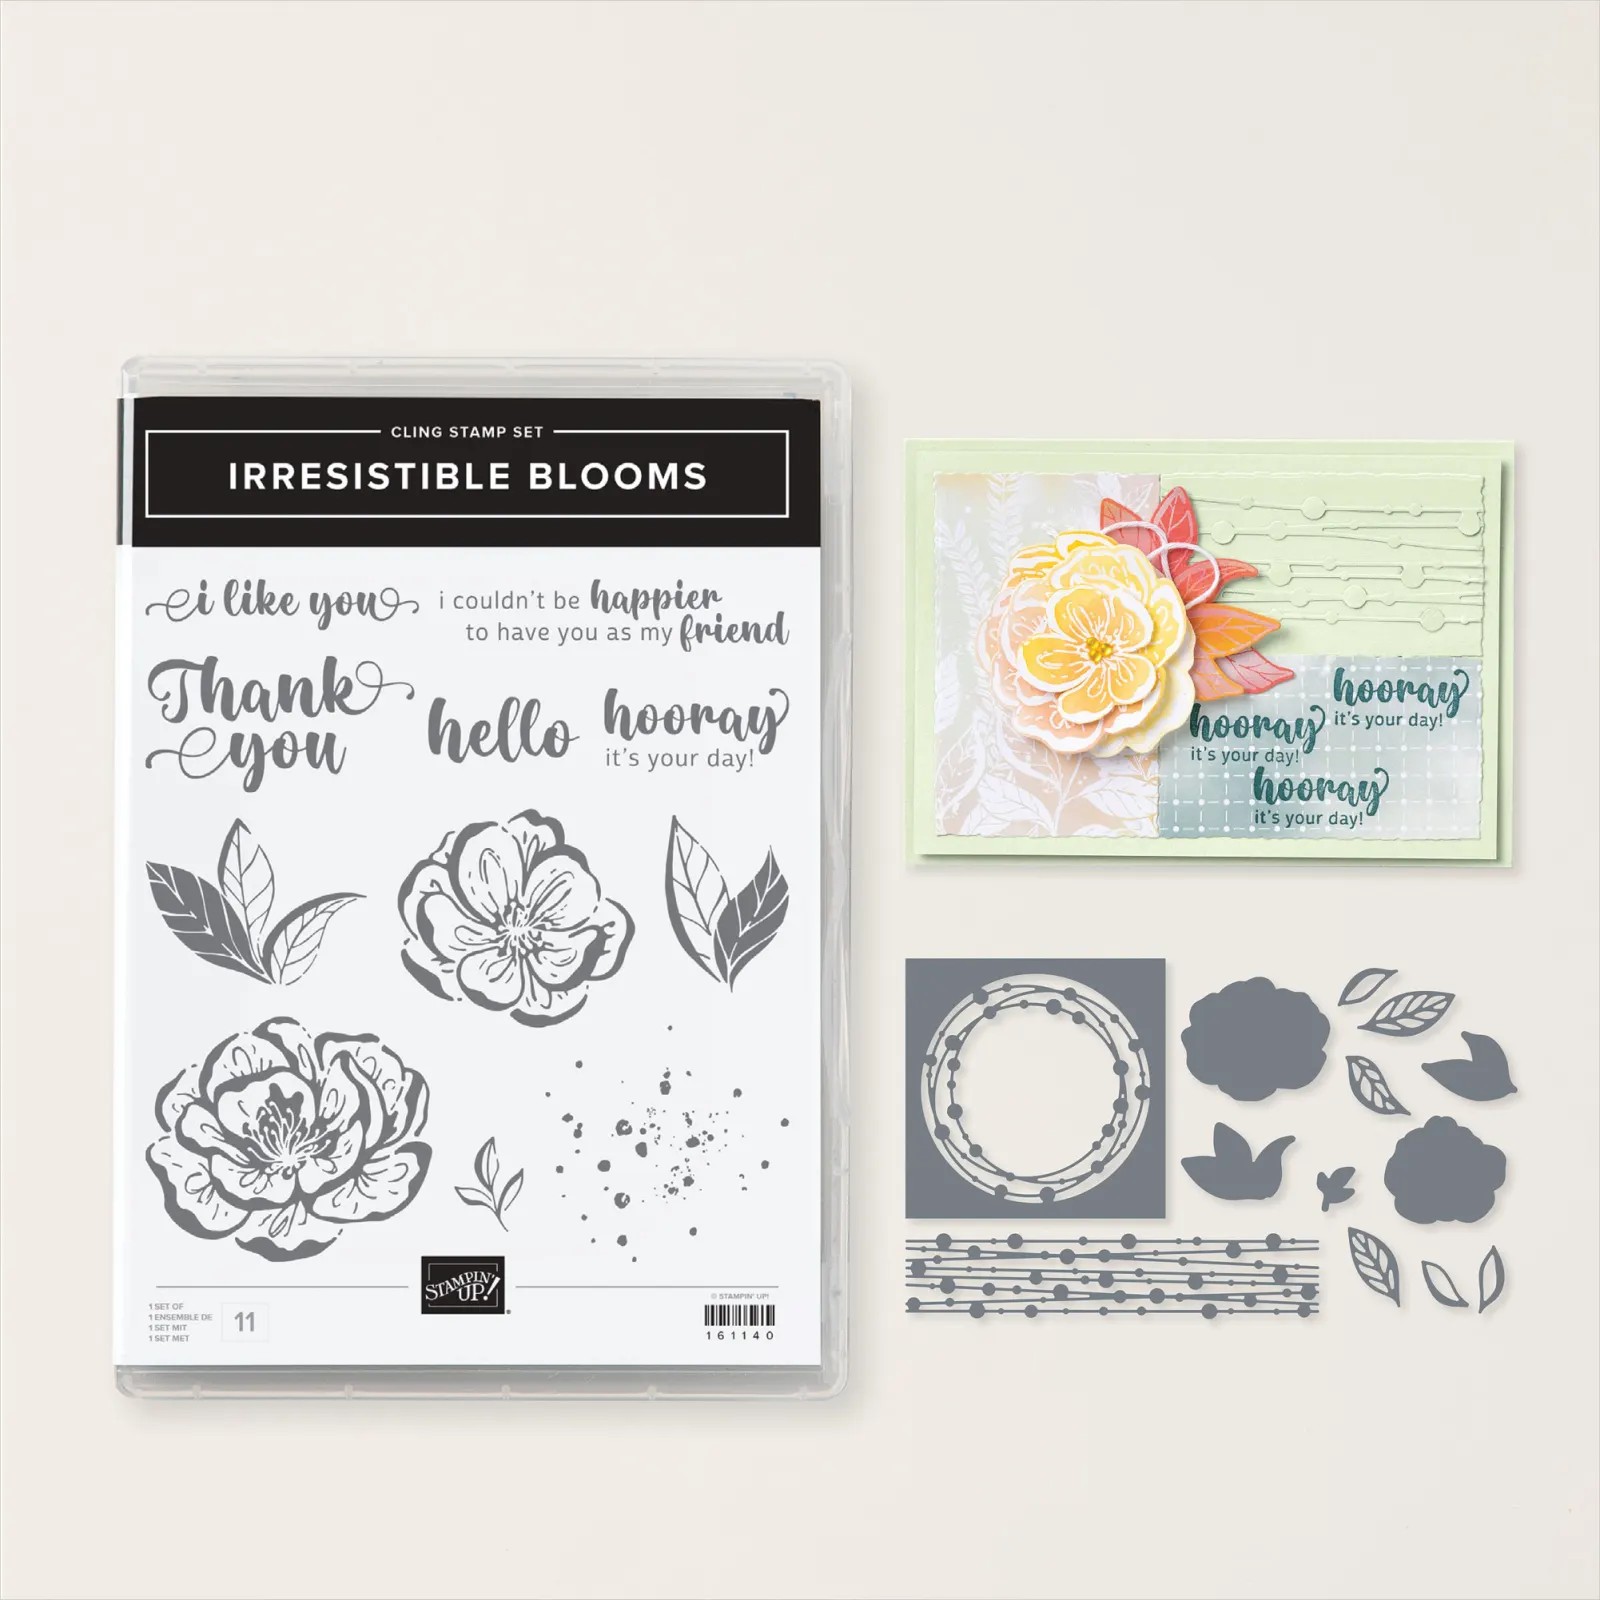
- Affix all stamps to Acrylic Blocks.
- Fold the Card Base in half using a Bone Folder to sharpen the crease.
- Cut Card Base Pool Party 8 ½” x 5 ½”, score at 4 ¼”
- Cut Basic White layer 4” x 5 ¼”, and emboss with Painted Texture 3D Embossing Folder
- Run Hello, Irresistible Designer Series Paper (DSP) through with Gingko Branch Dies (retired) or another branch from your stash.
- Run Basic White through with Gingko Branch label Die (retired) or other die from your stash.
- Use Stampin’ Seal to adhere Painted Texture layer to card front.
- Use Multipurpose Glue to adhere Gingko Branch die cut.
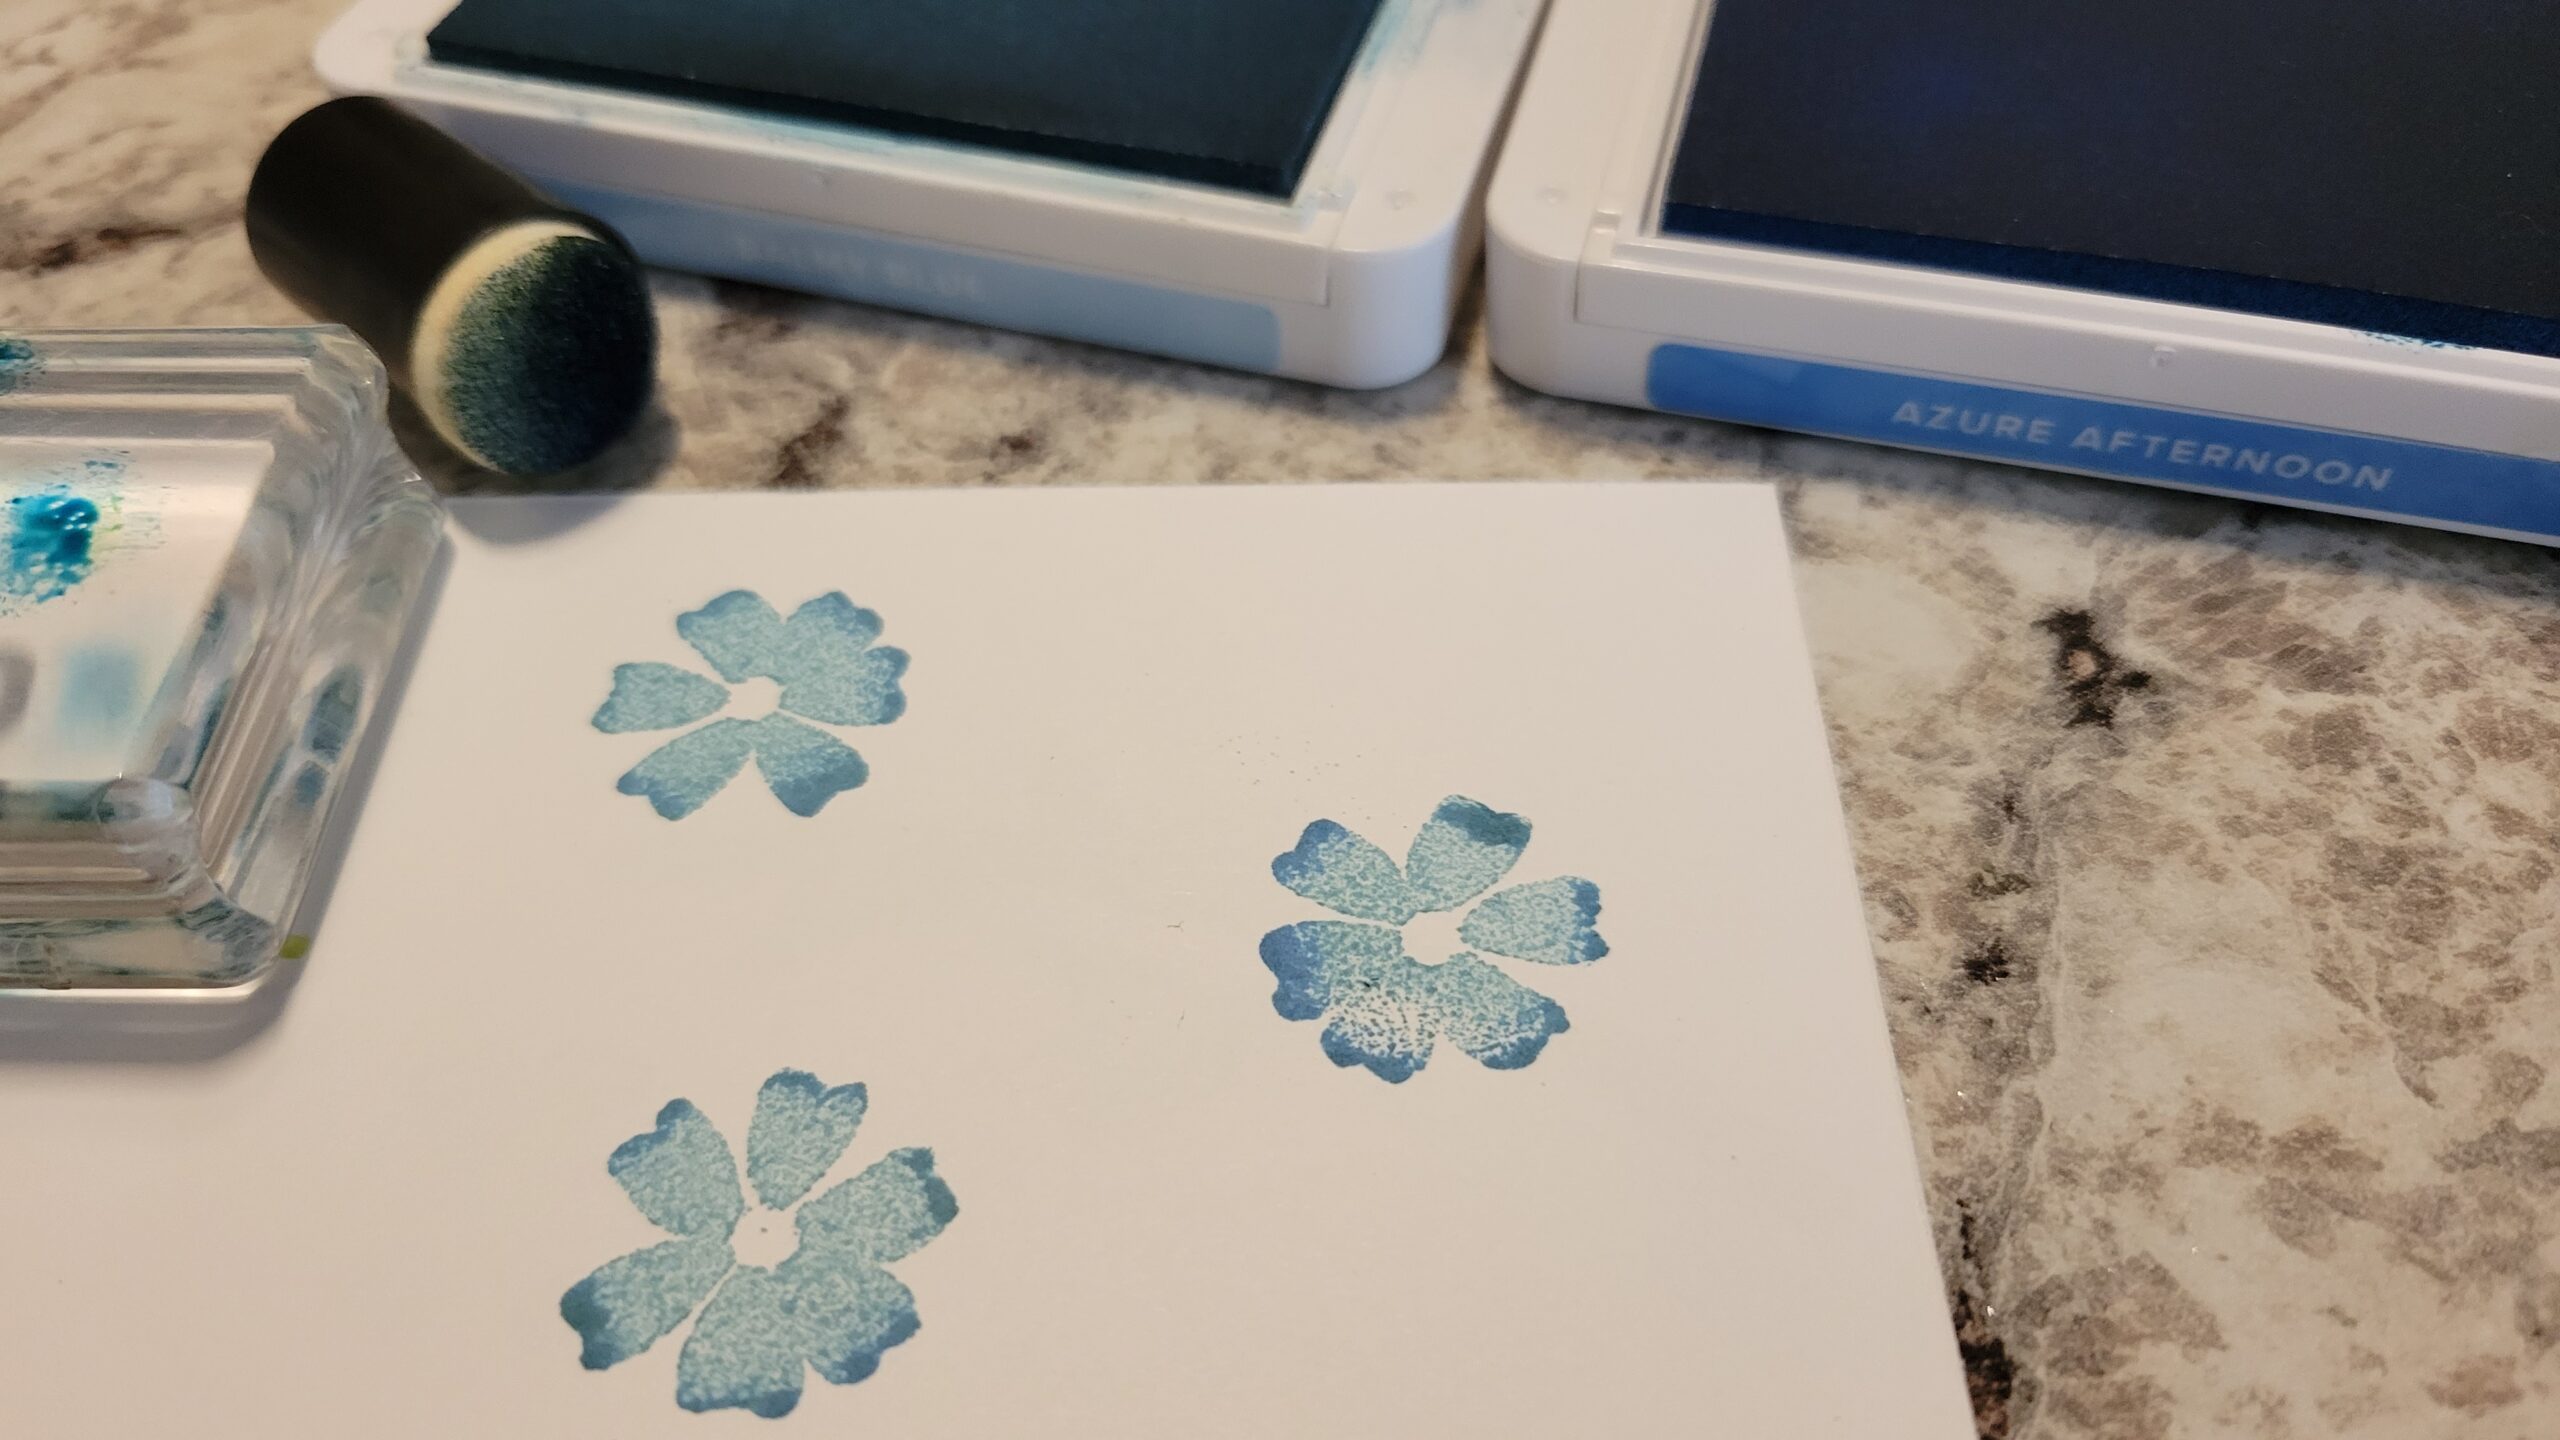
- Stamp sentiment on label with Pretty Peacock ink and adhere with Stampin’ Dimensionals.
- Add bow and gems for the final touches.
- Stamp and decorate the inside.
- Decorate your envelope.
- So cute! Now send it to someone special.
Thanks to Su Mohr for the design inspiration.
Shopping List
")


 Designer Series Paper")


$8.00
 Sheer Ribbon")

$36.00

Recommended Stamper’s Toolkit ❤

$12.00

$7.00

$4.25

$5.75

$5.50

$11.00

$26.00

$7.00

$6.50

$11.00

$20.00

$11.00

$80.75

$128.00


$16.00

$13.00


")
")


 Designer Series Paper")

")


 Designer Series Paper")