Create a Framed Snowy Scene In Minutes

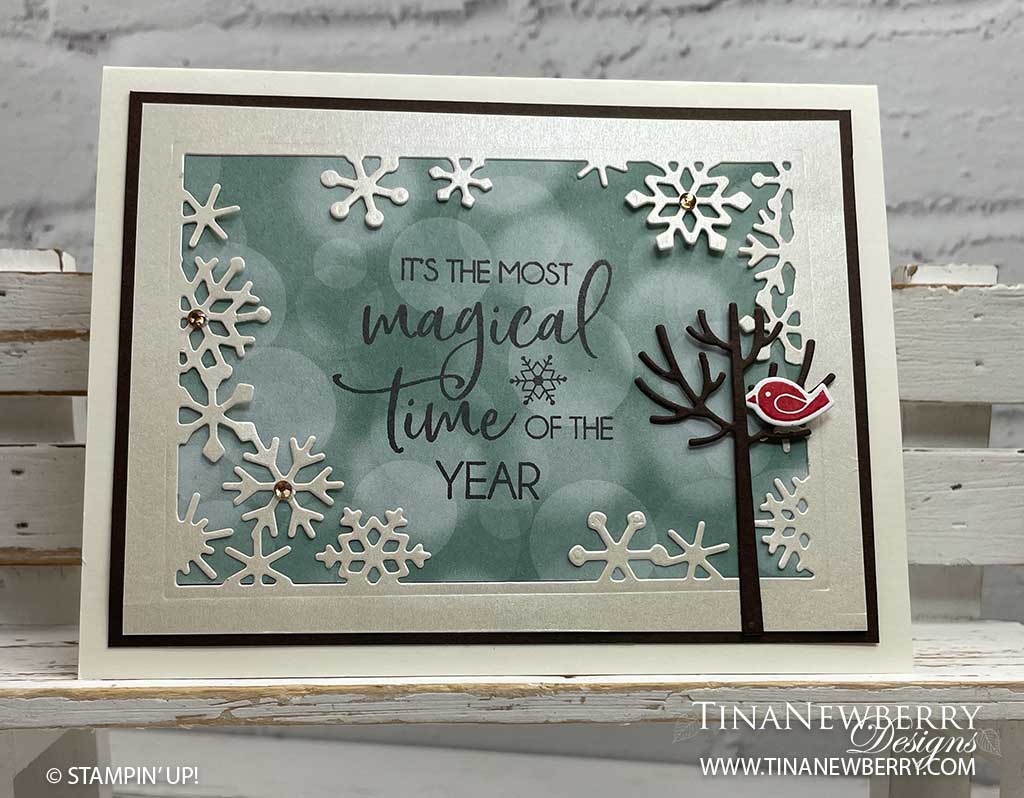
Create snow flurries in minutes – for a card that looks like you spent hours – with the Snowman Magic bundle. Read on for details.
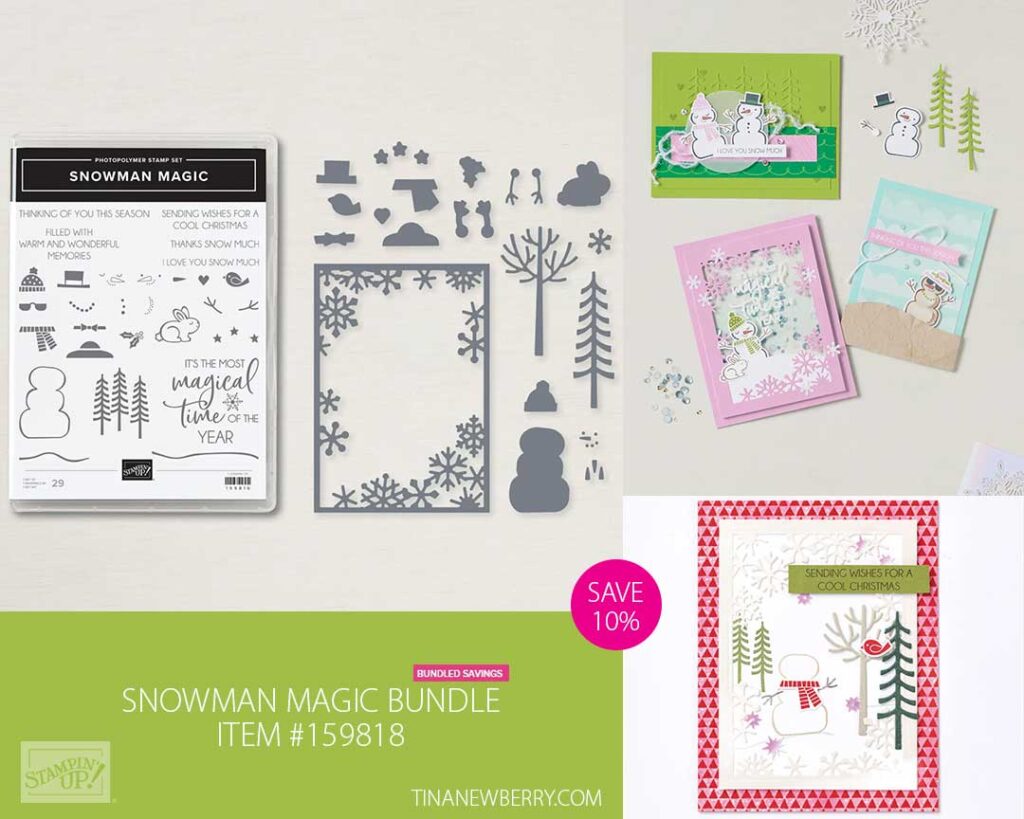
Celebrate the most magical time of the year with the Snowman Magic Bundle that helps you create unique, fun, and oh-snow-charming seasonal crafts. The stamps and dies coordinate perfectly so you can accessorize and layer each look from snowmen to snowscapes.

Measurements

Full list of supplies needed, listed below. A die cutting machine is needed for this card.

Very Vanilla Cardstock:

  • 5 ½” w x 8 ½” h scored and folded on the long-side at 4 1/4″for Card Base
  • 5 1/4″ h x 4″ w for inside

Early Espresso Cardstock: 5 ⅛”w x 4 ⅞” h
Pearlescent Specialty Paper: 4 ⅞” w x 3 ⅝” h
Lights Aglow Designer Series Paper (DSP): 4 ¼” w x 3” h
Early Espresso Cardstock Scrap: 2 ¾” x 2” (for die cutting tree)


Let’s Create

  1. Affix all stamps to Acrylic Blocks.
  2. Fold the Very Vanilla Card Base in half using a Bone Folder to sharpen the crease.
  3. Using the Snowman Dies cut the frame using Pearlescent specialty paper, centering it with an even border. Save the middle scrap for stamping the small bird on.
  4. Place Stampin’ Seal adhesive on the backs of snowflakes and the side edges of the frame and adhere the Lights Aglow DSP to the back. The width is exactly 3” which is the same as the opening in the frame. So be sure to line it up correctly. (Note: Since the Lights Aglow paper is 6×6, this allows you to get 2 cards from each piece. If this isn’t an issue for you, you may consider cutting your Lights Aglow panel a smidge larger than 3”.)
  5. Using Early Espresso ink pad, Stamp the sentiment just to the left of center – leaving room for the tree on the left side.
  6. Adhere these panels to your Early Espresso panel using Stampin’ Seal. Use Stampin’ Dimensional to adhere these layers to your folded card base.
  7. Stamp the bird using Real Red ink pad onto the scrap of Pearlescent paper from the center of the die cut frame and cut out using the bird die from the Snowman Dies.
  8. Cut an Early Espresso tree using the tree die from the Snowman Dies.
  9. Adhere the the tree to the right side of the card, using Stampin’ Seal.
  10. Using a Stampin’ Dimensional adhere the bird to the tree.
  11. Place a Champagne Rhinestone in the center of several of the snowflakes.
  12. Stamp and decorate the inside and attach with Stampin’ Seal.
  13. Decorate your envelope.
  14. How pretty! Now send it to someone special.

Shopping List

Recommended Stamper’s Toolkit ❤


Fond of Autumn Step-by-Step

BEGINNER

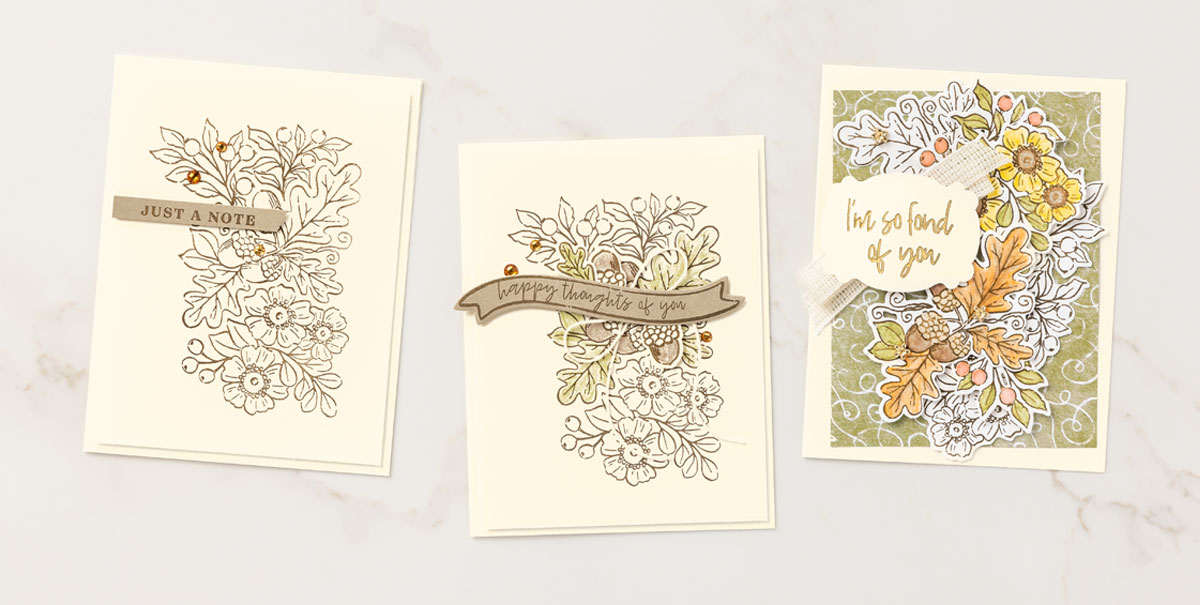
Creating simple yet stunning note cards has never been easier than with our fabulous Fond of Autumn Bundle to inspire you. Send thanks and happy thoughts using the gorgeous images in the Fond of Autumn Stamp Set—or make a stack of stamped cards to give as gifts!

To create the beginner version of our Just a Note card, start by folding Very Vanilla Cardstock in half; stamp the floral, leaf, and acorn images in Soft Suede ink on another layer of Very Vanilla Cardstock, then adhere it to the card front. Add a simple sentiment plus a few pretty gems from the Leaf Label & Amber Gem Combo Pack to finish off this timeless card.

CASUAL

We stepped up our second card by coloring in the images with Watercolor Pencils (Old Olive and Early Espresso), then used the curvy banner die from the Autumn Bouquet to cut out our sentiment.

AVID

For our most detailed card, we colored our images as before using Watercolor Pencils, but this time applied water using our Water Painters for a beautiful watercolor affect. We then die cut the watercolored images and pieced them together to create a lovely collage for added dimension and texture.

Shopping List

Ho Ho Ho Alternative #1

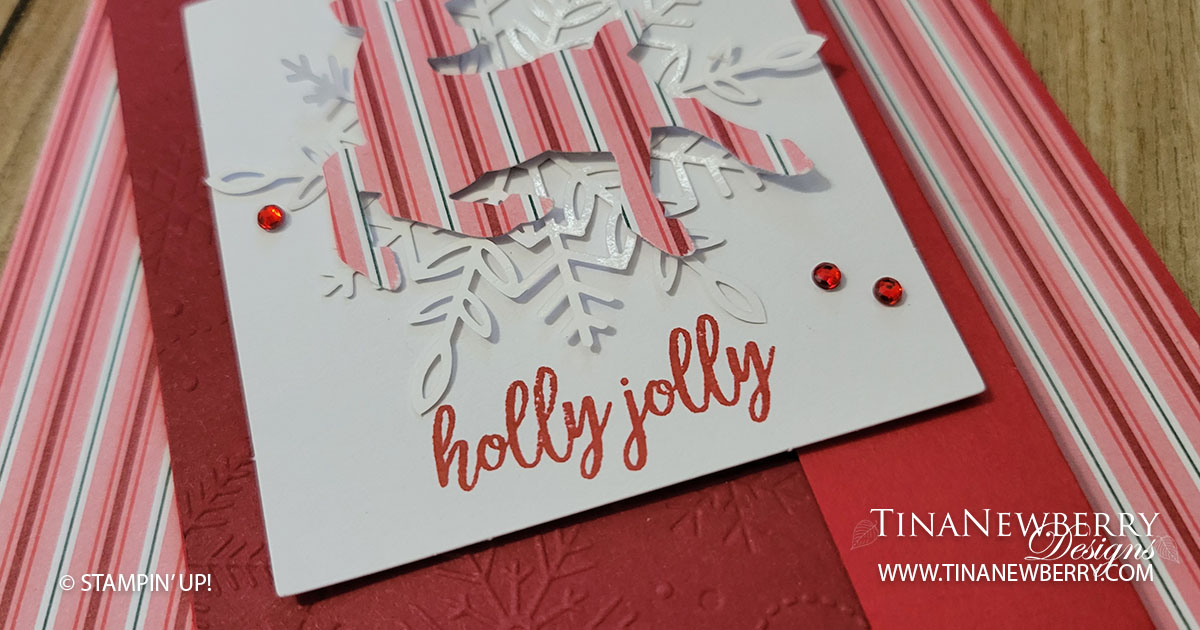
Learn how to make a snowflake embossed background using the Mini Stampin’ Cut & Emboss Machine on this two-tone card.

Send merry and bright cards this holiday season with the Ho Ho Ho Paper Pumpkin Kit! With classic Christmas colors and holly jolly sentiments, the cards in this kit are sure to bring the Christmas spirit.. Check out next month’s Paper Pumpkin Kit. It coordinates!

Measurements

Full list of supplies needed, listed below. A die cutting machine is needed for this card.
Sweet Sorbet Cardstock: 5 1/2″ h x 8 1/2″ w scored and folded at 4 1/4″ and 7 1/2″

Real Red Cardstock: 5 1/2″ h x 2 1/2″ w

White Scrap from Kit: 3″ h x 2 3/4″ w

Basic White Cardstock: 5 1/2″ h x 2 1/2″ w

Striped Pattern (from Inside Envelope from Kit) :

  • 5 `/2″ h x 1″ w
  • Scrap for Deer

Let’s Create

  1. Affix all stamps to Acrylic Blocks.
  2. Fold the Card Base in half using a Bone Folder to sharpen the crease and then fold back at the 1″ score line and use a Bone Folder to sharpen the crease.
  3. Run the Real Red panel through the Mini Stampin’ Cut & Emboss Machine with the Snowflake Embossing Folder from the Wintry 3D Embossing Folders Set.
  4. Attach embossed Real Red Panel to the Card Base with Stampin’ Seal.
  5. Use Stampin’ Seal to secure the 1″ Card Base Flap in place and also the 1″ striped pattern piece you cut from the envelope.
  6. Stamp Holly Jolly on the scrap rectangle with Real Red Ink and attach to Card Base with Stampin’ Dimensionals.
  7. Use a Mini Glue Dot to attach a Wonderful Snowlake to the rectangle.
  8. Punch a deer from the striped pattern from the envelope, using the Deer Builder Punch and attach to the Wonderful Snowflake with a Stampin’ Dimensional.
  9. Sprinkle on the Red Rhinestones.
  10. Stamp and decorate the 5 1/2″ h x 2 1/2″ w Basic White Cardstock and attach to the inside with Stampin’ Seal.
  11. Decorate your envelope.
  12. How fun!! Who will you send it to?

Shopping List

Recommended Stamper’s Toolkit ❤