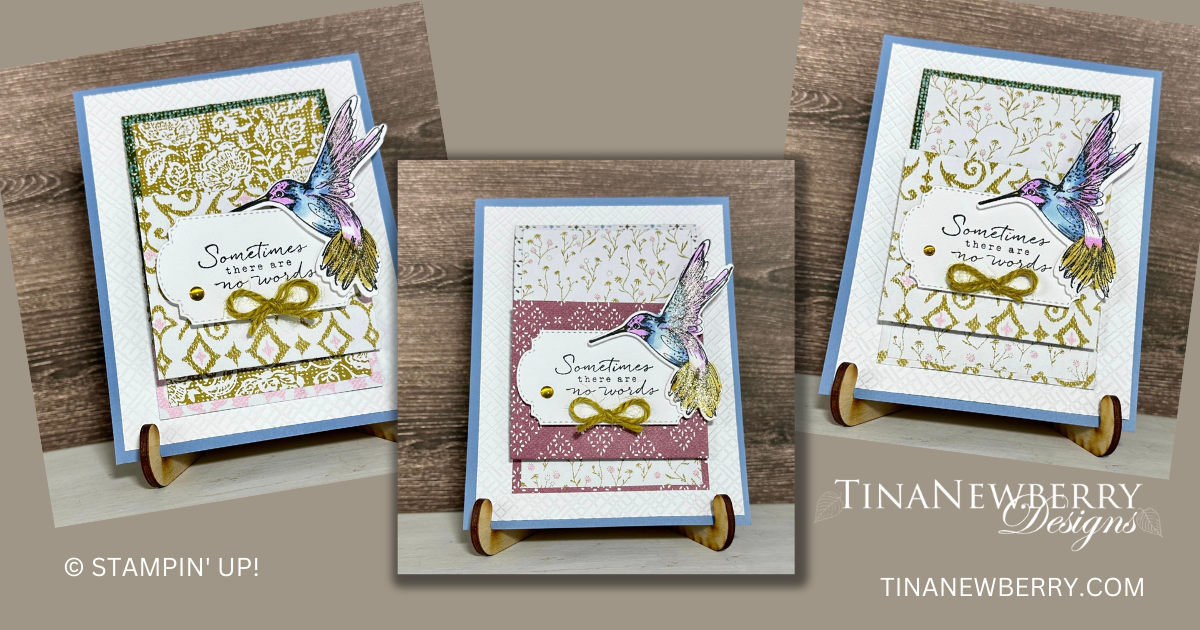
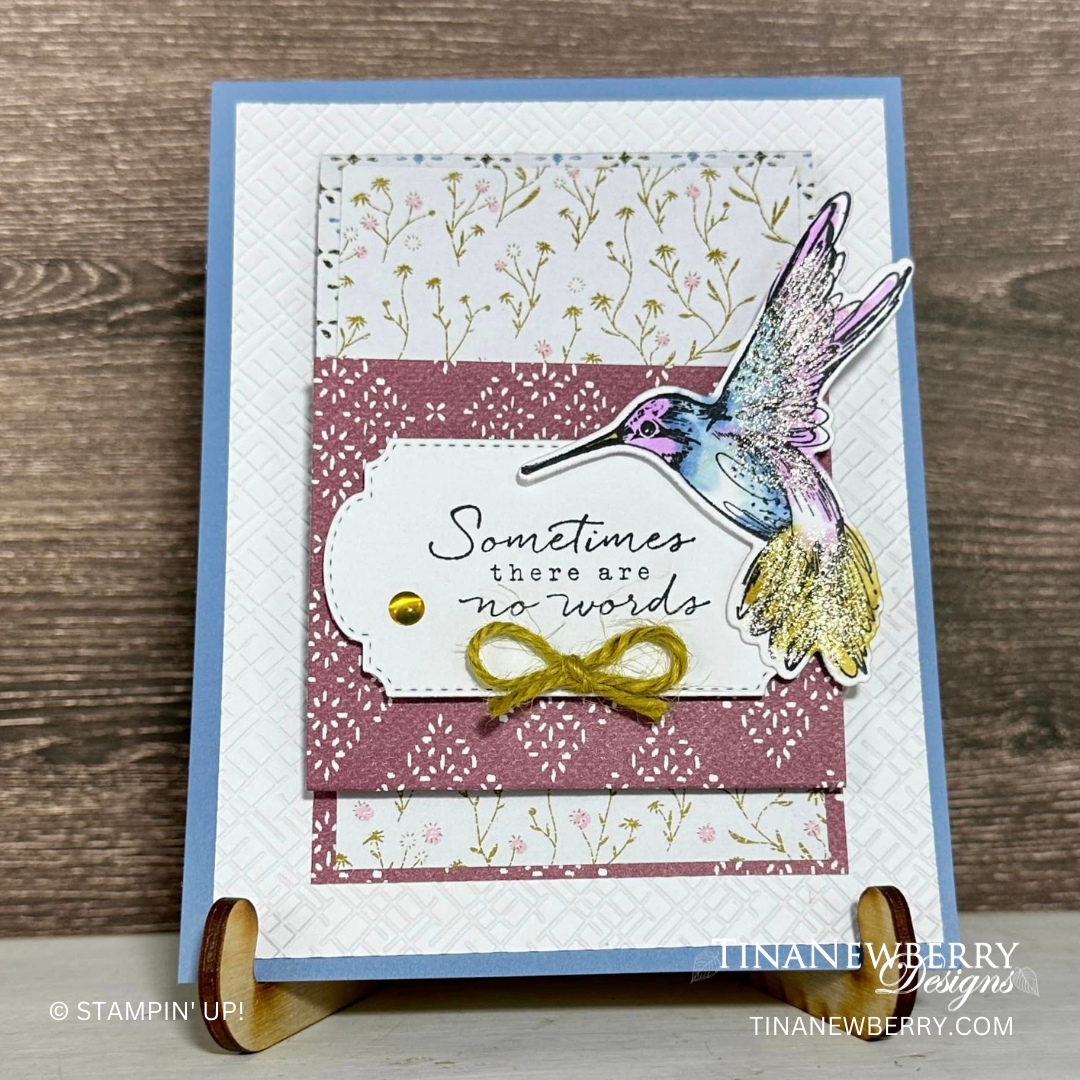
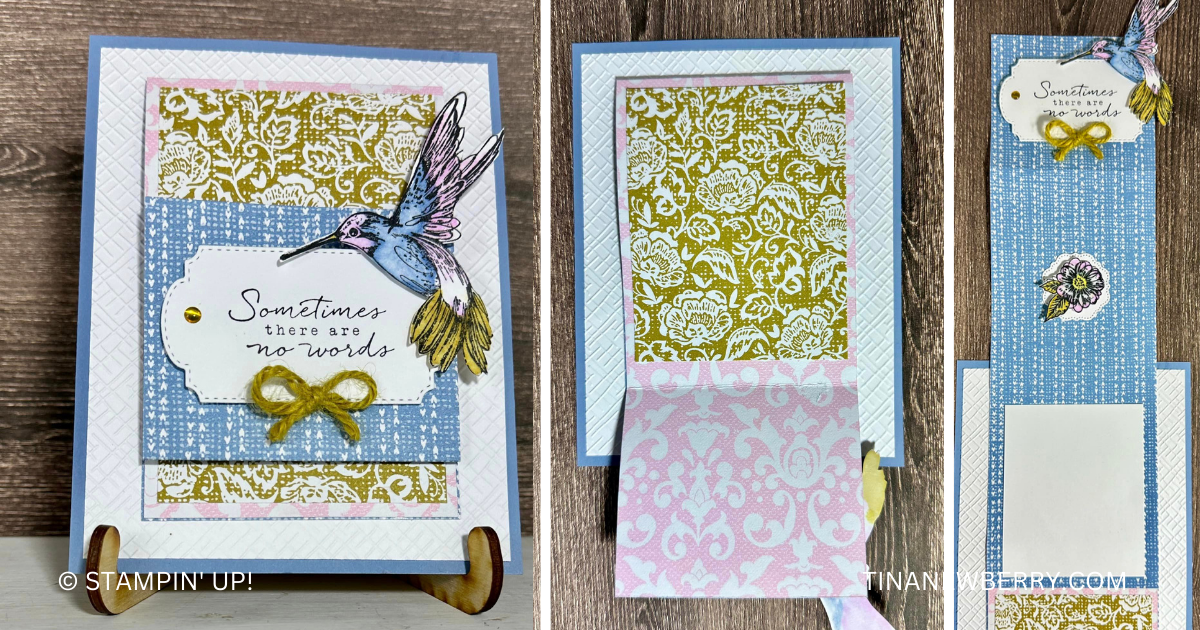
Lela made three more stunning fun fold cards using the same layout as yesterday’s card, showing the versatility of the Thoughtful Expressions Bundle and Poetic Expressions Designer Series Paper.
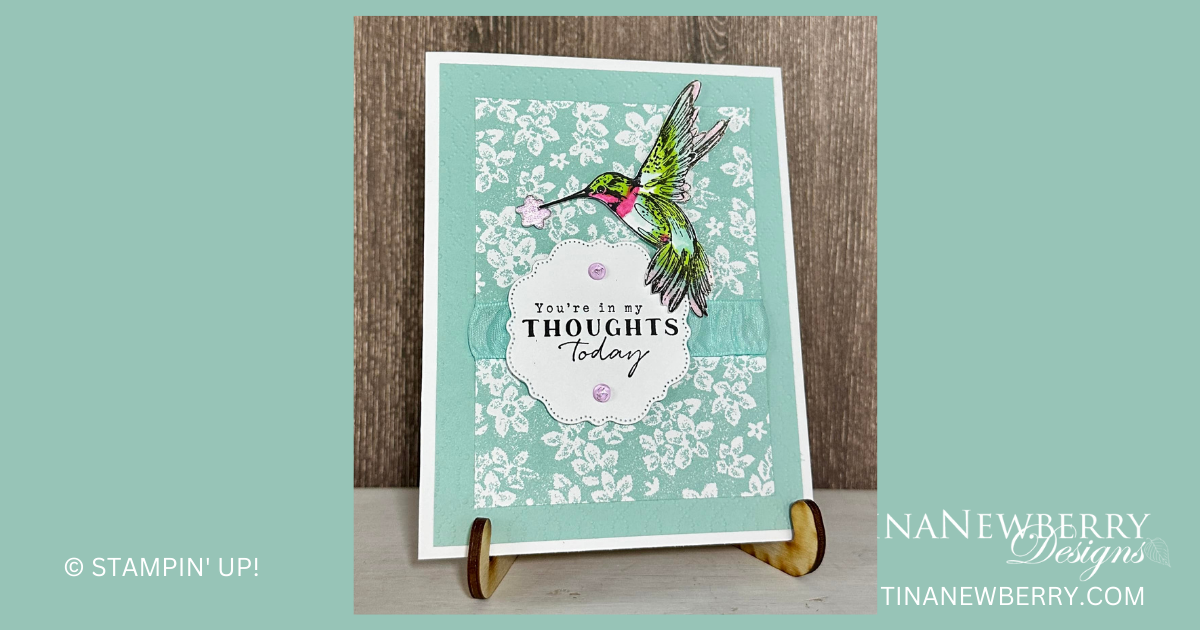
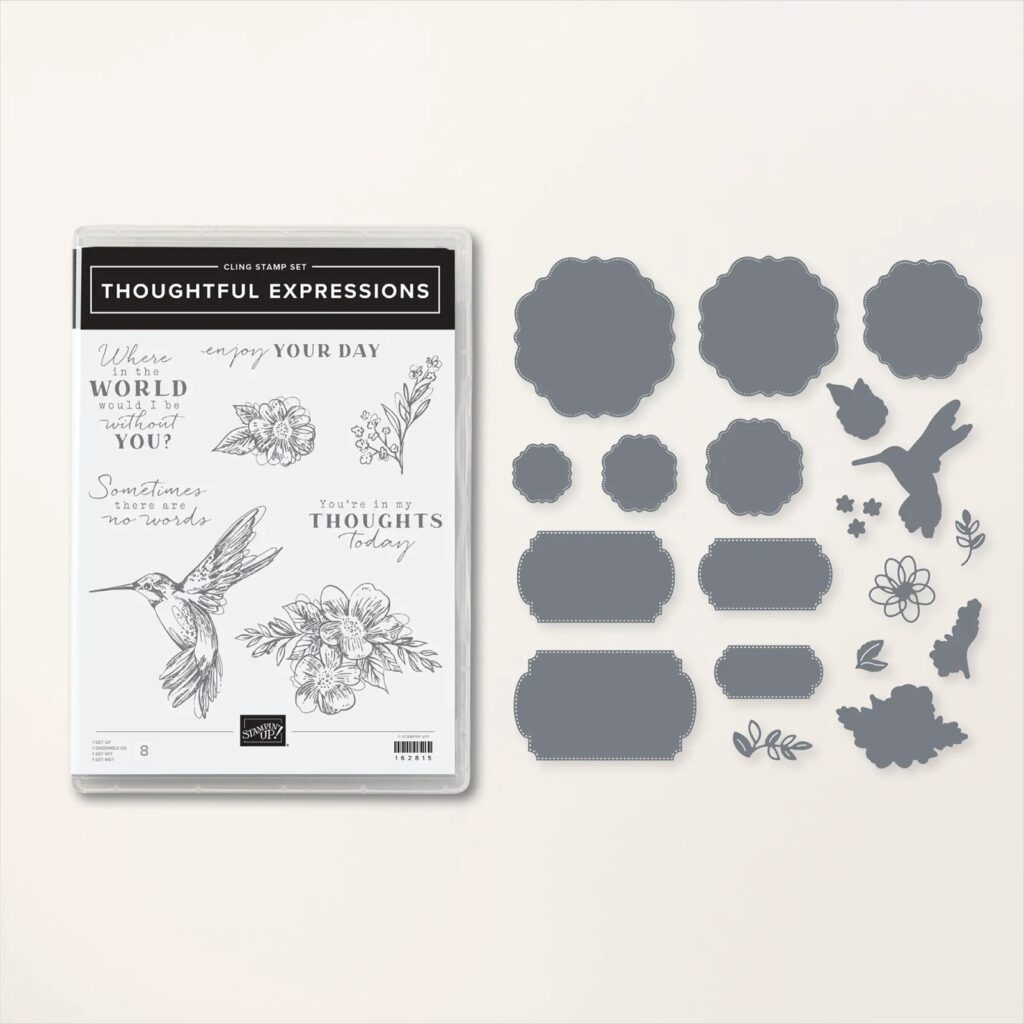
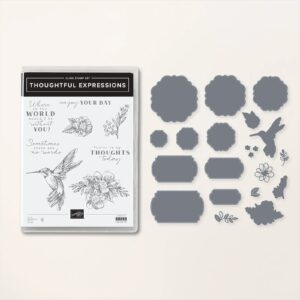
Create your own handmade cards full of love and support with the elegant Thoughtful Expressions bundle. Stamp, then custom-color a hummingbird and flowers and top it all off with a die-cut frame featuring a sweet sentiment.
Measurements
Full list of supplies needed, listed below. A die cutting machine is needed for this card.
Card Base Boho Blue Cardstock 5 ½” x 4 ¼” Layer 1 Basic White Cardstock 4” x 5 ¼”, embossed with Basics 3D Embossing Folder (crosshatch pattern) Layer 2 Poetic Expressions Designer Series Paper (DSP) 11” x 3”, scored at 4 ½” and 8 ½” Layer 3 Poetic Expressions Designer Series Paper (DSP) 2 ¾” x 3 ½” Layer 4 Poetic Expressions Designer Series Paper (DSP) 2 ¾” x ¾” Layer 5 Basic White Cardstock 2 ½” x 3” Scrap Basic White Cardstock for two labels, hummingbird, and flower.
Let’s Create
Affix all stamps to Acrylic Blocks.
Fold the Card Base in half using a Bone Folder to sharpen the crease.
Cut Card Base 5 ½” x 4 ¼”
Cut Layer 1 Basic White 4” x 5 ¼”, emboss with Basics 3D Embossing Folder (cross-hatch pattern). Adhere to card base.
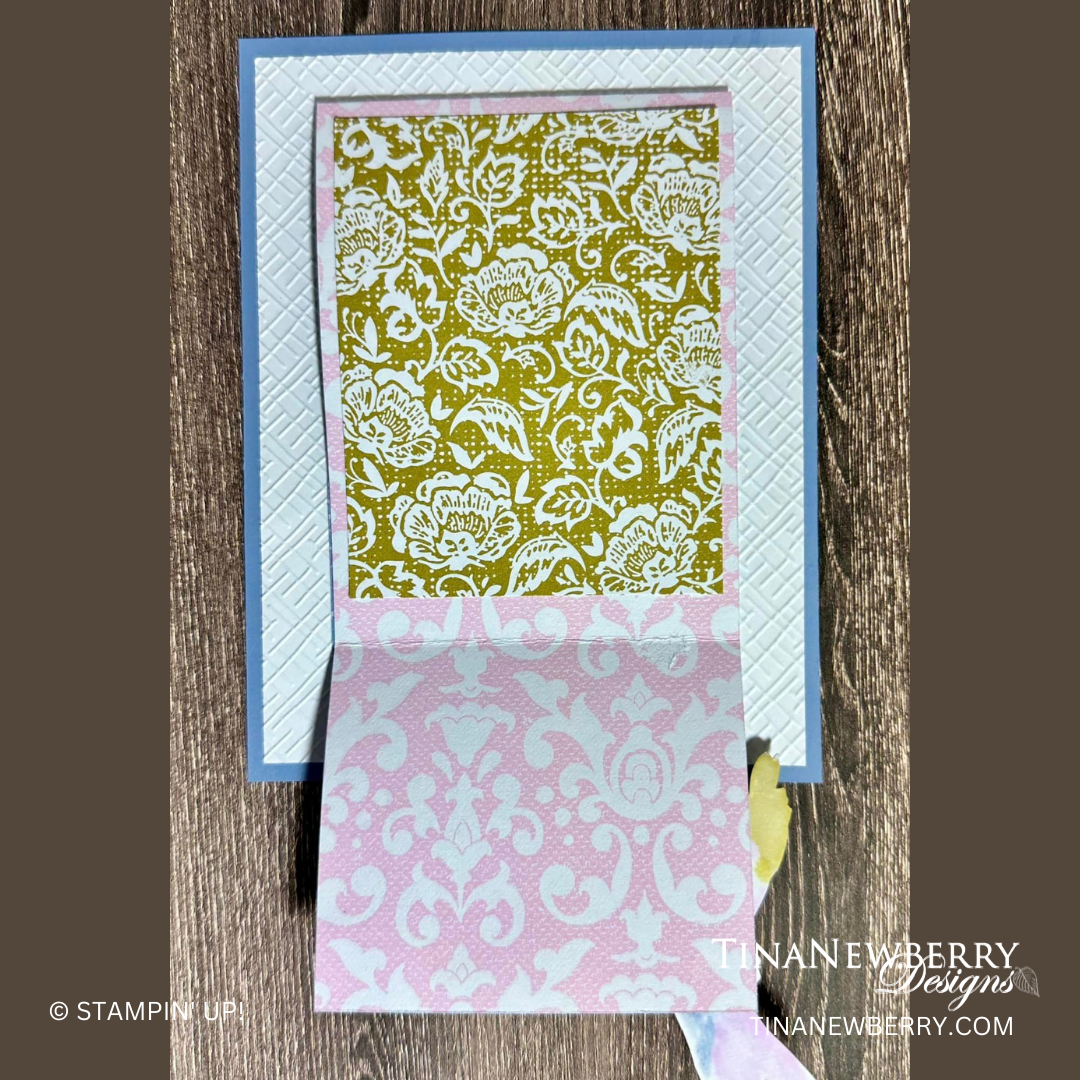
Cut Layer 2 Designer Series Paper 11” x 3”, scored at 4 ½” and 8 ½”. Center and adhere to card base.
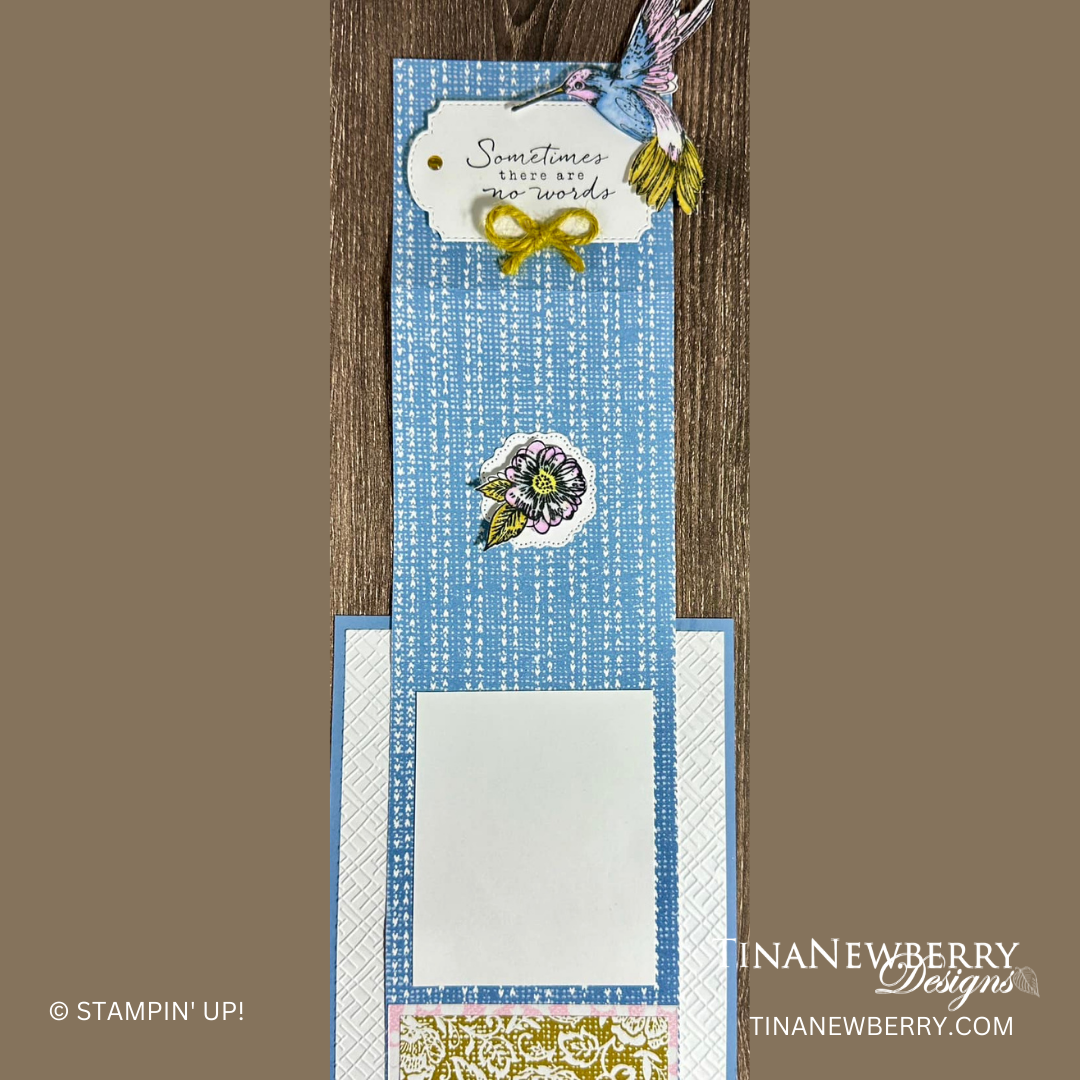
Cut Layer 3 Designer Series Paper 2 ¾” x 3 ½”. Adhere to Designer Series Paper flap as shown.
Cut Layer 4 Designer Series Paper 2 ¾” x ¾”. Adhere to inside bottom of Designer Series Paper strip as shown.
Cut Layer 5 Basic White 2 ½” x 3”. Adhere to inside of card, for signature.
Die-Cut 2 ¾” wide Thoughtful Expressions label from Basic White. Stamp sentiment. Adhere to Designer Series Paper flap with Stampin’ DImensionals.
Die-Cut 1 ½” circle Thoughtful Expressions label from Basic White. Adhere to center of inside flap.
Stamp hummingbird in Tuxedo Black Memento Ink on Basic White Cardstock. Die-Cut stamped Humming Bird. Color with Blends. Adhere to corner to sentiment label with Stampin’ Dimensional. The Dimensional goes on the stamped label for maximum effect. (This may increase mailing costs)
Stamp flower with Tuxedo Black Memento Ink on Basic White Cardstock. Die-Cut stamped flower. Color with Blends. Adhere with Stampin’ DImensional to center of Die-Cut circle label.
Tie a cute little bow from Wild Wheat jute and adhere to sentiment label with a mini-glue dot.
Add a coordinating gem.
Sprinkle on the gems.
Decorate your envelope.
Stunning! Now send it to someone special.
Shopping List
Adjust this product list to match your Designer Series Paper
Order online from the convenience of your own home or send me your order and I’ll take care of you. ❤ Either way, please use the host code ANTD9UHS. Order online AND, if your order is $50 or more using host code ANTD9UHS between now and the end of the month you’ll receive a free pack of embellishment as a THANK YOU gift from me. ❤ If your order is over $150, skip the host code, earn Stampin’ Rewards for free stuff yourself and I’ll still send you a free pack of embellishment as a THANK YOU gift from me. ❤
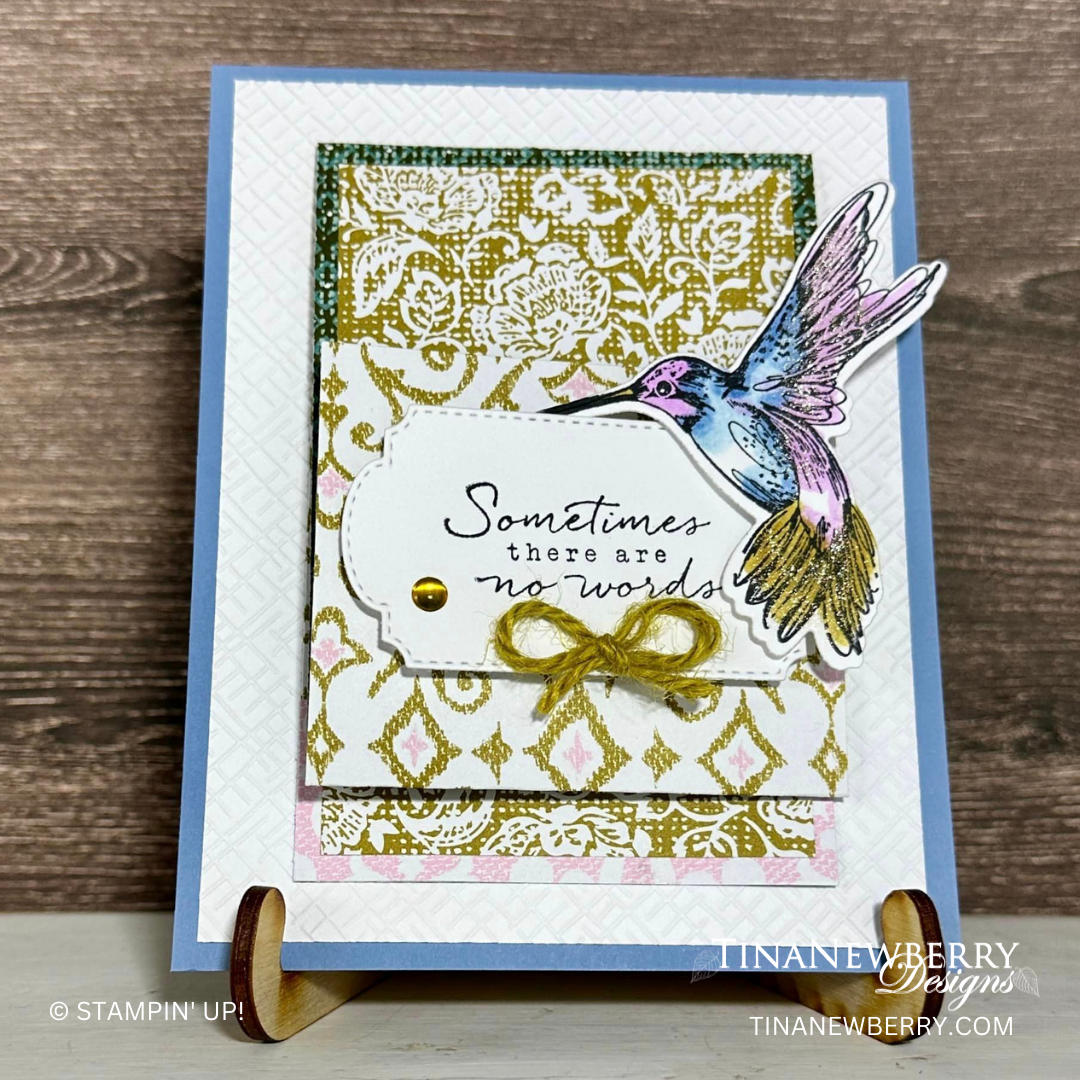
Oh! I just love the hummingbird in the Thoughtful Expressions bundle and my friend Lela custom colored this one to match the beautiful Poetic Expressions Designer Series paper she used on this fun fold card. Time to show off your DSP!
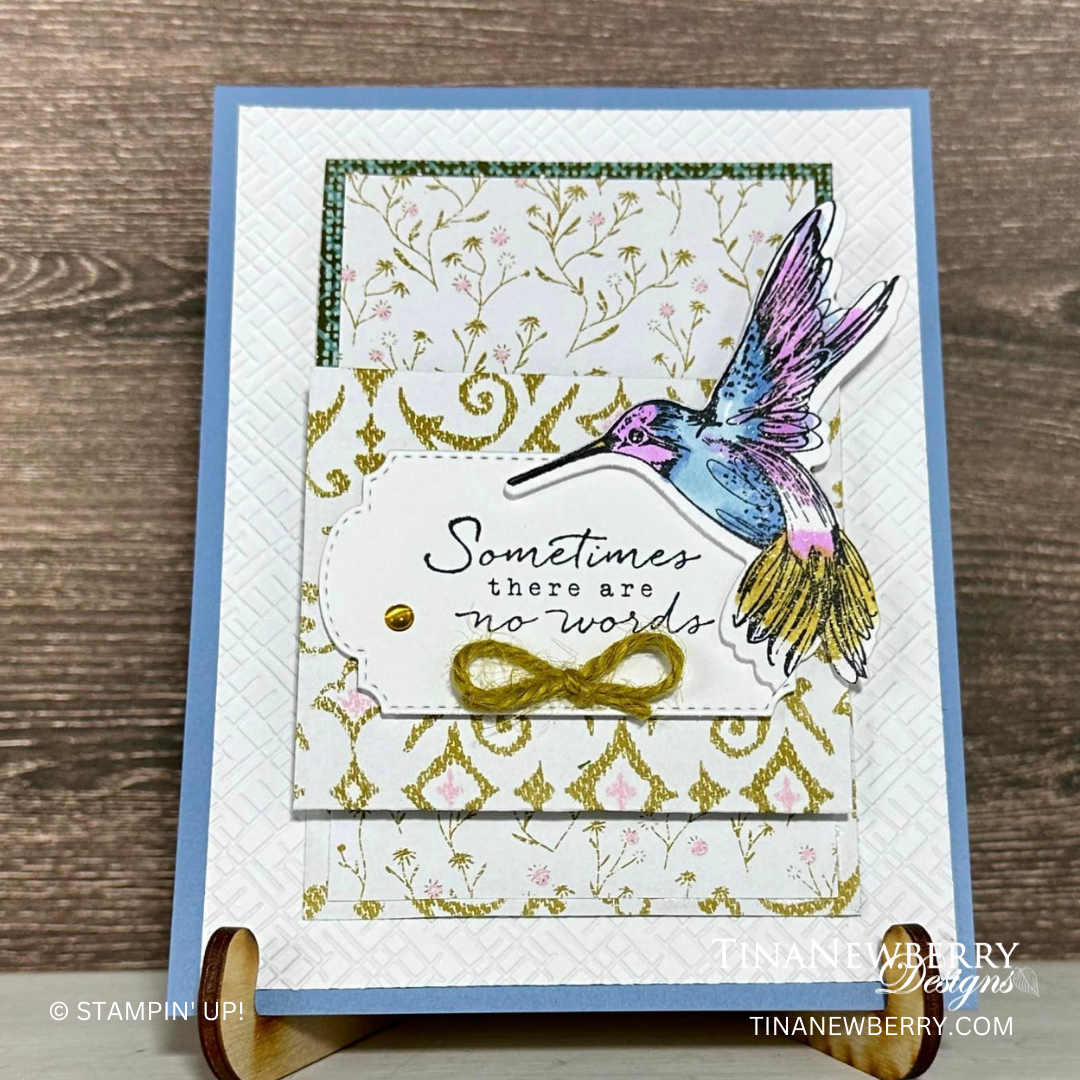
Create your own handmade cards full of love and support with the elegant Thoughtful Expressions bundle. Stamp, then custom-color a hummingbird and flowers and top it all off with a die-cut frame featuring a sweet sentiment.
Measurements
Full list of supplies needed, listed below. A die cutting machine is needed for this card.
Card Base Boho Blue Cardstock 5 ½” x 4 ¼” Layer 1 Basic White Cardstock 4” x 5 ¼”, embossed with Basics 3D Embossing Folder (crosshatch pattern) Layer 2 Poetic Expressions Designer Series Paper (DSP) 11” x 3”, scored at 4 ½” and 8 ½” Layer 3 Poetic Expressions Designer Series Paper (DSP) 2 ¾” x 3 ½” Layer 4 Poetic Expressions Designer Series Paper (DSP) 2 ¾” x ¾” Layer 5 Basic White Cardstock 2 ½” x 3” Scrap Basic White Cardstock for two labels, hummingbird, and flower.
Let’s Create
Affix all stamps to Acrylic Blocks.
Fold the Card Base in half using a Bone Folder to sharpen the crease.
Cut Card Base 5 ½” x 4 ¼”
Cut Layer 1 Basic White 4” x 5 ¼”, emboss with Basics 3D Embossing Folder (cross-hatch pattern). Adhere to card base.
Cut Layer 2 Designer Series Paper 11” x 3”, scored at 4 ½” and 8 ½”. Center and adhere to card base.
Cut Layer 3 Designer Series Paper 2 ¾” x 3 ½”. Adhere to Designer Series Paper flap as shown.
Cut Layer 4 Designer Series Paper 2 ¾” x ¾”. Adhere to inside bottom of Designer Series Paper strip as shown.
Cut Layer 5 Basic White 2 ½” x 3”. Adhere to inside of card, for signature.
Die-Cut 2 ¾” wide Thoughtful Expressions label from Basic White. Stamp sentiment. Adhere to Designer Series Paper flap with Stampin’ DImensionals.
Die-Cut 1 ½” circle Thoughtful Expressions label from Basic White. Adhere to center of inside flap.
Stamp hummingbird in Tuxedo Black Memento Ink on Basic White Cardstock. Die-Cut stamped Humming Bird. Color with Blends. Adhere to corner to sentiment label with Stampin’ Dimensional. The Dimensional goes on the stamped label for maximum effect. (This may increase mailing costs)
Stamp flower with Tuxedo Black Memento Ink on Basic White Cardstock. Die-Cut stamped flower. Color with Blends. Adhere with Stampin’ DImensional to center of Die-Cut circle label.
Tie a cute little bow from Wild Wheat jute and adhere to sentiment label with a mini-glue dot.
Order online from the convenience of your own home or send me your order and I’ll take care of you. ❤ Either way, please use the host code ANTD9UHS. Order online AND, if your order is $50 or more using host code ANTD9UHS between now and the end of the month you’ll receive a free pack of embellishment as a THANK YOU gift from me. ❤ If your order is over $150, skip the host code, earn Stampin’ Rewards for free stuff yourself and I’ll still send you a free pack of embellishment as a THANK YOU gift from me. ❤
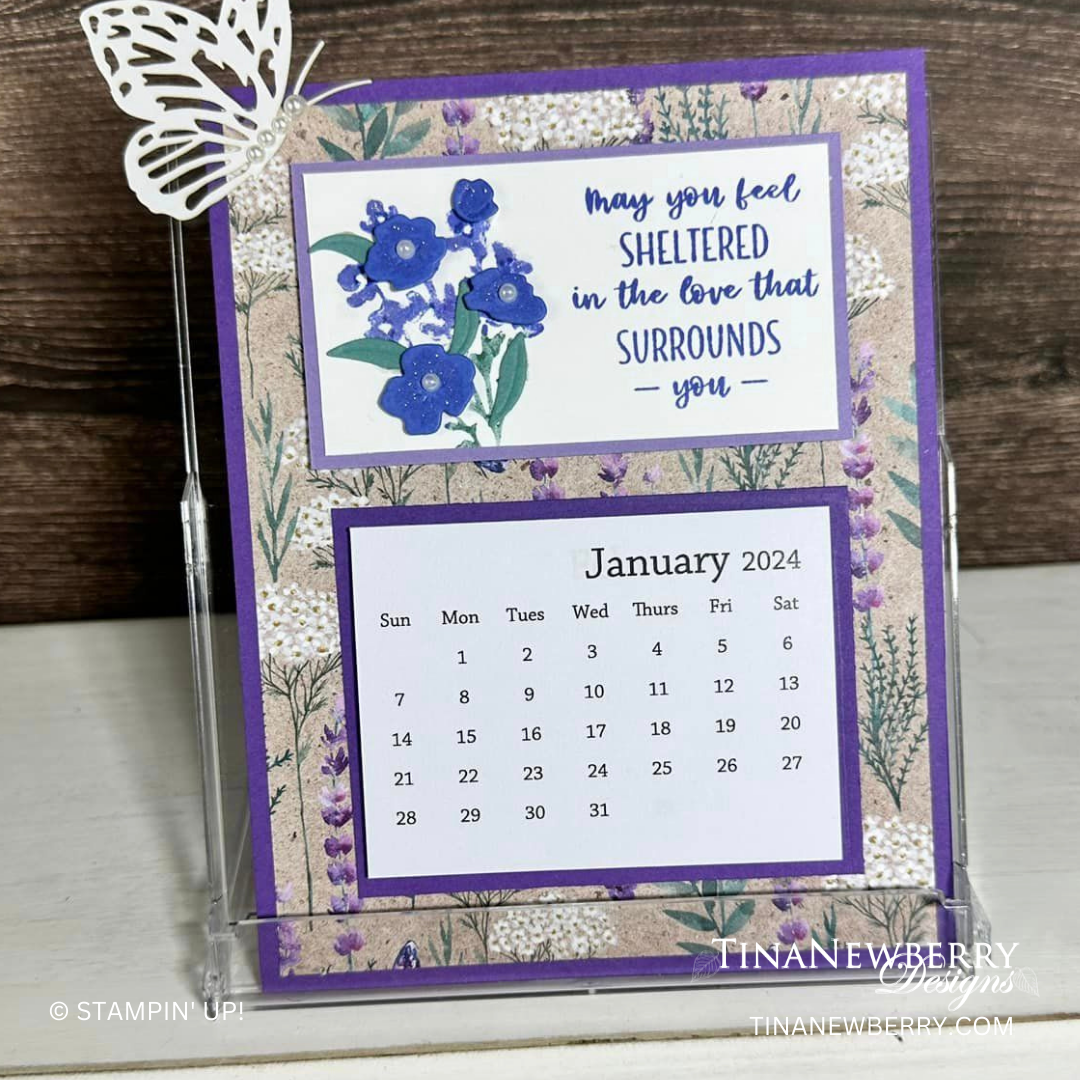
Create a stunning stand-up calendar display with paper and embellishments from the Perennial Lavender Suite.
Measurements
Full list of supplies needed, listed below. A die cutting machine is needed for this card.
Gorgeous Grape Cardstock Base: 4 ½”x 5 3/4” Highland Heather Cardstock: 3 ¼” x 2 ½” Gorgeous Grape Cardstock: 3 ¾” x 2 ¼” Basic White Cardstock: 3″ x 2 1/4″ Perennial Lavender Designer Series Paper (DSP): 4” x 5 1/4” Taylored Expressions Calendar Calendar stand from Calendar-Case.com OPTIONALLY CREATE: Printed list of birthdays for each month, or other decoration (eg, You could either list birthdays on a printed page, or you can decorate a layer as shown here)
Let’s Create
Affix all stamps to Acrylic Blocks.
Fold the Card Base in half using a Bone Folder to sharpen the crease.
Adhere DSP to front of Card Base with Stampin’ Seal.
Adhere Taylored Expressions calendar (one month or whole year) to the 3 ¾” x 2 ¼” Gorgeous Grape layer and attach with Stampin’ Seal.
On the 3″ x 2 1/4″ Basic White cardstock, stamp the flowers in Orchid Oasis and stems in Lost Lagoon ink. Stamp the sentiment in Orchid Oasis. Attach to the 3 ¼” x 2 ½” Highland Heather Layer with Stampin’ Seal.
Adhere the stamped layer with Stampin’ Dimensionals.
Add a Paper Butterfly Accent in the upper corner.
Add some Purple Fine Shimmer Gems.
Open plastic case and stand it upright in an easel shape. Add your decorated page and enjoy :). These are great to give as gifts also!
You can either make a new page for each month of the year, or you could make one main page for the entire year.
Order online from the convenience of your own home or send me your order and I’ll take care of you. ❤ Either way, please use the host code ANTD9UHS. Order online AND, if your order is $50 or more using host code ANTD9UHS between now and the end of the month you’ll receive a free pack of embellishment as a THANK YOU gift from me. ❤ If your order is over $150, skip the host code, earn Stampin’ Rewards for free stuff yourself and I’ll still send you a free pack of embellishment as a THANK YOU gift from me. ❤
")
 Designer Series Paper")


")


 Designer Series Paper")

