I’m so happy Pretty Peacock has returned to the Stampin’ Up! color line. You know by now anything teal is my favorite color. If you haven’t checked out the extra-generous stack of Delightfully Eclectic Designer Series Paper , do it now. This stack is a great stack of everyday designs and is on sale thru June 30, 2023.
Measurements
Full list of supplies needed, listed below. A die cutting machine is needed for this card.
Card Base: Bubble Bath cardstock 5 ½” h x 8 ½” w folded to 5 ½” h x 4 ¼” w
Background: Basic White cardstock 5 ¼” h x 4” w
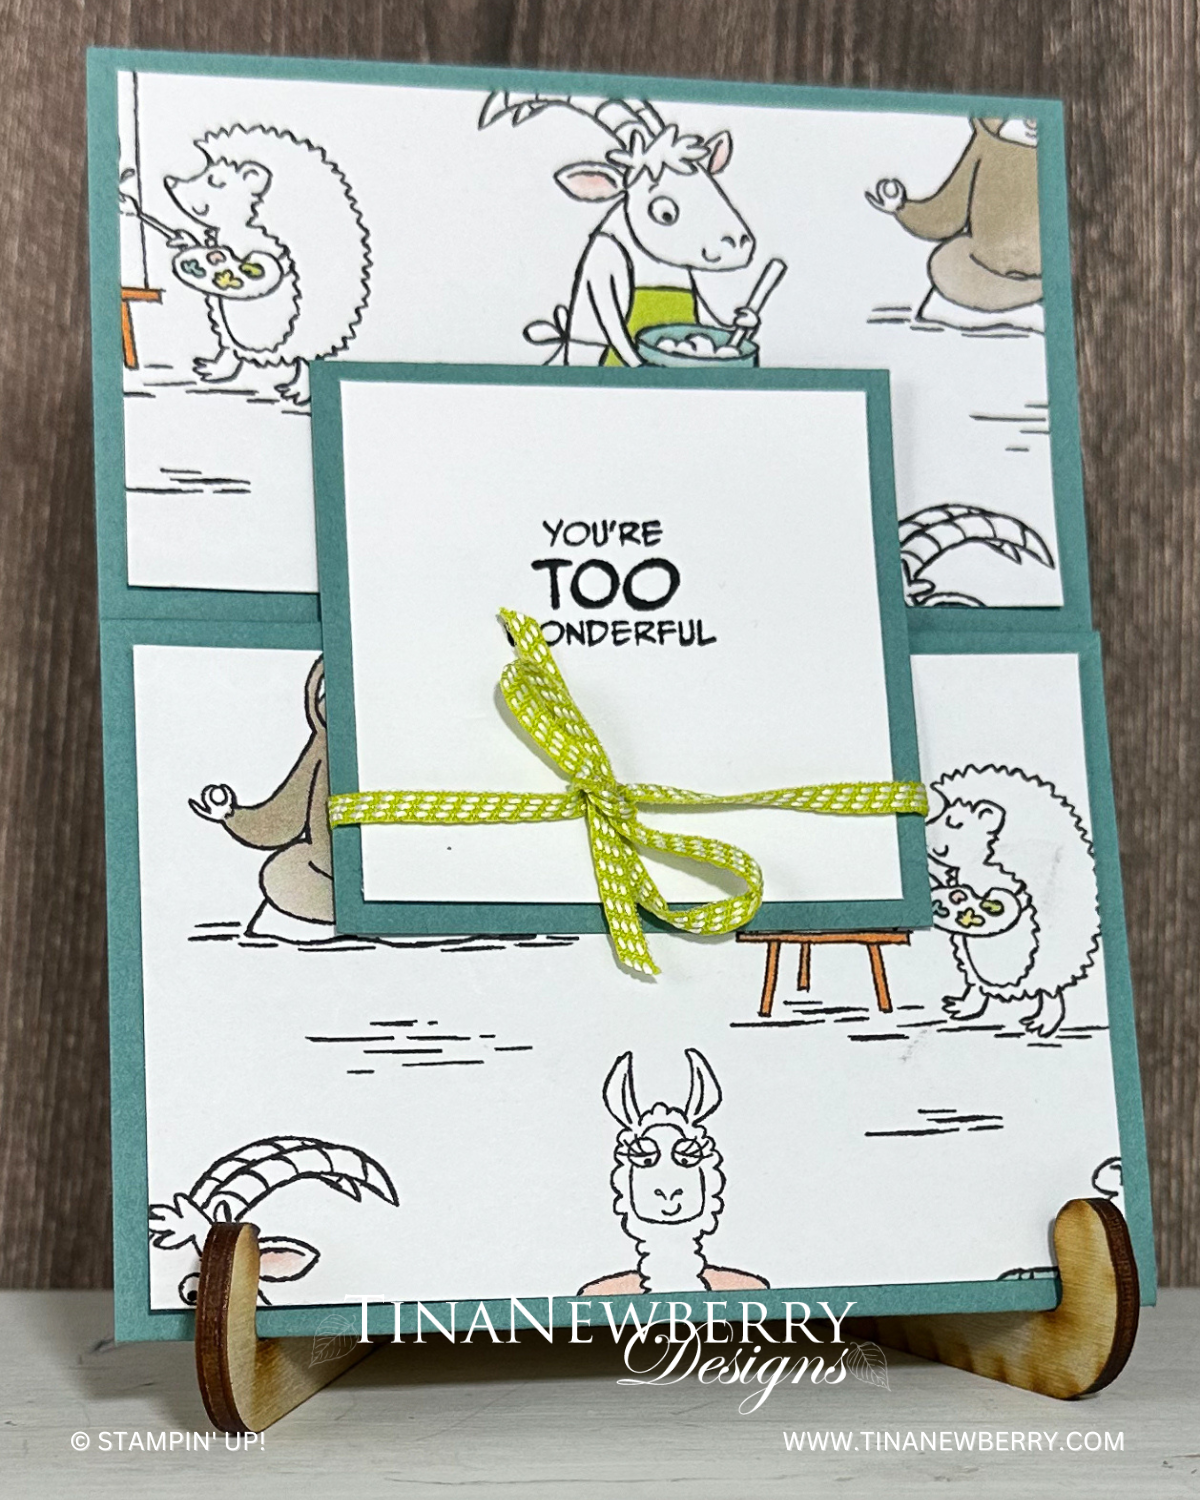
Front Layer: Delightfully Eclectic DSP 5″ h x 3 ¾” w
Sentiment Layer: Bubble Bath cardstock scrap 1” h x 3” w
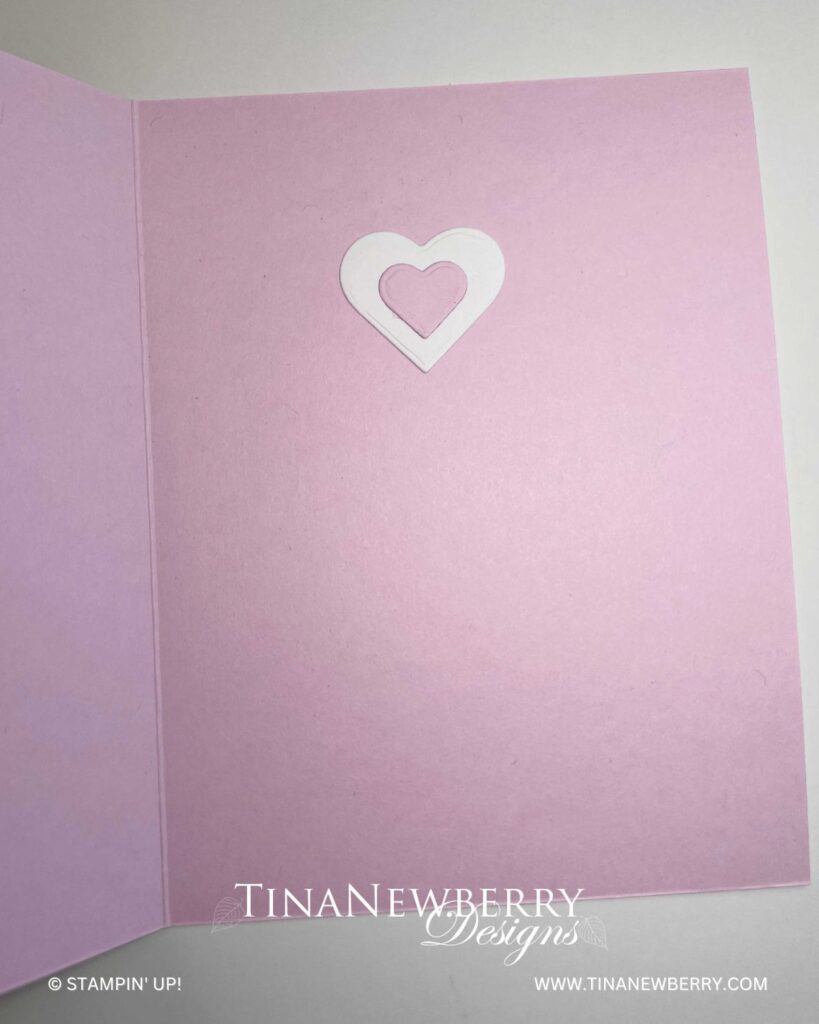
Heart die cuts: Bubble Bath cardstock scrap and Basic White cardstock scrap
Let’s Create
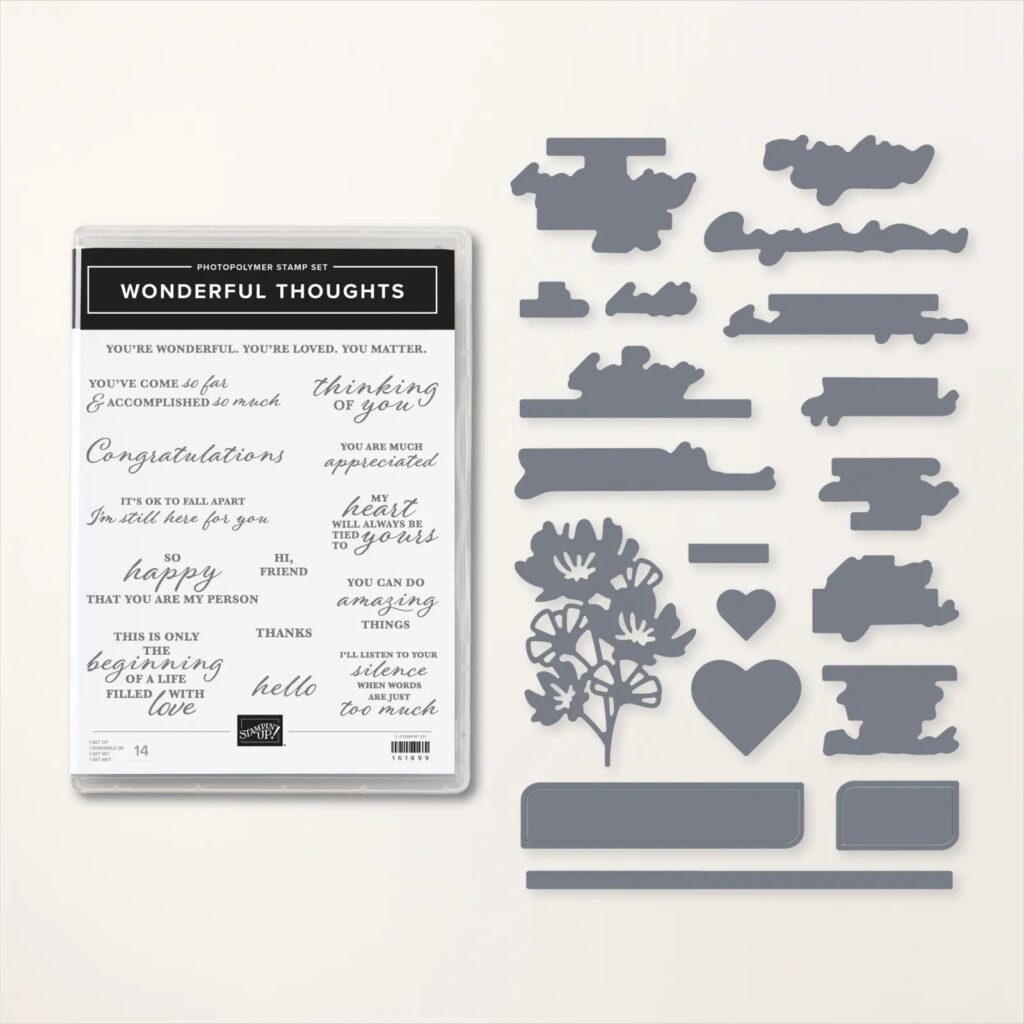
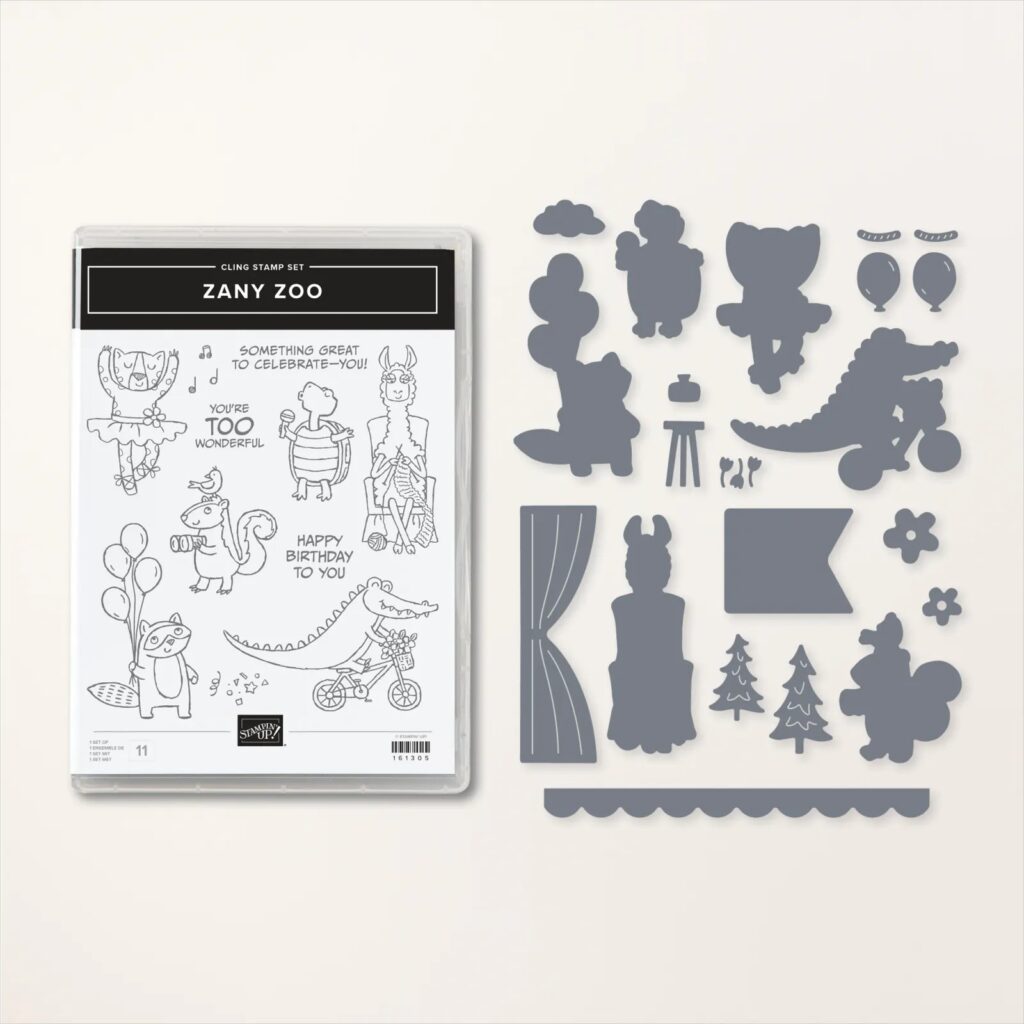
- Affix all stamps to Acrylic Blocks.
- Fold the Card Base in half using a Bone Folder to sharpen the crease.
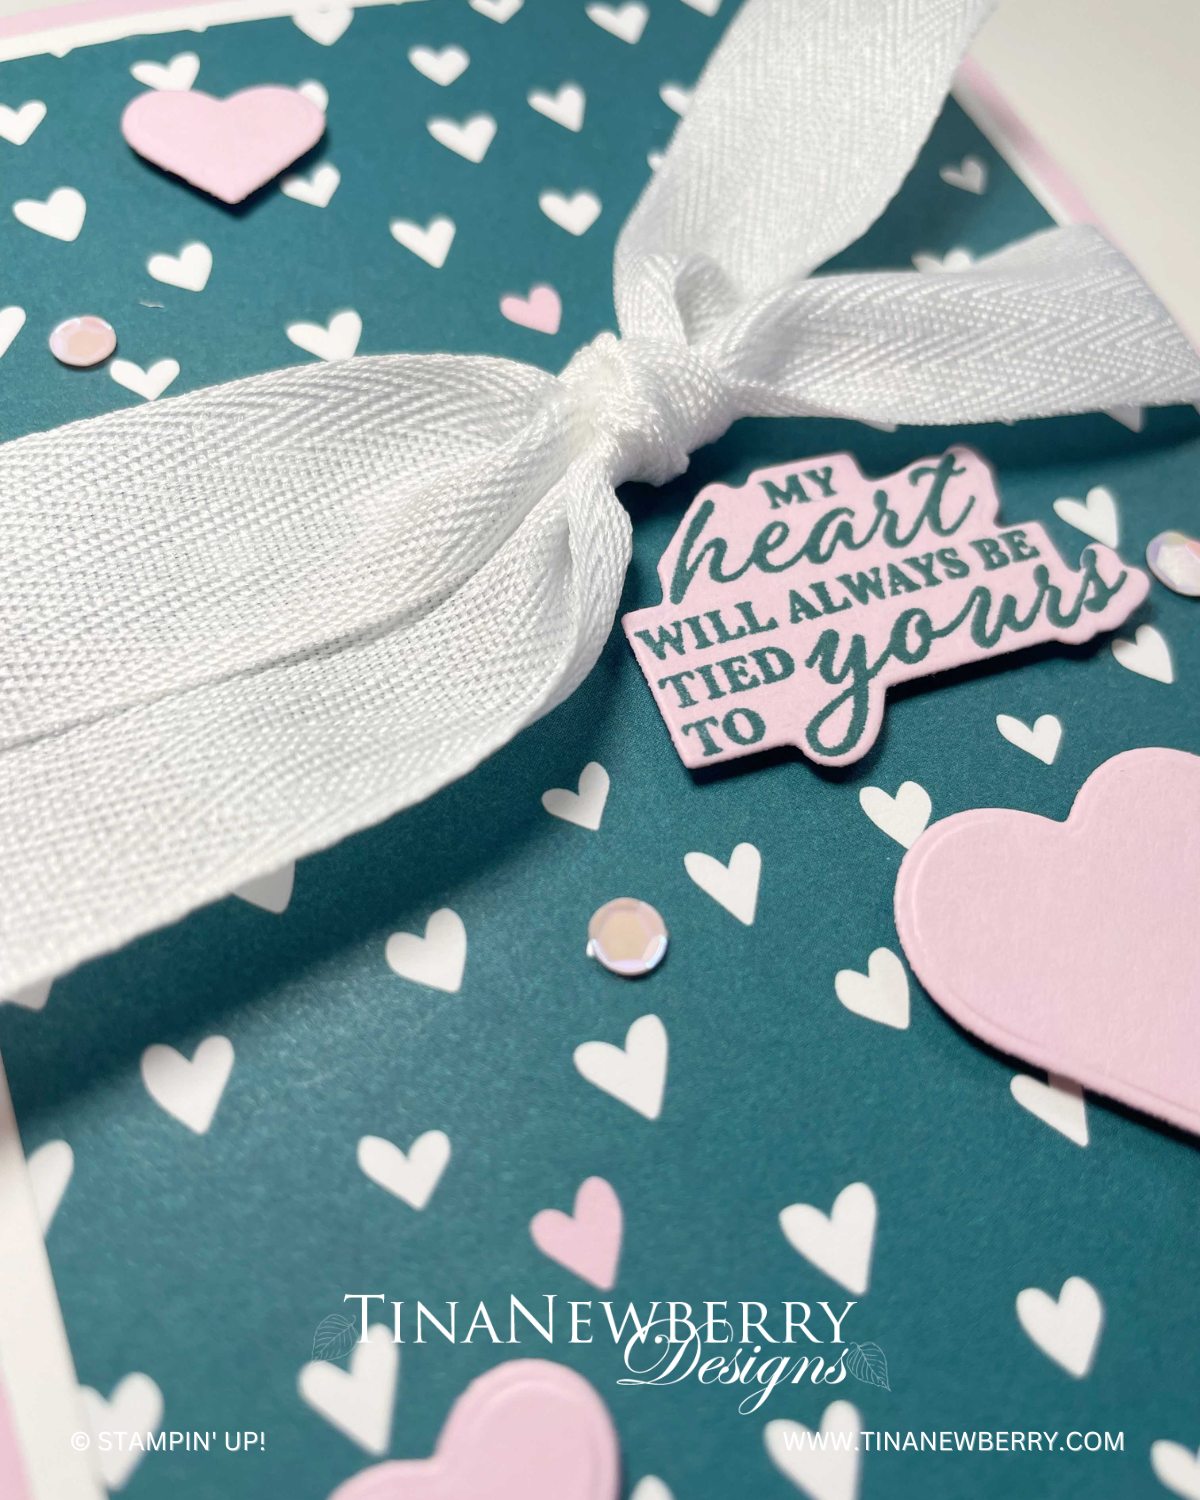
- Stamp the sentiment with Pretty Peacock Stampin’ Pad onto a scrap of Bubble Bath cardstock.
- Die cut around the sentiment with the corresponding die in your Mini Stampin’ Cut and Emboss Machine.
- Die cut several hearts from Bubble Bath cardstock and Basic White cardstock, I used 2 large and 2 small Bubble Bath hearts and 1 Basic White heart. Set these aside.
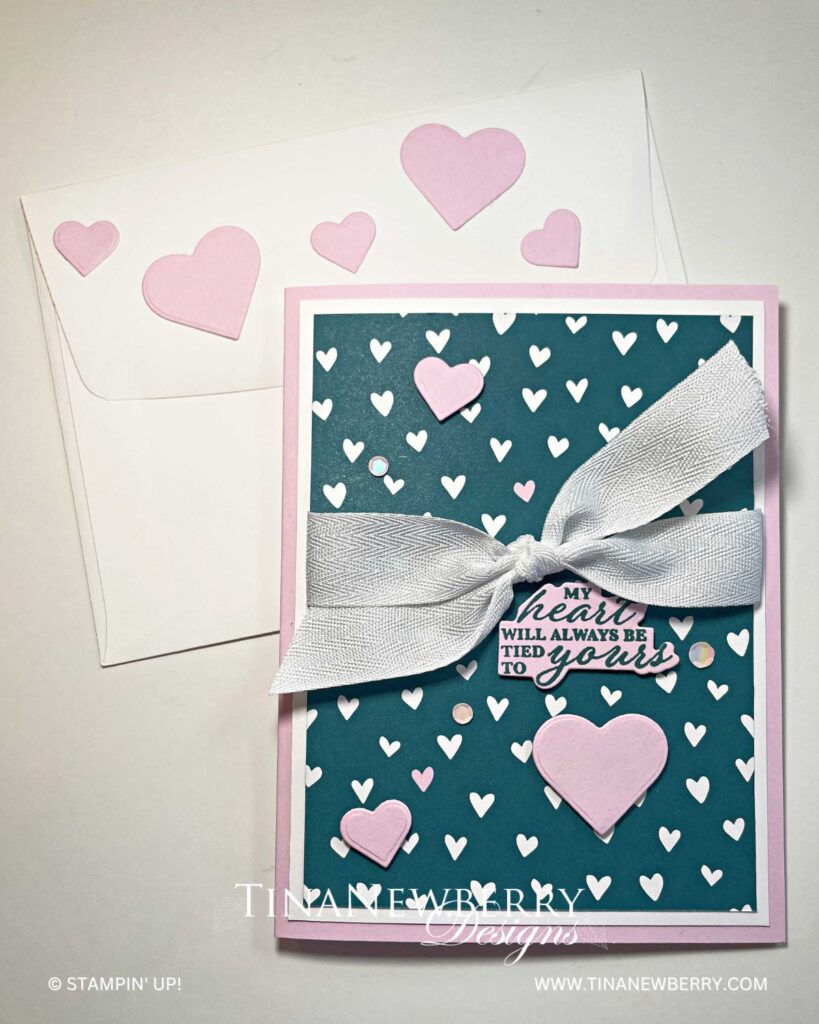
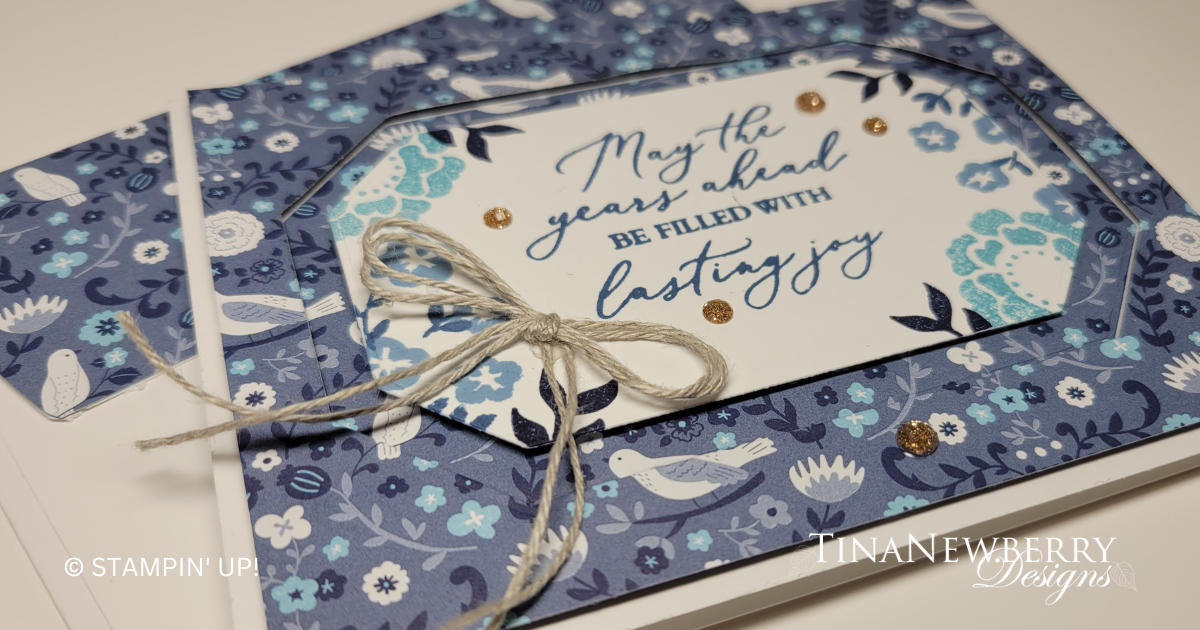
- Adhere the Delightfully Eclectic DSP layer onto the Basic White cardstock layer.
- Wrap the ¾” Herringbone Ribbon around these layers and tie a double knot.
- Adhere these to the card front.
- Use Dimensionals to adhere the sentiment to the card front.
- Sprinkle on some Pastel Adhesive Backed Sequins.
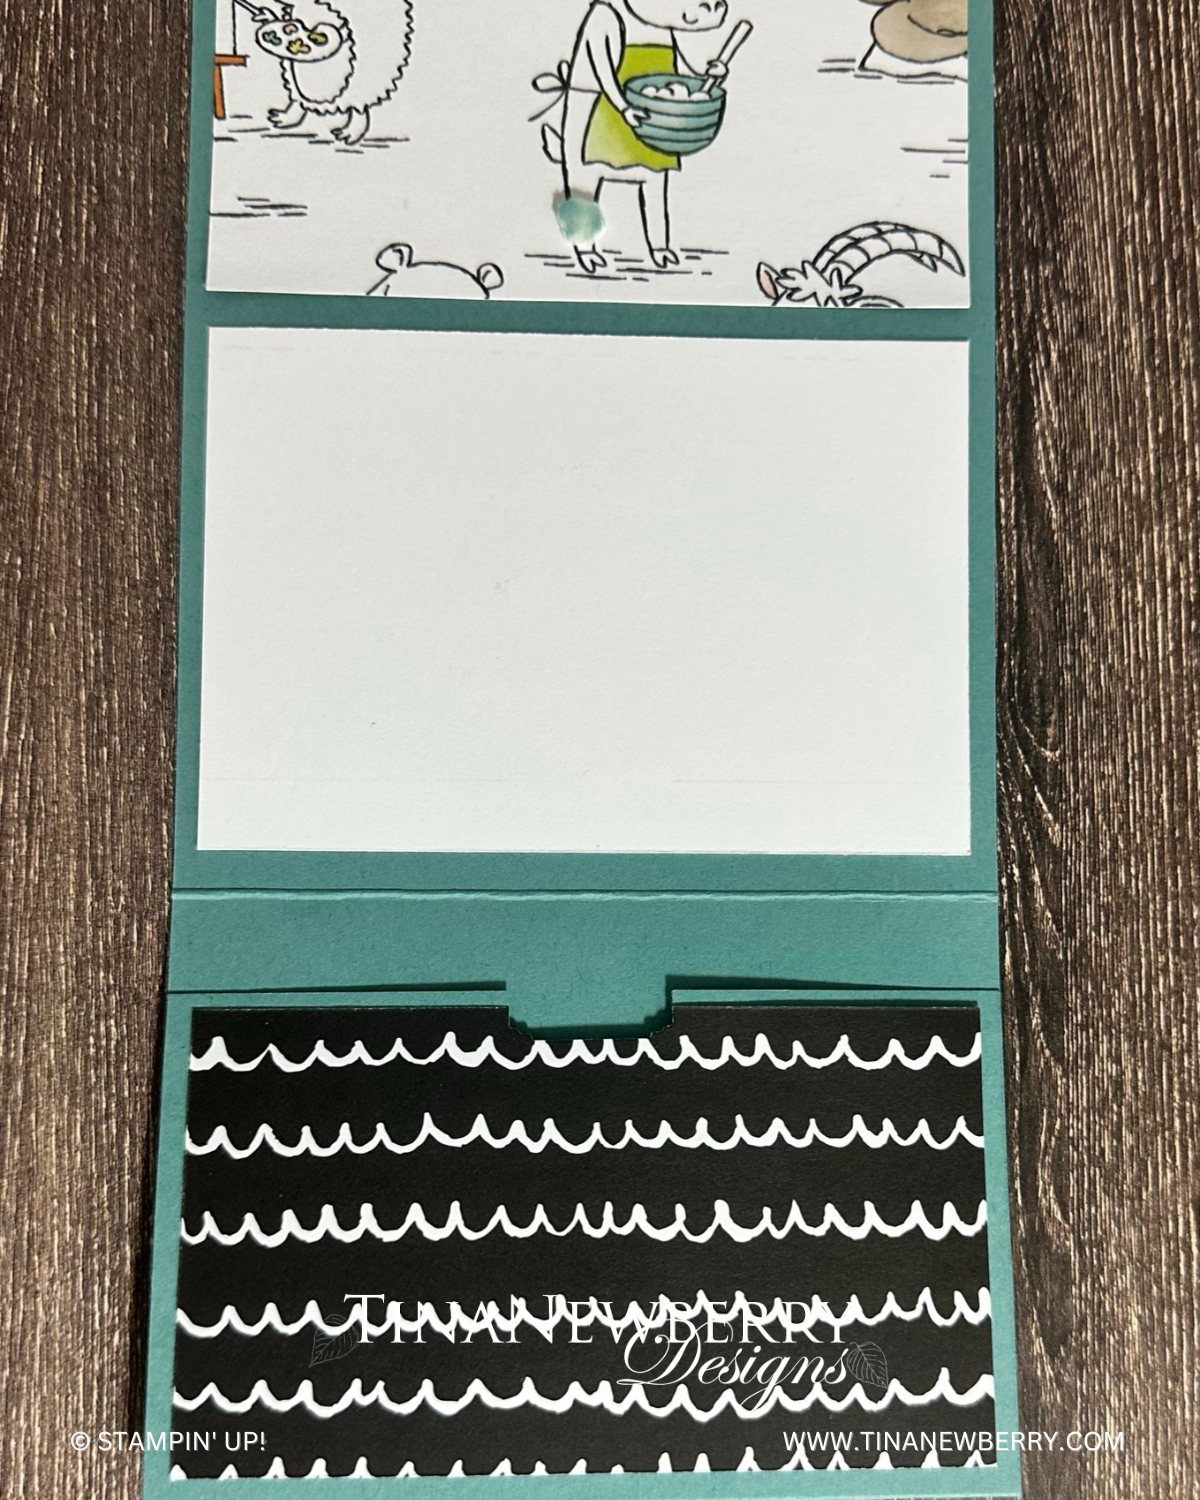
- Stamp and decorate the inside and attach with Stampin’ Seal.
- Decorate your envelope.
- So sweet! Now send it to someone special.
Shopping List
")


 Designer Series Paper")
 Herringbone Ribbon")

Recommended Stamper’s Toolkit ❤

$12.00

$7.00

$4.25

$5.75

$5.50

$11.00

$26.00

$7.00

$6.50

$11.00

$20.00

$11.00

$80.75

$128.00


$16.00

$13.00


")

 Designer Series Paper")


 Circle Punch")


 Designer Series Paper")