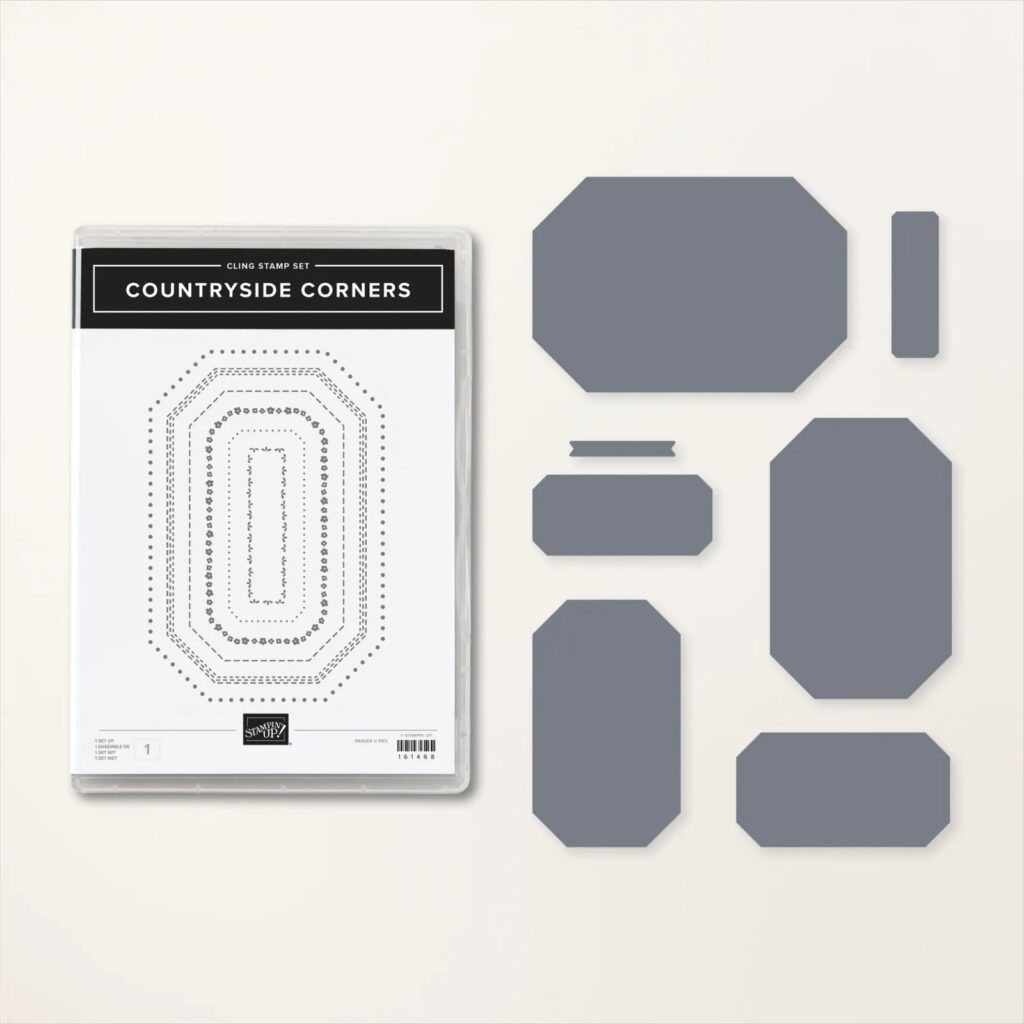
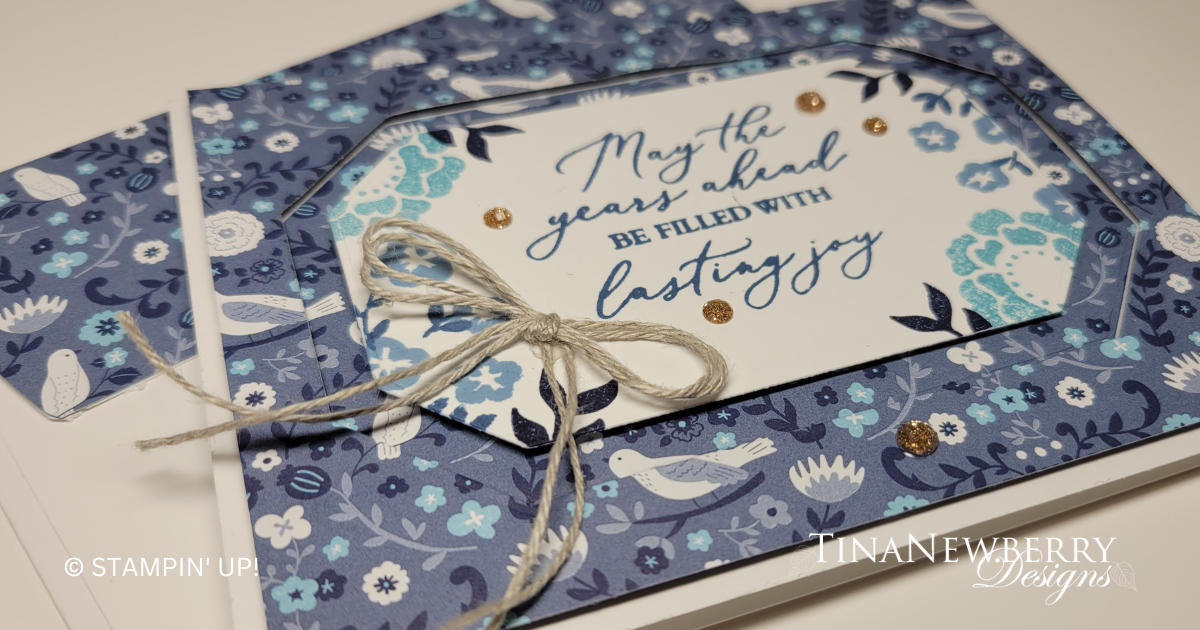
Show off your Designer Series Paper with this layout! I’m using the beautiful Countryside Inn, DSP. Copy me or use paper from your stash.

Measurements
Full list of supplies needed, listed below. A die cutting machine is needed for this card.
Basic White Thick Cardstock:
- 5 1/2″h w x 8 1/2″ h folded to 5 1/2″ w x 4 1/4″ h
Basic White Cardstock:
- 4 ½” h x 3” w
- 5 ¼” h x 4” w for inside
Countryside Inn Designer Series Paper (DSP)
- 5 ½” w x 4 ¼” h
Let’s Create
- Affix all stamps to Acrylic Blocks.
- Fold the Card Base in half using a Bone Folder to sharpen the crease
- Die cut the DSP with the 2nd largest die.
- Die cut the 4 ½” x 3” Basic White.
- Lay the two nested DSP pieces onto the card base and line up with the edges of the card.
- Press firmly to hold the outer piece into place and remove the inside piece.
- Carefully lift each corner to add a Stampin’ Dimensional the outside DSP piece. And then carefully add 4 more Stampin’ Dimensionals under the four sides.
- Use Stampin’ Seal to attach the inside piece of the DSP.
- Use Balmy Blue, Boho Blue, Misty Moonlight and Night of Navy to stamp sentiment, flowers, leaves and stems on the die cut piece of Basic White. Attach to the inside piece of DSP with Stampin’ Dimensionals.
- Double up about 12” of Linen Thread and tie a small bow. Attach with a Mini Glue Dot.
- Sprinkle on some Adhesive Backed Sparkle gems
- Stamp and decorate the remaining Basic White piece and attach to the inside.
- Decorate your envelope.
- So fun! Send it.
Recommended Stamper’s Toolkit ❤
Product List


