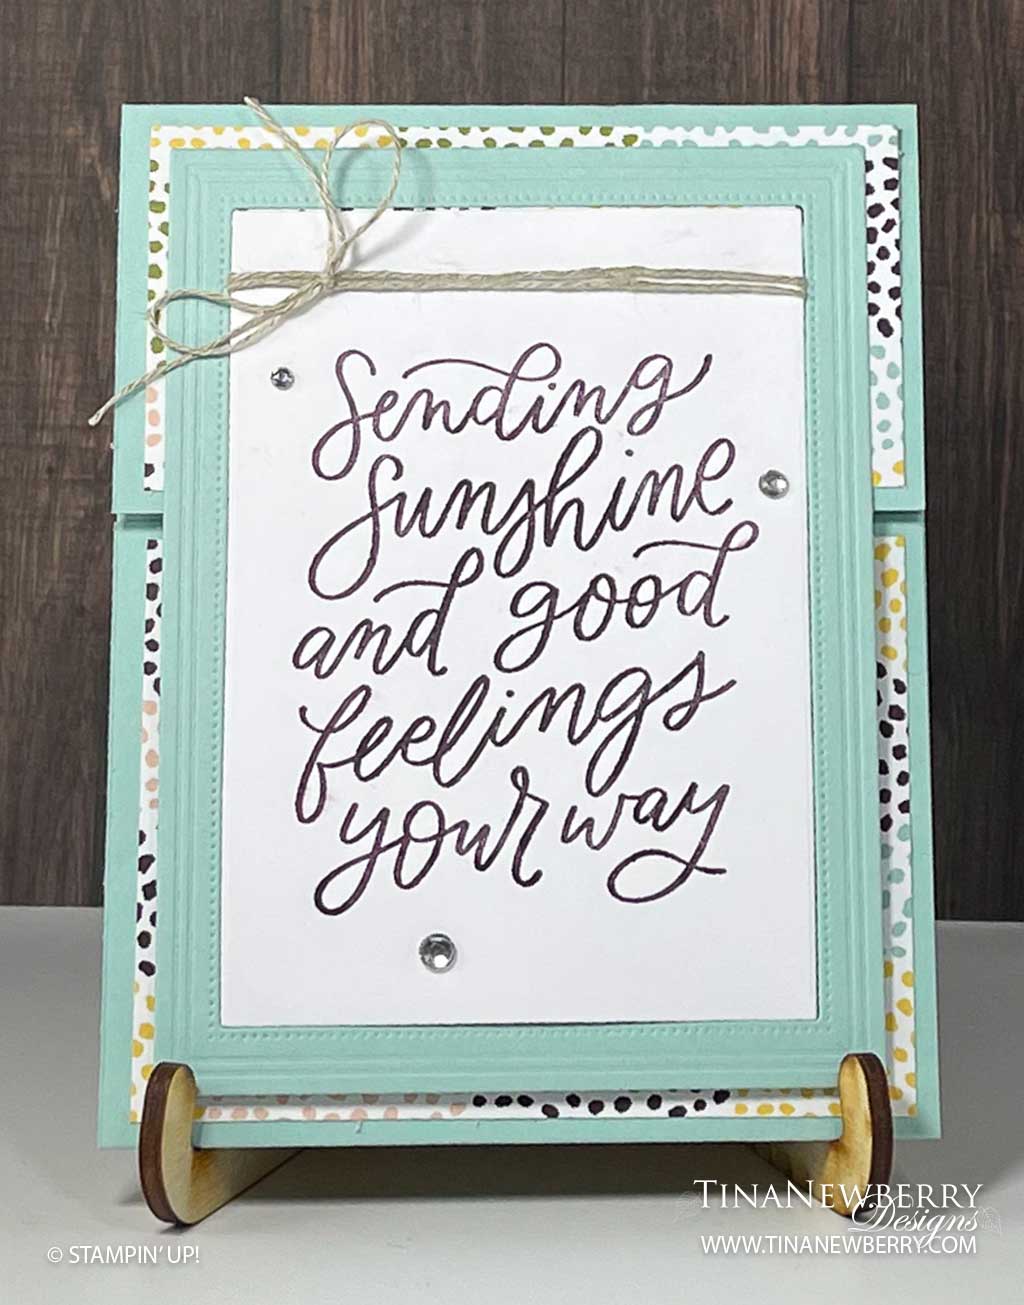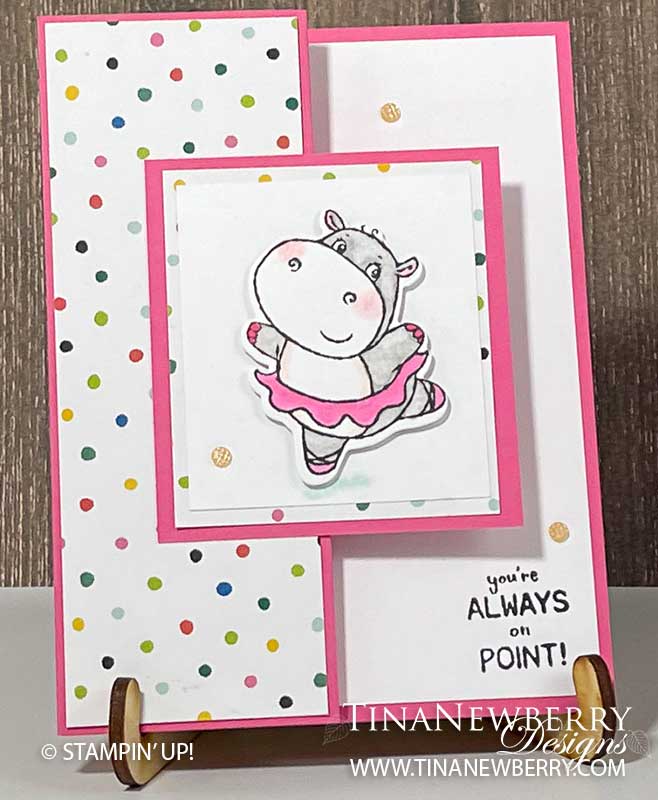
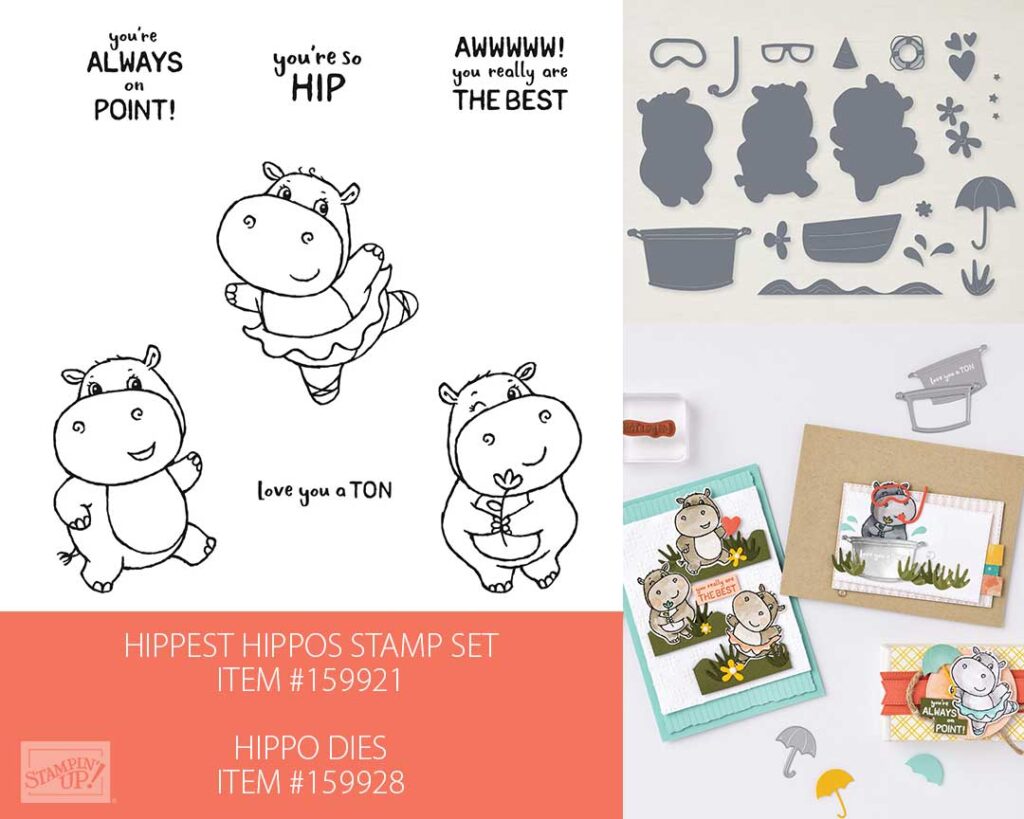
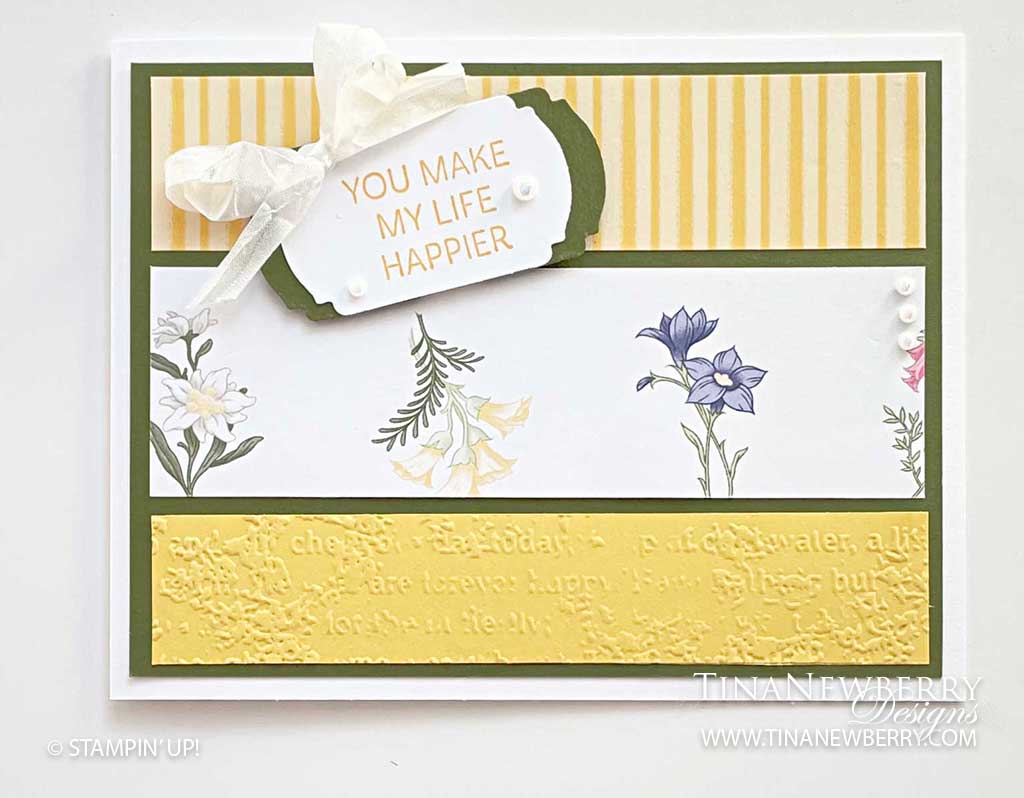
Surprise the dancer in your life with this adorable card using the Hippest Hippos Stamp Set – yours free now during Sale-a-bration.
Measurements
Full list of supplies needed, listed below. A die cutting machine is needed for this card.
Polished Pink Cardstock:
- 8 ½” w x 5 ½” h. Score on the long side at 2 ⅛” and 4 ¼” for Card Base
- 2 ¾” w x 3” h
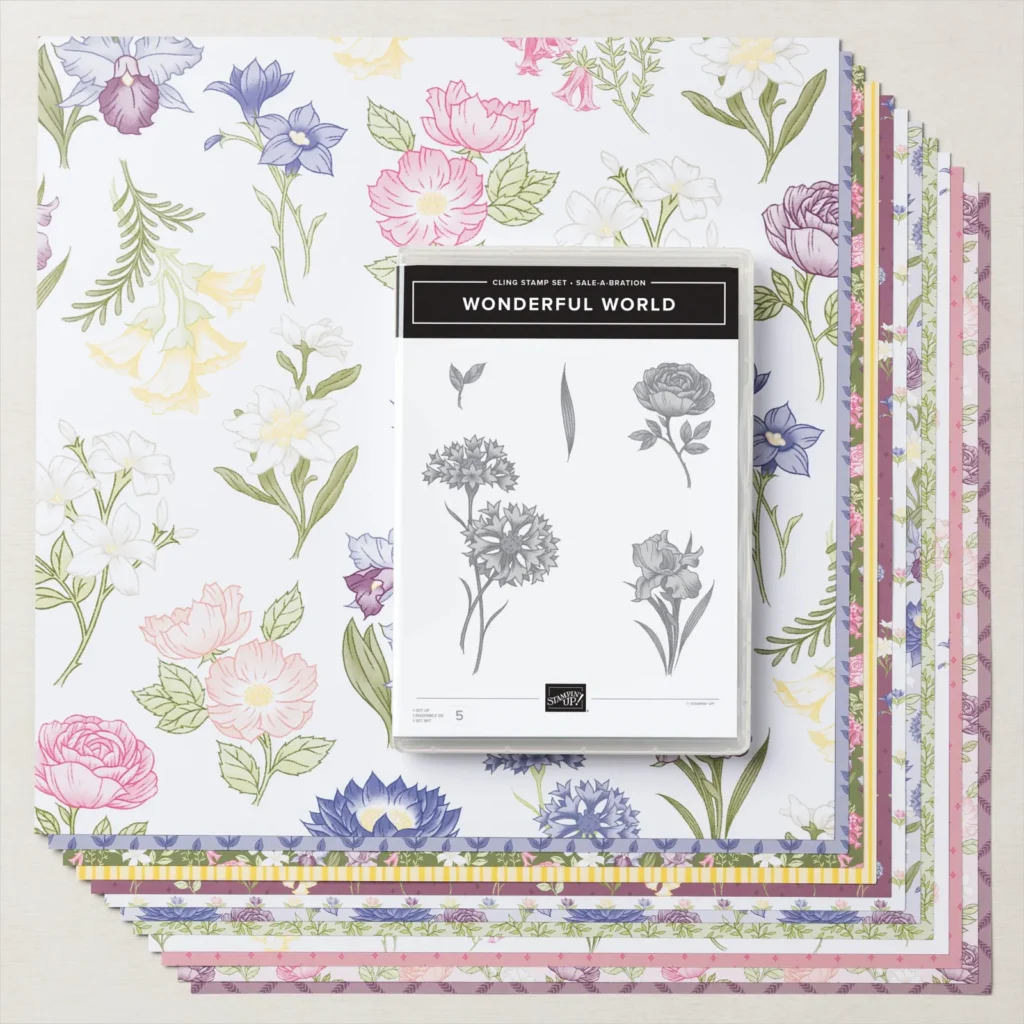
Celebrate Everything Designer Series Paper (DSP):
- 2” w x 5 ¼” h
- 2 ½” w x 2 ¾” h
Basic White Cardstock:
- 4” w x 5 ¼” h
- 2 ¼” w x 2 ½” h
Basic White Thick Cardstock: scrap for die cut Hippo
Let’s Create
- Affix all stamps to Acrylic Blocks.
- Score Polished Pink 8 ½” x 5 ½” at 2 ⅛” and 4 ¼”. Fold into a z shape, and burnish using a Bone Folder to sharpen the crease..
- Use Stampin’ Seal to attach 2” x 5 ¼” DSP to outside front left panel.
- Use Tuxedo Black ink to stamp sentiment on the 4” x 5 ¼” Basic White and attach to inside of card with Stampin’ Seal.
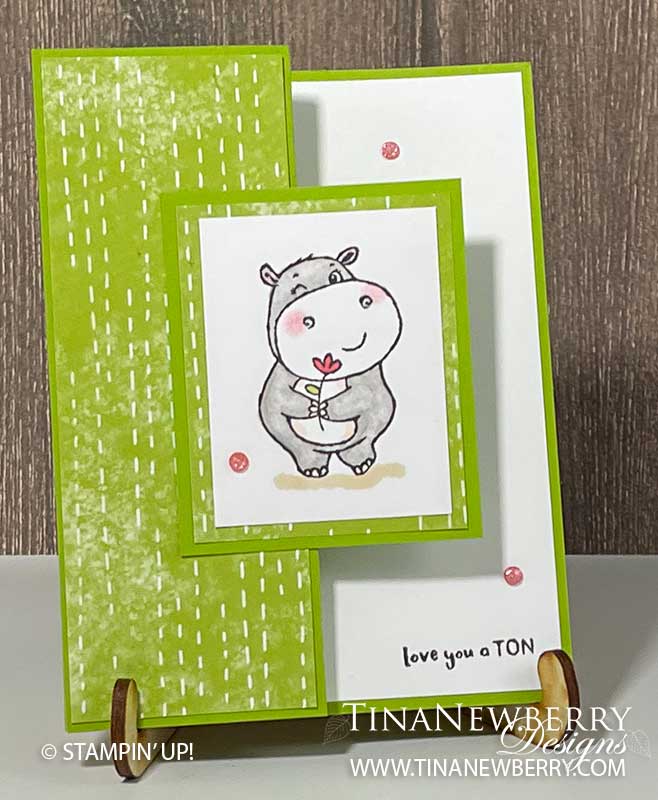
- Stamp Hippo in Tuxedo Black Ink on Basic White Thick scrap. Then Color with Blends: Gray Granite, Flirty Flamingo, Petal Pink, Polished Pink, and Color LIfter.
- Die-cut colored Hippo.
- Layer and use Stampin’ Seal to attach
- 2 ½” w x 2 ¾” h DSP to
- 2 ½” w x 2 ¾” h Basic White to
- 2 ¾” w x 3” h Polished Pink
- Then use Stampin’ Dimensionals to adhere Hippo layered panel.
- Add Dimensionals to the left back of the the Hippo panel and attach to the left of the card front.
- Sprinkle on the gems.
- Decorate your envelope.
- So cute! Now send it to someone special.
")
 Designer Series Paper")


$0.00
Recommended Stamper’s Toolkit ❤

$12.00

$7.00

$4.25

$5.75

$5.50

$11.00

$26.00

$7.00

$6.50

$11.00

$20.00

$11.00

$80.75

$128.00

$16.00

$13.00


")
")


 Crinkled Seam Binding Ribbon")


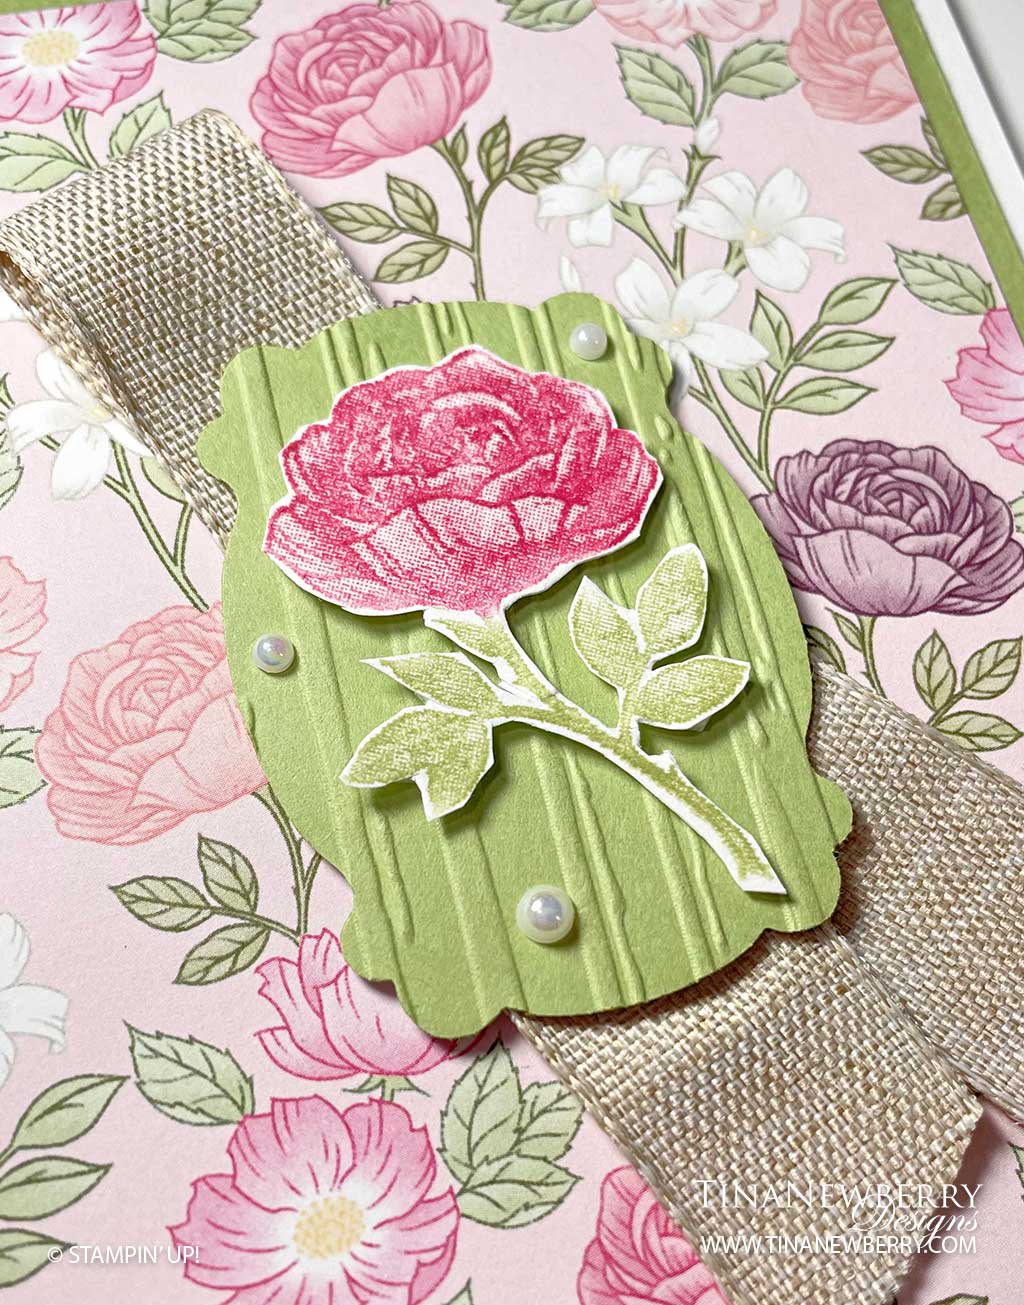


 Ribbon")