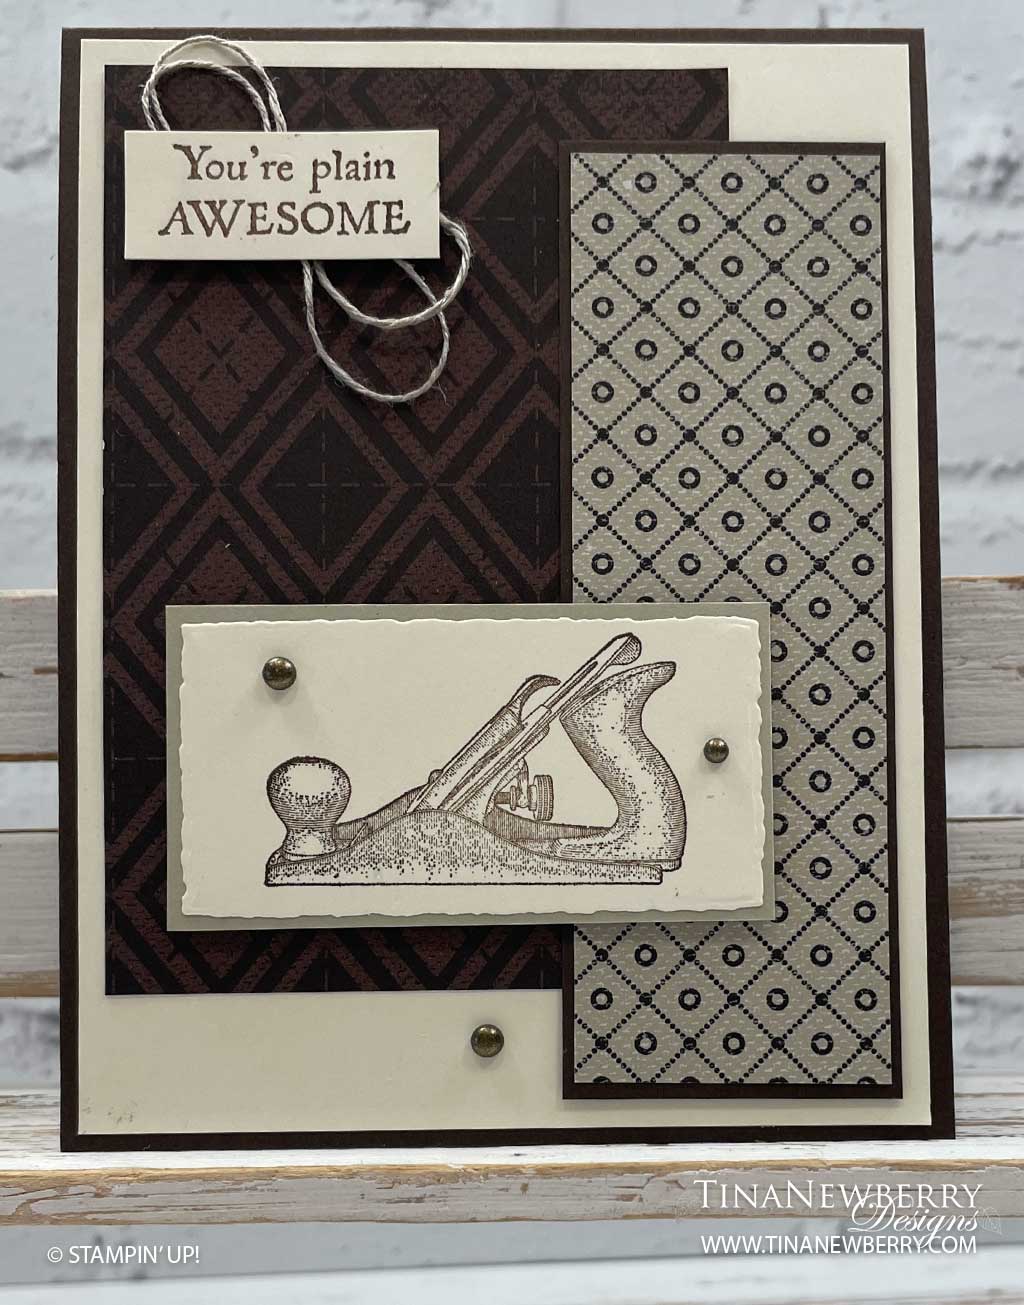
You’re Plain Awesome Masculine Card

Thank you for your interest in this project. Some projects are exclusive to subscribers who will receive passwords by email.

Are you a subscriber? Awesome! Check your email for the password and enter it here to view this project.

Not yet subscribed?  We’d love for you to join us.  Subscribe to my email list and receive news, information and inspiration by email.

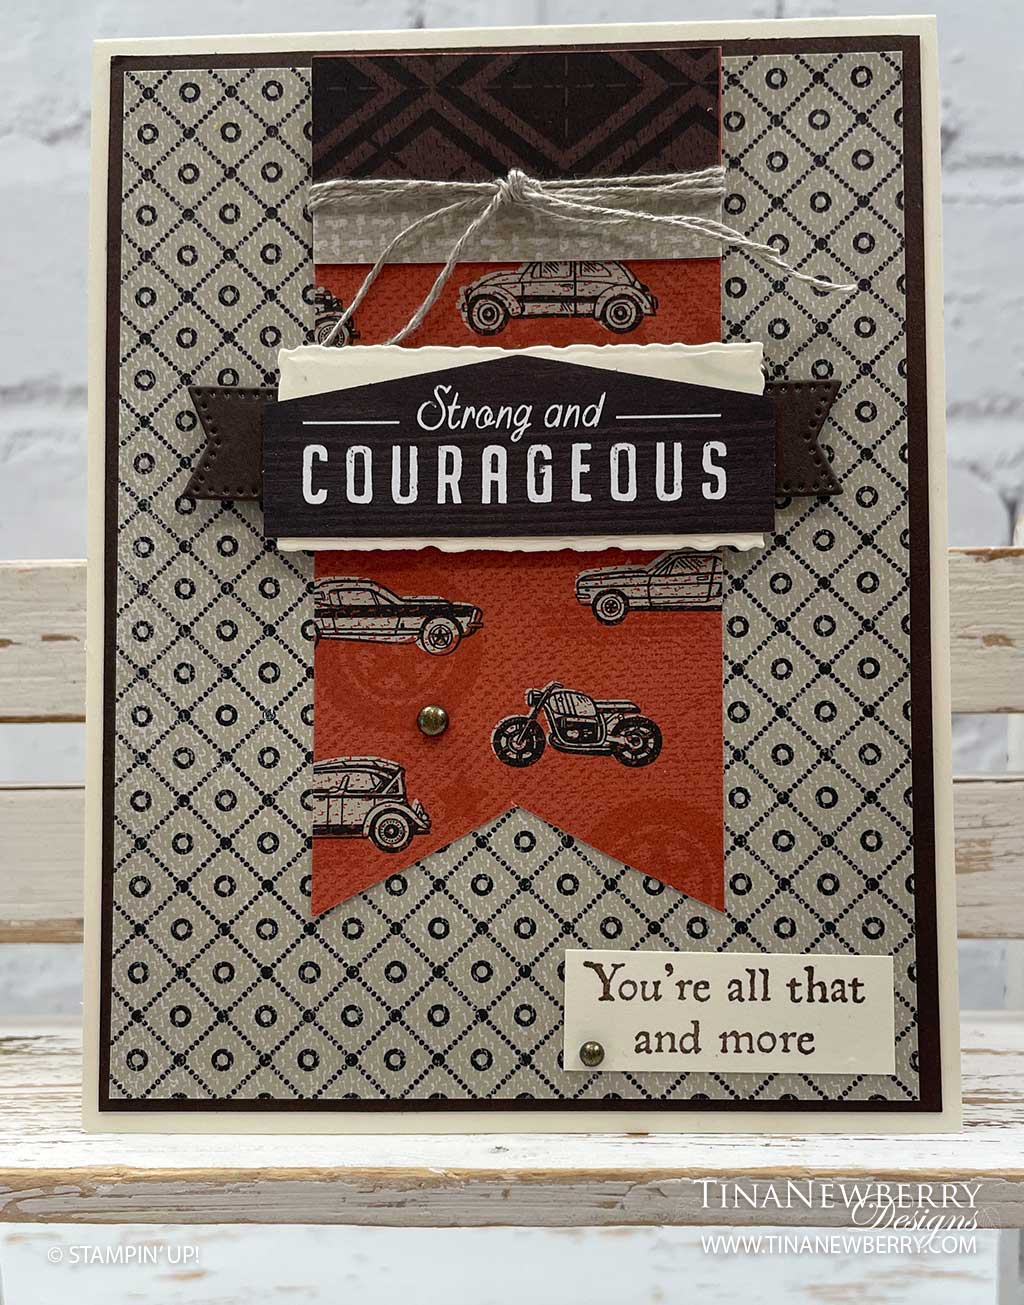
Strong & Courageous Masculine Card

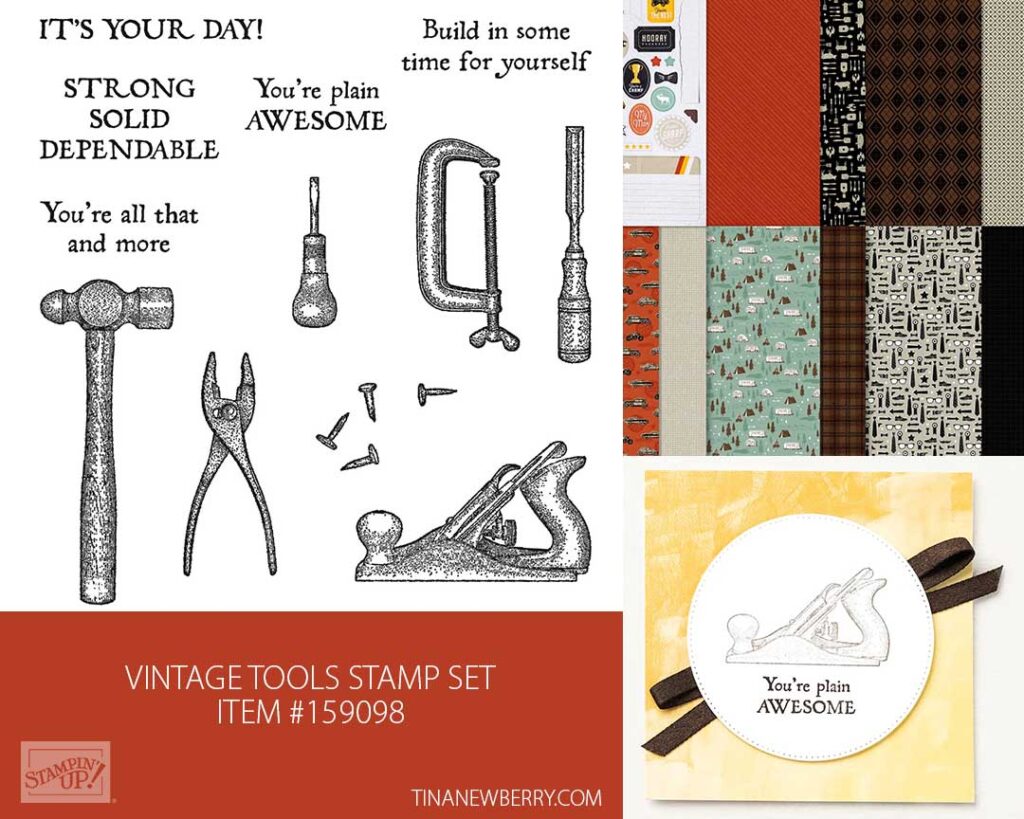
Send words of encouragement to a special man with the He’s the Man Designer Series patterned paper and a sentiment from the Vintage Tools stamp set.

Measurements

Full list of supplies needed, listed below. A die cutting machine is needed for this card.

Very Vanilla Cardstock

  • 11”h x 4 ¼” w – scored at 5 ½” for the Card Base
  • 2 ⅝” x 1 ¼” (Smallest Deckled Die cut for behind main sentiment)
  • 1 ⅝” x ½” (for small sentiment on lower right of card)
  • 5 ¼” x 4” for inside

Early Espresso Cardstock

  • 5 ¼” x 4”
  • 3 ¼” x ½” (Banner behind sentiment)

He’s the Man Designer Series Paper (DSP):

  • Lighter color (background layer) 5 ⅛” x 3 ⅞”
  • 4 ¼” x 2” (Cajun Craze color for Tag) 
  • 2” x 1” (dark brown – top of tag)
  • ⅜” x 2” (sahara sand color – along top of tag)
  • “Strong and Courageous” sentiment is from the Die Cut sheet of He’s The Man DSP

Let’s Create

  1. Affix all stamps to Acrylic Blocks.
  2. Fold the Card Base in half using a Bone Folder to sharpen the crease.
  3. Flag the bottom edge of the 4 ½” x 2” Cajun Craze Designer Series Paper (DSP)
  4. Attach small He’s the Man strips the top edge of banner. Wrap a double strand of Linen Thread and tie in a knot to the top of the banner.
  5. Adhere the 5 ¼” x 4” Early Espresso layer to the folded Vanilla cardfront. Then adhere the 5 ⅛” x 3 ⅞” DSP background layer to the cardfront.
  6. Use Stampin’ Dimensionals to attach the layered banner to the top edge centering side to side.
  7. Stamp the sentiment “You’re all that and more” using Early Espresso ink pad on 1 ⅝” x ½” Very Vanilla Cardstock.
  8. Die cut the 2 ⅝” x 1 ¼” Very Vanilla using the smallest of the deckled rectangle dies. 
  9. Flag the ends of the 3 ¼” x ½” Early Espresso Cardstock and attach behind the Very Vanilla deckled rectangle.  Attach the pre cut Strong and Courageous die (from the die cut sheet of the DSP) onto the deckled rectangle.  Adhere these layers to your card front using Stampin’ Dimensionals.
  10. Adhere the small sentiment to the lower right of the card.
  11. Scatter a few Rustic Metallic Dots to your card.
  12. Stamp and decorate the 5 ¼” x 4” Very Vanilla for the inside and attach with Stampin’ Seal.
  13. Decorate your envelope.
  14. Love it! Now send it to someone special.

Shopping List

Recommended Stamper’s Toolkit ❤


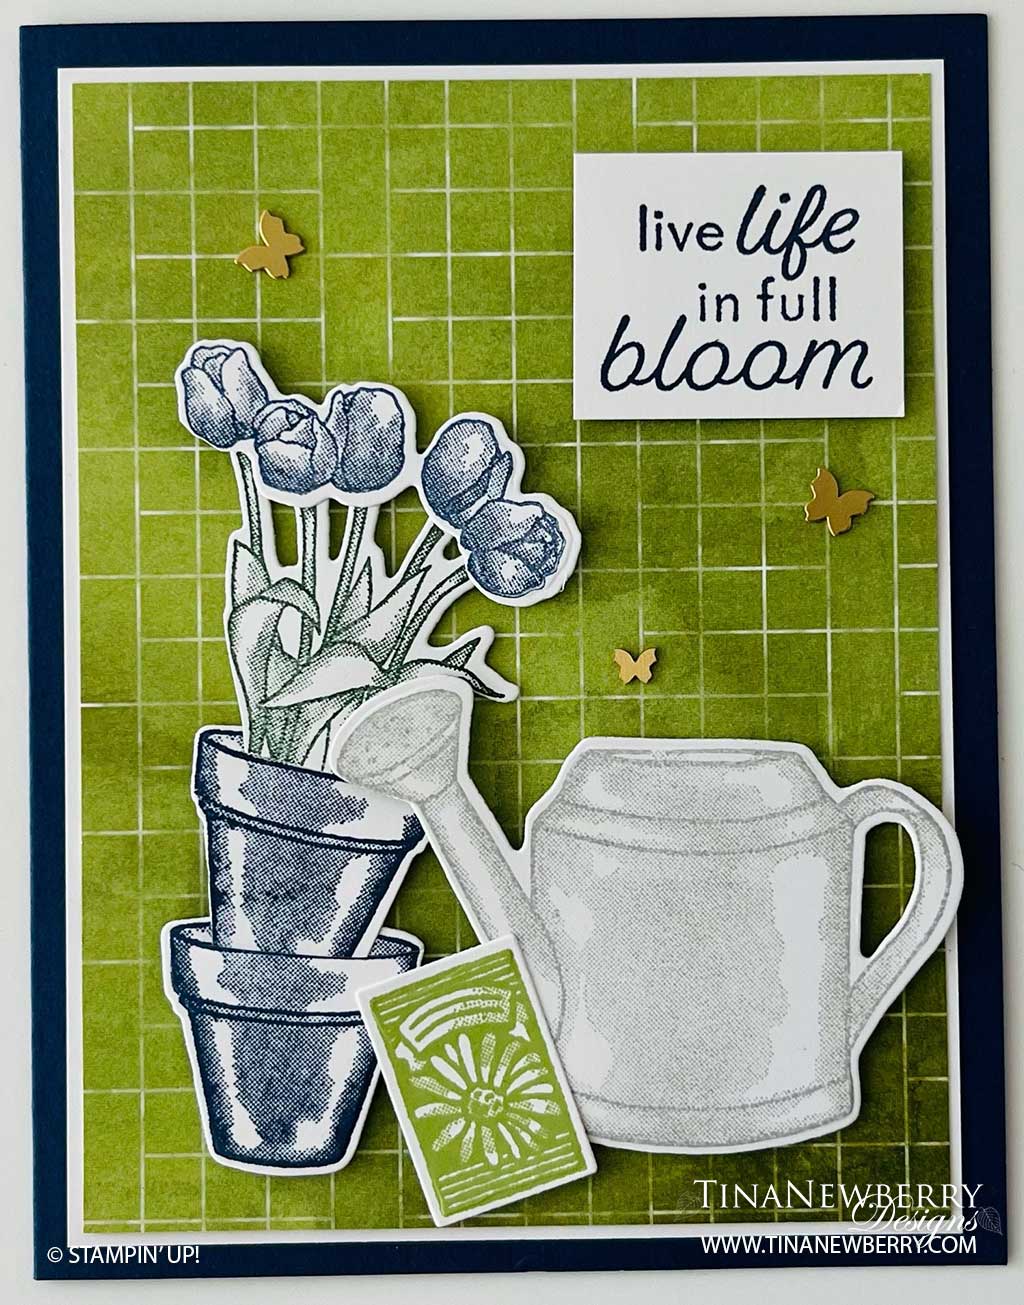
Live Life in Full Bloom Encouragement Card

Thank you for your interest in this project. Some projects are exclusive to subscribers who will receive passwords by email.

Are you a subscriber? Awesome! Check your email for the password and enter it here to view this project.

Not yet subscribed?  We’d love for you to join us.  Subscribe to my email list and receive news, information and inspiration by email.
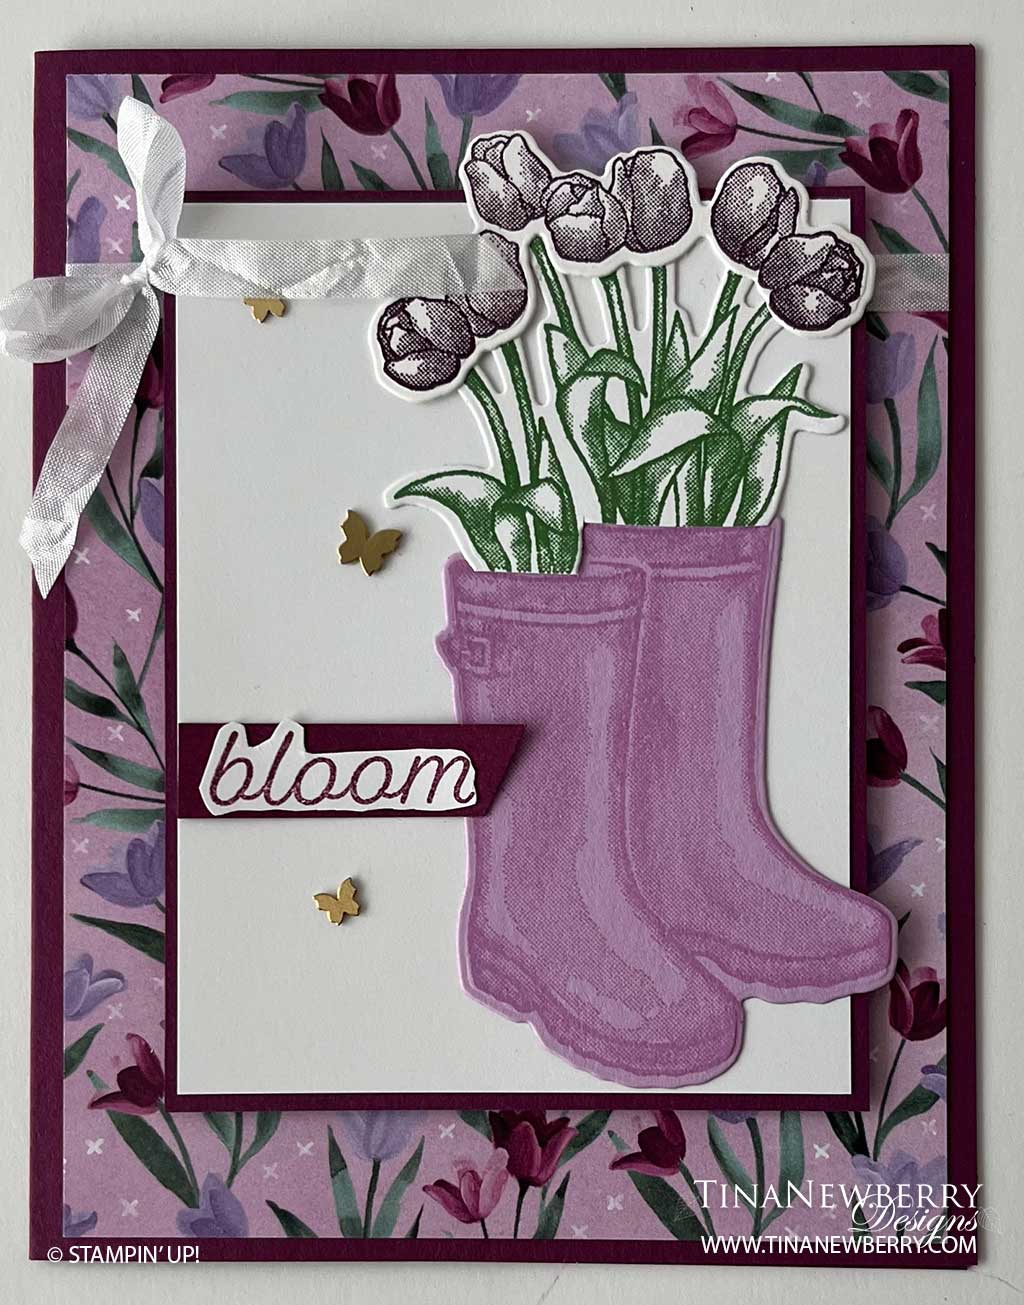
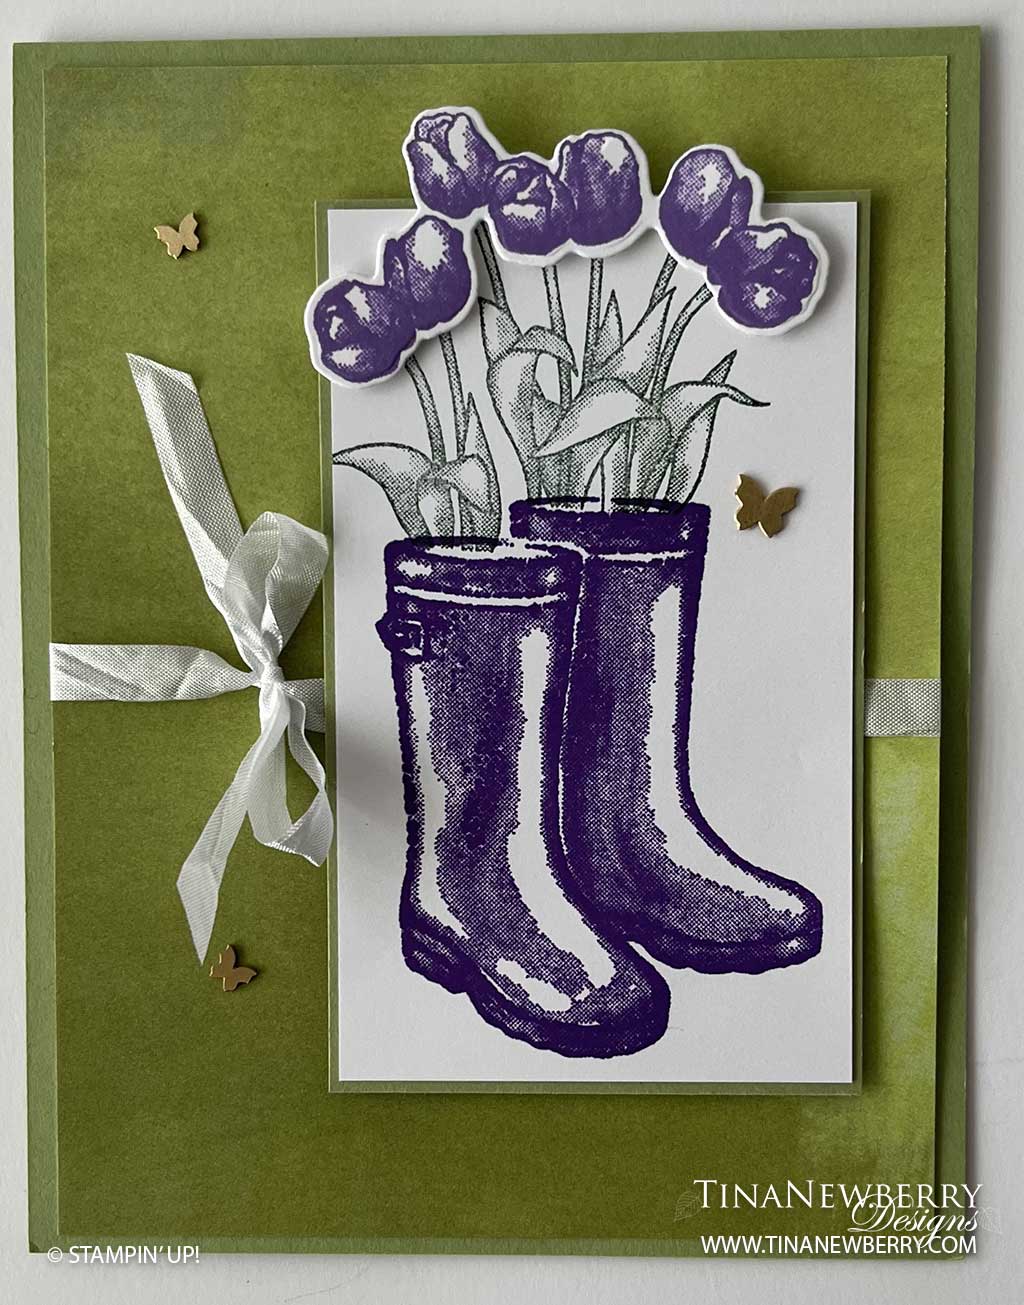
Celebrate Spring with Bloom Greeting Card

Nothing says spring like a good ole pair of wellies and a bundle of tulips. Create your favorite pair of rain boots with coordinating flowers and send this cheerful card to a friend.

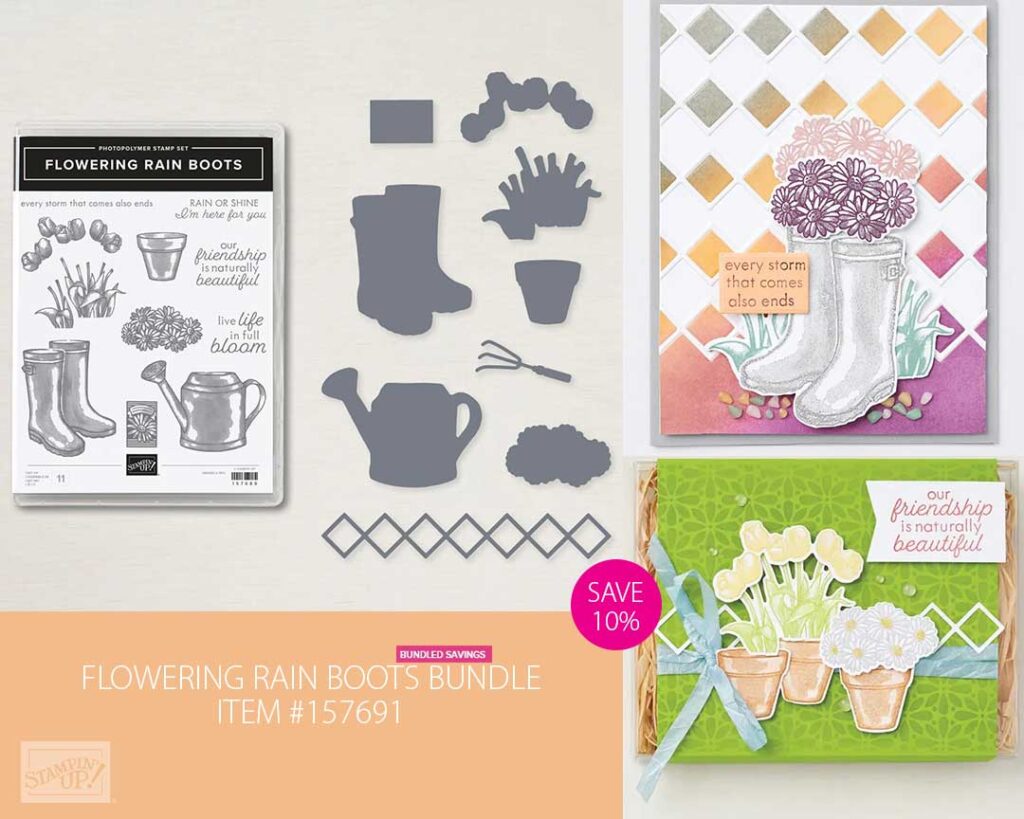
Flowering Rain Boots – Save 10% when you buy the bundle

Measurements

Full list of supplies needed, listed below. A die cutting machine is needed for this card.
Rich Razzleberry Cardstock:   5 ½”h x 8 ½” w scored and folded at 4 ¼” w

Flowering Fields Designer Series Paper (DSP): 5 1/4” h x 4” w

Rich Razzleberry Cardstock:

  • 4 1/8” h x 3 1/8” w
  • ½” h X 1 ¾” w for sentiment

Fresh Freesia Cardstock – scrap for stamping and die cutting

Basic White Cardstock:

  • 4″ h x 3” w
  • scraps for stamping and die cutting
  • 5 1/4” h x 4” w for inside

Let’s Create

  1. Affix all stamps to Acrylic Blocks.
  2. Fold the Card Base in half using a Bone Folder to sharpen the crease.
  3. Wrap a piece of the White crinkled seam binding around the top of the Flowering Fields DSP and tie a bow.
  4. Add the Flowering Fields DSP to the card base using Stampin’ Dimensionals.
  5. Use Stampin’ Seal to add the 4″ h x 3” w Basic White panel to the 4 1/8” h x 3 1/8” w Rich Razzleberry panel then attach to the card front using Stampin’ Dimensionals.
  6. Stamp the following then cut out with the coordinating die
    1. Fresh Freesia Cardstock – rain boots with Fresh Freesia ink
    1. Basic White Cardstock – tulip stems with Shaded Spruce ink and tulip flowers with stamped off Blackberry Bliss ink
  7. Using Multipurpose Liquid Glue, add the flower stems and tulip flowers to the boots and then to attach to the 4″ h x 3” w Basic White panel
  8. Use a Rich Razzleberry Stampin’ Write Marker to ink up the word “bloom” and stamp on a scrap of White. Use Paper Snips to fussy cut around the word.
  9. Add the Bloom sentiment to the ½” strip of Rich Razzleberry Cardstock.
  10. Trim the left edge of the Rich Razzleberry Strip close to the word, trim the right edge at an angle for interest
  11. Add the sentiment strip to the card front with Stampin’ Dimensionals.
  12. Sprinkle on some Brushed Brass Butterflies
  13. Stamp and decorate the 5 1/4” h x 4” w Basic White Cardstock for the inside and attach with Stampin’ Seal.
  14. Decorate your envelope.
  15. So fun! Who will you send it to?

Shopping List

Recommended Stamper’s Toolkit ❤


Send Thinking of You Sentiments with Flowering Rain Boots

Create unique handmade greeting cards to brighten anyone’s day using the Flowering Rain Boots Bundle, which includes the Flowering Rain Boots Stamp Set and the Rain Boots Dies. It’s perfect to create a garden scene or to include garden tools in your papercrafing projects. You’ll love the endless possibilities!

Flowering Rain Boots – Save 10% when you buy the Stamp Set and Die Bundle

Measurements

Full list of supplies needed, listed below. A die cutting machine is needed for this card.
Pear Pizzazz Cardstock:   5 ½” h x 8 ½” w scored and folded on the long-side at 4 ¼ for Card Base
Flowering Fields Designer Series Paper (DSP): 5 1/4” h x 4″ w
Pear Pizzazz Cardstock: 2 ½” x 4”
Basic White Cardstock:

  • 2 3/8” x 3 7/8”
  • scraps for stamping and die cutting
  • 5 1/4″ h x 4″ w

Let’s Create

  1. Affix all stamps to Acrylic Blocks.
  2. Fold the Card Base in half using a Bone Folder to sharpen the crease.
  3. Tie the White Crinkled Seam Binding around the 5 1/4″ h x 4″ w Flowering Fields DSP layer with the bow on the left about ¾” from edge
  4. Attach Flowering Fields DSP with Stampin’ Dimensionals.
  5. Stamp the rain boots in Gorgeous Grape ink near the bottom of the the 2 3/8” x 3 7/8” Basic White layer.
  6. Stamp the stems in Pear Pizazz ink in the top of the rain boots
  7. Attach the 2 3/8” x 3 7/8” stamped Basic White to the right side of the card with Stampin’ Dimensionals – adjust as needed so the bow still shows.
  8. Stamp the tulip blossoms in Highland Heather ink and use the Stampin’ Cut & Emboss machine to die cut.
  9. Add tulip blossoms to stems using Stampin’Dimensionals.
  10. Sprinkle on some Brushed Brass Butterflies.
  11. Stamp and decorate the inside and attach with Stampin’ Seal.
  12. Decorate your envelope.
  13. So cheery! Now send it to someone special.

Shopping List

Recommended Stamper’s Toolkit ❤