Hello My Friend

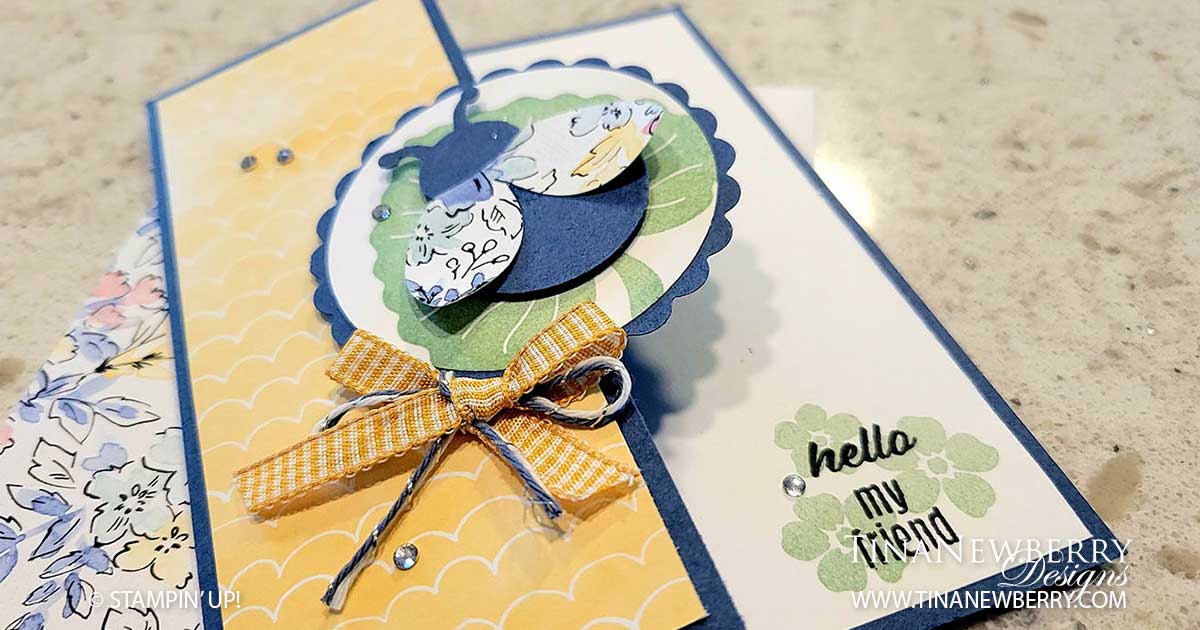
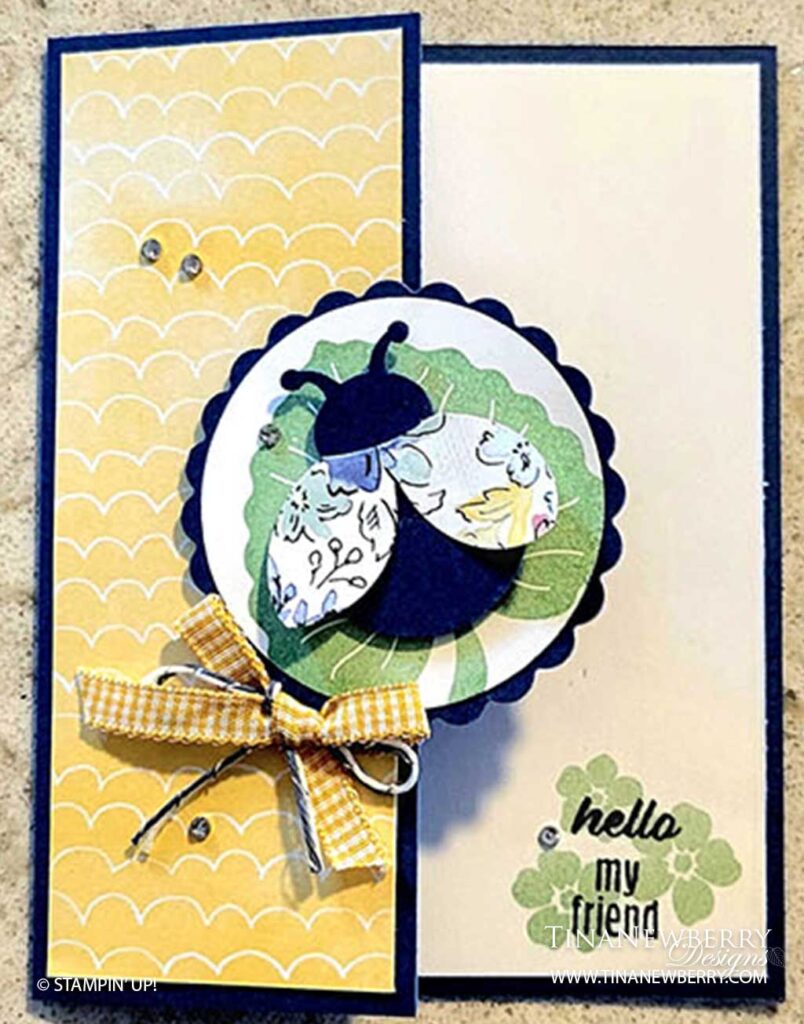
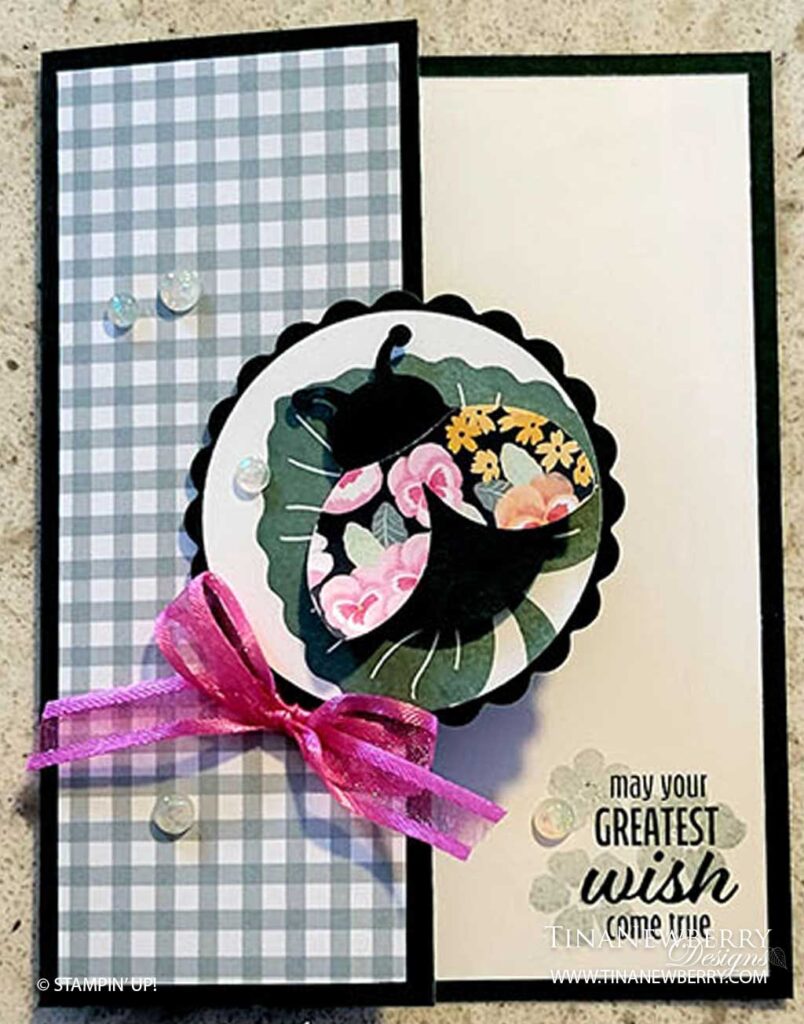
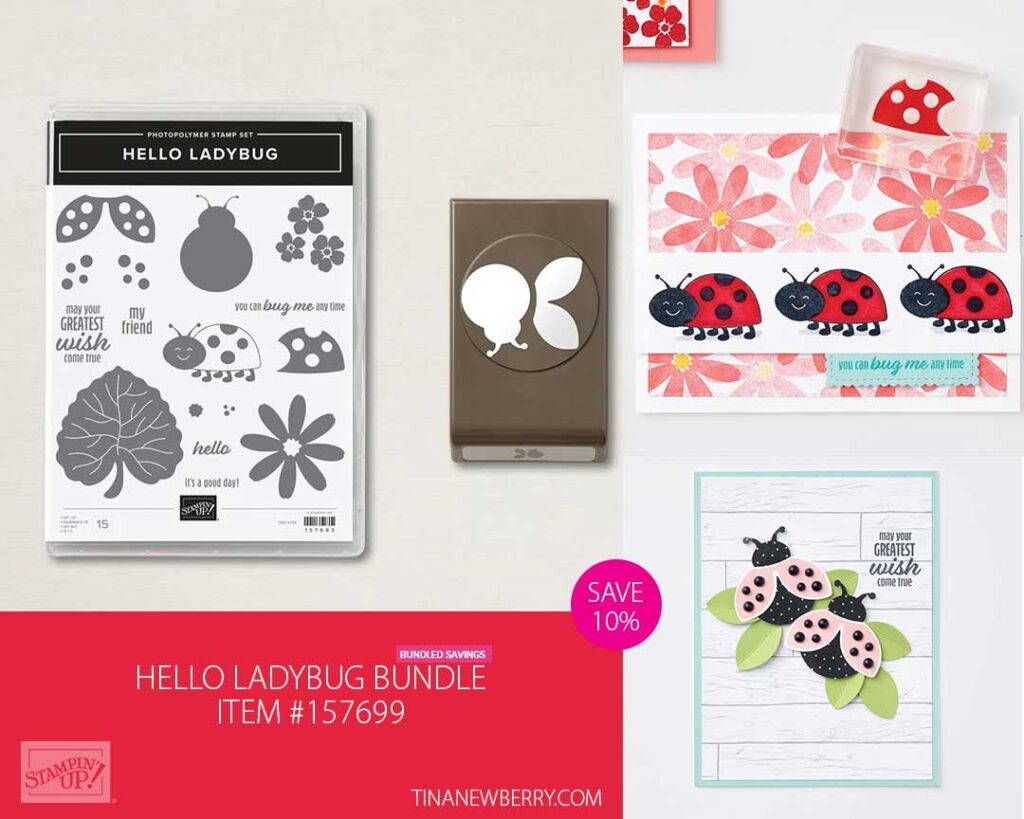
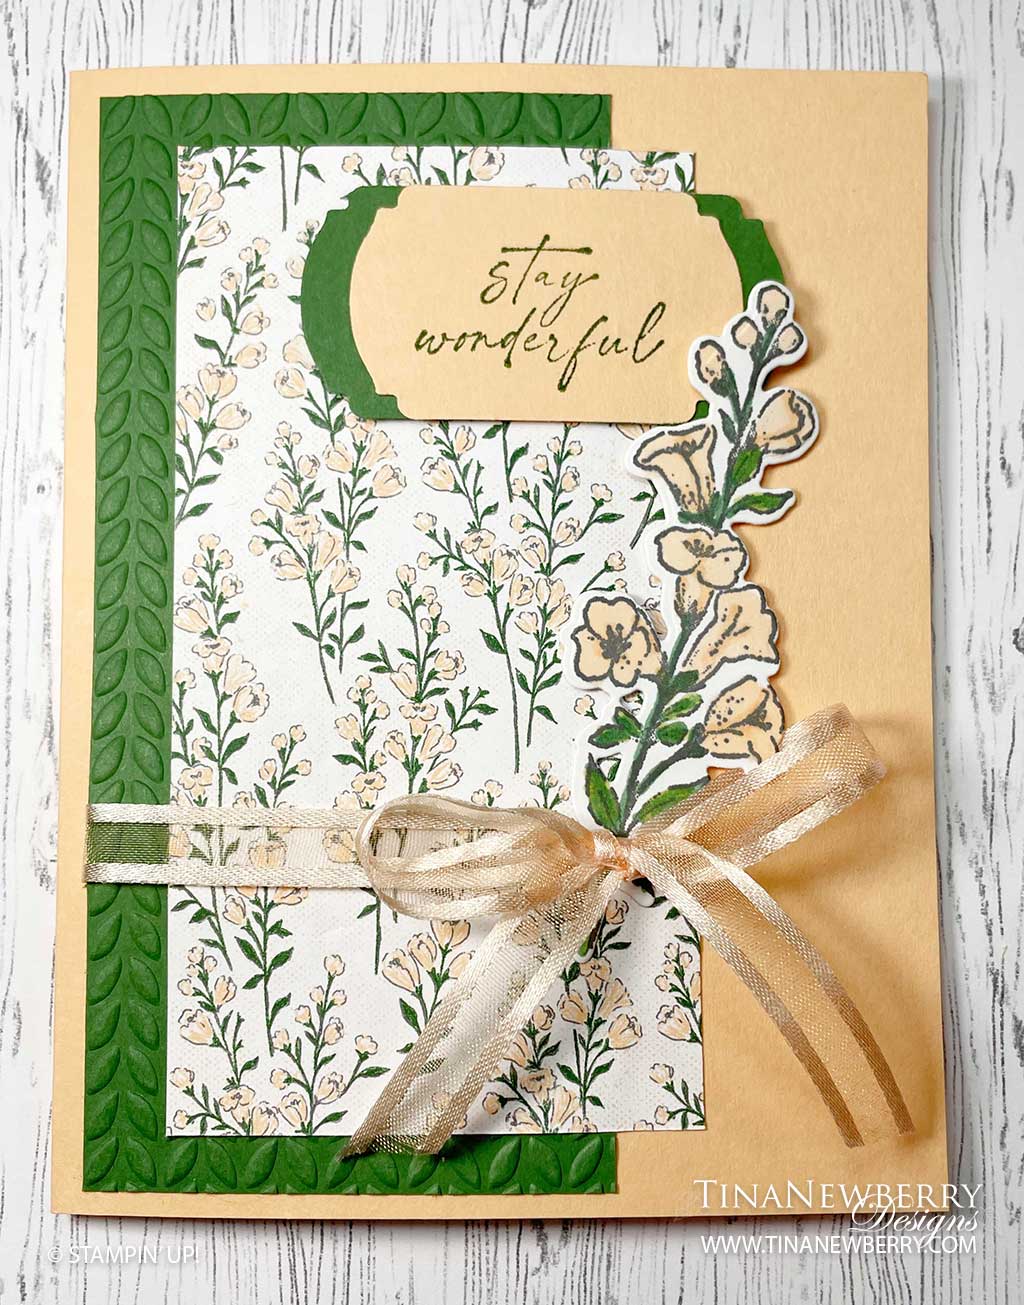
I liked this greeting card layout for the Hello Ladybug Bundle from Stampin’ Up! SO MUCH that I made two different cards. Which one do you like best?

Shop the Hello Ladybug Bundle – Save 10%

Measurements

Full list of supplies needed, listed below. A die cutting machine is needed for this card.
Misty Moonlight or Evening Evergreen Cardstock:

  • 5 1/2″ h x 6 1/2″ w scored and folded on the long-side at 4 1/4″ w for the Card Base
  • 2 1/2″ scalloped Circle
  • Scrap for ladybug body

Hand-Penned or Pansy Petals Designer Series Paper:

  • 5 1/4″ h x 2″ w
  • Scrap for ladybug wings
  • 2 1/4″ h x 6″ w scrap for envelope flap

Basic White Cardstock:

  • 2 1/4″ circle
  • 5 1/4″ h x 4″ w for inside

Let’s Create

  1. Affix all stamps to Acrylic Blocks.
  2. Fold the Card Base at score line using a Bone Folder to sharpen the crease.
  3. Attach the 5 1/4″ x 2″ w designer series paper to the front flap.
  4. Stamp the leaf on the 2 1/4″ Basic White Circle in either Mint Macaron or Soft Succulent ink, then attach to the Scalloped Circle with Stampin’ Seal.
  5. Attach Circles to the Card Base using Stampin’ Dimensionals on the left-side only.
  6. Punch the Ladybug Body from the colored cardstock scrap and the wings from the DSP scrap. Use Stampin’ Seal to attach the wings to the body and then attach to Circle with Stampin’ Dimensionals.
  7. In the lower right cornder of the 5 1/4″ h x 4″ w Basic White, stamp-off the flowers in Mint Macaron or Soft Succulent ink and then stamp the Sentiment in Tuxedo Black Memento ink.
  8. Attach the inside with Stampin’ Seal.
  9. Cut 6 1/2″ of Ribbon, tie into a bow and attach with a Mini Glue dot.
  10. Sprinkle on some gems.
  11. Decorate your envelope.
  12. So cute! Who will you send it to?!

Hello My Friend Shopping List

May Your Greatest Wish Come True Shopping List

Recommended Stamper’s Toolkit ❤


Best of Luck Honeybee Home

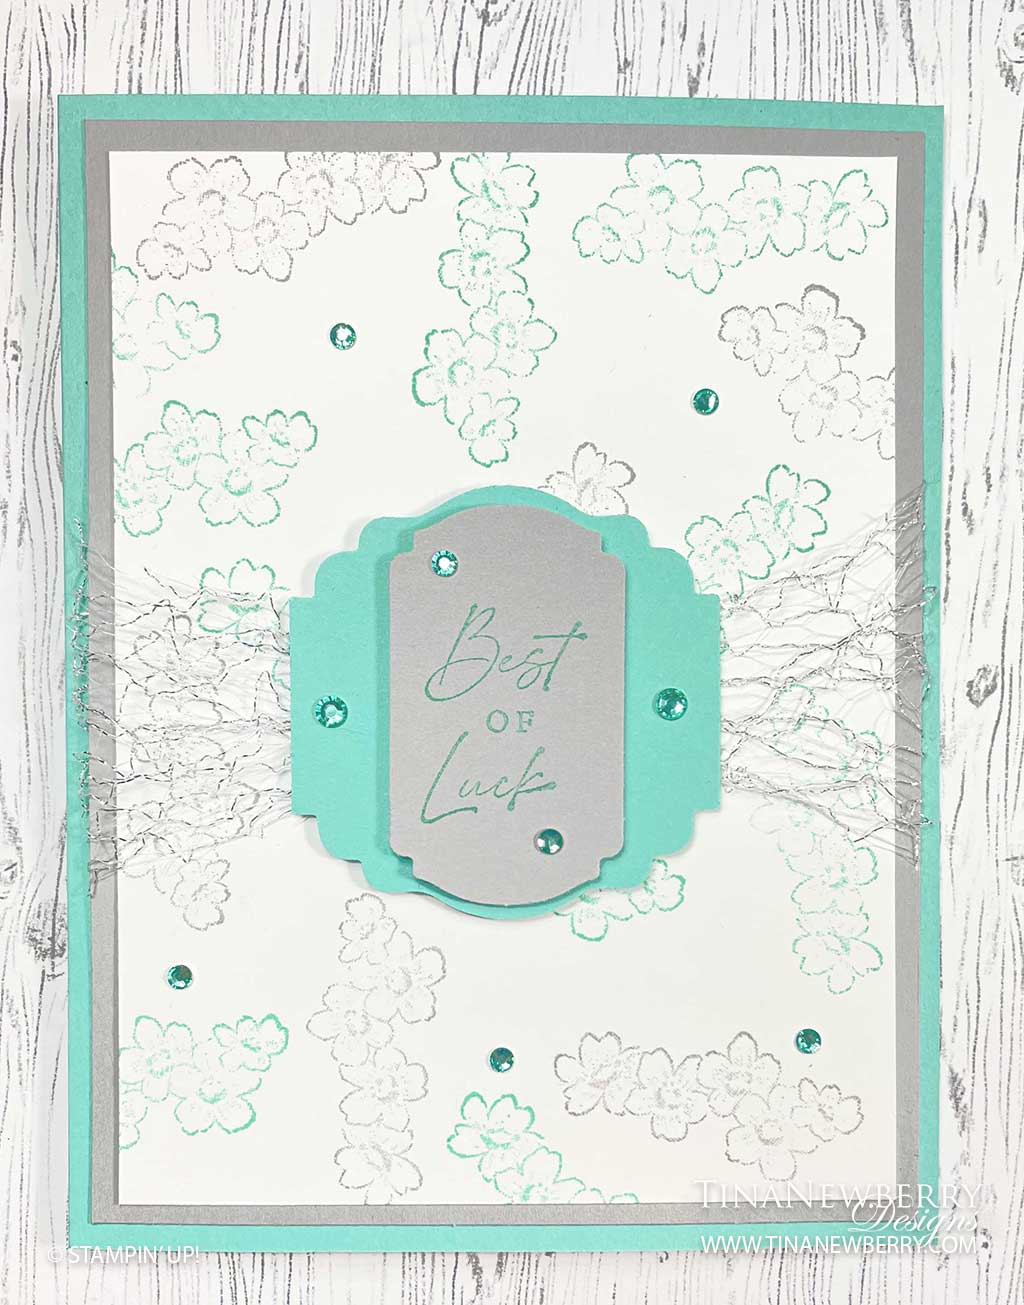
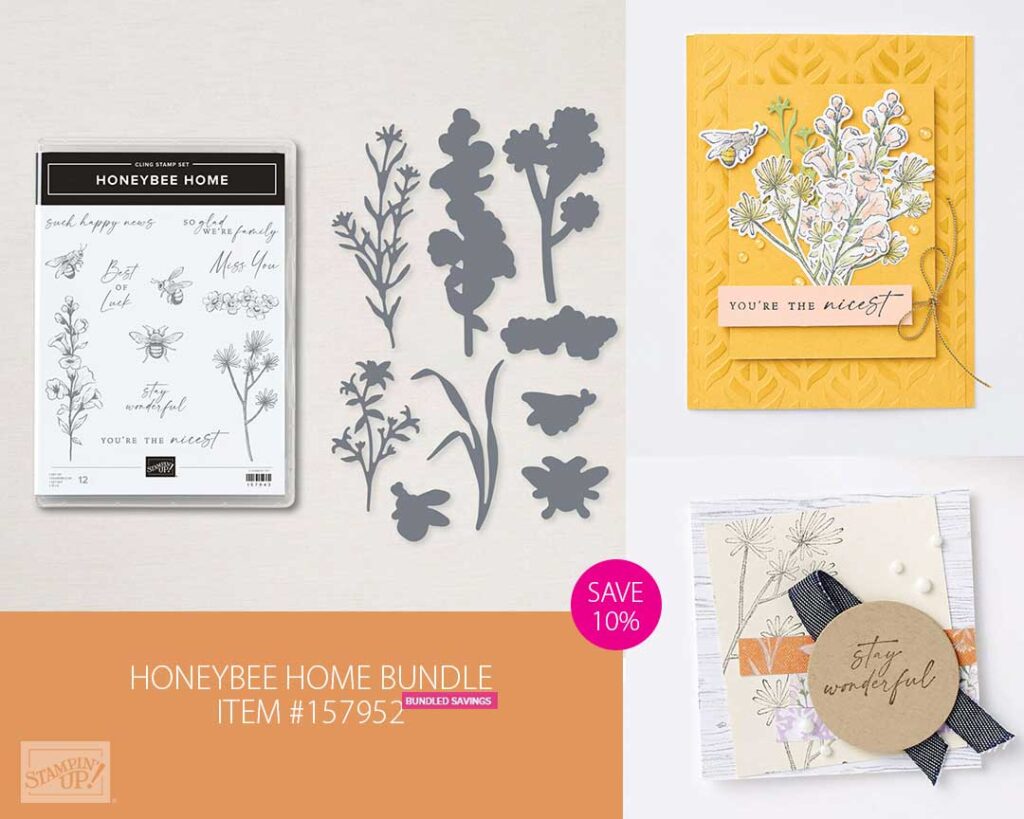
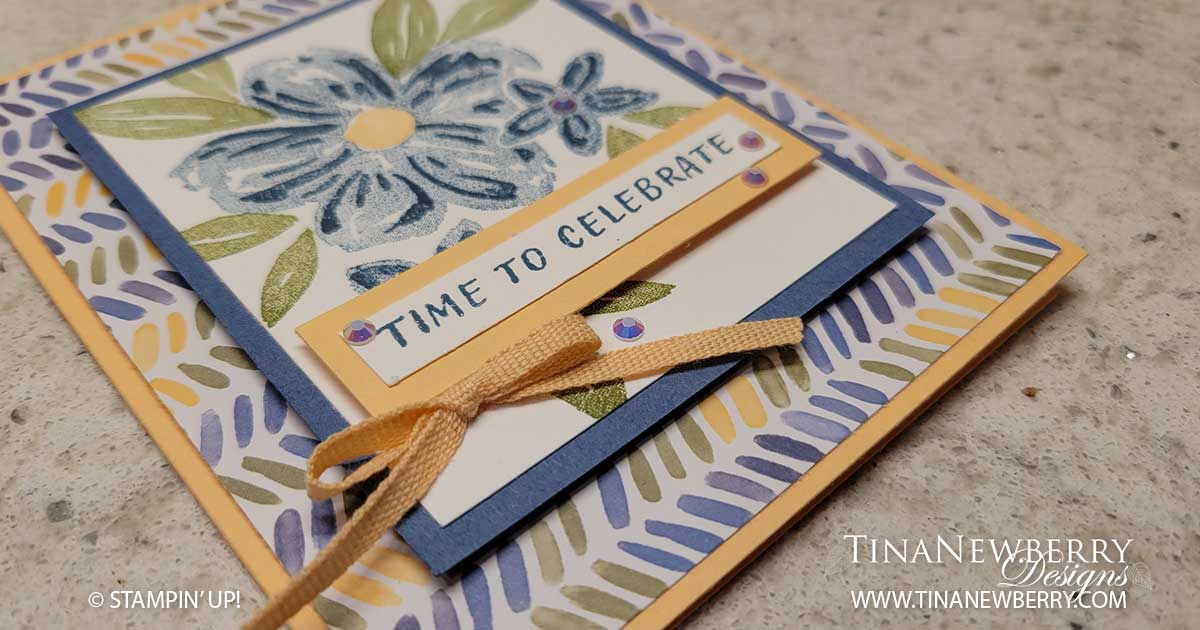
I love the modern colors used on this card of well wishes made with a custom background from the Stampin’ Up! Honeybee Home Bundle. Use these colors or your favorite color palette, when you make your own version of this #simplestamping card using just Stamps, Ink and Paper.

Measurements

Full list of supplies needed, listed below.
Coastal Cabana Cardstock:

  • 5 ½” h  x  8 ½” w folded to 5 ½” h x 4 ¼” w card base
  • scrap

Smoky Slate Cardstock:

  • 5 1/4″ h x 4″ w
  • scrap

Basic White Cardstock:

  • 3 ¾” h x 5” w
  • 5 1/4″ h x 4″ w for inside

Let’s Create

  1. Affix all stamps to Acrylic Blocks.
  2. Fold the Card Base in half using a Bone Folder to sharpen the crease.
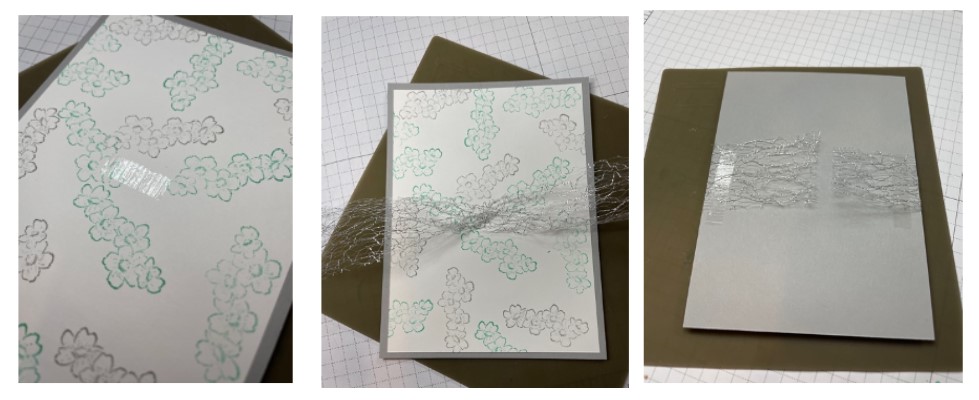
  3. Stamp the floral image with Coastal Cabana Stampin’ Pad and Smoky Slate Stampin’ Pad in a scattered pattern on the 3 ¾” h x 5” w Basic White layer.
  4. Adhere this layer onto the 5 1/4″ h x 4″ w Smoky Slate layer using Stampin’ Seal.
  5. Apply an inch layer of Stampin’ Seal+ to the center of the Basic White layer. Place this on the Silicone Craft Sheet.  Apply Stampin’ Seal+ onto the back edges of this layer.
  6. Twist the Metallic Mesh Ribbon and press the twist into the Stampin’ Seal+ on the center of the card front.  Wrap the Metallic Mesh ribbon around the press into the adhesive on the back side.  And attach to Card Base with Stampin’ Dimensionals.
  7. Stamp the sentiment with Coastal Cabana onto a scrap of Smoky Slate and then punch with the Label Me Fancy punch around the words.
  8. Use the Label Me Lovely punch on a scrap of Coastal Cabana card stock.
  9. Adhere the labels together with Stampin’ Dimensionals.
  10. Use Stampin’ Dimensionals to attach these labels being careful not to adhere to the ribbon twist
  11. Embellish the labels and card front with Rhinestone Waves Basic Jewels.
  12. Stamp and decorate the inside and attach with Stampin’ Seal.
  13. Decorate your envelope.
  14. So cheerful! Who needs this sunshine mail? Send it today!
Product List

Recommended Stamper’s Toolkit ❤