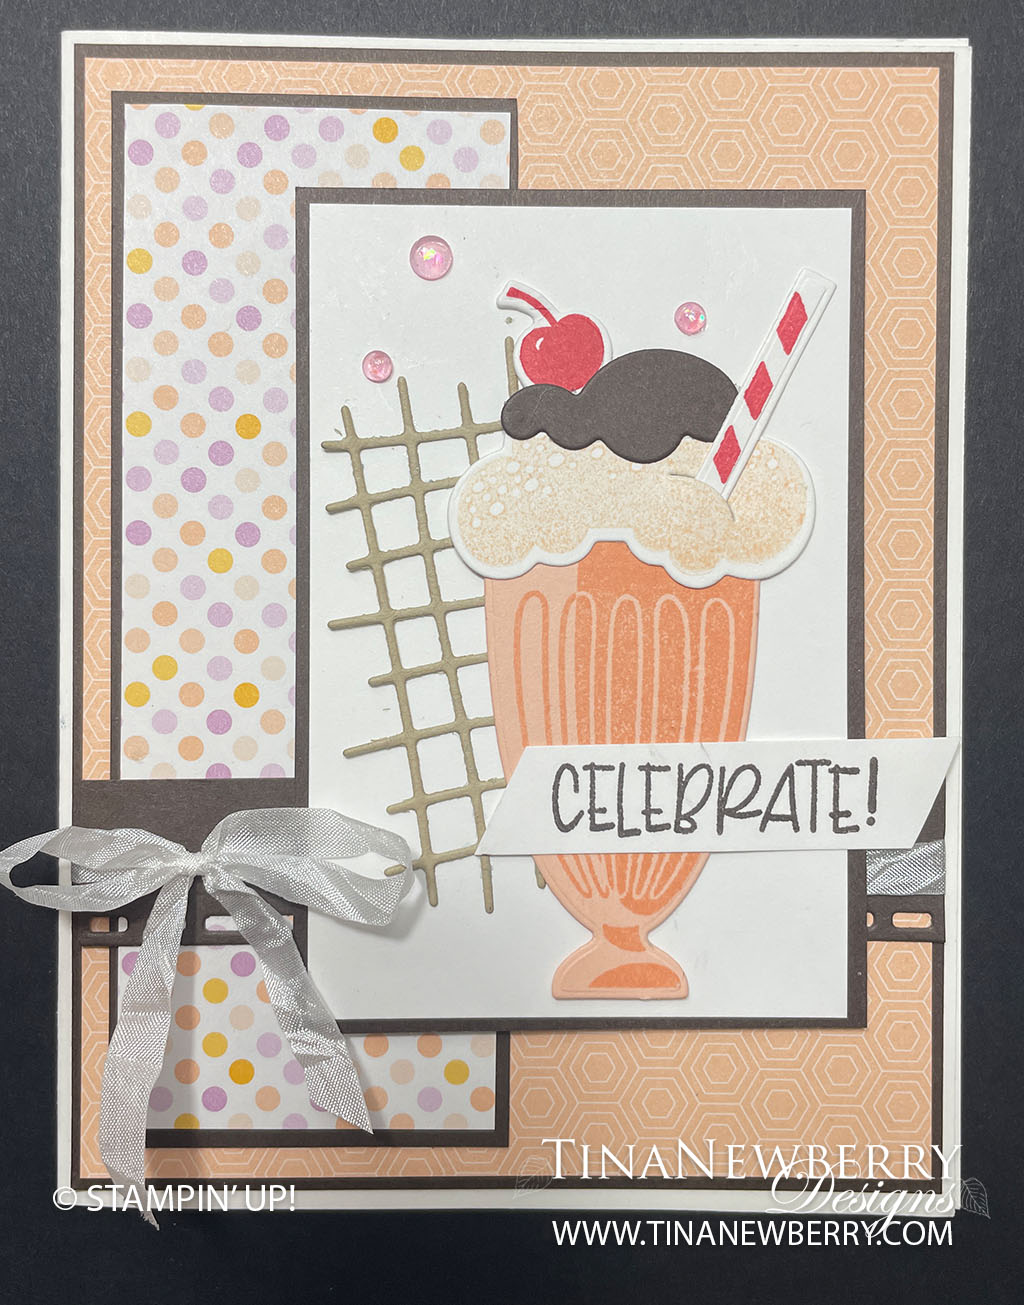
mmmmm What’s your favorite ice cream flavors? Mine is black raspberry, but orange creamsicle is a close second. Creating a card representing your favorite flavors is so much fun with the Share a Milkshake bundle. So fun and cheery!
Measurements
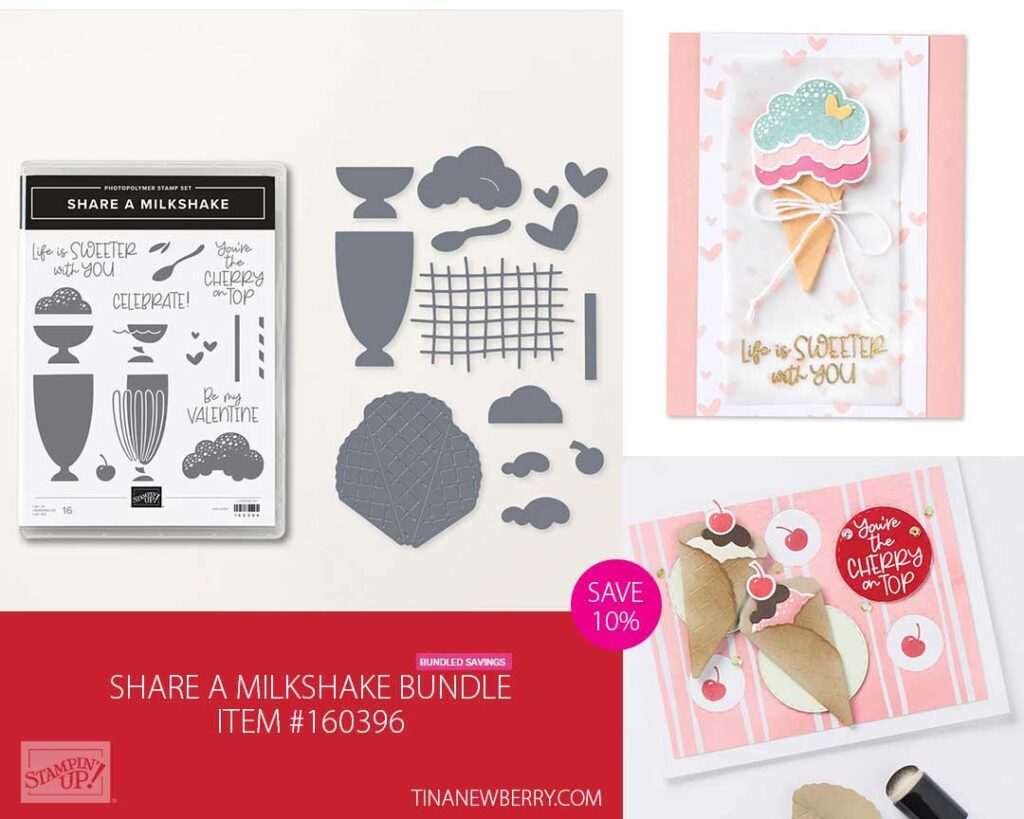
Full list of supplies needed, listed below. A die cutting machine is needed for this card.
Basic White
- 5 ½” x 8 ½” scored and folded on the long-side at 4 ¼”
- 2 ½” x 3 ¾”
- 2 ½” x ½” (for stamping sentiment)
- 2” x 2” (for stamping and die cutting ice cream, straw and cherry)
Early Espresso
- 4 ⅛” x 5 ⅜”
- 4 ⅞” x 1 ⅞”
- 2 ⅝” x 3 ⅞”
- 4 ¼” x 1”
- 1” x 1” (for die cutting chocolate on ice cream)
Crumb Cake
- 2 ¾” x 2 ½”
Petal Pink
- 2 ¾” x 1 ¾”
Dandy Designs Designer Series Paper
- 5 ¼” 4” (Petal Pink)
- 4 ¾” x 1 ¾” (Polka Dot Design)
Let’s Create
- Affix all stamps to Acrylic Blocks.
- Fold the Card Base in half using a Bone Folder to sharpen the crease.
- Using Petal Pink ink, stamp the Detail part of the milkshake glass onto the Petal Pink cardstock and die cut using the coordinating die from the Share A Milkshake Die Set.
- Using Petal Pink ink, stamp the largest Ice Cream onto 2” x 2” Basic White Scrap. Using Sweet Sorbet ink, stamp the cherry and the straw stripes onto the same Basic White Scrap and die cut using the coordinating dies from the Share A Milkshake Die Set.
- Die cut the chocolate layer of the ice cream from the 1” x 1” piece of Early Espresso.
- Die cut the “waffle criss cross” die using the Crumb Cake piece of cardstock.
- Using Early Espresso ink, stamp the “Celebrate” sentiment onto the 2 ½” x ½” Basic White.
- This step is optional – Using the straight border edge from the Blossoming Happiness Dies using the 4 ¼” x 1” Early Espresso. If you decide not to die cut, then you’ll want to trim this piece to 4” x ¾”.
- Assemble the Milkshake – Slip the straw into the slit of the ice cream layer. Apply a thin line of multipurpose liquid glue to the top edge of the milkshake glass and adhere the ice cream layer. Apply a thin line of glue to the lower edge of the Early Espresso (Chocolate) and adhere to the top of the ice cream layer. Adhere a bit of glue to the back of the chocolate towards the left and adhere the cherry.
- Adhere the “waffle criss cross” crumb cake die cut to the 3 ¾” x 2 ½” Basic White panel at a bit of an angle toward the left.
- Using Stampin’ Dimensionals, adhere the Milkshake to this panel towards the lower right.
- Adhere the Petal Pink Designer Series Paper to its coordinating Early Espresso layer and adhere these layers to the folded Basic White Card Base.
- Adhere the Polka Dot Designer Series Paper to its coordinating Early Espresso layer and adhere these layers towards the left side of the card.
- Using the White Crinkled Seam Binding, tie a bow around the 4” strip of Early Espresso, with the bow towards the left edge. Adhere this strip towards the lower part of the card.
- Adhere the Milkshake Panel to its coordinating Early Espresso layer. Using Stampin’ Dimensionals, adhere these layers toward the right side of the card centering up and down.
- Cut both sides of the sentiment at a slight angle. Using tape or glue on the left side and 1 stampin’ dimensional on the very edge of the right, adhere this to the card over the lower part of the milkshake glass.
- Embellish with 3 pink opal rounds.
- Stamp and decorate the inside of your card and the envelope. And it’s ready to send for a special celebration!
Shopping List
")


 Designer Series Paper")
 Crinkled Seam Binding Ribbon")

$8.00

$32.00
Recommended Stamper’s Toolkit ❤
Product List
$12.00

$7.00

$4.25

$5.75

$5.50

$11.00

$26.00

$7.00

$6.50

$11.00

$20.00

$11.00

$80.75

$128.00


$16.00

$13.00


