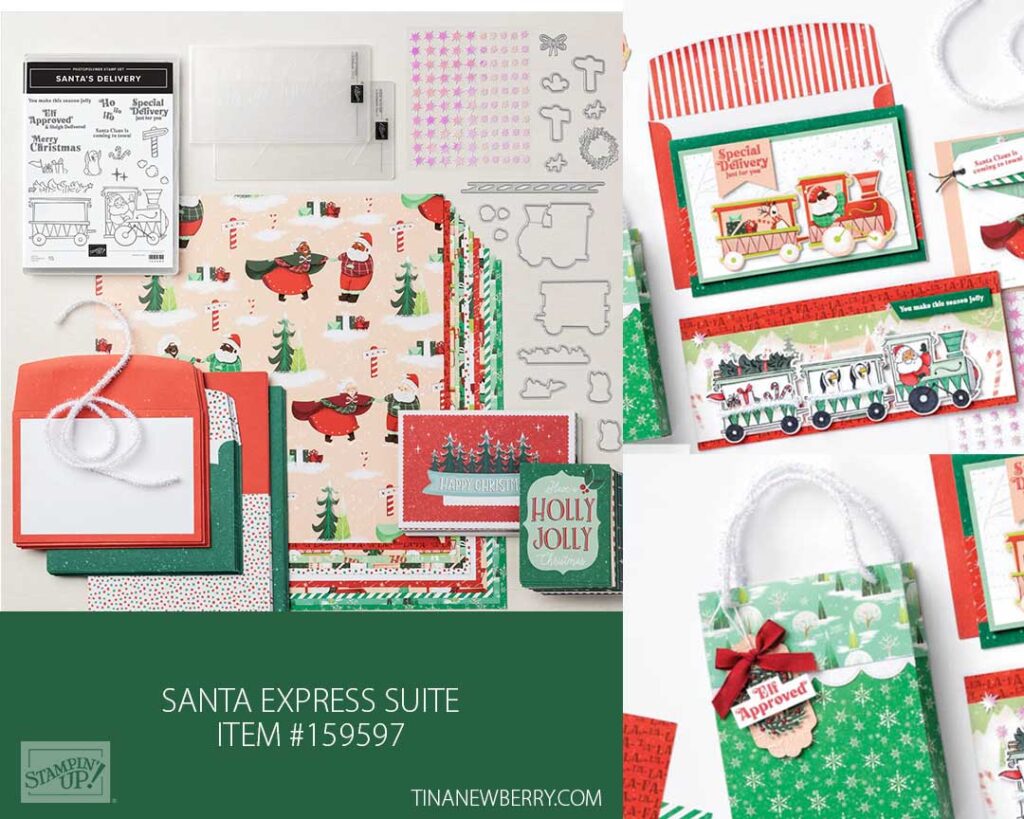
Cards comes together in jiff with the Memories & More card pack. Add a bit of cardstock and be on your way.

Measurements
Full list of supplies needed, listed below. A die cutting machine is needed for this card.
When you open the Santa Express Memories & More Card Pack, you will see much of the cutting and punching and die-cutting has been done for you. Simply gather your ink pads, stamps, blocks, snips and adhesives. The following cutting and scoring instructions are provided for when you want to repeat these instructions for your own use. You may need to cut the Designer Series Paper, and fussy-cut some of the images.
Basic White Thick Cardstock: 5 ¼” x 10 ½”, score at 5 ¼”
Petal Pink Cardstock: at 3 ¼” x 4 ¾”
Bermuda Bay Cardstock: 3 ¼” x 3 ¼”
Santa Express Designer Series Paper (DSP): 5 ⅛” x 5 ⅛”
Santa Express Memories & More Card Pack (M&M):
- 2 ⅞” w x 4” h (candy cane pattern)
- 3 ⅛” x 3 ⅛” (Dear Santa pattern)
Let’s Create
- Affix all stamps to Acrylic Blocks.
- Fold the Card Base in half using a Bone Folder to sharpen the crease.
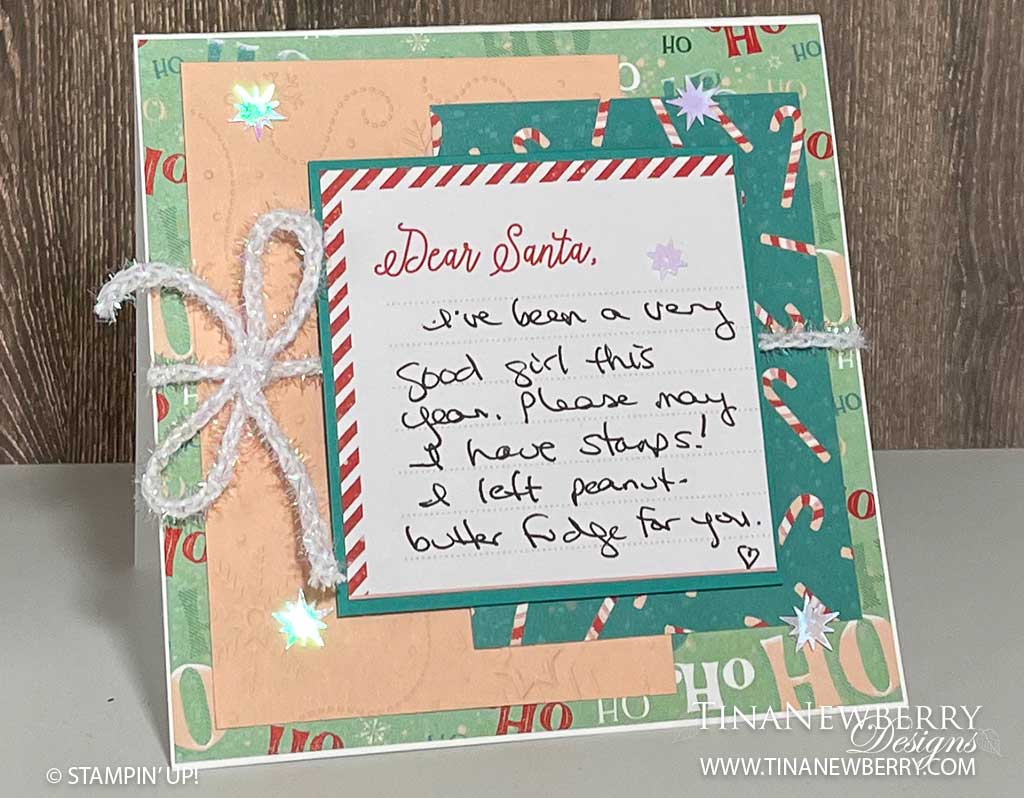
- Run Petal Pink cardstock through Stampin’ Cut & Emboss Machine with the Wintry 3D Embossing Folder (snowy pattern). . Use Stampin Seal to adhere to card front.
- Adhere 2 ⅞” x 4” M&M card (candy cane pattern) to card front with Stampin’ Seal.
- On the 3 ⅛” x 3 ⅛” Dear Santa M&M write a little note to Santa, and adhere to Bermuda Bay layer with Stampin’ Seal.
- Wrap Iridescent Trim around card front, and tie a bow on the left side.
- Adhere Dear Santa panel to card front with Stampin’ Dimensionals.
- Sprinkle on the gems.
- Stamp and decorate the inside and attach with Stampin’ Seal.
- Square Card fits into a 5 ½” x 5 ½” Square Envelope from your M&M Pack.
- Super Quick card! Now send it to someone special.
Recommended Stamper’s Toolkit ❤
Product List


