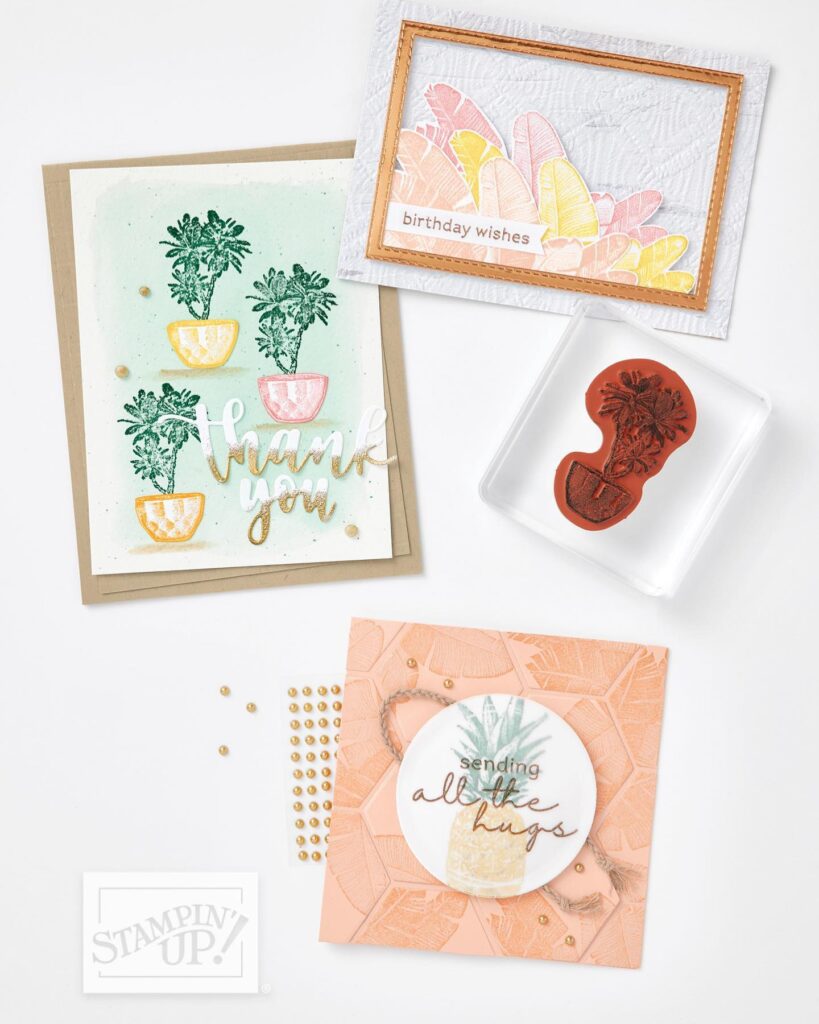
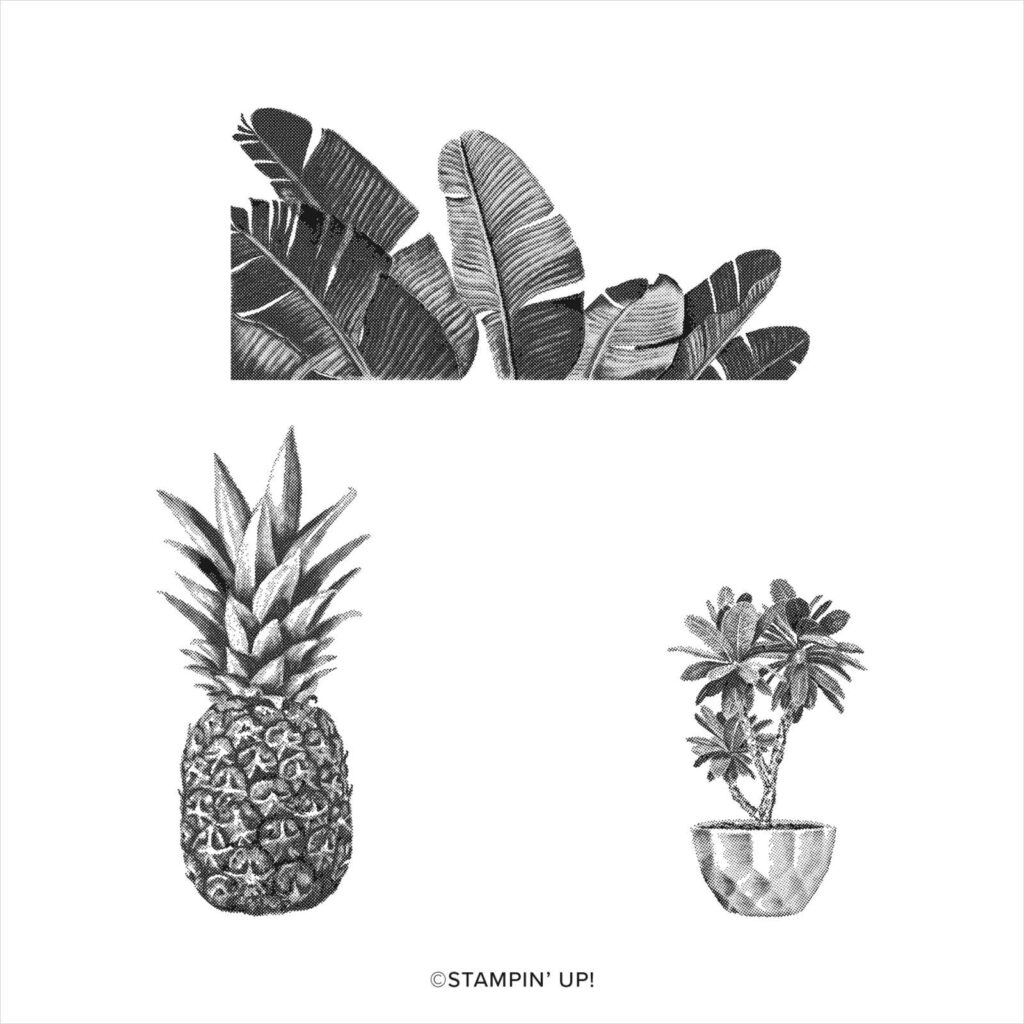
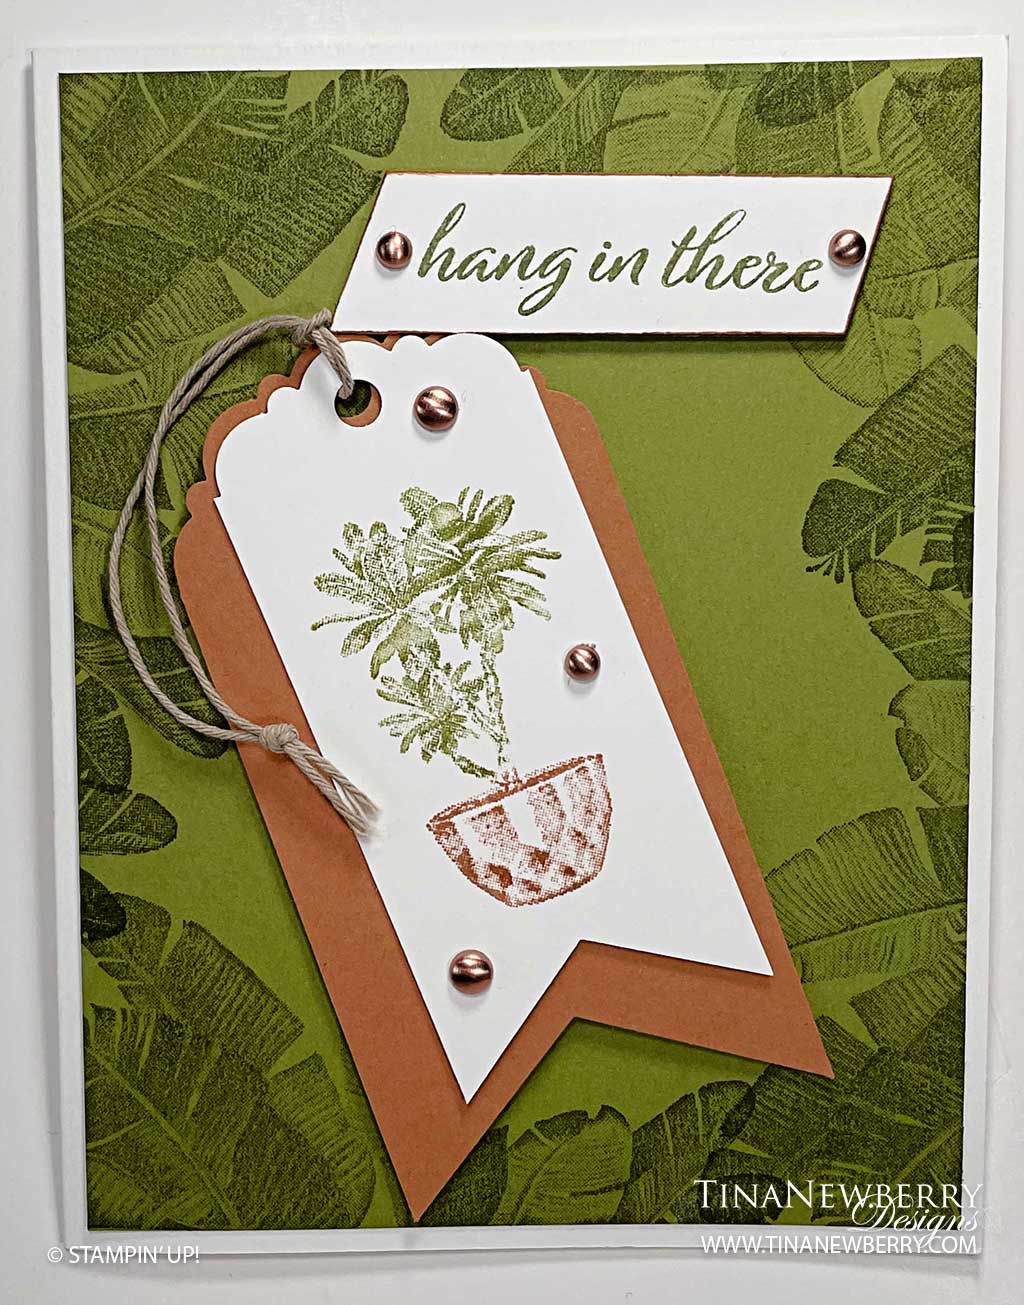
The color combinations for this design are endless! For this one, the Old Olive and Cinnamon Cider combination of this card combines with the Island Vibes stamps set are perfect to support the boys or girls in your life.


Measurements
Full list of supplies needed, listed below. A die cutting machine is needed for this card.
Card Base: Thick Basic White Cardstock 5 ½” h x 8 ½” w folded to 5 ½” h x 4 ½” w
Background: Old Olive Cardstock 5 ¼” h x 4” w
Back Tag Layer: Cinnamon Cider Cardstock 4 ½” h x 2” w
Front Tag Layer: Basic White Cardstock 4” h x 1 ½” w
Sentiment Layer: Basic White Cardstock scrap ¾” h x 3” w
Inside Layer: Basic Whie Cardstock 5 ¼” h x 4” w
Let’s Create
- Affix all stamps to Acrylic Blocks.
- Fold the Card Base in half using a Bone Folder to sharpen the crease.
- Stamp the palm fronds image with Old Olive Stampin’ Pad around the perimeter of the Old Olive Cardstock layer.
- Adhere the stamped Old Olive Cardstock layer onto the front of the Thick Basic White card base.
- Punch the tops of the Cinnamon Cider Cardstock 4 ½” h x 2” w and Basic White card stock 4” h x 1 ½” w with the Delightful Tag Topper.
- Place the pot side of the stamp image into the Cinnamon Cider Stampin’ Pad and the plant part of the image into the Old Olive Stampin’ Pad. Stamp onto the center of the Basic White Cardstock tag.
- Stamp the sentiment with Old Olive Stampin’ Pad onto the ¾” h x 3” w Basic White Cardstock scrap. Trim each end with a slant cut but leave space for placing embellishments at each end.
- Lightly tap the edges of the sentiment layer into the Cinnamon Cider Stampin’ Pad to lightly ink each side.
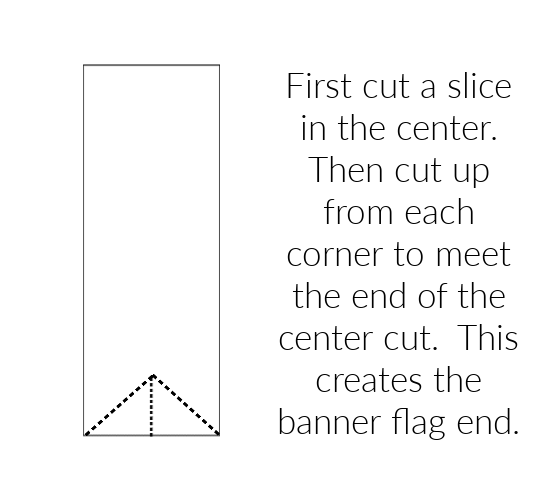
- Now cut a banner tag bottom onto the Cinnamon Cider tag and the Basic White tag, see the diagram image.

- Cut a 15” length of the Linen Thread. Fold it in half and push the fold from the front to the back of the tags ribbon holes to connect the tags.
- Thread the ends up through the loop and pull it snug. Tie the ends into a knot and trim the ends.
- Use Dimensionals to adhere the layered tags diagonally onto the card front.
- Use Dimensionals to adhere the sentiment strip onto the card front.
- Embellish the sentiment and tag with the Brushed Metallic Adhesive Backed Dots.
- If you like, you can stamp the palm leaves onto the top left corner of the envelope.
- Stamp and decorate the inside and attach with Stampin’ Seal.
- So cute! Now send it to someone special.
Shopping List
Stamper’s Toolkit
You will also need adhesive, acrylic blocks, scissors and other basic PaperCrafting items from the Stamper’s Toolkit


