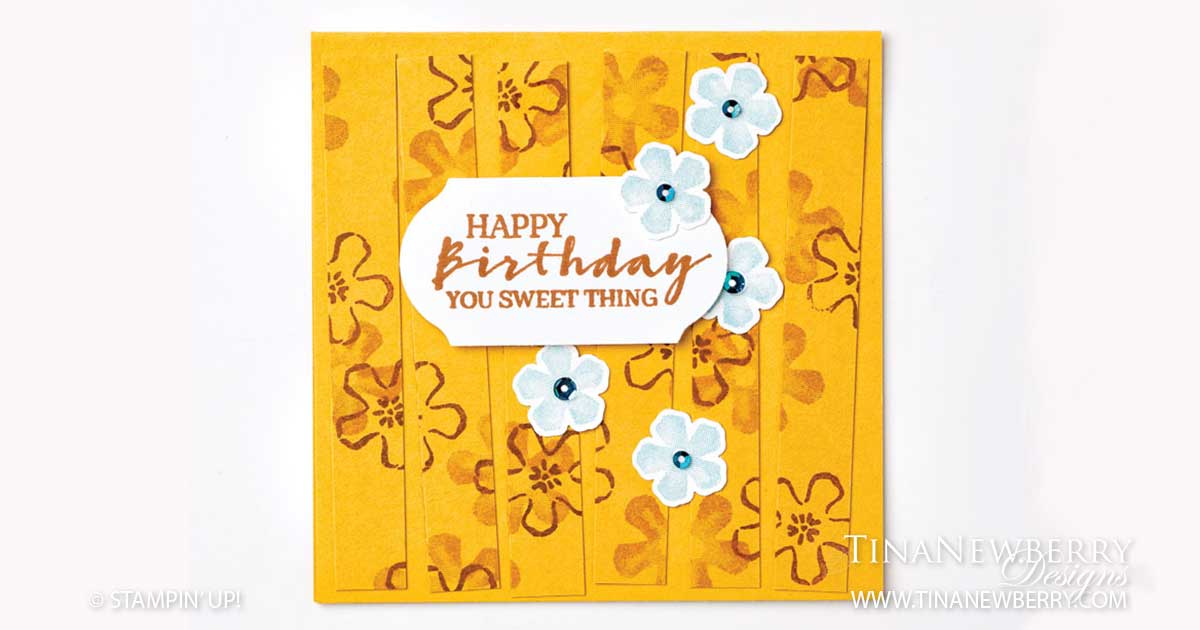
Lots of interesting and simple effects on this card, starting with the compact square size! I tend to make the same sized cards all the time. So boring! But I tell you the reason is, I like my cards to fit in an envelope. I know I can MAKE and envelope, but let’s face it, I’m not that motivated. LOL. But this little 4″x4″ card is super cute and works just fine enough in an invitation envelope for an 5 1/2″ w x 4 1/4″.
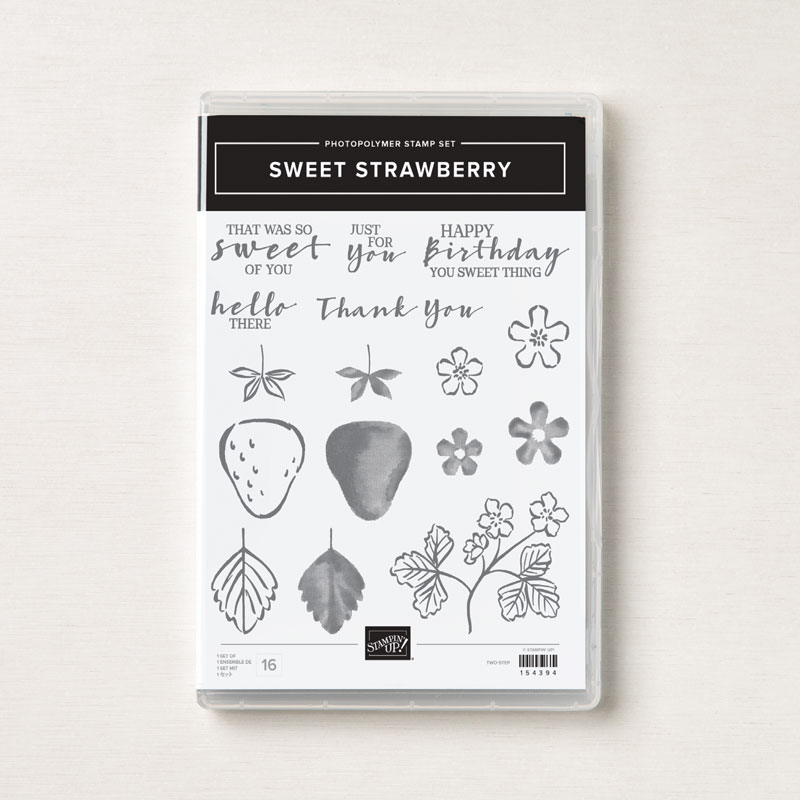
Sweet Strawberry Bundle – Save 10%
Measurements
Full list of supplies needed, listed below. A die cutting machine is needed for this card.
Card Base: Bumble Bee Cardstock 4″ h x 8″ w folded to 4″ h x 4″ w
Background: Bumble Bee Cardstock 3 1/2″ h x 3 1/2″ w
Sentiment Layer and Flowers: Basic White scraps
Inside Layer (optional): Basic White Cardstock 3 1/2″ h x 3 1/2″ w
Let’s Create
- Affix all stamps to Acrylic Blocks.
- Fold the Card Base in half using a Bone Folder to sharpen the crease.
- Use Cinnamon Cider ink to stamp large Flower Outlines and stamp-off the fill images on the Background Layer.
- Cut the Background Layer into 1/2″ strips, then use the adhesive of your choice to attach the Background Strips to the Card Base.
- Use Cinnamon Cider ink to stamp your Sentiment on scrap Basic White Cardstock. Then punch out with the punch of your choice. The retired Timeless Label Punch, if shown.
- Attach your sentiment using Stampin’ Dimensionals.
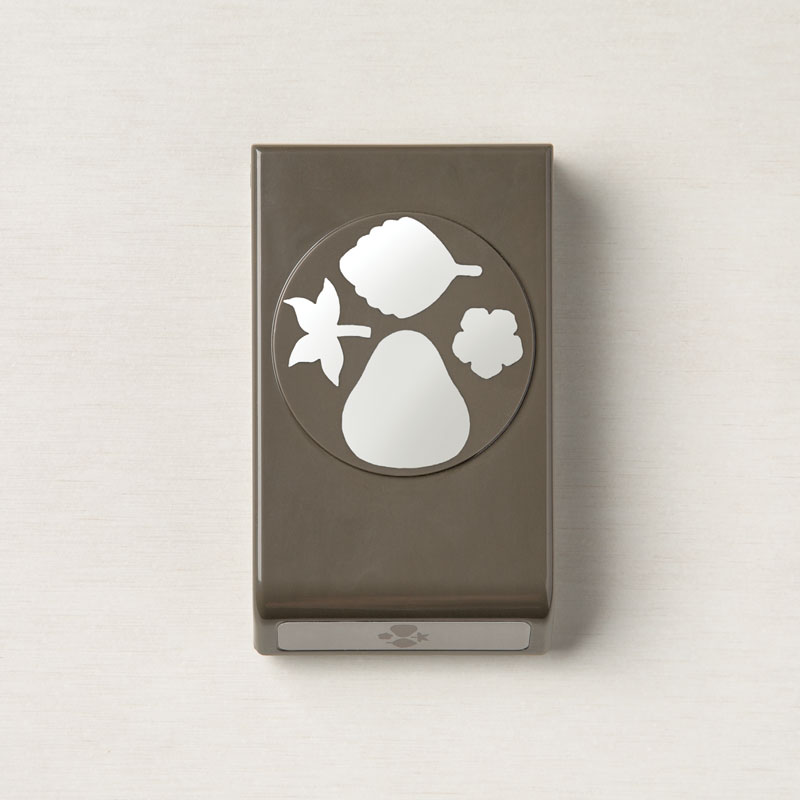
- Use Balmy Blue ink to stamp your the small Flowers on scrap Basic White Cardstock and then punch them out with the Strawberry Builder Punch.
- Use Mini Glue Dots to attach Balmy Blue Flowers and then add Whale Done (retired) or Artistry Blooms sequins to the center of the Flowers.
- Attach the inside layer (optional)
- You did it!! Put it in the mail.
Shopping List


Stamper’s Toolkit
You will also need adhesive, acrylic blocks, scissors and other basic PaperCrafting items from the Stamper’s Toolkit


")


