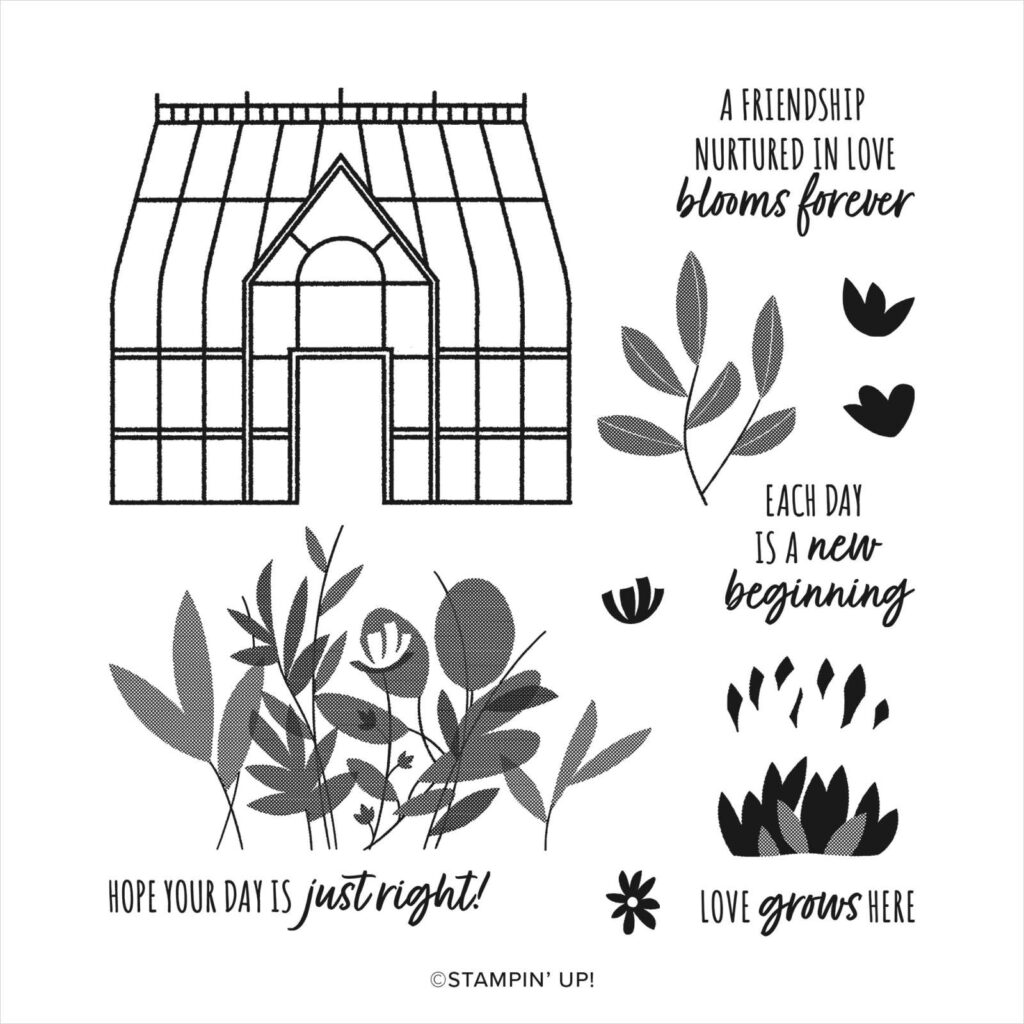
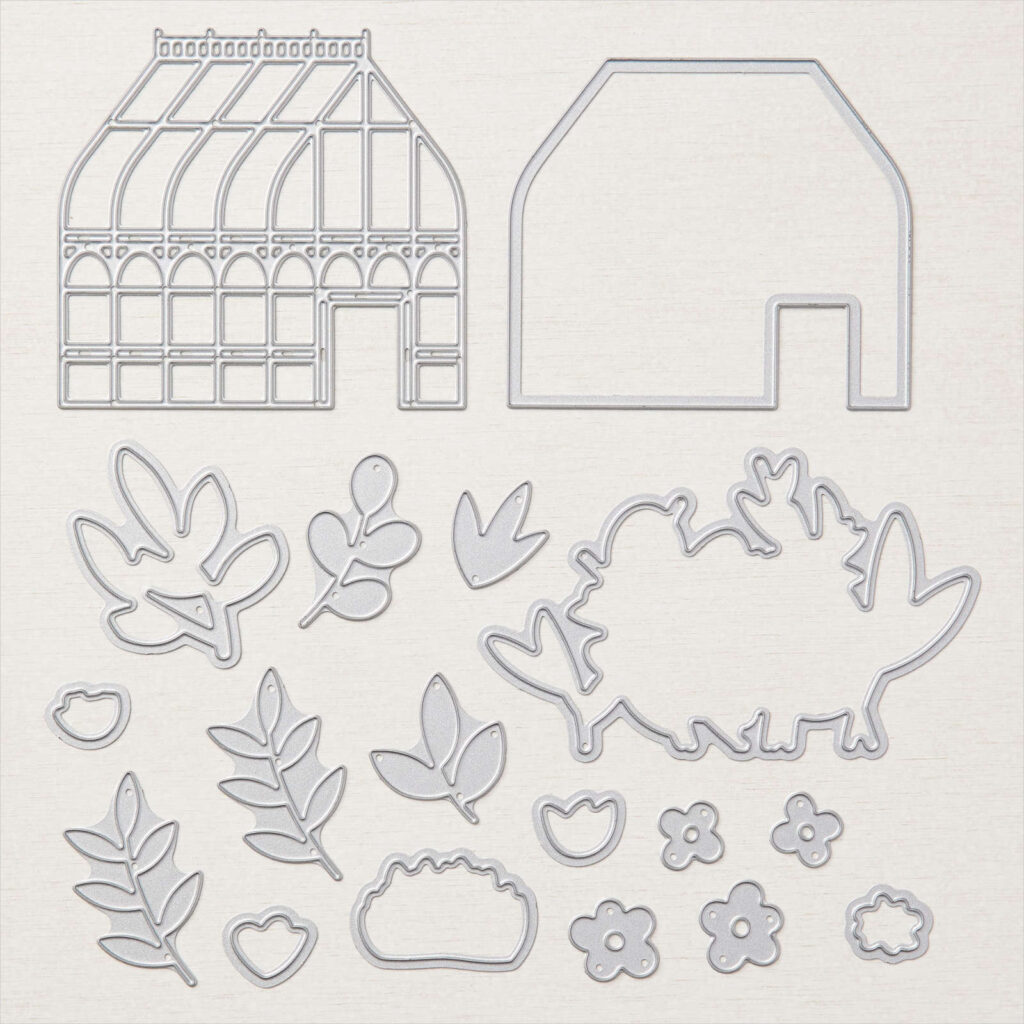
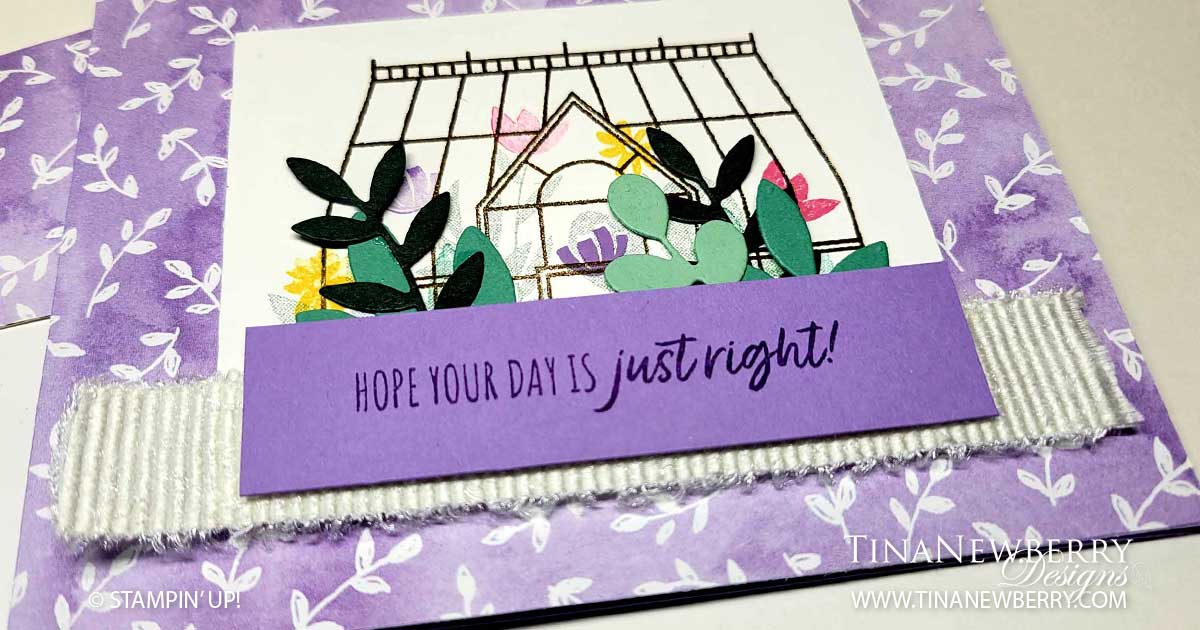
My Dad has a little greenhouse and this Garden Greenhouse so reminded me of him. Although I think he grows mostly vegetables in his, I just had to get this Bundle and make some pretty cards. Using the Stamping-Off technique, you can create the illusion of flowers in the background – as if they were in the back of the greenhouse – and then brighter flowers look closer up.


Measurements
Full list of supplies needed, listed below. A die cutting machine is needed for this card.
Highland Heather Cardstock:
- 4 ¼” h x 11” w scored and folded at 5 ½” w for Card Base
- ⅞” h x 3 ½” w for Sentiment
Basic White Cardstock:
- 3” h x 8” w
Hand-Penned Designer Series Paper (DSP)
- 4 ¼” h x 5 ½” w
Scraps
- Evening Evergreen Cardstock
- Just Jade Cardstock
- Mint Macaron Cardstock
Let’s Create
- Affix all stamps to Acrylic Blocks.
- Fold the HIghland Heather Card Base in half using a Bone Folder to sharpen the crease.
- Use Stampin’ Seal to attach the Hand Penned DSP to the Card Base.
- On the Basic White Greenhouse layer, stamp the greenhouse in Soft Suede. Then use the large flower stamp to and stamp of the image in Evening Evergreen ink. Add little flowers in Highland Heather, Polished Pink and Daffodil Delight, some stamped off and some not.
- Attach the Greenhouse layer to the Card with Stampin’ Dimensionals.
- Die cut various leaves from the Evening Evergreen, Just Jade and Mint Macaron scraps. Arrange the leaves in front of the greenhouse and attach with Mini Glue Dots or Multipurpose Liquid Glue.
- Use Tear & Tape or Stampin’ Seal+ to attach a layer of White Frayed Ribbon.
- Stamp the sentiment in Gorgeous Grape Ink on the Highland Heather Sentiment Layer and attach with Stampin’ Dimensionals
- Stamp and decorate the inside.
- Decorate your envelope.
- Love it! Who needs this pretty pick me up? Send it today.
Shopping List
Recommended Stamper’s Toolkit ❤
Product List


