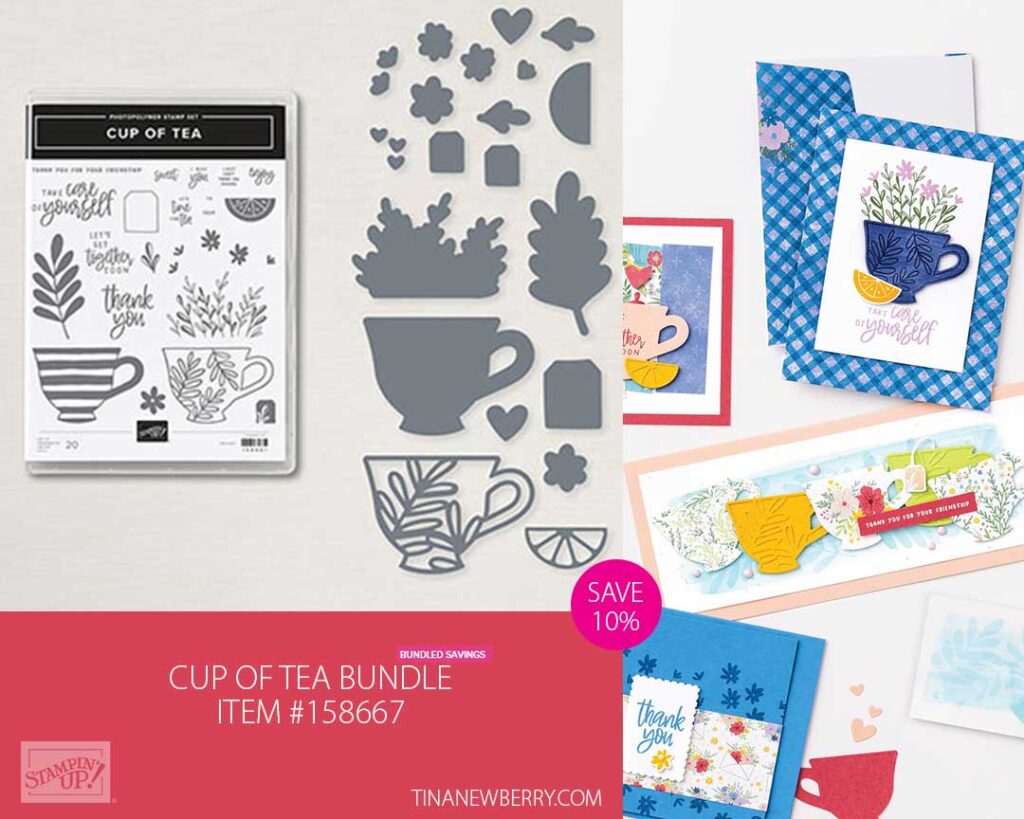
Create your own porcelain tea cup design using the flowers in the Cup of Tea stamp set and the tea cup die. And then accent with coordinating patterned papet. What will you create?

Measurements
Full list of supplies needed, listed below. A die cutting machine is needed for this card.
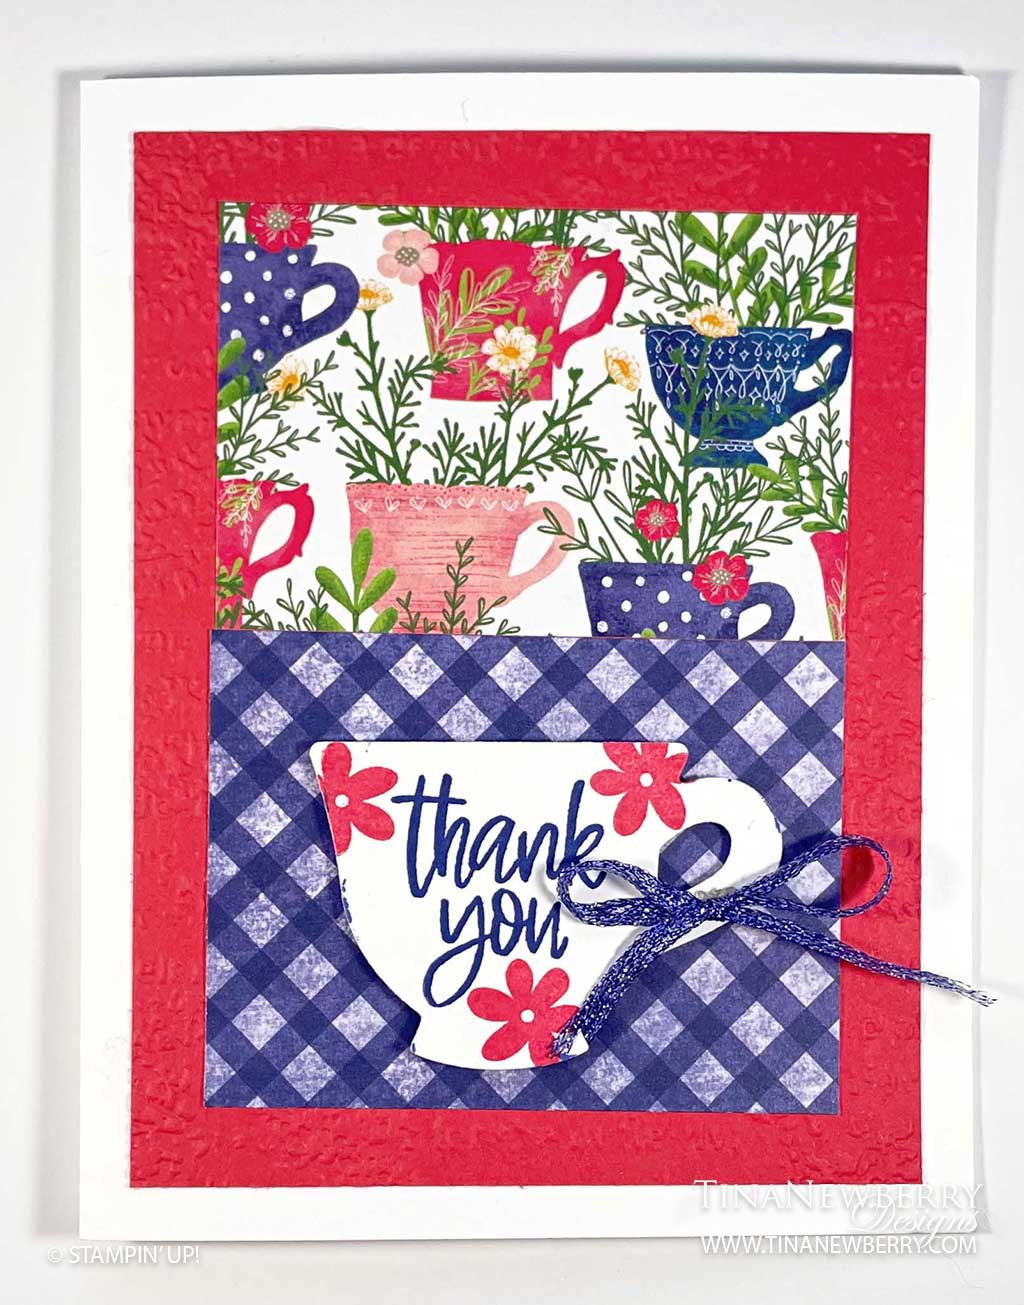
Thick Basic White Cardstock: 5 ½” h x 8 ½” w score and folded on the long-side at 5 ½” h x 4 ¼” w for the card base.
Sweet Sorbet Cardstock: 5” h x 3 ¾” w
Tea Boutique Designer Series Paper:
- 2” h x 3” w
- 2 ¼” h x 3” w
Basic White Cardstock: scrap 3” h x 3” w
Let’s Create
- Affix all stamps to Acrylic Blocks.
- Fold the Card Base in half using a Bone Folder to sharpen the crease.
- Emboss the Sweet Sorbet card stock layer with the Timeworn Type 3D Embossing Folder. Adhere this layer onto the front of the card base with Stampin’ Seal.
- Use Stampin’ Seal to adhere the Tea Boutique Designer Series Paper layers onto the embossed Sweet Sorbet layer.
- Die cut the tea cup shape from Basic White card stock.
- Stamp the sentiment onto the tea cup with Starry Sky Stampin’ Pad.
- Stamp the flowers around the sentiment with Sweet Sorbet Stampin’ Pad.
- Use Dimensionals to adhere the tea cup onto the card front.
- Tie a bow with the Starry Sky 1/8” (3.2 Mm) Metallic Woven Ribbon and adhere it onto the tea cup with a Mini Glue Dot.
- Stamp and decorate the inside and attach with Stampin’ Seal.
- Decorate your envelope. Cut a 2 ¼” h x 6” w piece of Tea Boutique Designer Series Paper, adhere this onto the back flap of the envelope. Use your scissors to trim off any excess paper edges.
- Love it! Now send it to someone special.
Shopping List
Recommended Stamper’s Toolkit ❤
Product List


