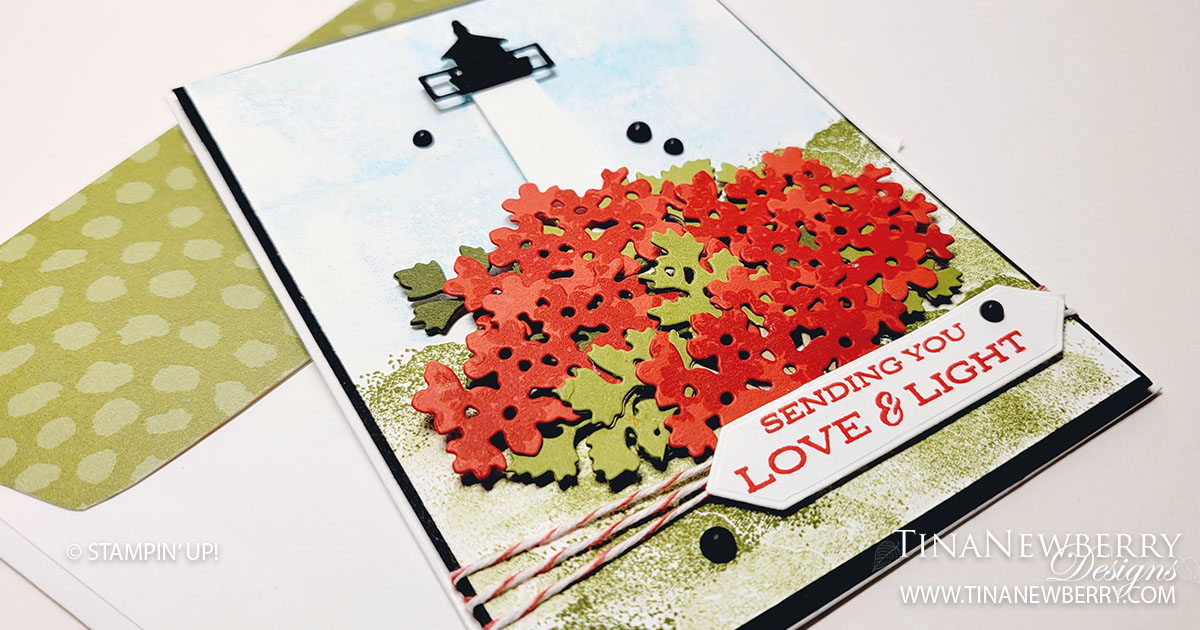
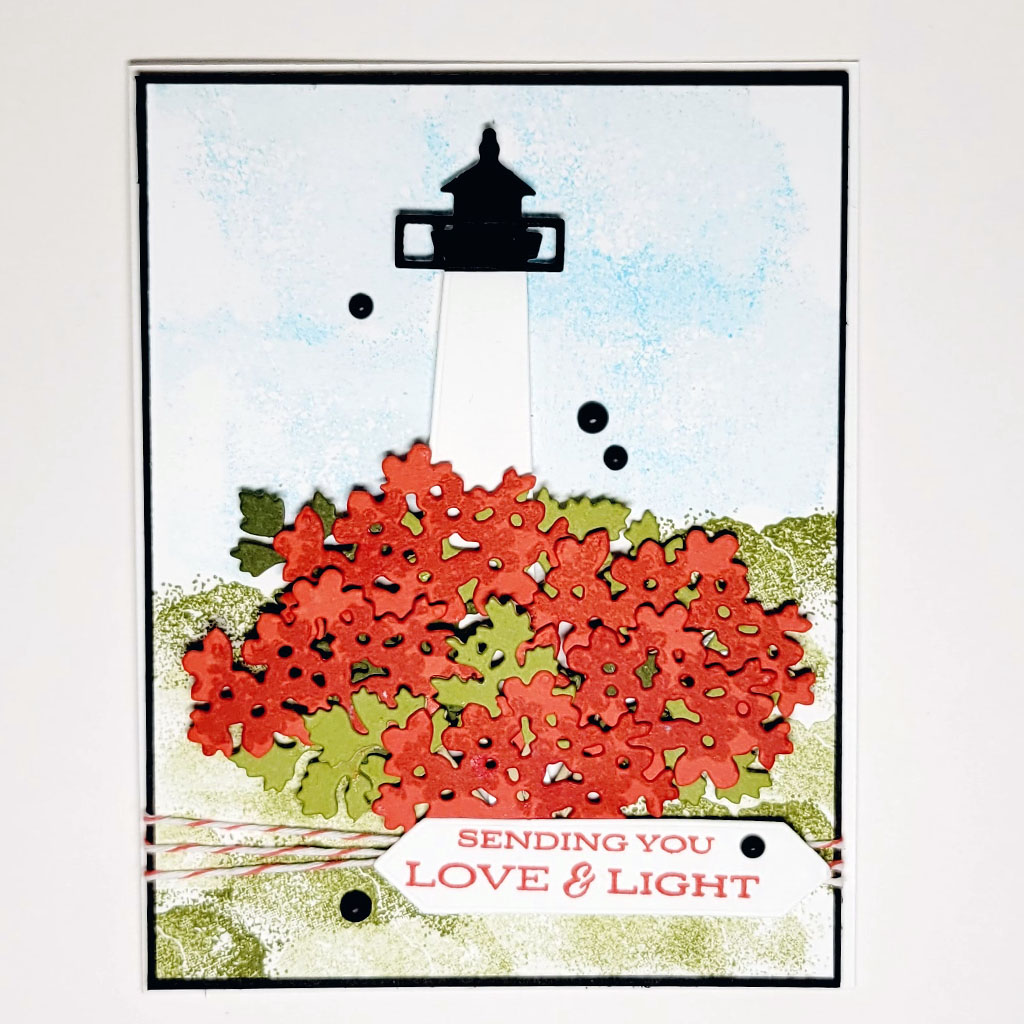
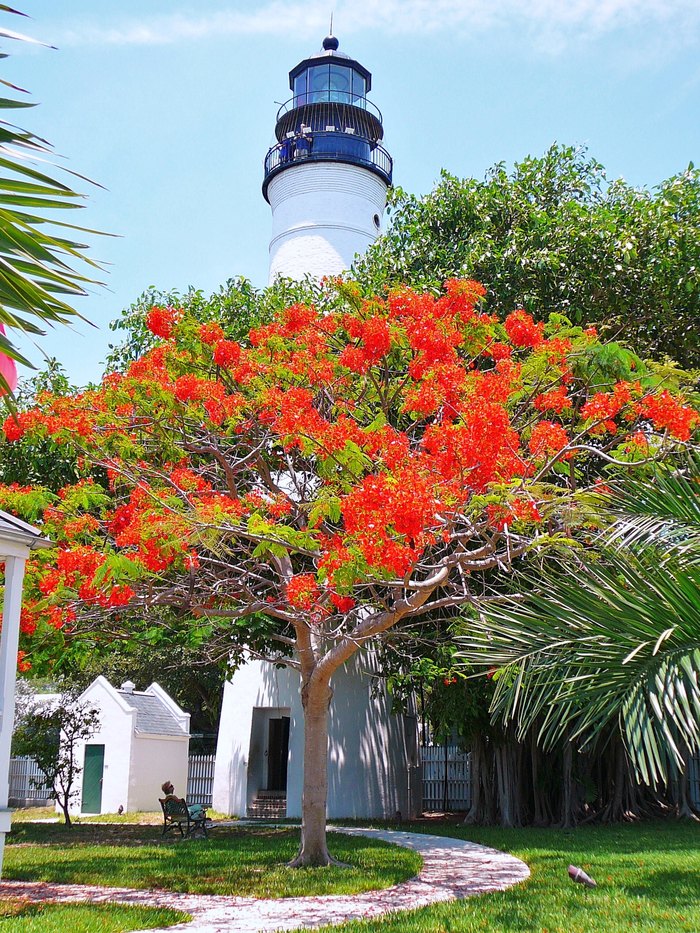
When I first saw the Lighthouse Point Bundle, I knew I wanted to depict some of the many beautiful lighthouses we have along the coasts throughout the U.S. This is the Key West Lighthouse. Key West holds a special place in my heart having spent a good deal of time in the Keys over the years.
Measurements
Full list of supplies needed, listed below. A die cutting machine is needed for this card.
Basic White Thick Cardstock: 5 1/2″ h x 8 1/2″ w folded to 5 1/2″ h x 4 1/4″ w
Basic Black Cardstock: 5 3/8″ h x 4 1/8″ w
Basic White Cardstock: 5 1/4″ h x 4″ w
Scrap Cardstock:
- Basic White
- Basic Black
- Poppy Parade
- Mossy Meadow
- Pear Pizzazz
Let’s Create
- Affix all stamps to Acrylic Blocks.
- Fold the Card Base in half using a Bone Folder to sharpen the crease.
- On the lower half of the Basic White panel stamp the rocks in Pear Pizzazz ink using the ‘stamping off’ technique, where you ink once and stamp two or three times before you re-ink.
- On the upper half of the Basic White panel, stamp the squarish image in Tahitian Tide, using the same technique, but stamp off first on scrap and then stamp twice on the panel to give a subtle sky color.
- On the Poppy Parade Cardstock, in Real Red ink stamp the Geranium Fill stamp randomly. Then die cut with the Geranium fill die- it is not meant to be aligned, which will give your flowers a random two-tone look.
- In Pear Pizzazz and Mossy Meadow die cut a few stems from the Meadows Dies. Cut off the stems and break up the leave bunches.
- On a Silicone Craf Sheet, arrange the flowers and leaves into a cluster. Adhere together with Multipurpose Glue and Mini Glue Dots, as needed. Set aside to dry.
- Attach a bit of Adhesive Sheet to a small piece of Black Cardstock and die cut the tip of the Lighthouse and Railing.
- Die cut the Lighthouse from Basic White Cardstock. Remove the backing from the tip of the Lighthouse and the Railing and attach to the Basic White Lighthouse.
- Stamp sentiment in Real Red ink and die cut from tag in the Lighthouse Dies.
- Attach your stamped Basic White panel to the Basic Black panel with Stampin’ Seal.
- Attach some Tear N’ Tape to the back near the bottom. Wrap Sweet Sorbet Bakers Twine three times around the lower part and secure in the back on the Tear N’ Tape.
- Attach stamped panel with Stampin’ Dimensionals.
- Add the Lightouse with Stampin’ Dimensionals.
- Add the Flowers and Leaves with Stampin’ Seal overlapping the Lighthouse and with Stampin’ Dimensionals where it overlaps the stamped green background.
- Use Stampin’ Dimensionals to attach sentiment.
- Sprinkle on the Black Matte Dots.
- Stamp and decorate the inside and attach with Stampin’ Seal.
- Decorate your envelope.
- Delightful!! Who will you send it to?
Shopping List
")
")


$7.00

$38.00
Recommended Stamper’s Toolkit ❤
Product List
$12.00

$7.00

$4.25

$5.75

$5.50

$11.00

$26.00

$7.00

$6.50

$11.00

$20.00

$11.00

$80.75

$128.00


$16.00

$13.00


