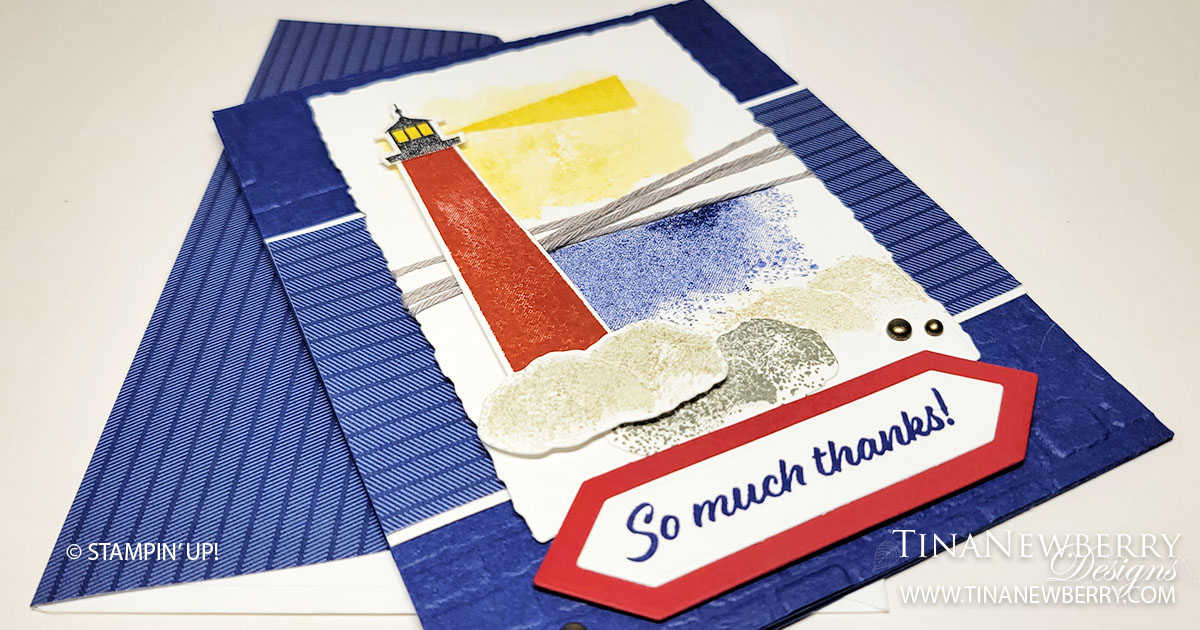
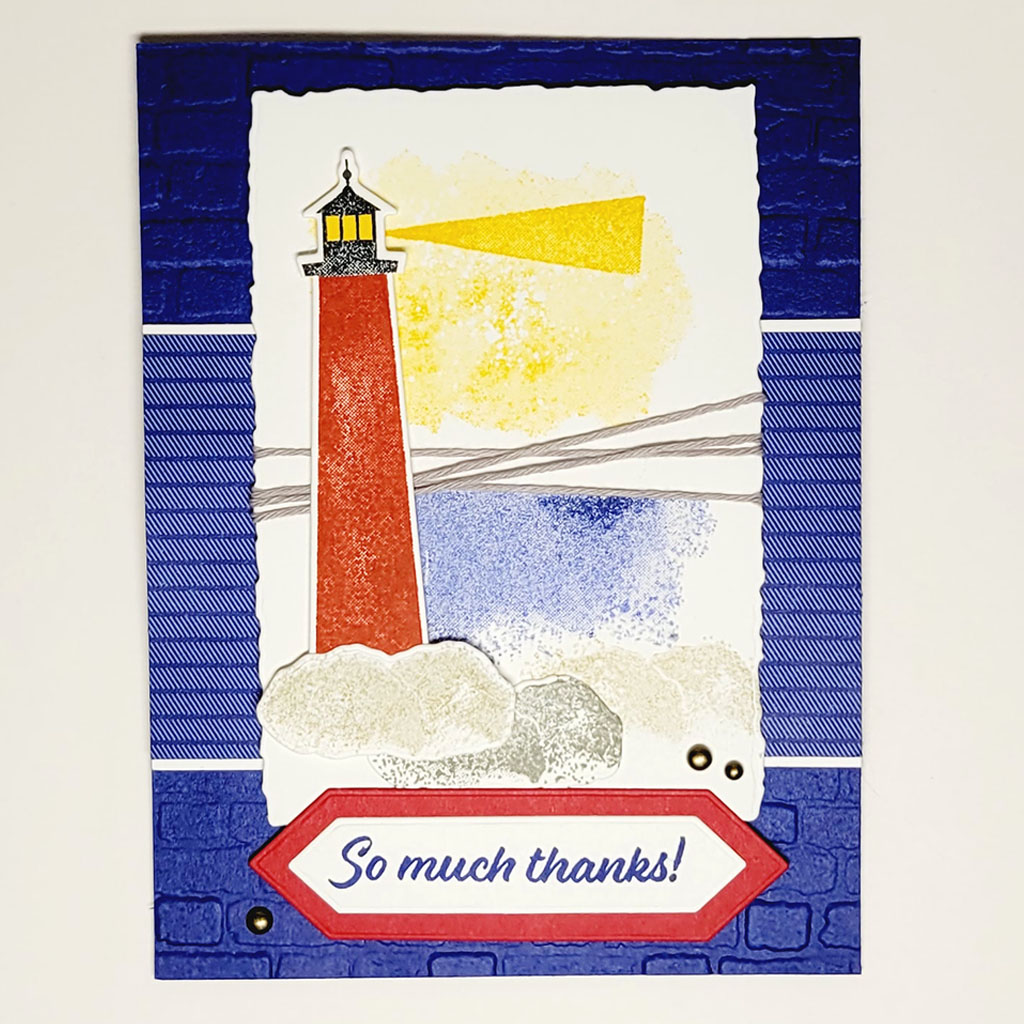
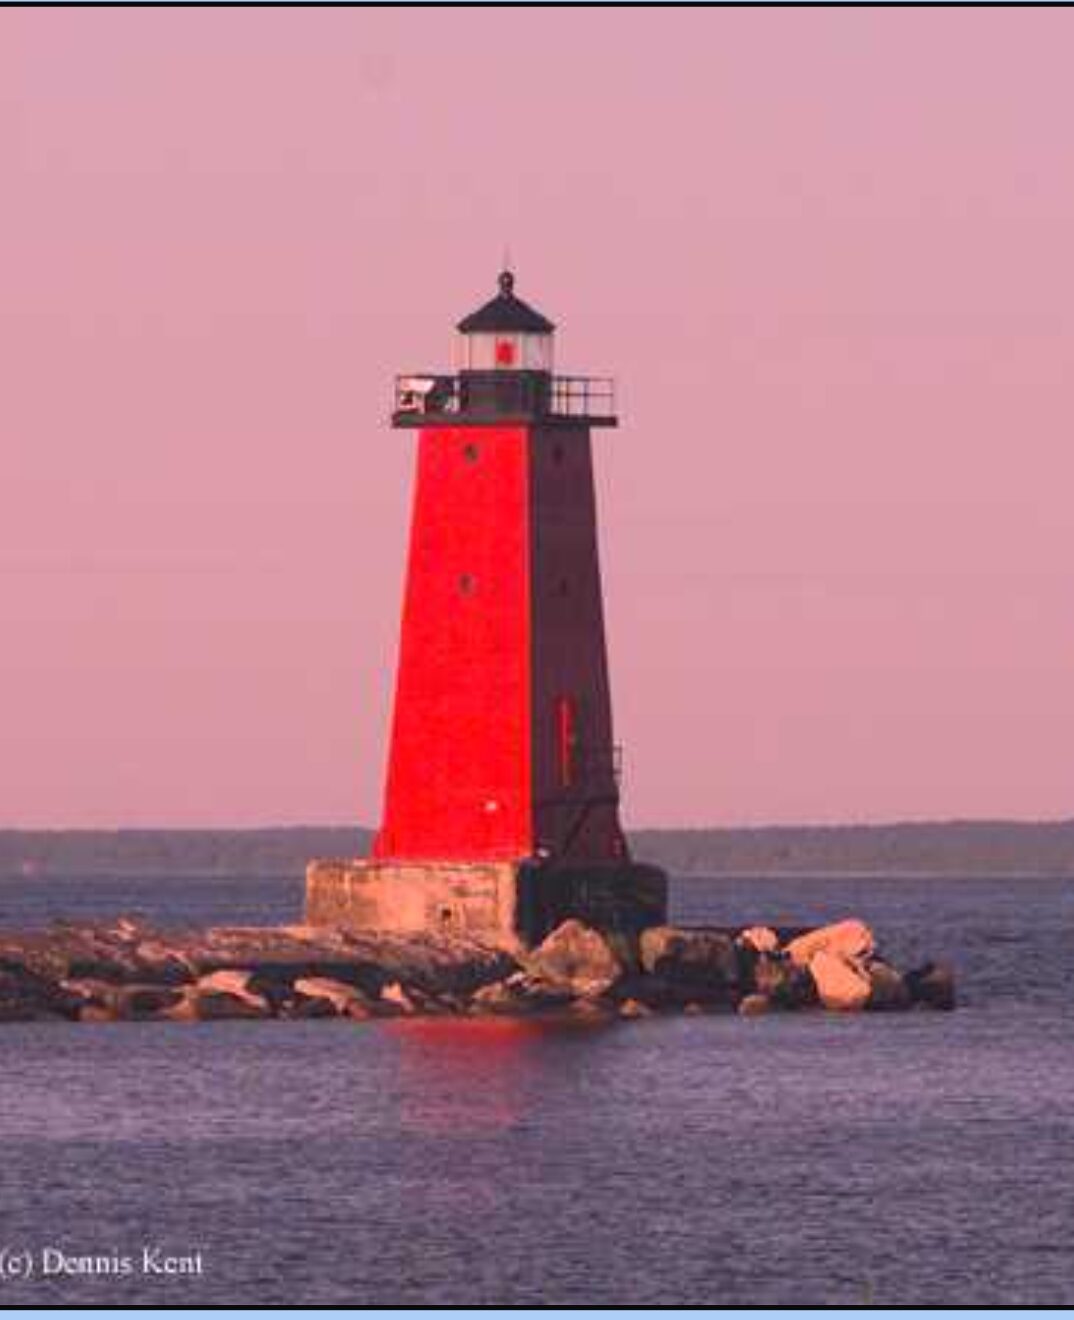
I knew I wanted to create a red lighthouse. I haven’t seen one in person before, but the South Haven Lighthouse on Lake Michigan in South Haven, Michigan sure is a pretty site and was the inspiration for this card.
Measurements
Full list of supplies needed, listed below. A die cutting machine is needed for this card.
Starry Sky Cardstock:
- 5 1/2″ h x 8 1/2″ w folded to 5 1/2″ h x 4 1/4″ w for Card Base.
- 5 1/4″ h x 4″ w
Basic White Cardstock:
- 4 1/4″ h x 3″ w die cut with Deckled Rectangle Die
- 2 5/8″ h x 4 1/4″ w
- Scrap for Lighthouse, Lighthouse top, Rocks and Sentiment
2022-2024 In-Color Designer Series Paper: 2 1/3″ h x 4 1/4″ w
Let’s Create
- Affix all stamps to Acrylic Blocks.
- Fold the Card Base in half using a Bone Folder to sharpen the crease.
- Run the 5 1/4″ h x 4″ w Starry Sky panel through the Stampin’ Cut & Emboss machine with the Brick & Mortar Embossing Folder. Attach to Card Base with Stampin’ Seal.
- Attach the 2022-2024 DSP panel to the 2 5/8″ h x 4 1/4″ w Basic White cardstock with Stampin’ Seal and attach with Stampin’ Seal+ or Multipurpose Glue to adhere to the uneven surface of the embossed panel.
- Stamp the Lighthouse in Real Red, the top of the Light house in Tuxedo Black and Crushed Curry, a few rocks in Gray Granite and Basic Gray, and the Sentiment in Starry Sky. Then die cut them all.
- Die cut the larger tag from Real Red.
- On the Basic White panel, stamp the sky in Crushed Curry – use the stamp-off technique where you stamp on scrappaper and then stamp on the panel, the water in Starry Sky, try the stamp-off technique for this too, and the rocks in Gray Granite.
- Apply some Tear N’ Tape to the back of the Basic White panel and wrap Linen Thread around panel securing with the Tear N’ Tape. Then attach the panel with Stampin’ Dimensionals.
- Arrange the Lighthouse and Rocks. Stamp the Ray of Light with Crushed Curry, then attach the Lighthouse and Rocks with Stampin Seal, Multipurpose Glue and Stampin’ Dimensionals, as needed.
- Attach the sentiment tag to the Real Red Tag with Stampin’ Seal and then attach with Stampin’ Dimensionals applied to the bottom where it doesn’t overlap the Basic White panel.
- Sprinkle on some Rustic Metallic Dots.
- Stamp and decorate the inside and attach with Stampin’ Seal.
- Decorate your envelope.
- Stunning! Now put it in the mail.
Shopping List
")


 Designer Series Paper")


$5.00


$30.00
Recommended Stamper’s Toolkit ❤
Product List
$12.00

$7.00

$4.25

$5.75

$5.50

$11.00

$26.00

$7.00

$6.50

$11.00

$20.00

$11.00

$80.75

$128.00


$16.00

$13.00


