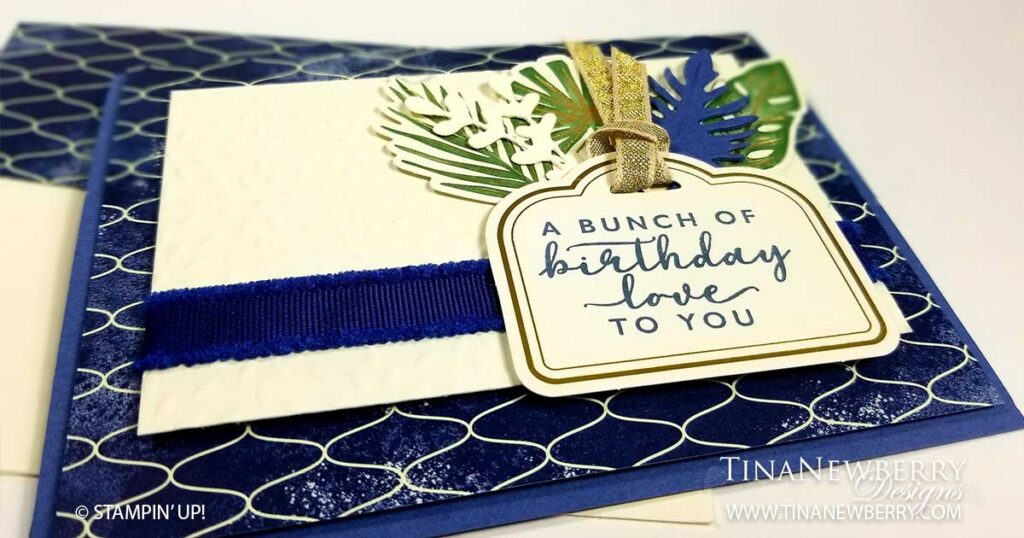
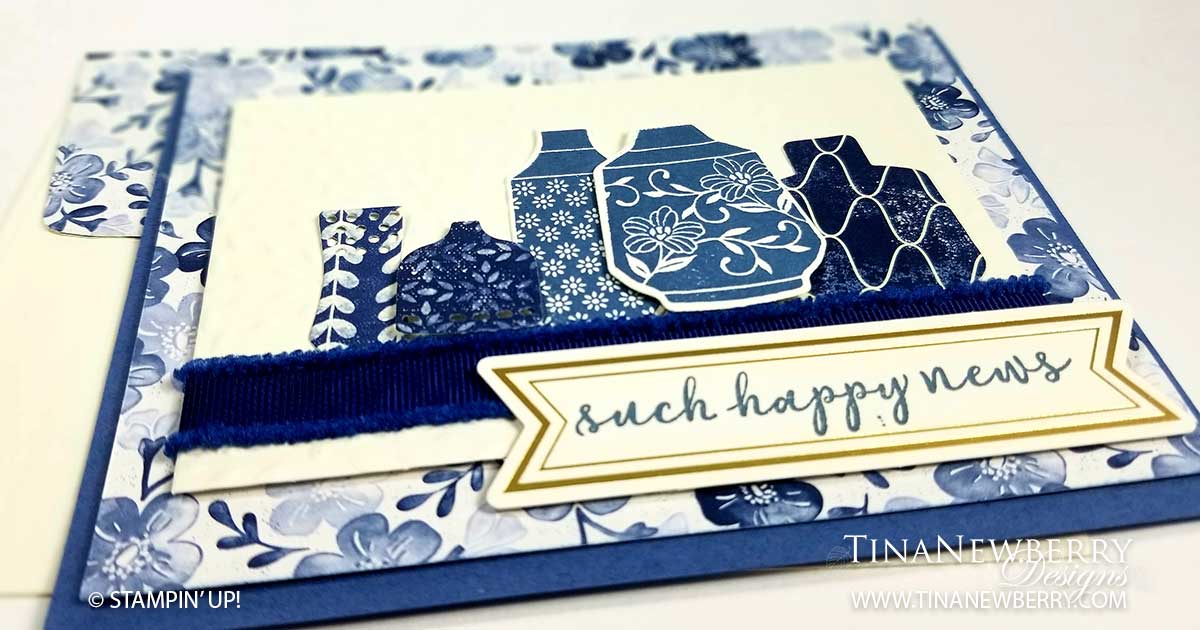
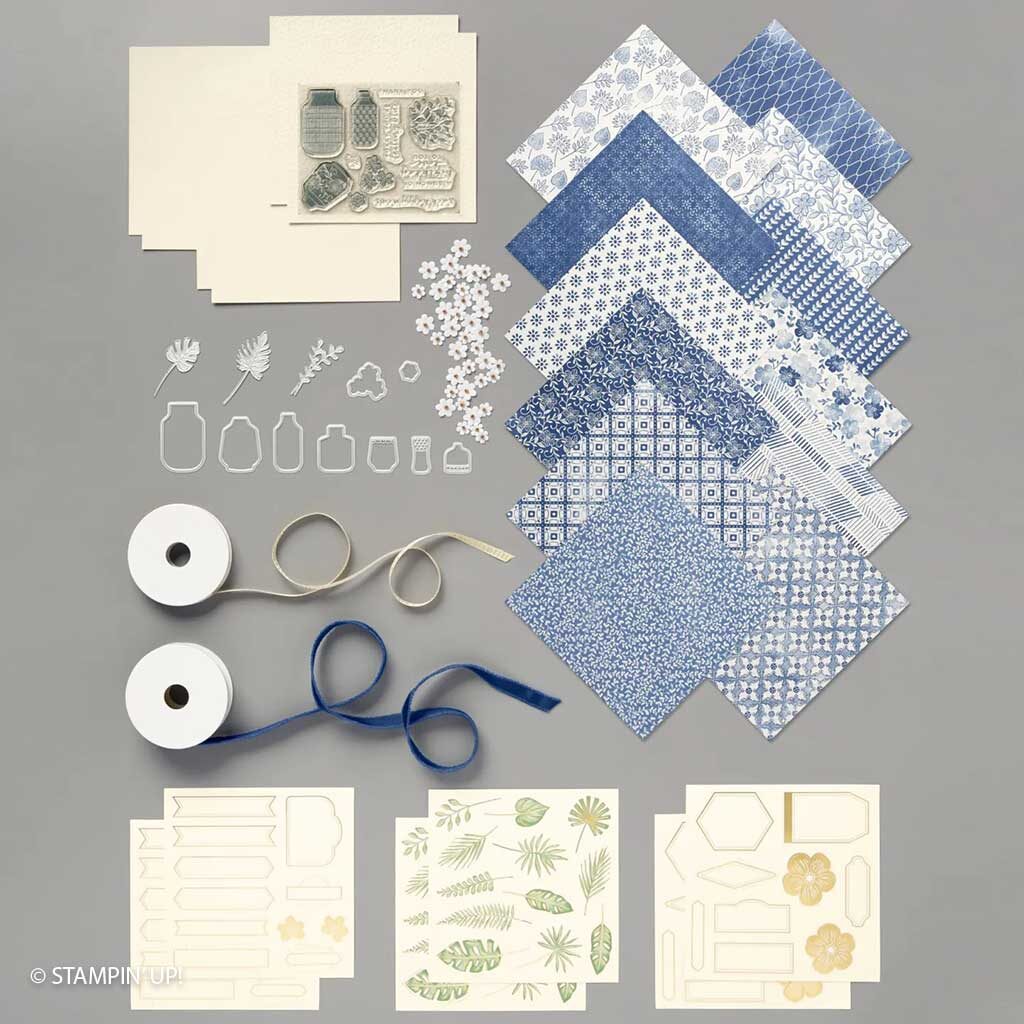
My eyes are naturally drawn to blues and greens, so when I first saw the Boho Indigo Medley, I was hooked. And a product medley takes all the guess work out out of it because everything coordinates just beautifully. The paper, die cuts, embossed paper, ribbon and adorable paper flowers are all ready to be used together. All I had to do was choose a layout, cut the paper, stamp the sentiments and voila! A beautiful card. It was so easy I made two using the same layout and different elements.
Boho Indigo Product Medley
Measurements
Full list of supplies needed, listed below. A die cutting machine is needed for this card.
Card Base: Misty Moonlight Cardstock 5 1/2″ h x 8 1/2″ w folded to 4 1/4″ h x 5 1/2″ w.
Background: Boho Indigo DSP 4″ h x 5 1/4″ w
Embossed Layer: Boho Indigo Embossed Sheet 3″ h x 4″ w
Sentiment Layer: Boho Indigo Die Cut
Inside Layer: Very Vanilla Cardstock 5 1/4″ h x 4″ w
Let’s Create
- Affix all stamps to Acrylic Blocks.
- Fold the Card Base in half using a Bone Folder to sharpen the crease.
- Attach the Background with Stampin’ Dimensionals.
- Stamp two vases in Misty Moonlight Ink and Die Cut.
- Die Cut three more vases from Boho Indigo Designer Series Paper.
- Attach two to the Embossed Layer with Stampin’ Dimensionals and attach three with Stampin’ Seal.
- Wrap ribbon around the Embossed Layer and attach on the back with Tear & Tape.
- Stamp the Sentiment in Misty Moonlight ink on the Die Cut Banner Tag and attach with Stampin’ Dimensionals.
- Attach the Embossed Layer with Stampin’ Dimensionals.
- Decorate the Inside Layer and attach.
- Decorate the envelope.
- Beautiful! Put it in the mail and send it.
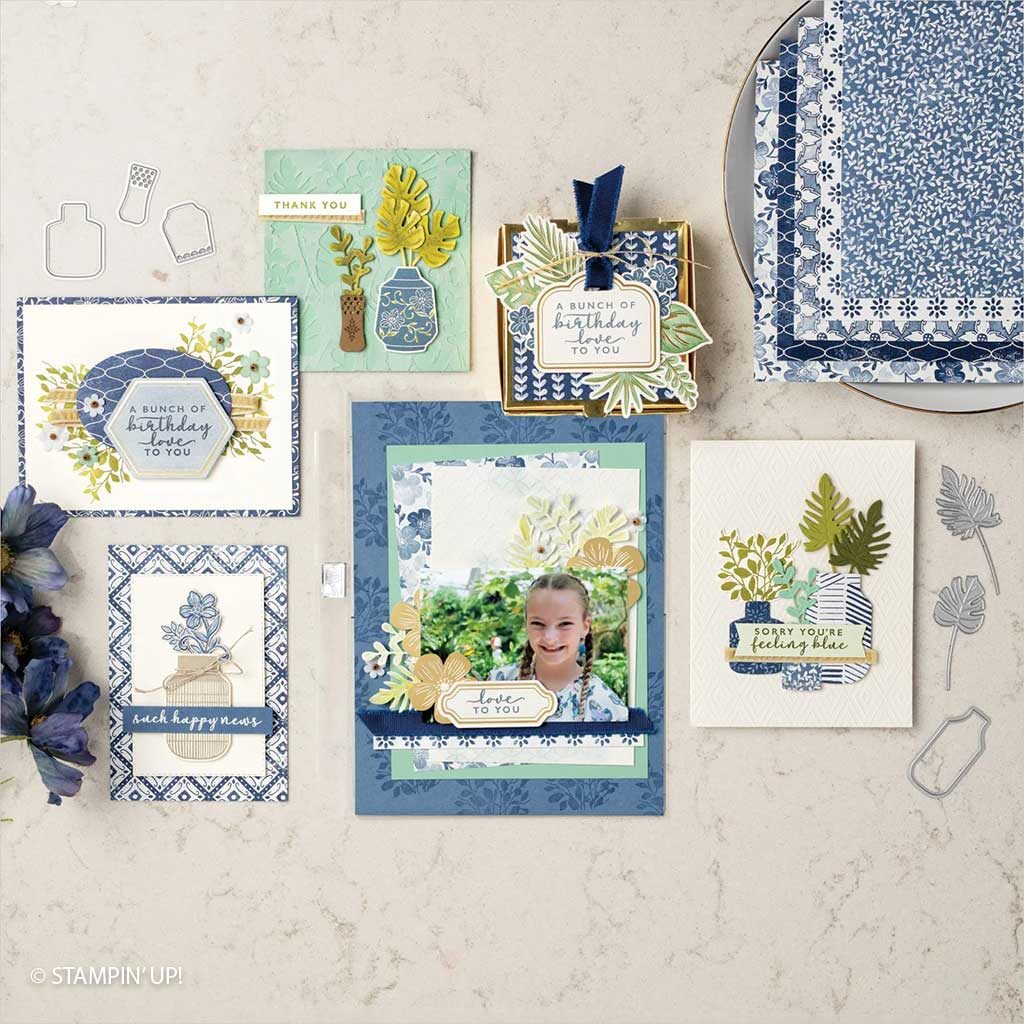
Additional Design

Shopping List
Stamper’s Toolkit
You will also need adhesive, acrylic blocks, scissors and other basic PaperCrafting items from the Stamper’s Toolkit


