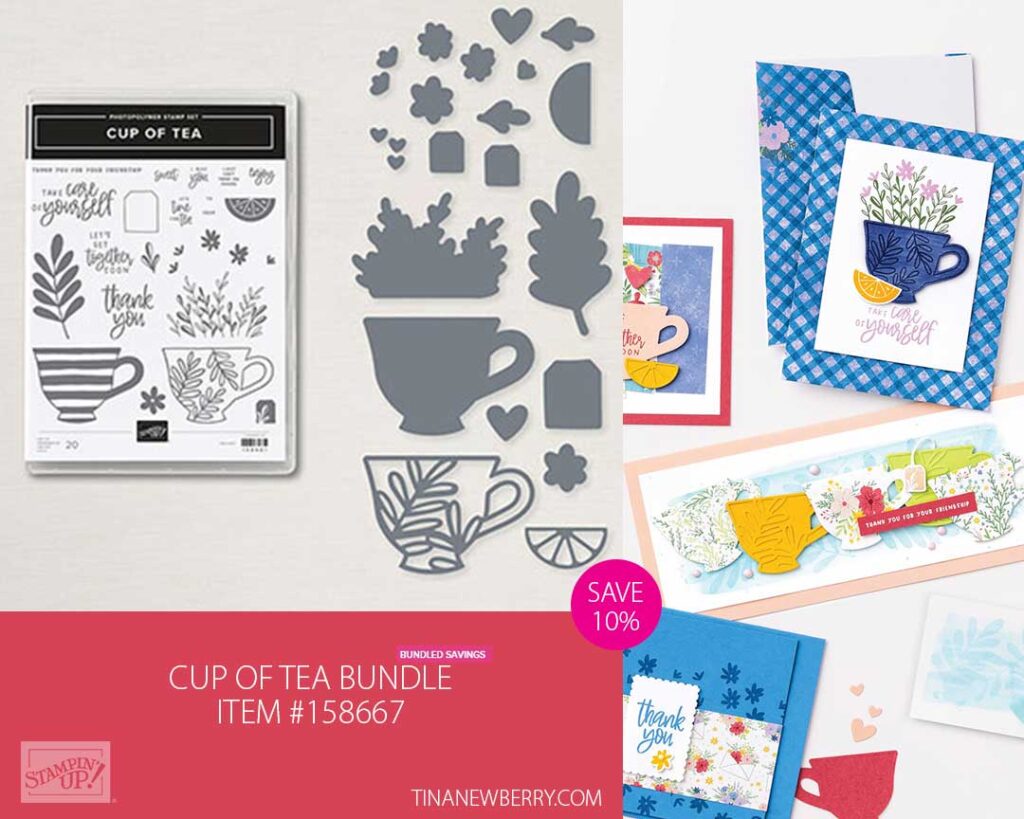
As a tea drinker, I was thrilled to see the Tea Boutique Suite in the new Annual Catalog. So cute! Although I don’t drink my tea out of a pretty porcelain tea cup, preferring an insulated mug to keep it hot, I find them quite pretty. After playing with the Cup of Tea Bundle I am excited about the possibilities of these products. And since I’m a klutz, creating with paper is a lot less daunting than a dainty, breakable cup. LOL
Measurements
Full list of supplies needed, listed below. A die cutting machine is needed for this card.
Bright White Thick Cardstock: 5 1/2″ h x 8 1/2″ w , scored and folded on the long-side at 4 1/4″ for card base.
Basic White Cardstock:
- 1 1/2″ square scrap for sentiment
- 4″ h x 3″ w for die cut
- 5 1/4″ h x 4″ w for inside
Crushed Curry Cardstock: 1 3/4″ square scrap
Tea Boutique Designer Series Paper (DSP):
- 5 1/2″ x 4 1/4″ for die cut
- scraps for flowers
Let’s Create
- Affix all stamps to Acrylic Blocks.
- Fold the Card Base in half using a Bone Folder to sharpen the crease.
- Die cut the 5 1/2″ x 4 1/4″ Tea Boutique DSP with the largest Scalloped Contours Die, then attach to the Card Base with Stampin’ Seal.
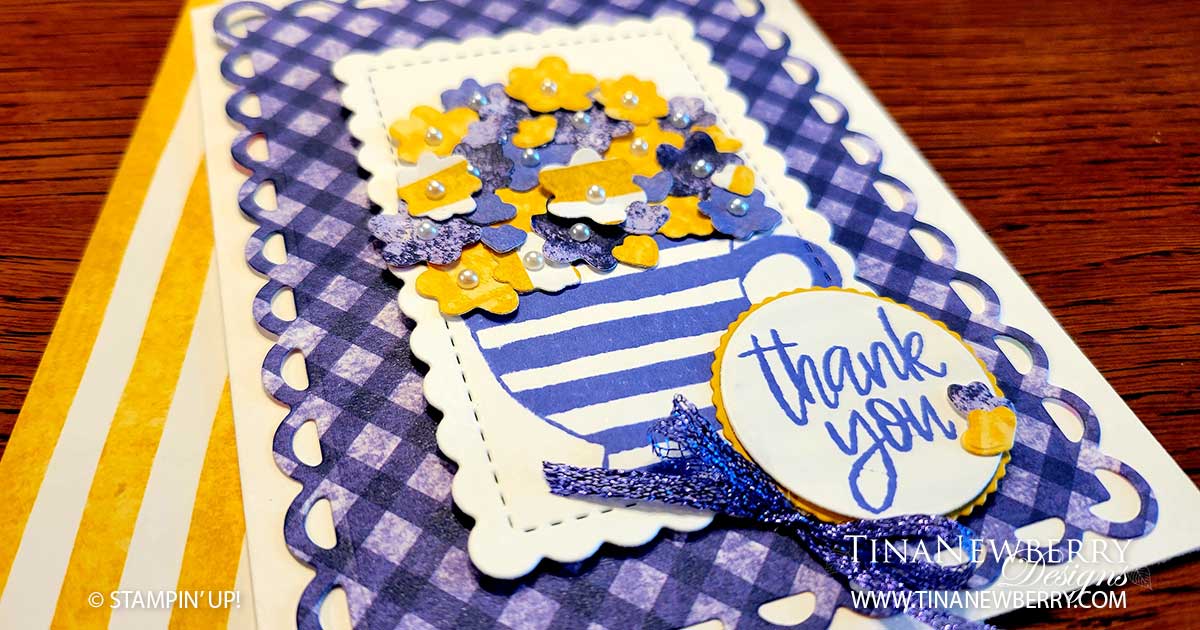
- Stamp the striped tea cup on the 4″ h x 3″ w Basic White with Orchid Oasis Stamp Pad and then die cut with the Scalloped Contrours Die.
- Die cut about 20 flowers – large and small – in coordinating Tea Boutique DSP and use Mini Glue Dots to adhere to the cup layer and then attach to the card with Stampin Dimensionals.
- Stamp the Thank You sentiment stamp pad Orchid Oasis and die cut with Layering Circles Dies.
- Die cut a scalloped circle in Crushed Curry from the Layering Circles Dies.
- Attach the Thank You sentiment to the Crushed Curry scalloped circle and then attach both the card with Stampin’ Dimensionals. In the lower right of the circle, you may need to stack the dimensionals to keep the circles level becuase the tea cup die is already raised with dimensionals.
- Add a few small flowers to the sentiment with Mini Glue Dots.
- Add Basic Pearls to the center of each large flower.
- Tie a bow with Orchid Oasis Metallic Ribbon and attach with a Mini Glue Dot.
- Stamp and decorate the inside and attach with Stampin’ Seal.
- Decorate your envelope.
- So cute! Send your thanks today.
Shopping List
")
$45.00


 Designer Series Paper")
 Woven Metallic Ribbon")

$6.00

$35.00

$35.00
Recommended Stamper’s Toolkit ❤
Product List
$12.00

$7.00

$4.25

$5.75

$5.50

$11.00

$26.00

$7.00

$6.50

$11.00

$20.00

$11.00

$80.75

$128.00


$16.00

$13.00


