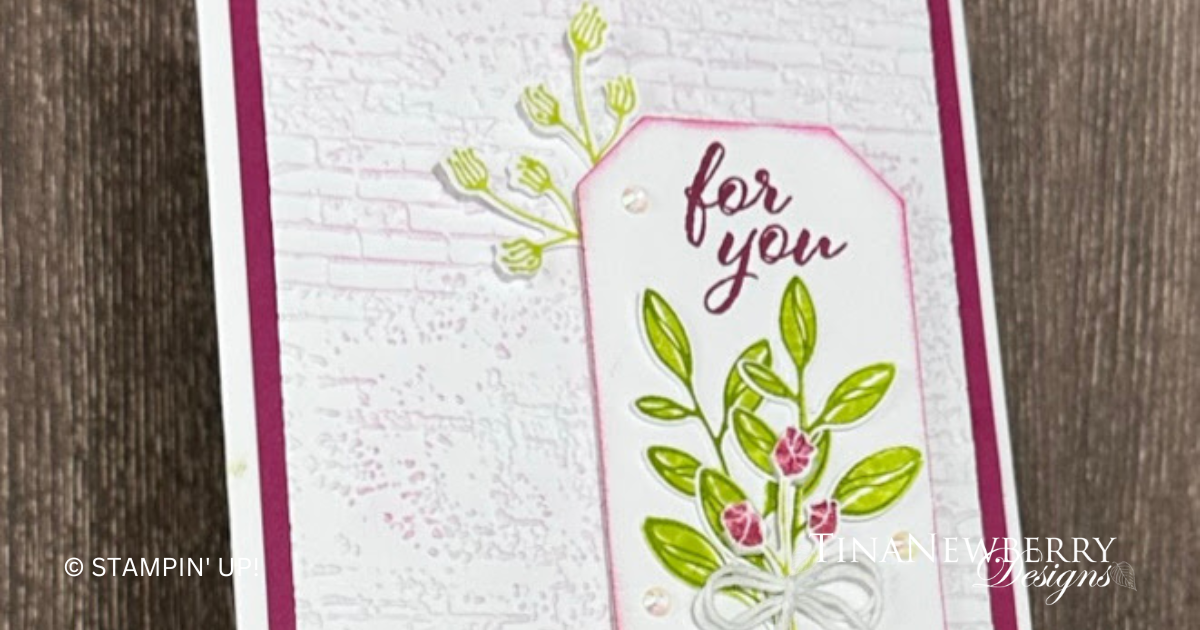
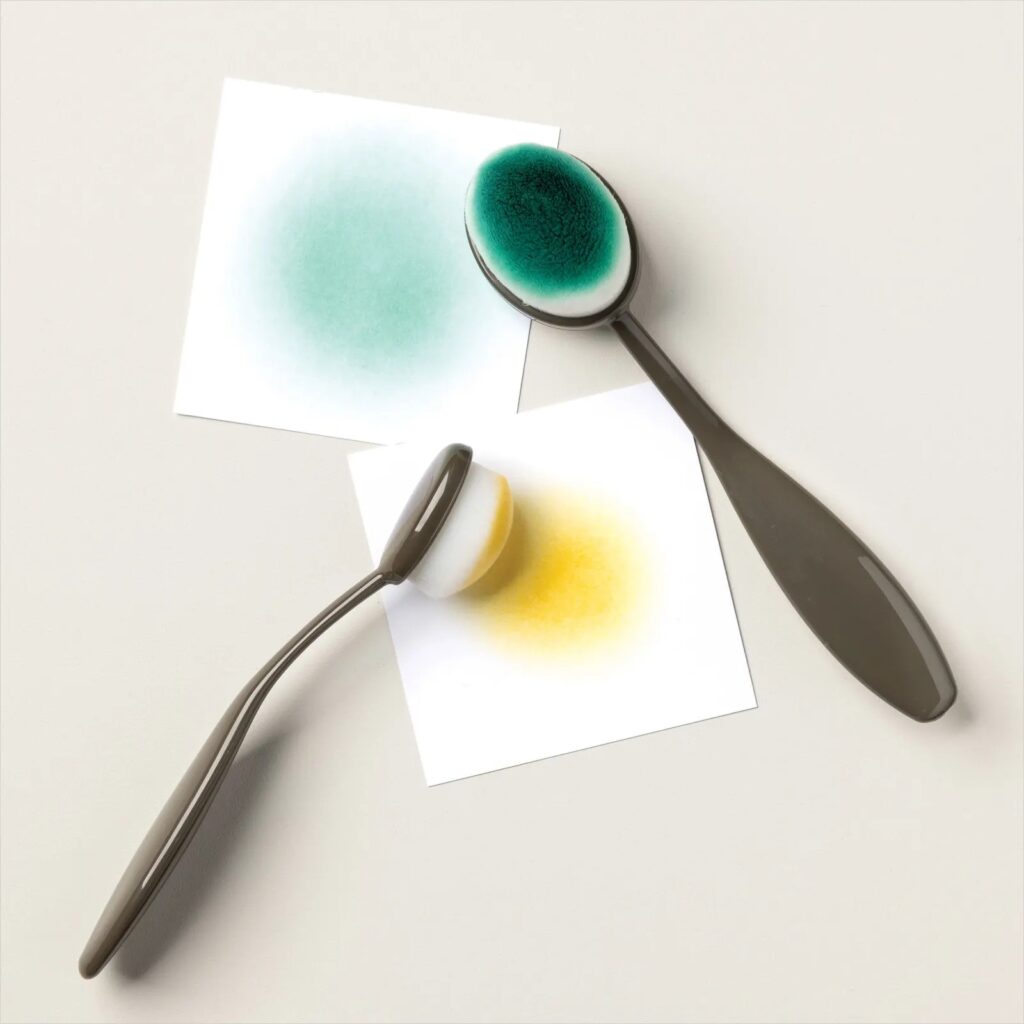
Show off your embossed panel by adding a bit of color using a blending brush.
Measurements
Full list of supplies needed, listed below. A die cutting machine is needed for this card.
Card Base Basic White Thick 8 ½” x 5 ½”, scored at 4 ¼”
Layer 1 Berry Burst – 4” x 5 ¼”
Layer 2 Basic White – 3 ¾” x 5”,
Die Cut Countryside Corners label die (~1 3.4” x 3 1/2”) in Basic White
Stamp and punch leaves and little flowers
Let’s Create
- Affix all stamps to Acrylic Blocks.
- Fold the Card Base in half using a Bone Folder to sharpen the crease.
- Emboss the 3 ¾” x 5” Basic White with Exposed Brick 3D Embossing Folder
- Die Cut the Countryside Corners label die (~1 3.4” x 3 1/2”) in Basic White
- Stamp and punch leaves and little flowers. Use the two-step stamping technique. Stamp-off the solid part of the leaves first. (Granny Apple Green and Berry Burst)
- Adhere Berry Burst layer to card base with Stampin’ Seal.
- Use Blending Brush to lightly brush Bubble Bath across the bricks. Truly, use just the very lightest touch for just a hint of color. Adhere layer to card front with Stampin’ Seal.
- Use dauber to add color to the edges of the Countryside Corners die cut, in Berry Burst.
- Stamp sentiment in Berry Burst.
- Adhere label to card front with DImensionals.
- Arrange leaves in a pleasing manner and adhere with Mini Glue Dots or Multipurpose-glue.
- Add a sweet little bow
- Sprinkle on a trio of gems.
- Tuck two little flowers behind the upper left corner of the label.
- Stamp and decorate the inside.
- Decorate your envelope.
- Love it! Now send it to someone special.
Shopping List
Recommended Stamper’s Toolkit ❤
Product List


