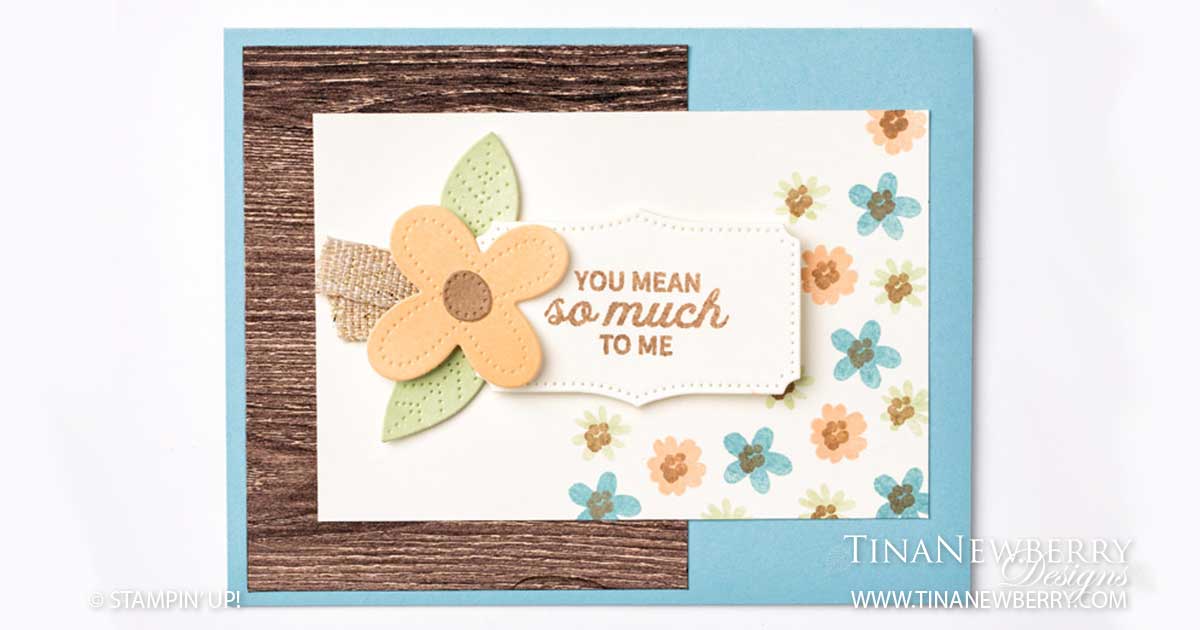
Such an adorable and cheerful card! It’s made with pretty much just stamps, ink and paper and I am loving this color palette. Simple stitching from the In Bloom Bundle easily brings character to this fun and easy project.

Measurements
Full list of supplies needed, listed below. A die cutting machine is needed for this card.
Card Base: Balmy Blue Cardstock 4 1/4″ h x 11″ w folded to 4 1/4″ h x 5 1/2″ w
Background: In Good Taste Designer Series Paper 4″ h x 3 1/4″ w
Stamped Background: Very Vanilla Cardstock 3″h x 4 1/2″ w
Flowers & Leaves: Soft Seafoam, Soft Suede and Petal Pink Cardstock scraps
Sentiment Layer: Very Vanilla Cardstock scrap at least 1 3/4″ h x 2 1/2″ w
Inside Layer: Very Vanilla Cardstock 4″ h x 5 1/4″ w
Let’s Create
- Affix all stamps to Acrylic Blocks.
- Fold the Card Base in half using a Bone Folder to sharpen the crease.
- Stamp the flowers on the Very Vanilla Stamped Background piece using Balmy Blue, Soft Sea Foam, Petal Pink and Soft Suede Ink.
- Stamp the Sentiment on the Very Vanilla Cardstock scrap in Soft Suede Ink and then die cut.
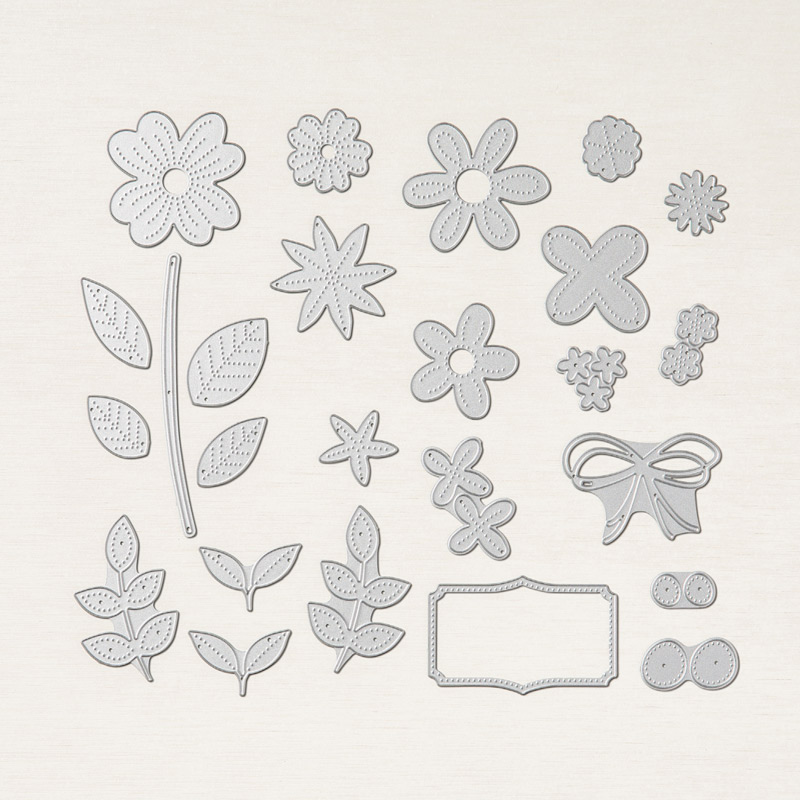
- To add texture to the Flowers & Leaves, press your stamp pad onto the coordinating piece of cardstock (optional) before die cutting the Flowers & Leaves.
- Use adhesive of your choice to attach the Background and Stamped Background layers to the Card Base.
- Fold a 3″ piece of Fine Art Ribbon in half and attach to the back of the Sentiment with Mini Glue Dots. Then use Use Stampin’ Dimensionals to attach the Sentiment and trim the ends of the ribbon to size.
- Arrange the Flowers & Leaves around the Sentiment with Mini Glue Dots.
- Stamp the inside layer and attach with the adhesive of your choice.
- Decorate your envelope.
- Adorable! Send it to someone who means so much to you.


 Fine Art Ribbon")
Stamper’s Toolkit
You will also need adhesive, acrylic blocks, scissors and other basic PaperCrafting items from the Stamper’s Toolkit


")


