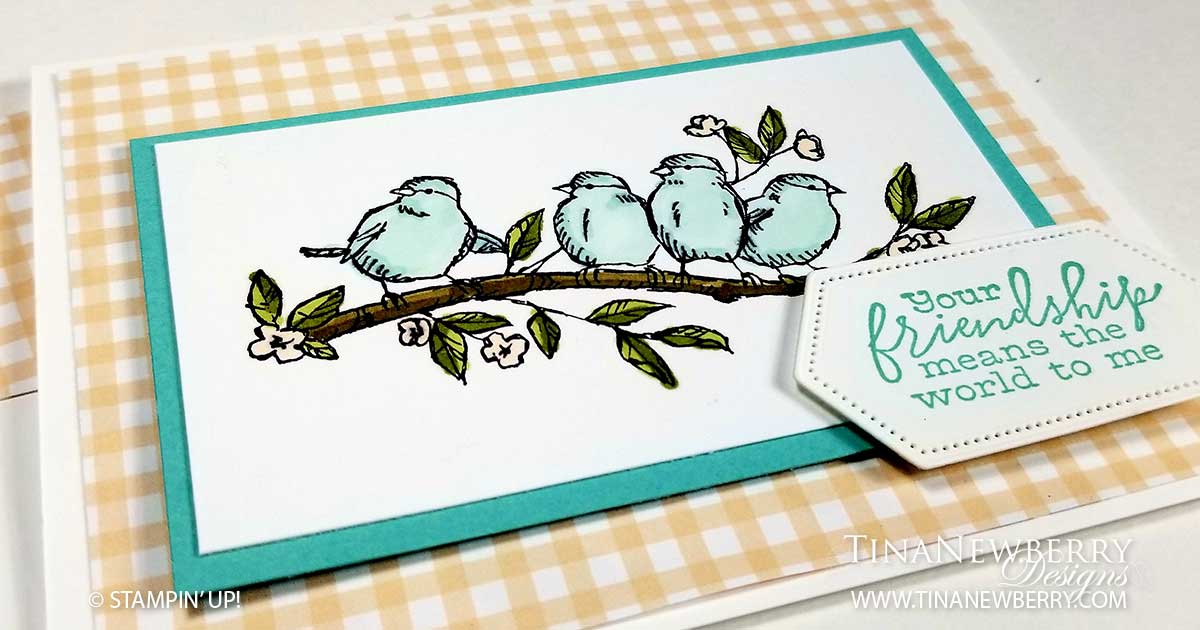
I’ve had my eye on this Free as a Bird Stamp Set for a few years and was SO GLAD when it carried over again into the new catalog. When we lived in NH my desk was in front of a window overlooking the front yard and a field beyond. The cats and I enjoyed watching the birds – even if for very different reasons. LOL. This pretty stamp set reminds me of brilliant sunrises and cute little birds viewed through that window. This one is just Stamps, Ink & Paper for #simplestamping
Full list of supplies needed, listed below. A die cutting machine is needed for this card.
Card Base: Basic White Thick Cardstock 5 1/2″ h x 8 1/2″ w folded to 5 1/2″ h x 4 1/4″ w
Background: Pansy Petals Designer Series Paper 5 1/4″ h x 4″ w
Birds Matte: Coastal Cabana Cardstock 3″ h x 4 1/2″ w
Birds Layer: Basic White Cardstock 2 1/2″ h x 4 1/4″ w
Sentiment: Basic White Cardstock Scrap
Inside Layer: Basic White Cardstock 5 1/4″ h x 4″ w
- Affix all stamps to Acrylic Blocks.
- Fold the Card Base in half using a Bone Folder to sharpen the crease.
- Stamp the Birds on a Branch image in Tuxedo Black Memento Ink and color in the birds with Blender Pens. I used:
- Birds: Pool Party Light and Dark
- Branch: Soft Suede Light and Dark
- Leaves: Old Olive Light and Dark
- Flowers: Pale Papaya Light and Dark
- Stamp your Sentiment on Basic White Scrap in Coastal Cabana Ink and run through the Stampin’ Cut & Emboss Machine with the Nested Labels Die.
- Now you’re ready to assemble.
- Attach the Background to the Card Base with adhesive.
- Attach the Birds to the Birds Matte and attach with Stampin’ Dimensionals.
- Attach your sentiment with Stampin Dimensionals.
- Decorate the inside layer and attach.
- Decorate the envelope.
- So cute! Now send it to someone special.
Shopping List
Product List
Stamper’s Toolkit
You will also need adhesive, acrylic blocks, scissors and other basic PaperCrafting items from the Stamper’s Toolkit


