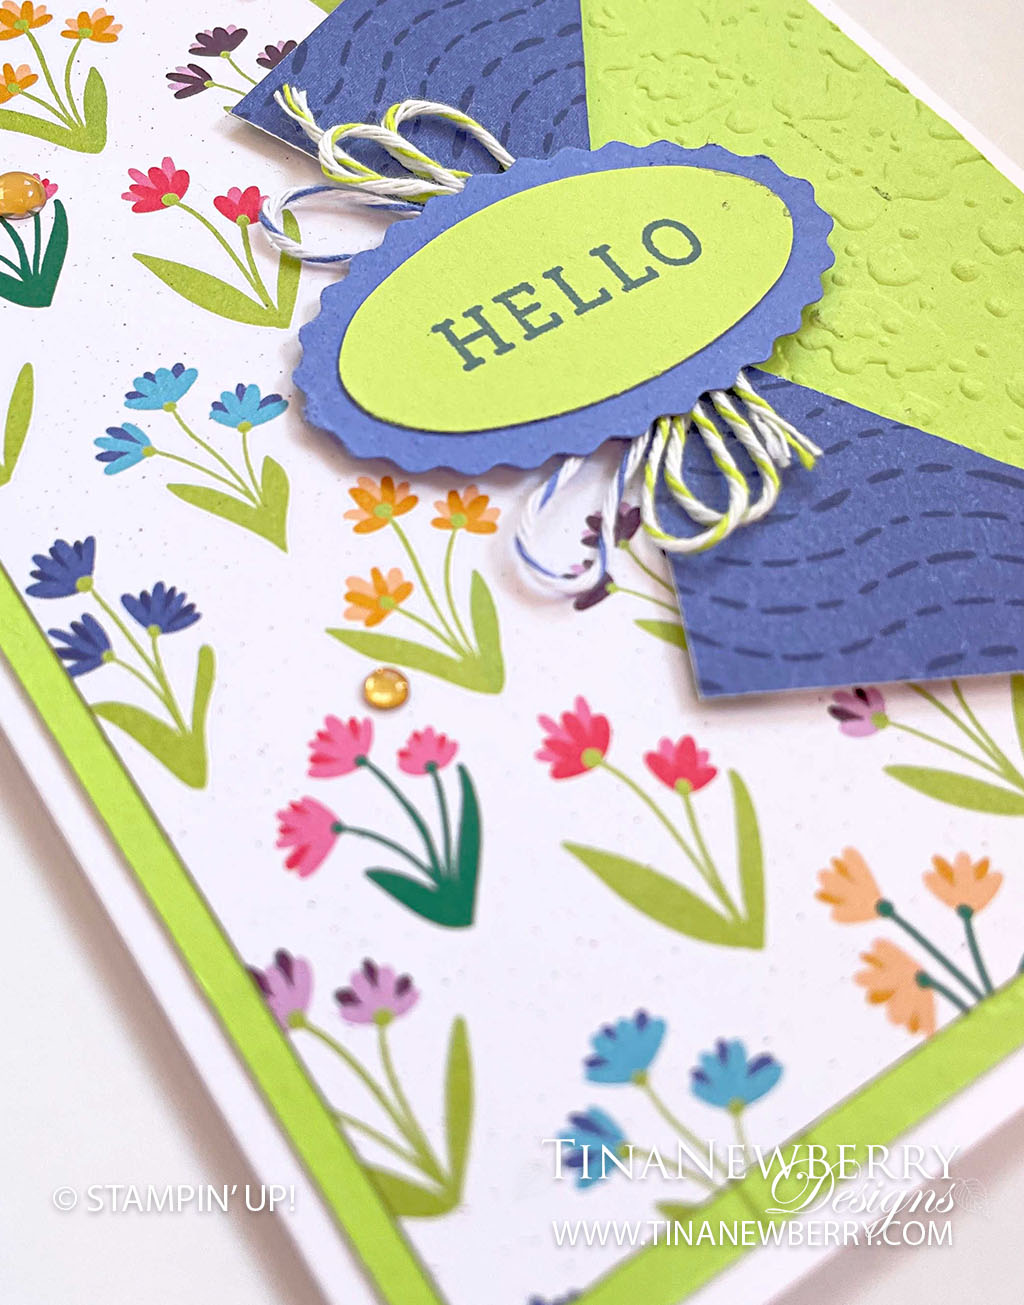
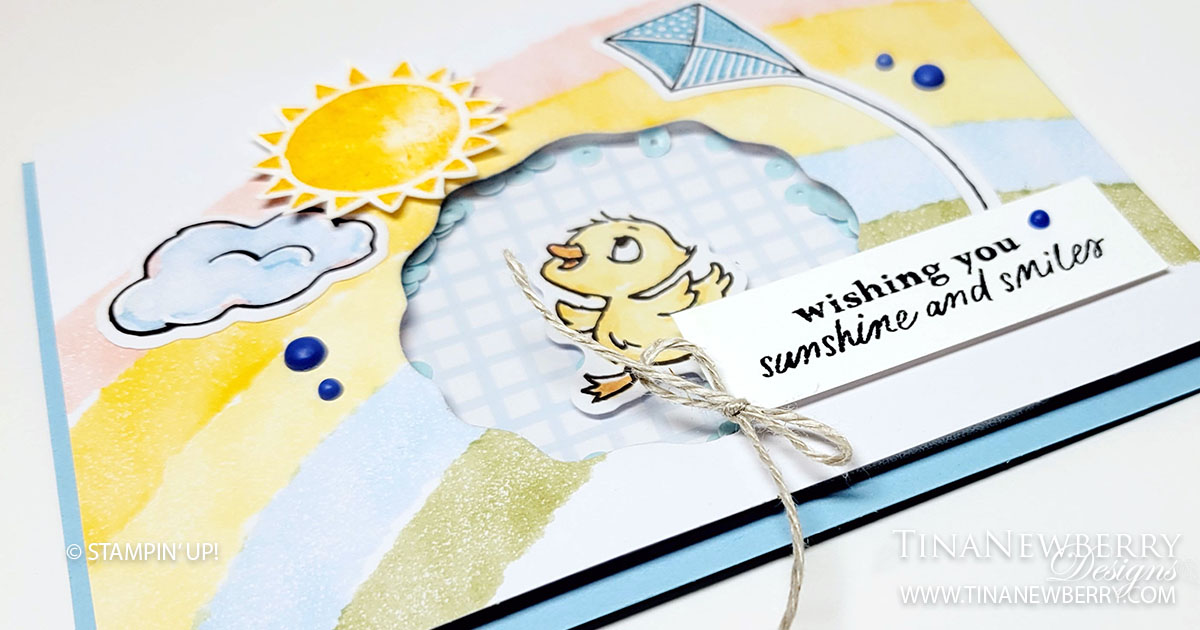
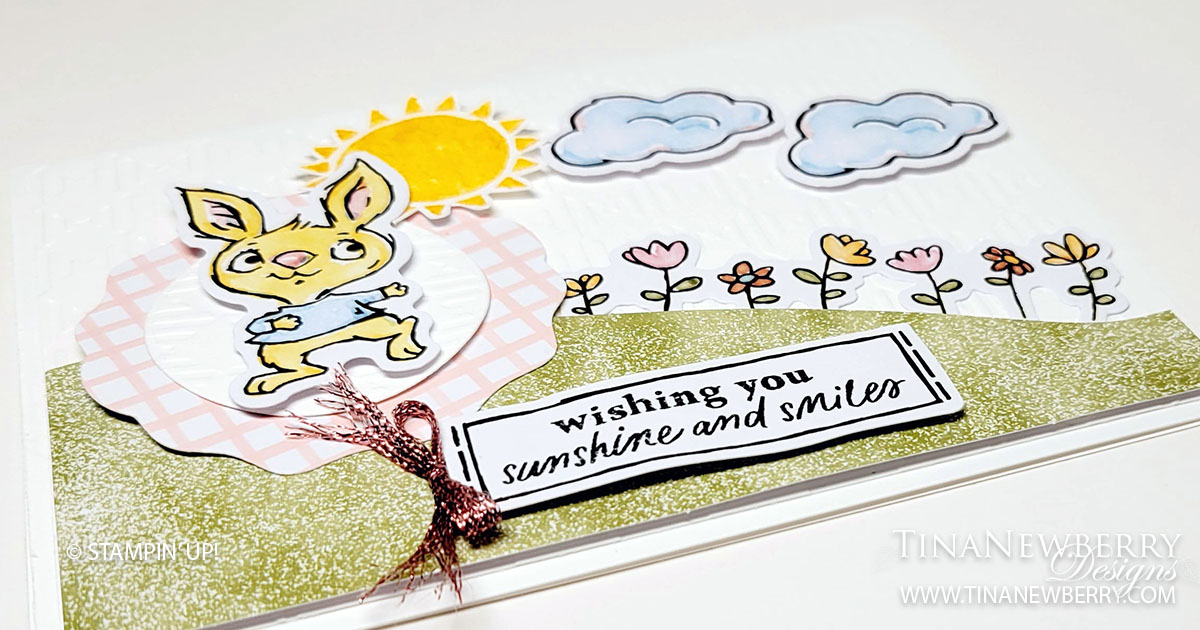
Such a cheery spring card perfect for letting someone know you’re thinking of them. This layout really shows off both sides of the patterned paper with a peak at a pretty embossing folder underneath. What will you make using this layout?
Measurements
Full list of supplies needed, listed below. A die cutting machine is needed for this card.
Card Base: Basic White Thick 5 ½”h x 8 ½”w, scored at 4 ¼”.
Background layer: Parakeet Party cardstock 5 ¼”h x 4”w, embossed on the right side with the Splatters texture embossing folder
Front layer: Flower & More Designer Series Paper (DSP): 5”h x 3 ¾”w
Sentiment layers: Parakeet Party and Orchid Oasis punches from Double Oval Punch
Inside: Basic White Cardstock 5 1/4″ h x 4″ w
Let’s Create
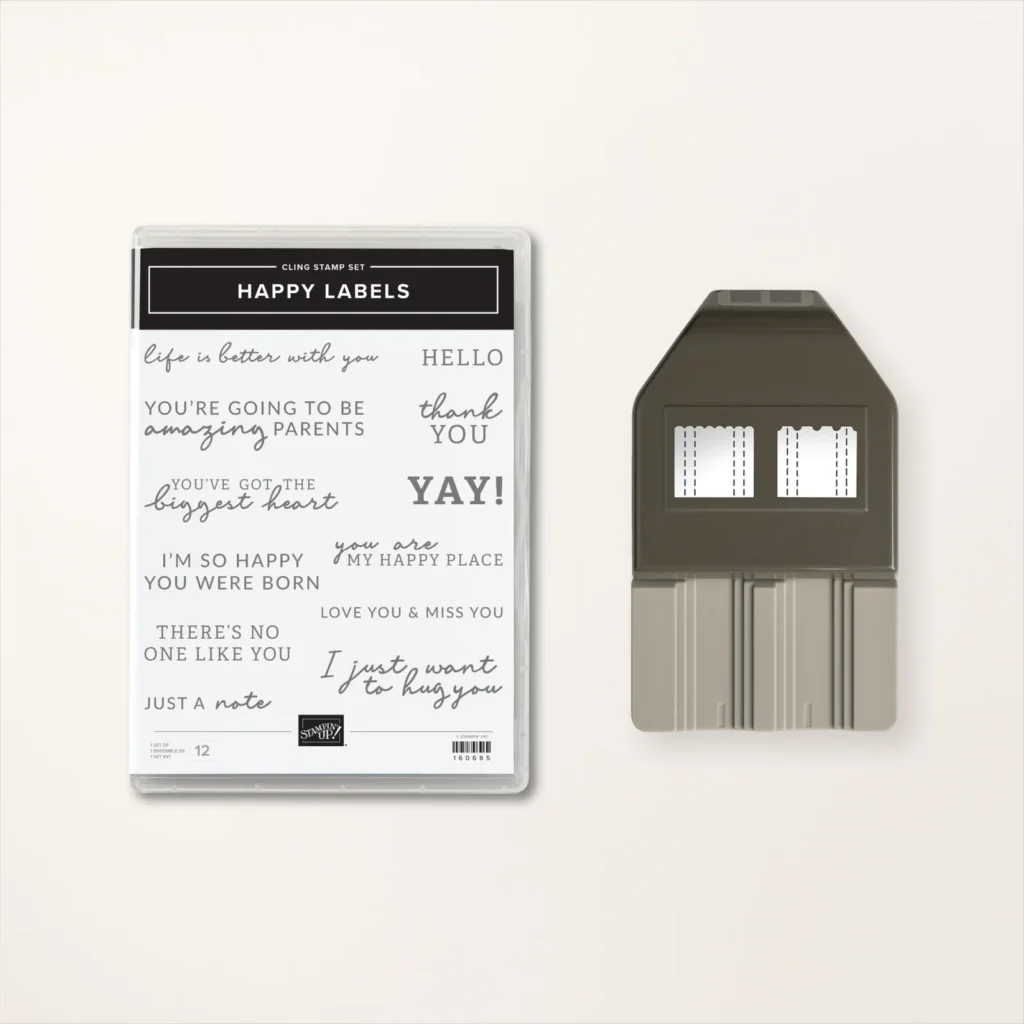
- Affix all stamps to Acrylic Blocks.
- Fold the Card Base in half using a Bone Folder to sharpen the crease.
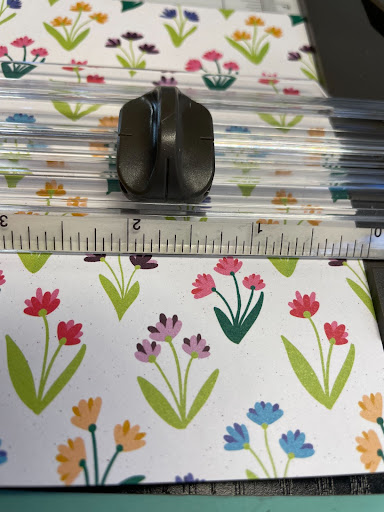
- Center your Flowers & More DSP layer in your cutter at the 2 ½” (That is half of the 5″ length) Place your cutter at the 2″ mark on the ruler … then cut from that point out to the edge of the DSP. (see photo)
- Gently fold the flaps open from the cut to the corners.
- Emboss the Parakeet Party cardstock layer with the Splatters embossing folder, it is ok if one side is plain the DSP will cover it up.
- Adhere the embossed Parakeet Party cardstock layer onto the card base.
- Adhere the Flowers & More DSP onto the Parakeet Party layer.
- Stamp the sentiment onto the Parakeet Party oval.
- Adhere the oval labels together with Dimensionals.
- Wrap loops of Parakeet Party and Orchid Oasis twine together and adhere to the backside of the ovals.
- Use Dimensionals to adhere the ovals to the card front.
- Sprinkle on the Adhesive backed Milky Dots
- Stamp and decorate the inside and attach with Stampin’ Seal.
- Decorate your envelope.
- So cute! Now send it to someone special.
Shopping List
")


 Host Designer Series Paper")


$19.00

Recommended Stamper’s Toolkit
Product List
$12.00

$7.00

$4.25

$5.75

$5.50

$11.00

$26.00

$7.00

$6.50

$11.00

$20.00

$11.00

$80.75

$128.00


$16.00

$13.00


")