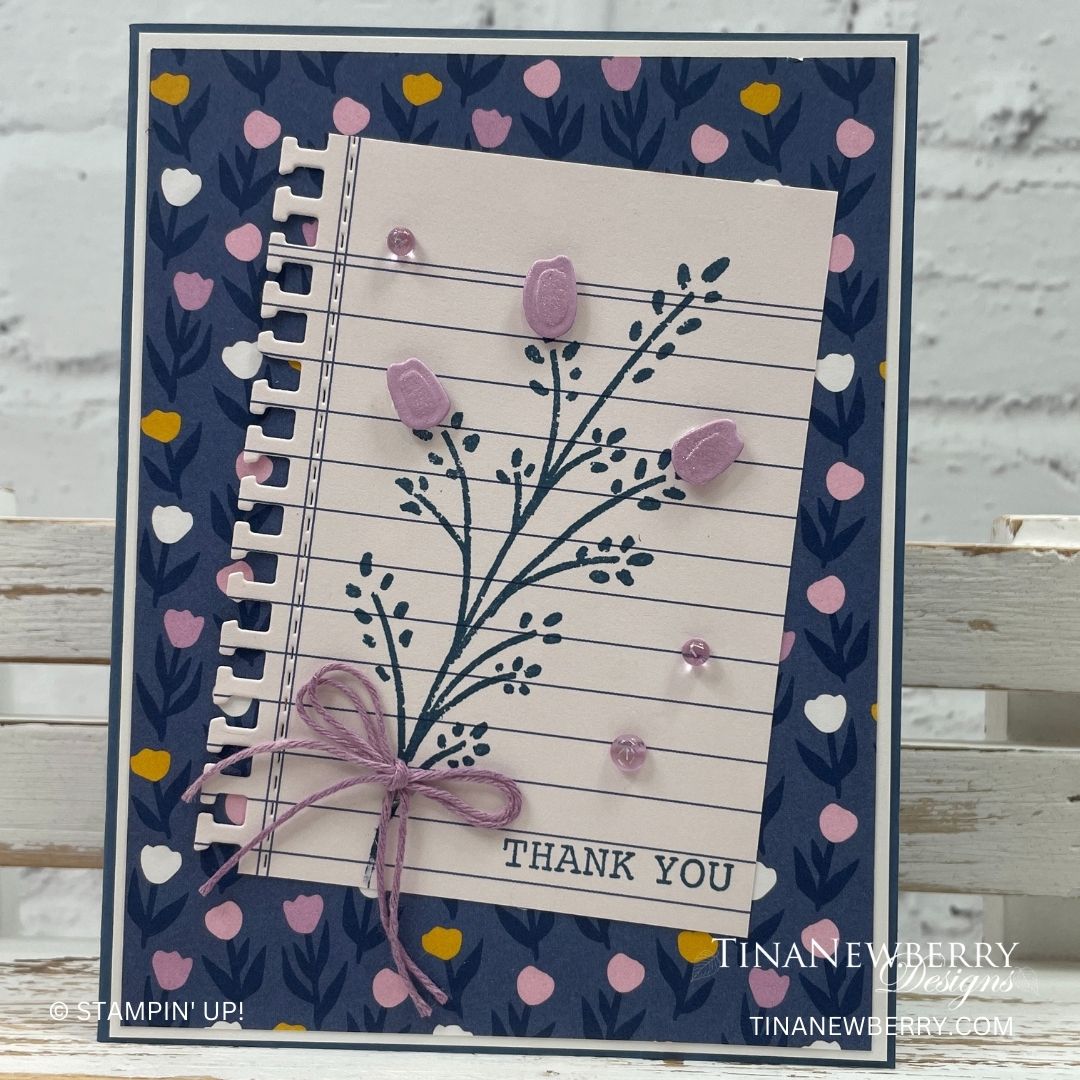
The notebook paper-edge die in this bundle is so fun! Make this layout with the Gorgeously Made bundle or products from your stash. What pretty paper will you show off?
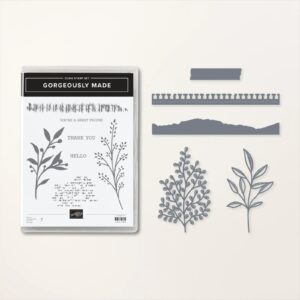
The Gorgeously Made Bundle includes the Gorgeously Made Stamp Set and the Gorgeously Made Dies. These stamps and dies complement each other to help you create gorgeous cards and crafts with even the simplest of combinations. Stamp or die cut sprigs for layering pieces that shine. Cut out a label and stamp your sentiment with ease. We guarantee you’ll use this unique bundle all year long!
Measurements
Full list of supplies needed, listed below. A die cutting machine is needed for this card.
Basic White
5 ½” x 8 ½” scored and folded on the long-side at 4 ¼”
4” x 3”
Basic Black
4 ⅛” x 5 ⅜”
Lemon Lime Twist
4 ½” x 3” (for die cutting stem of leaves)
Masterfully Made Designer Series Paper
5 ⅛” x 3 ⅞” (Fresh Freesia leaf print)
Let’s Create
Affix all stamps to Acrylic Blocks.
Fold the Card Base in half using a Bone Folder to sharpen the crease.
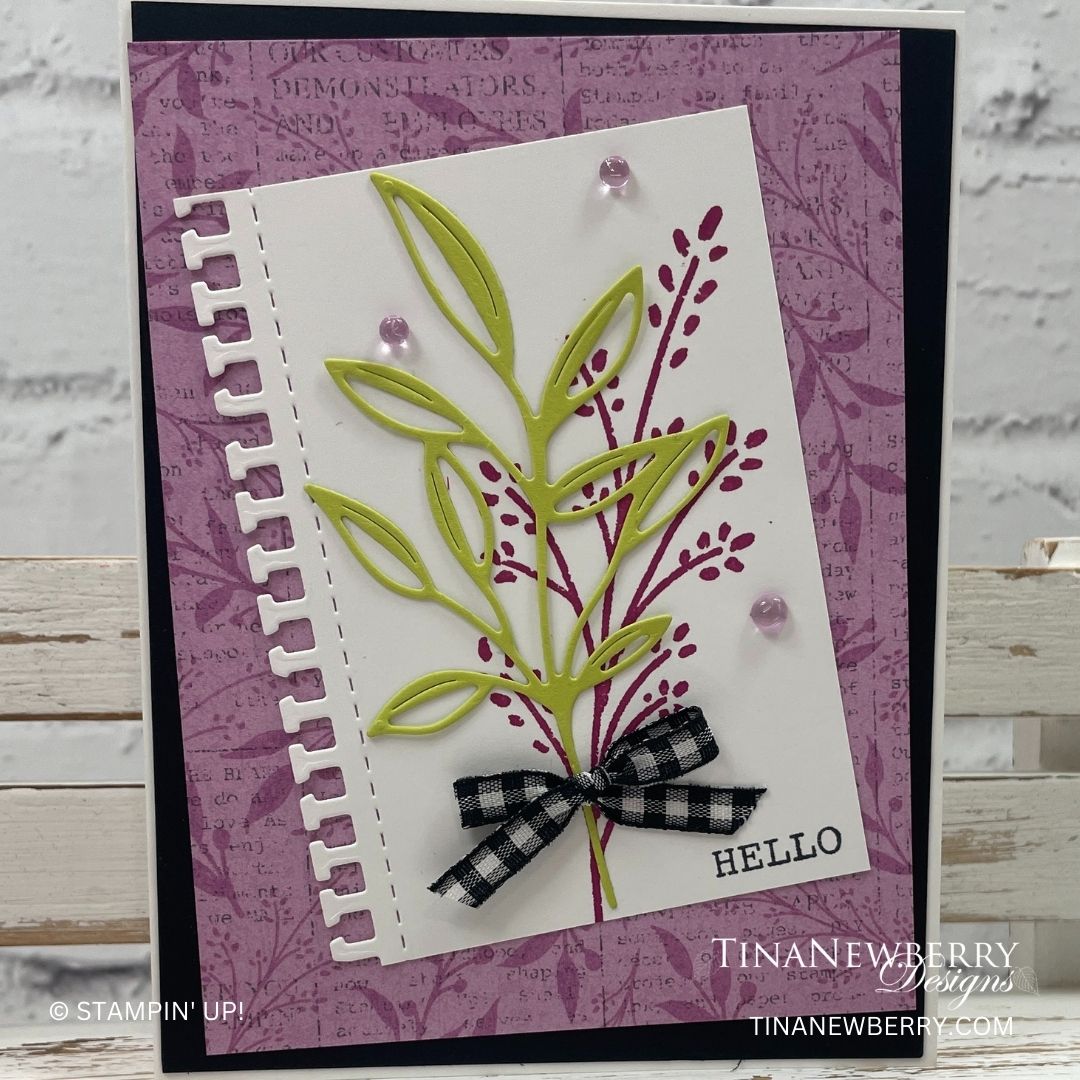
Using the 4 ½” x 3” Lemon Lime Twist cardstock, and the sprig of leaves die from the Gorgeously Made die set, cut 1 sprig.
using the 4” x 3” Basic White cardstock and the long “paper” border die from the Gorgeously Made die set, die cut the left edge.
Using Fresh Freesia ink pad and the sprig stamp from the Gorgeously Made Stamp Set, stamp on the die cut Basic White cardstock.
Using Black memento ink, stamp the “hello” in the lower left corner of the die cut basic white cardstock.
Attaching the card layers: Attach the 5 ⅜” x 4 ⅛” Basic Black cardstock to the folded Card base. Attach the Fresh Freesia Designer Series Paper at a bit of an angle to the Basic Black layer. Attach the stamped, die cut Basic White piece to the Designer Series Paper at more of an angle.
Tie a small bow using the black and white gingham ribbon and attach it to the card using a Mini Glue Dot.
Finish your card by randomly placing 3 gems from the Tinsel Gems 3 – pack to the card.
Be sure to decorate the inside of your card and the envelope.
Send your card off to wish someone a cheery hello!
Order online from the convenience of your own home or send me your order and I’ll take care of you. ❤ Either way, please use the host code KBSZKQ3A. Order online AND, if your order is $50 or more using host code KBSZKQ3A between now and the end of the month you’ll receive a free pack of embellishment as a THANK YOU gift from me. ❤ If your order is over $150, skip the host code, earn Stampin’ Rewards for free stuff yourself and I’ll still send you a free pack of embellishment as a THANK YOU gift from me. ❤
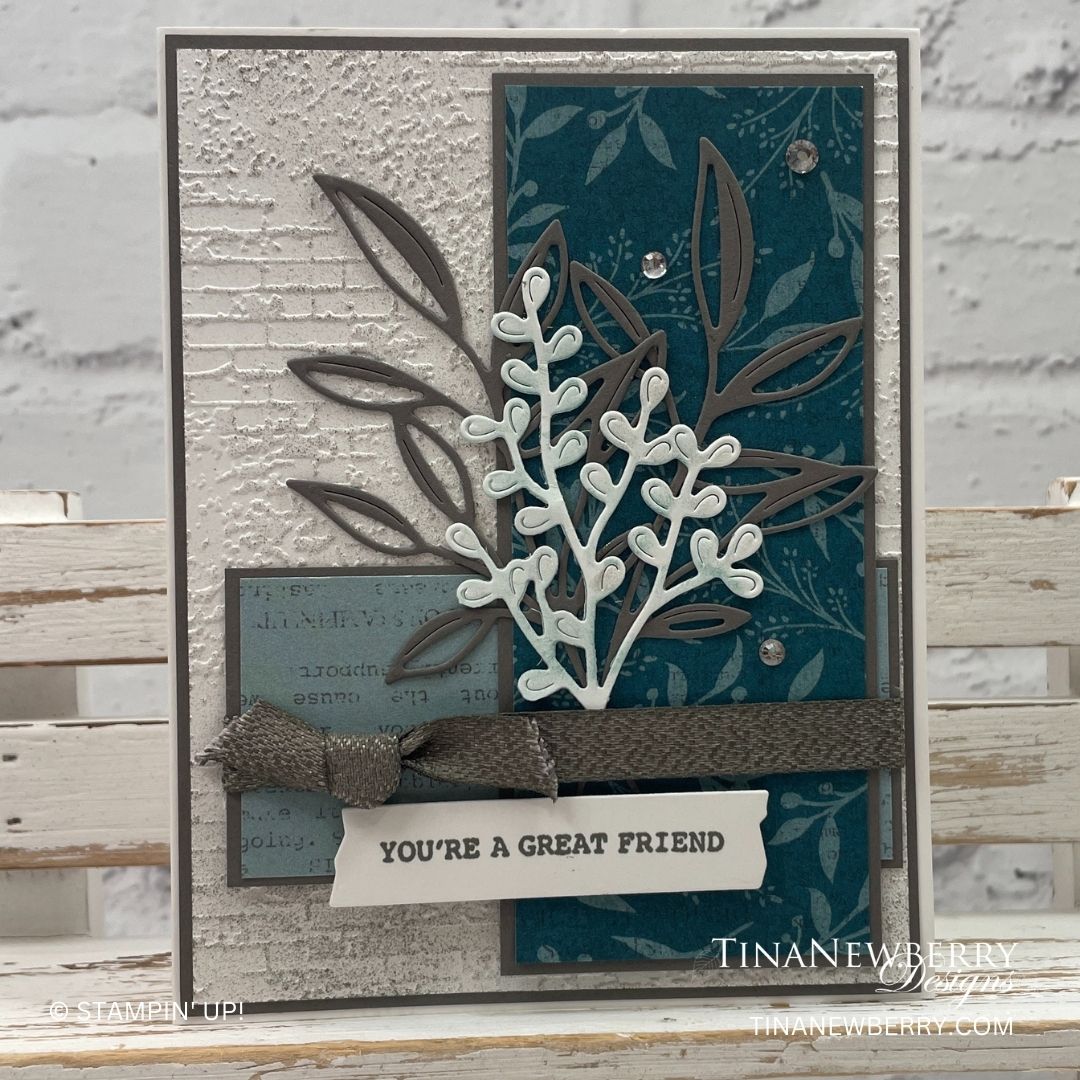
Such a beautiful color combination on this card for a friend. Make this card or CASE (copy and share everything) the layout with supplies from your stash.
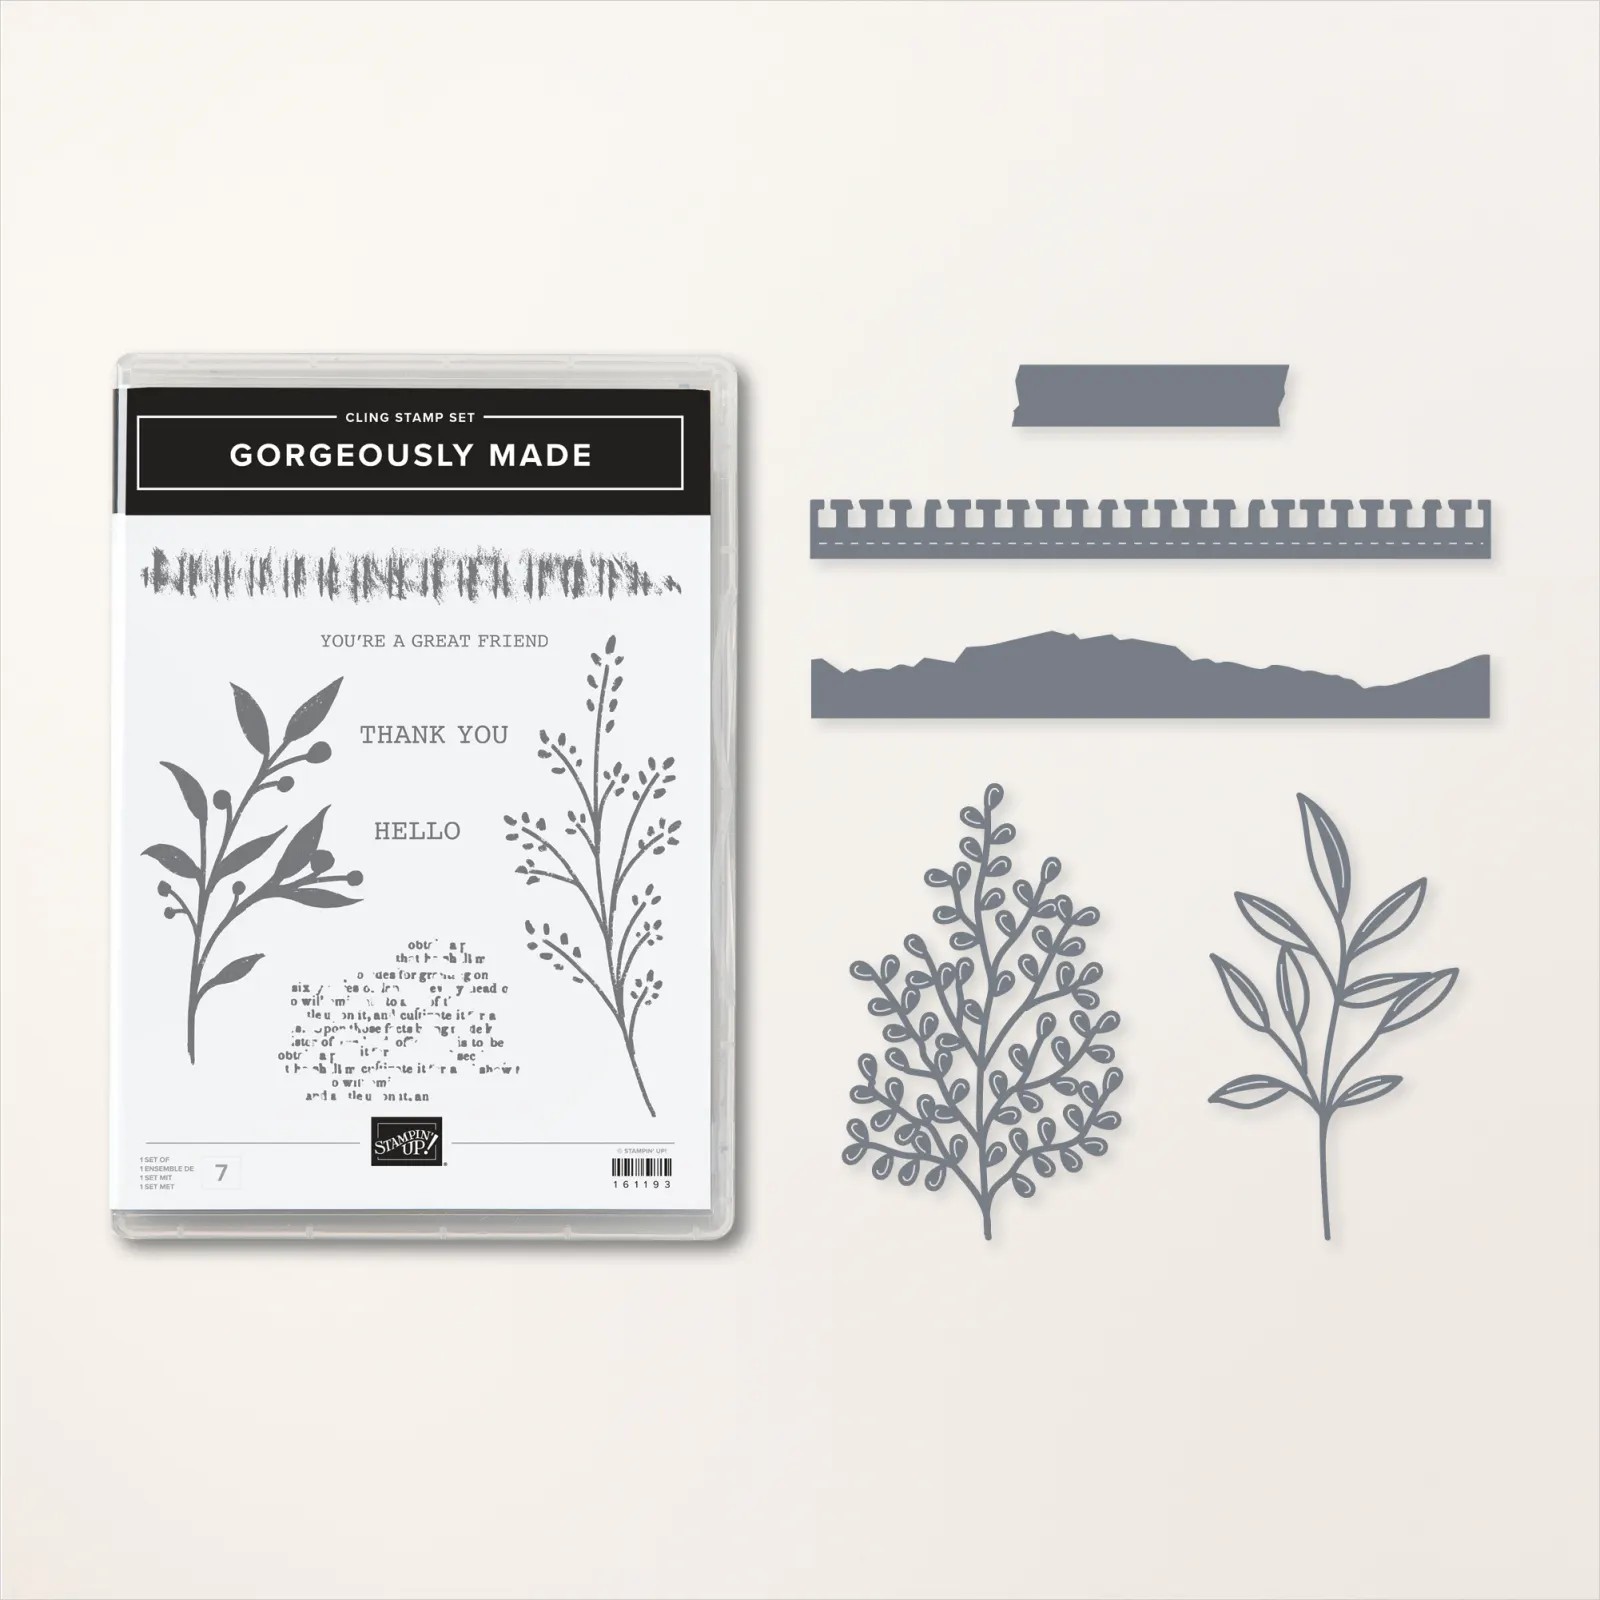
The Gorgeously Made Bundle includes the Gorgeously Made Stamp Set and the Gorgeously Made Dies. These stamps and dies complement each other to help you create gorgeous cards and crafts with even the simplest of combinations. Stamp or die cut sprigs for layering pieces that shine. Cut out a label and stamp your sentiment with ease. We guarantee you’ll use this unique bundle all year long!
Measurements
Full list of supplies needed, listed below. A die cutting machine is needed for this card.
Basic White
5 ½” x 8 ½” scored and folded on the long-side at 4 ¼”
5 ¼” x 4”
4” x 3” (for die cutting sprig)
2 3/4” x ¾” (for stamping and die cutting sentiment)
Pebbled Path
4 ⅛” x 5 ⅜”
5” x 2 ⅛”
3 ¾” x 1 ¾”
4” x 4” (for die cutting 2 sets of leaves)
Masterfully Made Designer Series Paper
4 ⅞” x 2 (Lost Lagoon Leaf print)
3 ⅝” x 1 ⅝” (Piece taken from the center of the print with bold flowers)
Let’s Create
Affix all stamps to Acrylic Blocks.
Fold the Card Base in half using a Bone Folder to sharpen the crease.
Using the Exposed Brick 3D Embossing Folder, emboss the 5 ¼” x 4” Basic White Cardstock.
Using a blending brush with the Pebbled Path Ink Pad, lightly brush ink on the rougher side of the cardstock.
Using the smaller leaf sprig die from the Gorgeously Made die set, die cut 2 of the Leaf sprigs from the 4” x 4” Pebbled Path cardstock.
Using the larger sprig from the Gorgeously Made die set, die cut 1 from the 4” x 3” Basic White cardstock. Using a blending brush lightly brush Lost Lagoon ink onto the sprig.
Using Pebbled Path ink pad, stamp the sentiment onto Basic White 2 ¾” x ¾” scrap. Die cut this piece using the label from the Gorgeously Made die set.
Assembling your card: Attach the 5 ⅜” x 4 ⅛” Pebbled Path cardstock to the folded card base. Attach the embossed 5 ¼” x 4” embossed Basic White to the card layers.
Attach the Designer Series Papers to their coordinating Pebbled Path layers.
Tie a piece of textured Pebbled Path Ribbon around the layered piece of Designer Series Paper that measures 3 ⅝” x 1 ⅝” into a knot towards the left side.
Position these layers to the Basic White embossed panel about ¾” from the lower left edge.
Place adhesive on the back of the other Designer Series layered pane and slip it under the ribbon and adhere to the card.
I did a little trimming on the die cut sprigs so they weren’t quite so full and bulky and adhered them to the card.
Adhere the sentiment using Stampin’ Dimensionals.
Finish your card by randomly placing 3 Rhinestones Basic Jewels onto your card.
Be sure to decorate the inside of the card and the envelope.
Order online from the convenience of your own home or send me your order and I’ll take care of you. ❤ Either way, please use the host code KBSZKQ3A. Order online AND, if your order is $50 or more using host code KBSZKQ3A between now and the end of the month you’ll receive a free pack of embellishment as a THANK YOU gift from me. ❤ If your order is over $150, skip the host code, earn Stampin’ Rewards for free stuff yourself and I’ll still send you a free pack of embellishment as a THANK YOU gift from me. ❤
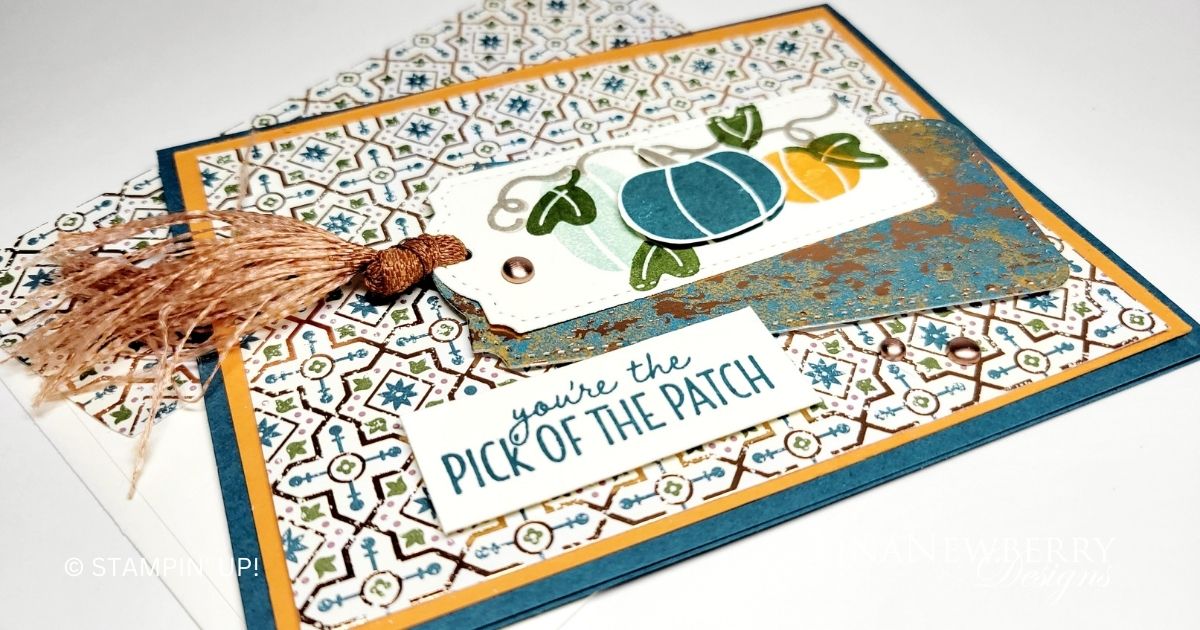
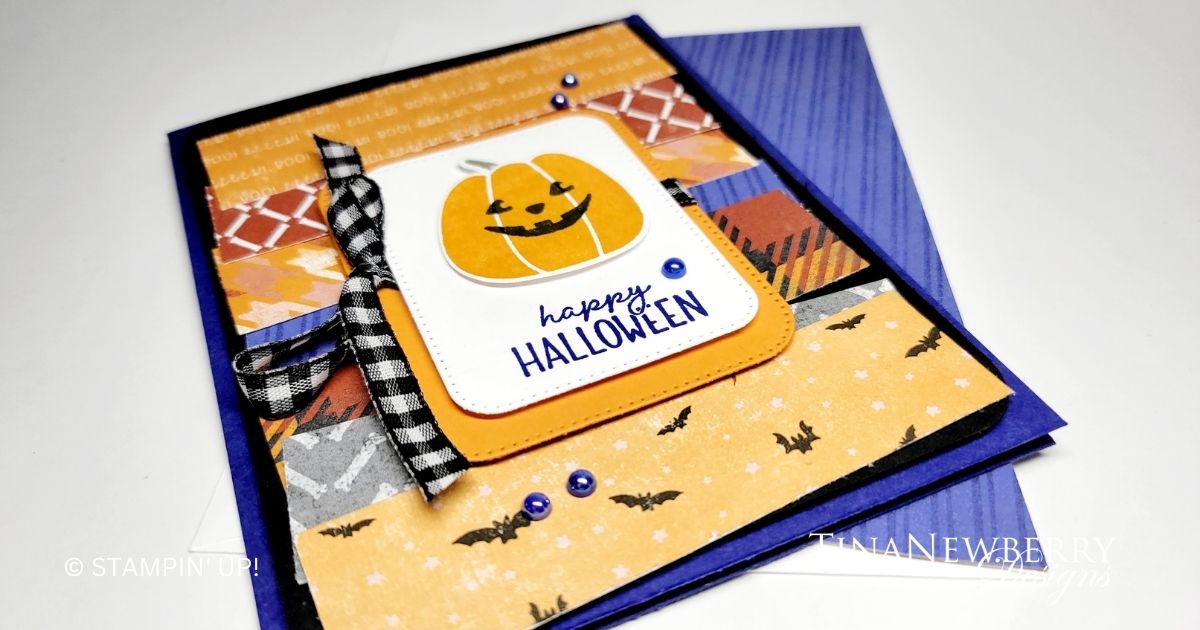
I really like the subtle Halloween prints in the Them Bones Designer Series Paper (DSP) pack and this layout of haphazardly layered DSP strips and a simple pumpkin layered on the sentiment. There is a new Black and Very Vanilla Large Check ribbon coming out in the new mini catalog, but with white cardstock on my card, I opted for the original Black & White gingham ribbon.
Measurements
Full list of supplies needed, listed below. A die cutting machine is needed for this card.
Starry Sky Cardstock: 5 ½” h x 8 ½” w scored and folded at 4 ¼”
Basic Black Cardstock: 5 ¼” h x 4 ¼” w
Pumpkin Pie Cardstock: 2 ½” x 3 ½”
Basic White Cardstock:
5 ¼” x 4”
Scrap for sentiment and pumpkin
Them Bones Designer Series Paper (DSP): 1” h x 3 ¾” w (7)
Let’s Create
Affix all stamps to Acrylic Blocks.
Fold the Card Base in half using a Bone Folder to sharpen the crease.
Round the corners of the 5 ¼” h x 4 ¼” w Basic Black cardstock. I used an old corner rounder punch to snip the edges. If you don’t have a corner rounder, you can trace the edge of any circular object and trim with your Paper Snips.
Attach the seven DSP strips with Multipurpose Glue haphazardly onto the Basic Black panel.
Attach the Basic Black panel with Stampin’ Dimensionals.
Use the Nested Essentials dies to cut the Basic White and Pumpkin Pie cardstock.
Wrap Black & White Gingham ribbon around the Pumpkin Pie panel and tie a bow.
Stamp the sentiment in Starry Sky ink onto the Basic White die cut and attach to the Pumpkin Pie panel with Stampin’ Dimensionals.
Stamp the pumpkin in Pumpkin Pie ink and the Jack O’Lantern face in Tuxedo Black Memento Ink onto the Basic White scrap. Stamp the stem in Crumb Cake. Use the Pick of the Patch Builder punch to punch out the pumpkin and stem. Use a Mini Glue Dot to attach the stem to the pumpkin.
Attach the pumpkin to the sentiment panel.
Attach the Pumpkin Pie panel to the DSP strips with Stampin’ Dimensionals.
Sprinkle on some 2022-2024 In Color Pearls.
Stamp and decorate the remaining 5 ¼” x 4” Basic White cardstock and attach to the inside
Decorate your envelope.
So cute! Who will you send this cheerful card to?
Shopping List
This project uses the Pick of the Patch Bundle [162201] and Them Bones Designer Series Paper [162215] from the Sept – December Mini Catalog available September 6, 2023
Order online from the convenience of your own home or send me your order and I’ll take care of you. ❤ Either way, please use the host code KBSZKQ3A. Order online AND, if your order is $50 or more using host code KBSZKQ3A between now and the end of the month you’ll receive a free pack of embellishment as a THANK YOU gift from me. ❤ If your order is over $150, skip the host code, earn Stampin’ Rewards for free stuff yourself and I’ll still send you a free pack of embellishment as a THANK YOU gift from me. ❤
")


 Designer Series Paper")


 Gingham Ribbon")


 Textured Ribbon")