Hello Friend with Poetic Expressions Patterned Paper

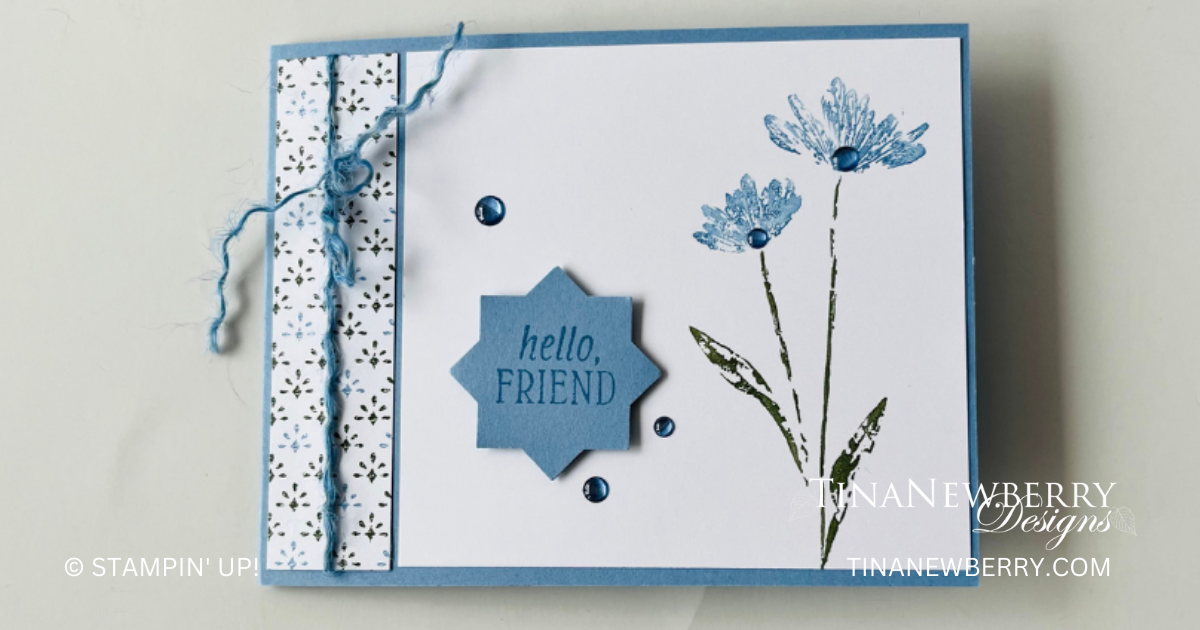
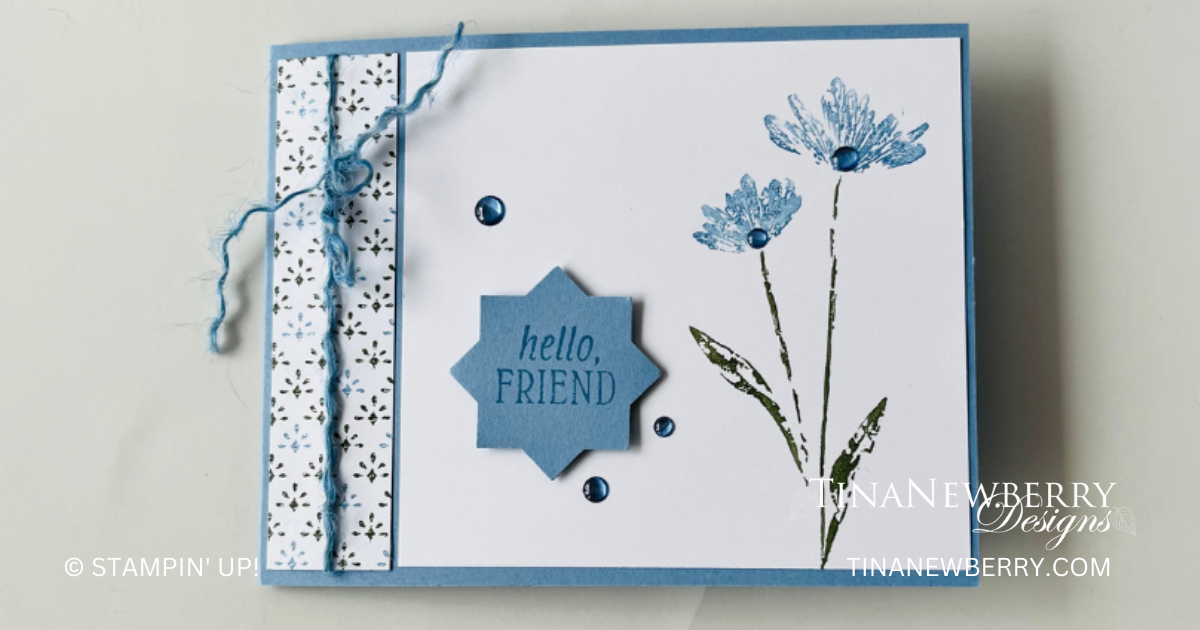
A quick & simple card for a friend. Change up up the colors to match any Designer Series patterned paper and you’ll have a whole stack of these for your stash and ready to send.

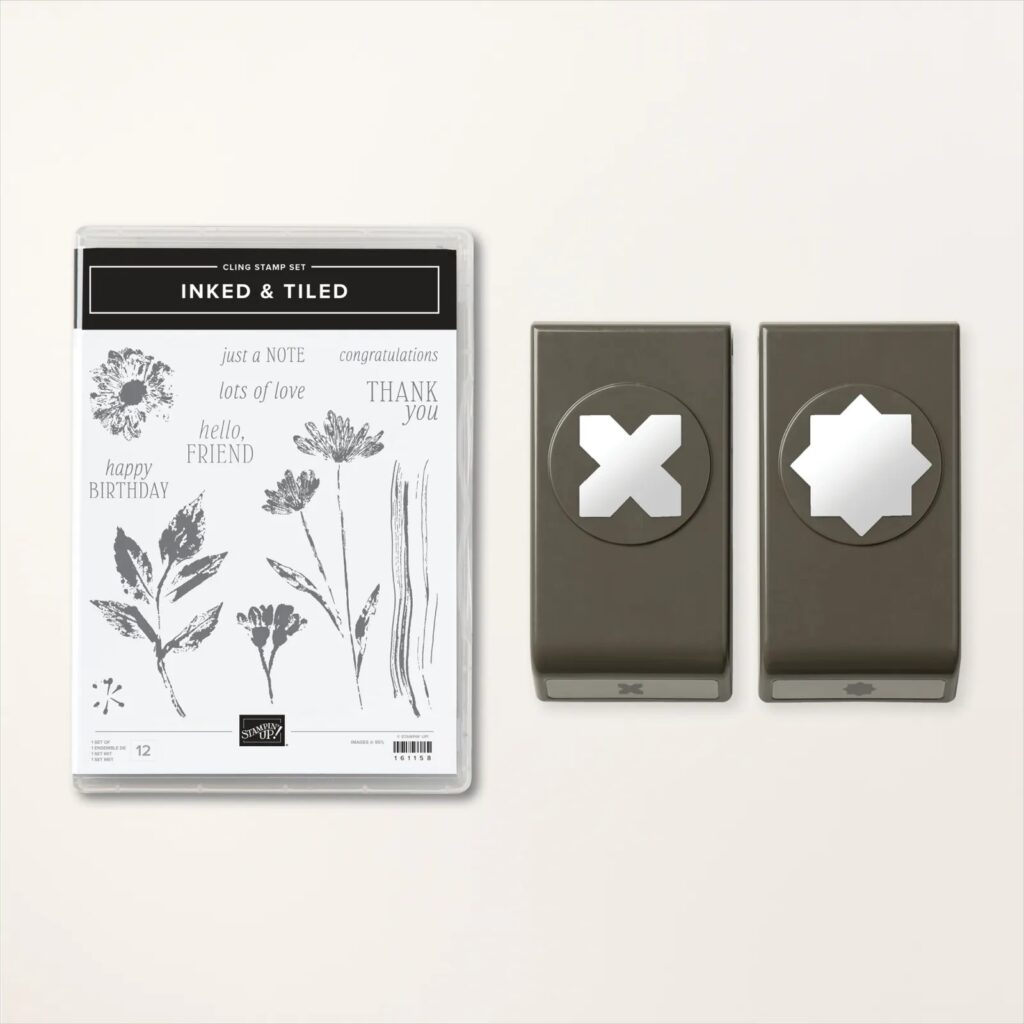
The Inked & Tiled Bundle is all about timelessly classic beauty. While the images do not directly coordinate, the styles do! Use the Inked & Tiled Punch Pack to create a seamless background with lots of texture and dimension, then add the Inked & Tiled Stamp Set to decorate.

Measurements

Full list of supplies needed, listed below. A die cutting machine is needed for this card.

Boho Blue Cardstock

  •  4 ¼” x 11” scored at 5 ½”
  • Scrap for punching

Basic White Cardstock

  • 4” x 5 ¼” – inside of card
  • 4” x 4 ¼”

Poetic Expressions Designer Series Paper (DSP) – Boho Blue and Mossy Meadow diamond sparkle pattern

  • 1” x 4”


Let’s Create

  1. Affix all stamps to acrylic blocks.
  2. Fold and burnish card base using bone folder.
  3. Take a 12” piece of the Boho Blue twine and separate into 3 strands.  You will only use 1 strand for the card.
  4. Add Tear & Tape to the back of the DSP strip at the top and bottom.  Attach 
  5. Boho Blue twine so it is centered across the strip.  Add more Tear & Tape  around the edges of the DSP then adhere to the left card front about 1/8” from the fold.
  6. Tie a bow with the 2 ends of the twine so it is close to the top.
  7. Use Boho Blue and Mossy Meadow markers to color the tall flower stem before stamping it on the right hand side of the 4” x 4 ¼” piece of White.
  8. Glue the panel from Step 6 to the card front making sure the top and bottom are even with the DSP strip.  
  9. Stamp your sentiment with Boho Blue onto the Boho Blue scrap of card stock. Use the star punch from the bundle to punch out the sentiment.
  10. Add the sentiment shape to the lower left hand side of the White card front panel using dimensionals.
  11.  Add Boho Blue In Color dots to the base of the flower and on the card front.  See photo for placement. 
  12. Use the tall flower stamp and markers to color to decorate the inside of the card and envelope.
  13. Send this happy mail to a friend today.

Shopping List

Recommended Stamper’s Toolkit ❤


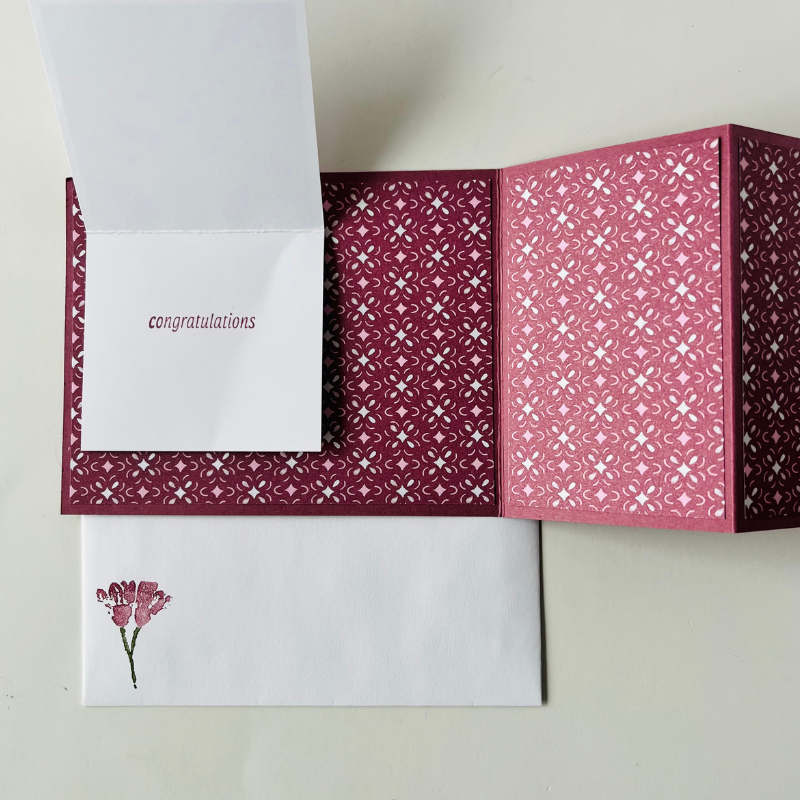
Poetic Expressions- Happy Birthday Fun Fold

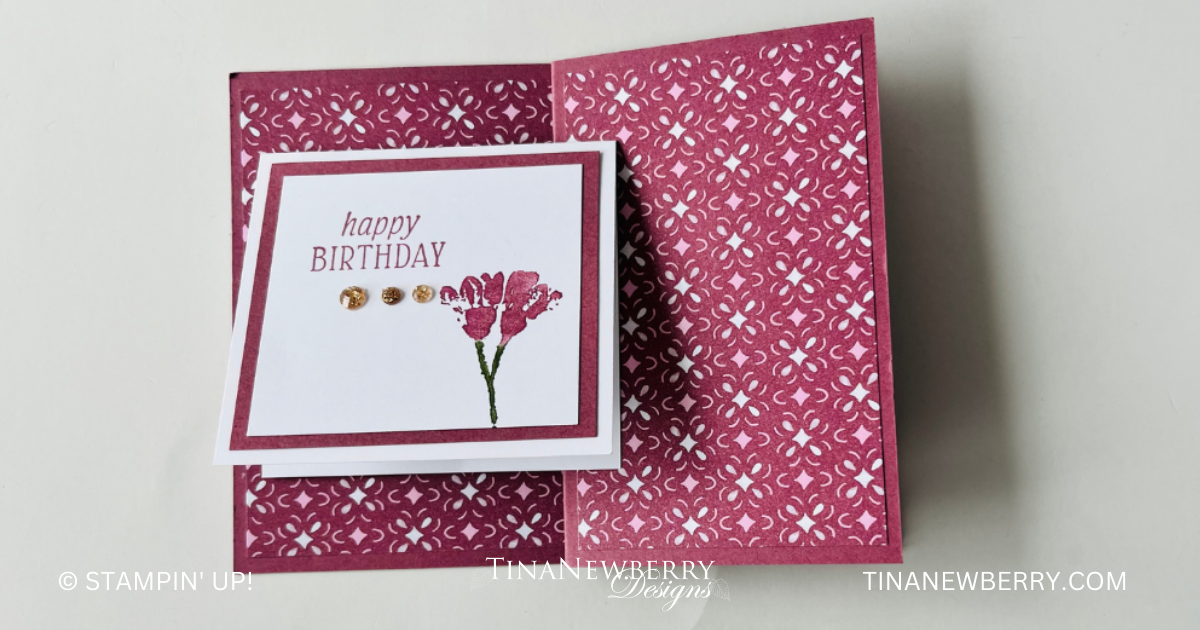
Create a fun-fold with an additional fold for the inside sentiment and let your Designer Series Paper shine with this quick & easy card!

The Inked & Tiled Bundle is all about timelessly classic beauty. While the images do not directly coordinate, the styles do! Use the Inked & Tiled Punch Pack to create a seamless background with lots of texture and dimension, then add the Inked & Tiled Stamp Set to decorate.

Measurements

Full list of supplies needed, listed below. A die cutting machine is needed for this card.

Moody Mauve Cardstock

  • 4 ¼” x 11” scored at 5 ½” and 8 ¼”
  • 2 ½” x 2 ¾”

Basic White Cardstock

  • 3” x 5 ½” scored at 2 ¾”
  • 2 ¼” x 2 ½”

Poetic Expressions Designer Series Paper (DSP) – Moody Mauve diamond pattern

  • 4” x 5 ¼”
  • 4” x 2 ½” – 2 pieces

Let’s Create

  1. Affix all stamps to acrylic blocks.
  2. Fold and burnish card base at the 5 ½” score line using bone folder.  Have the Card fold on the right and fold the front back on the second score line making a Z fold card.
  3. Open the card base so it is flat and the score lines are on the right.  Glue the large dsp panel to the left side of the flat card.  Glue the 2 smaller dsp panels to the 2 sections of the flat card that are on the right.
  4. Take the scored piece of white and fold and burnish on the score line.
  5. With the fold of the white piece at the top, add the small panel of Moody Mauve.
  6. Use Moody Mauve and Mossy Meadow markers to color the small flower stem before stamping it on the right hand side of the 2 ¼” x 2 ½” piece of White.  Note – the 2 ½” side is the top.
  7. Stamp the Happy Birthday using Moody Mauve in the upper left hand corner of the panel from Step 6.
  8. Glue the panel from Step 7 to the front of the small White folded piece of card stock.  
  9. Stamp the sentiment to the inside of the folded White card stock
  10. Add dimensionals to the left back of the folded White card stock.  You want to make sure that the card front fold will tuck under the White folded card stock to hold it closed but still be able to open the side panel.  I added dimesionals to the left side and middle of the folded White card stock.
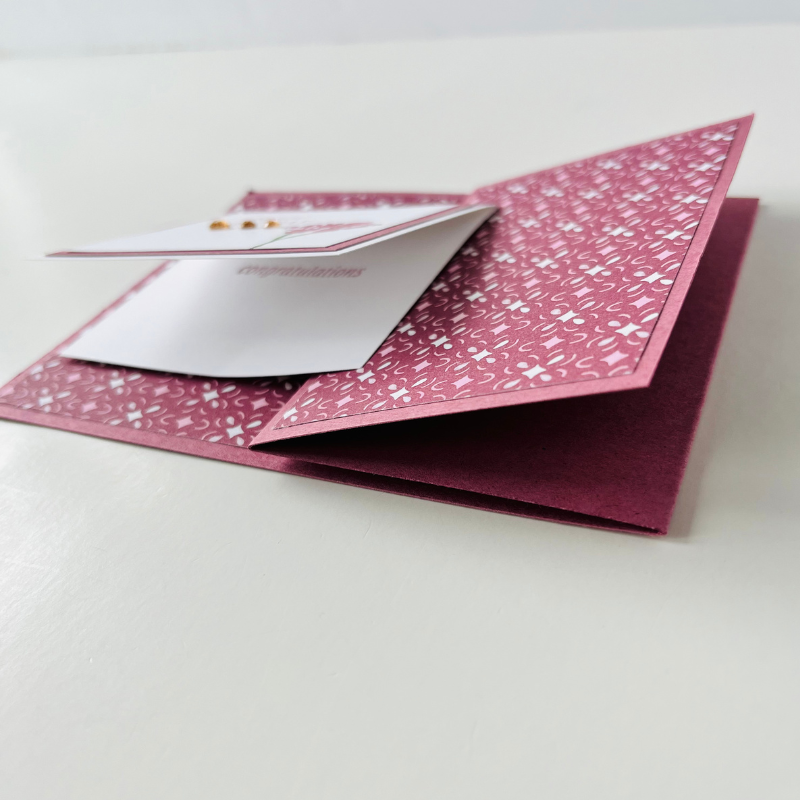
  11. To ensure proper placement, close the card front completely and then add  the folded White card stock.  I had the folded White card stock overlap the folded front about ½”.  See photo for placement.
  12. Add some Adhesive Backed Sparkle gems underneath the “Happy Birthday” on the folded White card stock.
  13. Use the same small flower stem to decorate the envelope.

Note – if you want more space to write a message, add a 4” x 5 ¼” piece of White to the back of the card.

Shopping List

Recommended Stamper’s Toolkit ❤


Technique Tuesday: Layout CASEing

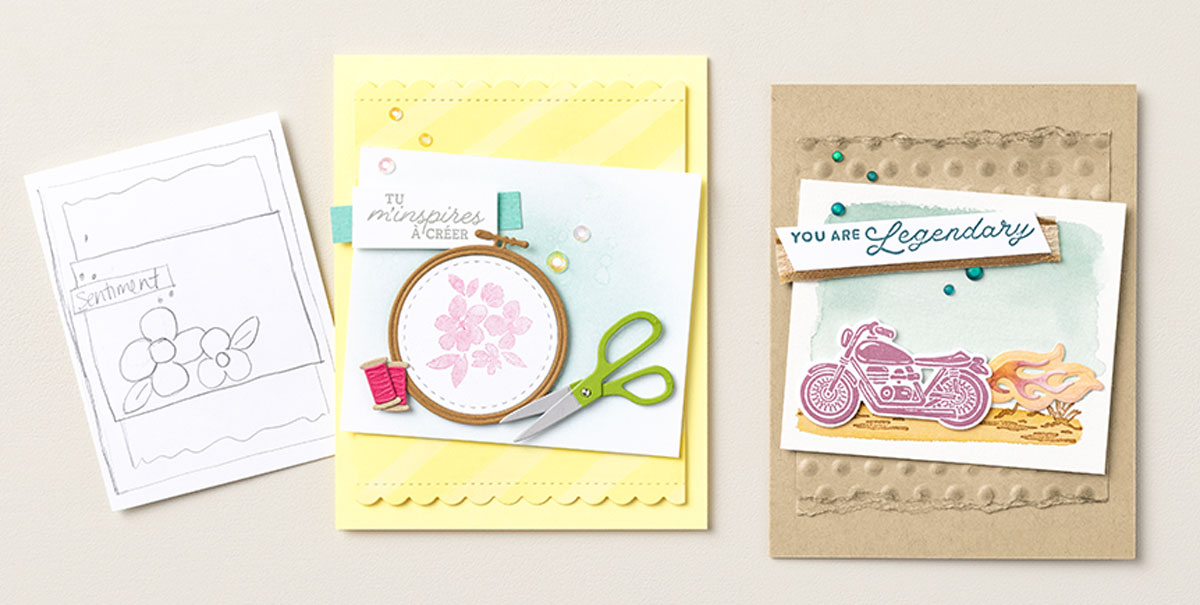
Time for another CASEing session (Copy and Share Everything) courtesy of the amazing StampinUp! Concept Art team! Today we’re “on the case” of a lovely layout we admired from the ’23-’24 annual catalog (pg. 89).The how-to is as follows:

  1. Add a scallop border to the top and bottom of the Lemon Lolly Subtles Designer Series Paper layer using the Basic Borders Dies.Blend Lemon Lolly ink over the entire surface of the Lemon Lolly Designer Series Paper, then adhere it to the Lemon Lolly Cardstock card base.Blend Pool Party ink over the Thick Basic White Cardstock layer, then splatter it with water using a Stampin’ Spritzer. Once the piece is dry, adhere it to the card front along with the die-cut pieces.Stamp the texture image in Coastal Cabana ink on the Coastal Cabana Cardstock strip, then add the sentiment. Adhere this piece to the card front using Stampin’ Dimensionals.Finish with a few Iridescent Rhinestone Basic Jewels to add some shine and pick up the project’s color.

Crafting With You Bundle (English)
$54.00
Lemon Lolly Classic Stampin' Pad
$9.00
Pool Party Classic Stampin' Pad
$9.00
Coastal Cabana Classic Stampin' Pad
$9.00
Basic White 8 1/2" X 11" Thick Cardstock
$9.00
Lemon Lolly 8 1/2" X 11" Cardstock
$10.00
Coastal Cabana 8-1/2" X 11" Cardstock
$10.00
Subtles 6" X 6" (15.2 X 15.2 Cm) Designer Series Paper
$12.50
Iridescent Rhinestones Basic Jewels
$7.50
Stampin' Spritzer
$4.00
Basic Borders Dies
$29.00