The Greatest Gift is a Good Friend

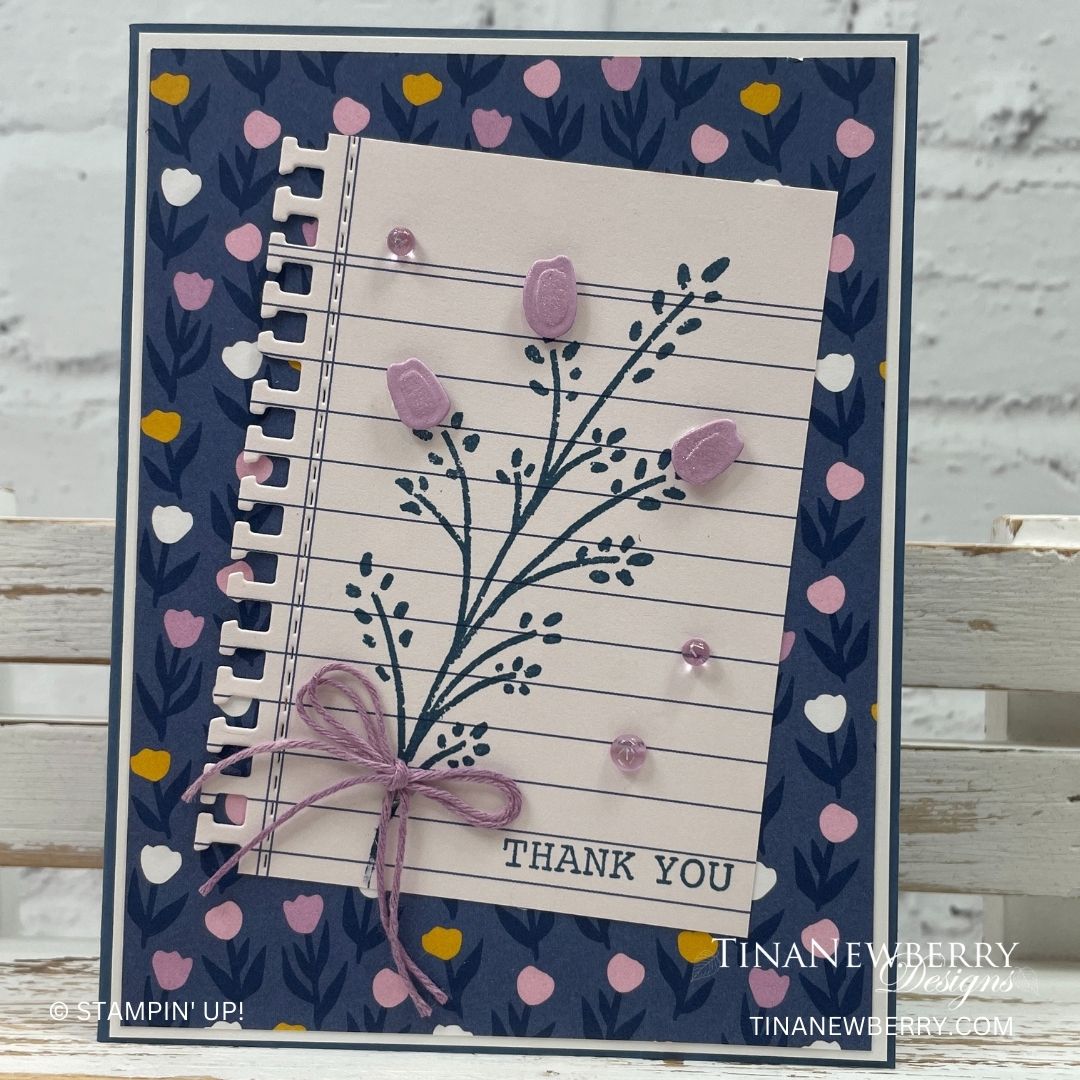
It’s that time of year again! Apple picking time! Some of my favorite memories of Logan’s childhood are from apple picking in the fall. Here’s a simple card inspired by the ’23-’24 Annual Catalog. What will you make with this layout?

Sweeten your papercrafting projects with the natural beauty of the Apple Harvest Stamp Set! The simple and natural art style will remind you of apple picking in the orchards on a crisp autumn morning. The open-line art style pairs superbly with watercolor. This stamp set also includes heartfelt, everyday sentiments that will make this stamp set a go-to!

Measurements

Full list of supplies needed, listed below. A die cutting machine is needed for this card.
Crumb Cake Cardstock: 5 1/2″ h x 8 1/2″ w folded to 5 1/2″ h x 4 1/4″ w
Cherry Cobbler Cardstock: 1/2″ h x 4″ w
Basic White Cardstock:

  • 3″ x 3″
  • scrap for Apple
  • 1/2″ h x 3 1/2″ w
  • 5 1/4″ h x 4″ w

Zoo Crew Designer Series Paper (DSP): 4 1/2″ h x 4 1/4″ w

Let’s Create

  1. Affix all stamps to Acrylic Blocks.
  2. Fold the Card Base in half using a Bone Folder to sharpen the crease.
  3. Trim the top of the DSP to create an angle. I put mine in the Paper Trimmer at an angle I liked and cut it. Easy peasy. Use Stampin’ Seal to attach panel to the card base.
  4. Attach the Cherry Cobbler strip along the angled side of the DSP, extending beyond the card base on both sides. Then use Paper Snips to trim the Cherry Cobbler along the edge of the card base.
  5. Stamp the cross hatch in Tuxedo Black Memento ink on the Basic White square.
  6. Wrap a piece of Real Red Ribbon around the stamped square and tie a bow.
  7. Stamp the apple on Basic White scrap in Tuxedo Black Memento ink. Color in with Watercolor Pencils. I used Cherry Cobbler, Real Red, Old Olive and Early Espresso. Then I used a Blender Pen to blend and smooth the strokes. Use the Apple Blossoms Dies (on clearance) to die cut the apple or use Paper Snips to fussy cut. Attach the apple to the stamp Basic White panel with Stampin’ Dimensionals.
  8. Stamp the sentiment in Cherry Cobbler ink on the Basic White strip. Attach with Stampin’ Dimensionals.
  9. Sprinkle on the black Classic Matte Dots.
  10. Stamp and decorate the inside and attach with Stampin’ Seal.
  11. Decorate your envelope.
  12. So fun! Now send it to someone special.

Shopping List

Recommended Stamper’s Toolkit ❤


Hello

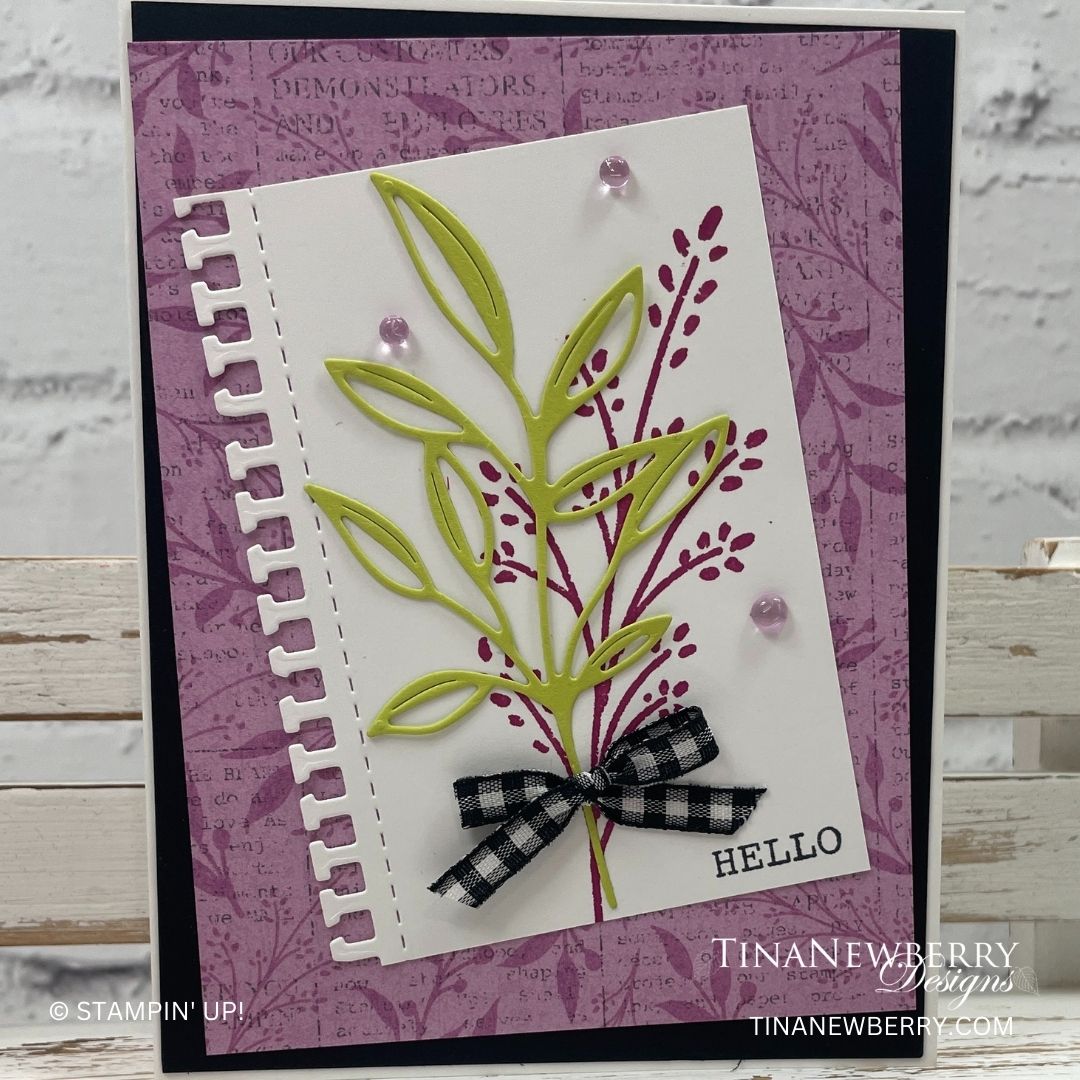
The notebook paper-edge die in this bundle is so fun! Make this layout with the Gorgeously Made bundle or products from your stash. What pretty paper will you show off?

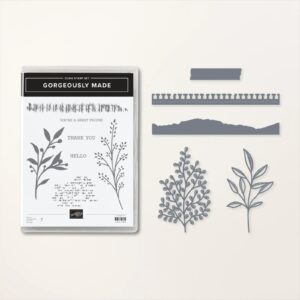
The Gorgeously Made Bundle includes the Gorgeously Made Stamp Set and the Gorgeously Made Dies. These stamps and dies complement each other to help you create gorgeous cards and crafts with even the simplest of combinations. Stamp or die cut sprigs for layering pieces that shine. Cut out a label and stamp your sentiment with ease. We guarantee you’ll use this unique bundle all year long!

Measurements

Full list of supplies needed, listed below. A die cutting machine is needed for this card.

Basic White

  • 5 ½” x 8 ½”  scored and folded on the long-side at 4 ¼” 
  • 4” x 3” 

Basic Black 

  • 4 ⅛” x 5 ⅜”

Lemon Lime Twist

  • 4 ½” x 3” (for die cutting stem of leaves)

Masterfully Made Designer Series Paper

  • 5 ⅛” x 3 ⅞” (Fresh Freesia leaf print)


Let’s Create

  1. Affix all stamps to Acrylic Blocks.
  2. Fold the Card Base in half using a Bone Folder to sharpen the crease.
  3. Using the 4 ½” x 3”  Lemon Lime Twist cardstock, and the sprig of leaves die from the Gorgeously Made die set, cut 1 sprig.
  4. using the 4” x 3” Basic White cardstock and the long “paper” border die from the Gorgeously Made die set, die cut the left edge. 
  5. Using Fresh Freesia ink pad and the sprig stamp from the Gorgeously Made Stamp Set, stamp on the die cut Basic White cardstock. 
  6. Using Black memento ink, stamp the “hello” in the lower left corner of the die cut basic white cardstock. 
  7. Attaching the card layers: Attach the 5 ⅜” x 4 ⅛” Basic Black cardstock to the folded Card base.  Attach the Fresh Freesia Designer Series Paper at a bit of an angle to the Basic Black layer.  Attach the stamped, die cut Basic White piece to the Designer Series Paper at more of an angle.
  8. Tie a small bow using the black and white gingham ribbon and attach it to the card using a Mini Glue Dot.
  9. Finish your card by randomly placing 3 gems from the Tinsel Gems 3 – pack to the card.
  10. Be sure to decorate the inside of your card and the envelope. 
  11. Send your card off to wish someone a cheery hello!

Shopping List

Recommended Stamper’s Toolkit ❤


You’re a Great Friend

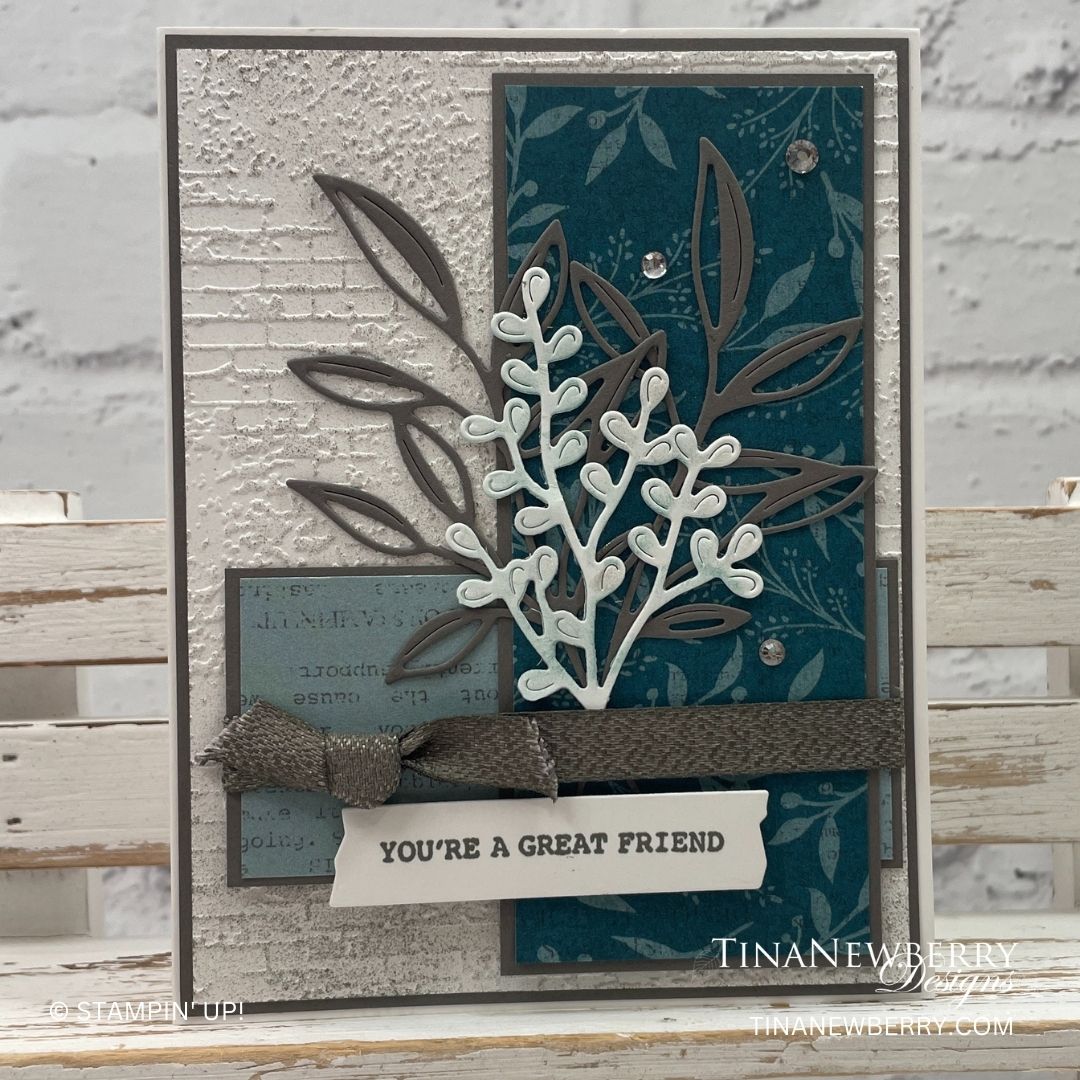
Such a beautiful color combination on this card for a friend. Make this card or CASE (copy and share everything) the layout with supplies from your stash.

The Gorgeously Made Bundle includes the Gorgeously Made Stamp Set and the Gorgeously Made Dies. These stamps and dies complement each other to help you create gorgeous cards and crafts with even the simplest of combinations. Stamp or die cut sprigs for layering pieces that shine. Cut out a label and stamp your sentiment with ease. We guarantee you’ll use this unique bundle all year long!

Measurements

Full list of supplies needed, listed below. A die cutting machine is needed for this card.

Basic White

  • 5 ½” x 8 ½”  scored and folded on the long-side at 4 ¼” 
  • 5 ¼” x 4”  
  • 4” x 3” (for die cutting sprig)
  • 2 3/4” x ¾” (for stamping and die cutting sentiment)

Pebbled Path

  • 4 ⅛” x 5 ⅜”
  • 5” x 2 ⅛”
  • 3 ¾” x 1 ¾” 
  • 4” x 4” (for die cutting 2 sets of leaves)

Masterfully Made Designer Series Paper

  • 4 ⅞” x 2 (Lost Lagoon Leaf print)
  • 3 ⅝” x 1 ⅝” (Piece taken from the center of the print with bold flowers)

Let’s Create

  1. Affix all stamps to Acrylic Blocks.  
  2. Fold the Card Base in half using a Bone Folder to sharpen the crease.
  3. Using the Exposed Brick 3D Embossing Folder, emboss the 5 ¼” x 4” Basic White Cardstock.
  4. Using a blending brush with the Pebbled Path Ink Pad, lightly brush ink on the rougher side of the cardstock. 
  5. Using the smaller leaf sprig die from the Gorgeously Made die set, die cut 2 of the Leaf sprigs from the 4” x 4” Pebbled Path cardstock. 
  6. Using the larger sprig from the Gorgeously Made die set, die cut 1 from the 4” x 3” Basic White cardstock. Using a blending brush lightly brush Lost Lagoon ink onto the sprig.
  7. Using Pebbled Path ink pad, stamp the sentiment onto Basic White 2 ¾” x ¾” scrap. Die cut this piece using the label from the Gorgeously Made die set.
  8. Assembling your card:  Attach the 5 ⅜” x 4 ⅛” Pebbled Path cardstock to the folded card base.  Attach the embossed 5 ¼” x 4” embossed Basic White to the card layers.
  9. Attach the Designer Series Papers to their coordinating Pebbled Path layers.  
  10. Tie a piece of textured Pebbled Path Ribbon around the layered piece of Designer Series Paper that measures 3 ⅝” x 1 ⅝” into a knot towards the left side.
  11. Position these layers to the Basic White embossed panel about ¾” from the lower left edge.
  12. Place adhesive on the back of the other Designer Series layered pane and slip it under the ribbon and adhere to the card.
  13. I did a little trimming on the die cut sprigs so they weren’t quite so full and bulky and adhered them to the card. 
  14. Adhere the sentiment using Stampin’ Dimensionals. 
  15. Finish your card by randomly placing 3 Rhinestones Basic Jewels onto your card.
  16. Be sure to decorate the inside of the card and the envelope.
  17. Send it off to a special friend.

Shopping List

Recommended Stamper’s Toolkit ❤