Earthen Textures- Thank You

I’m not sure what it is with me and blue vases! This is reminiscent of a kit we had a few years ago that I just loved! And you just can’t lose with blue and white- IMHO!

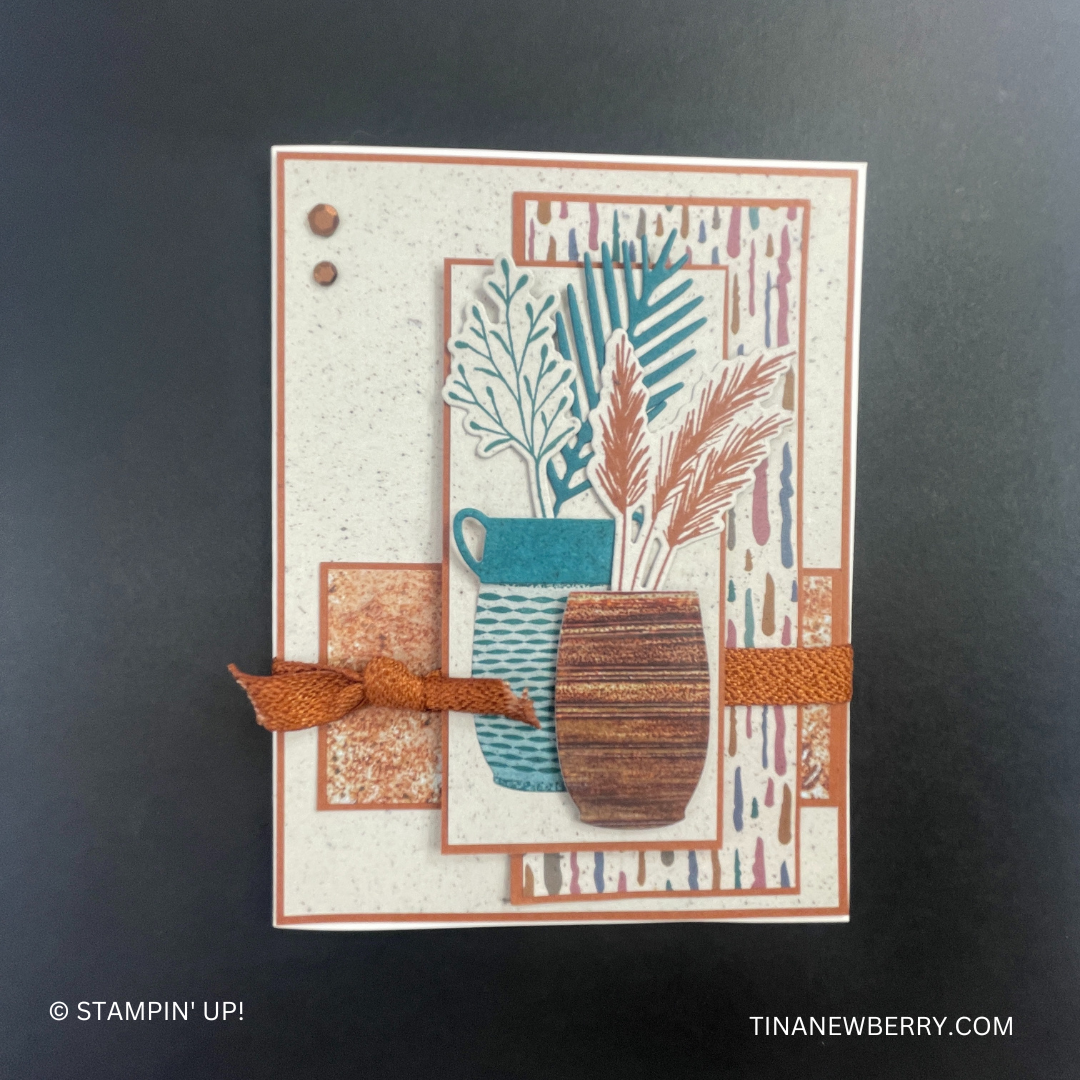
The Earthen Textures Bundle allows you to create floral arrangements for all your cards and for any occasion! The stamps are filled with detail, and there are several possibilities when it comes to adding color! Use the dies to get a crisp, clean-cut image that stands out. Add a quick sentiment from this set and you’ll have an elegant card for friends and family!

Measurements

Full list of supplies needed, listed below. A die cutting machine is needed for this card.

Basic White

  • 5 ½” x 8 ½”  scored and folded on the long-side at 4 ¼” 
  • 5 ¼” x 4” 
  • 3 ¾” x 2 ¼” (For die cutting the “Countryside Corners die”
  • 2 ½” x 1 ¼” (For stamping & die cutting sprig)

Night of Navy

  • 4 ⅛” x 5 ⅜”
  • 5 ¼” x ½”
  • 2 ⅛” x 3 ¼”  
  • 3” x 1 ½” (for die cutting sprig)

Countryside Inn Designer Series Paper ( Pink Polka Dots)

  • 5 ¼” x 2 ¼” (Navy Blue floral)
  • 2” x 1 ¼” (Navy Blue – for die cutting the pot)


Let’s Create

  1. Affix all stamps to Acrylic Blocks.
  2. Fold the Card Base in half using a Bone Folder to sharpen the crease.
  3. Using the 4th largest die in the Countryside Corners Dies, die cut the 3 ¾” x 2 ¼” Basic White cardstock.
  4. Using the Boho Blue Ink Pad, stamp the largest sprig onto the die cut Basic White layer.
  5. Emboss this piece using the Exposed Brick 3D Embossing Folder. 
  6. Attach this embossed, die cut piece to the 3 ¼” x 2 ⅛” Night of Navy panel.  Trim around to make a narrow border.
  7. Die cut the smallest vase from the Earthen Textures Set of Dies.  Trim about ¼” from the top of the vase, to shorten it just a bit.
  8. Wrap a short piece of White Twine around the vase towards the top edge. Tie a small bow with the white twine and attach to the vase using a mini glue dot.
  9. Using adhesive attach the vase to the lower edge of the embossed, die cut panel.
  10. Using Night of Navy Ink Pad, stamp the sprig onto 2 ½” x 1 ¼” Basic White cardstock and die cut using coordinating die from the Earthen Elegance Die set.
  11. Die cut the “pine looking” sprig from Night of Navy cardstock.
  12. Position this die cut pieces into the vase and adhere with adhesive.
  13. Adhere the Navy Blue Floral Designer Series Paper to the 5 ¼” x 4” Basic White. Attach the narrow Night of Navy strip along the top edge of the Designer Series Paper.
  14. Using Night of Navy Ink Pad, stamp the sentiment towards to right side of the card just above the Designer Series Paper.
  15. Attach the stamped and Embossed layered tag panel to the card using Stampin’ Dimensionals.
  16. Adhere 3 Night of Navy Enamel dots from the Ombre Matte Decorative Dots randomly towards the upper right of the card.
  17. Be sure to decorate the inside of your card and your envelope and your card is ready to use!
>h2> Shopping List

Recommended Stamper’s Toolkit ❤


Earthen Textures

The pots in this Earthen Textures stamp set are so detailed and what perfect stamp set and die bundle to pair with the Exposed Brick embossing folder.

The Earthen Textures Bundle allows you to create floral arrangements for all your cards and for any occasion! The stamps are filled with detail, and there are several possibilities when it comes to adding color! Use the dies to get a crisp, clean-cut image that stands out. Add a quick sentiment from this set and you’ll have an elegant card for friends and family!

Measurements

Full list of supplies needed, listed below. A die cutting machine is needed for this card.

Very Vanilla

  • 5 ½” x 8 ½”  scored and folded on the long-side at 4 ¼” 
  • 5 ¼” x 4” 
  • 2 ½” x 1 ½” for stamping and die cutting sprig

Pretty Peacock

  • 4 ⅛” x 5 ⅜”

Earthen Elegance Designer Series Paper

  • 2 ⅜” x ½” brown “shelf”
  • 2 ¼” x 1 ¼” grey/blue ombre paper (for stamping and die cutting vase)

Distressed Gold Specialty Paper

  • 3 ½” x 2 ½” for die cutting large leaf

Let’s Create

  1. Affix all stamps to Acrylic Blocks.
  2. Fold the Card Base in half using a Bone Folder to sharpen the crease.
  3. Emboss the 5 ¼” x 4” Very Vanilla Cardstock using the Exposed Brick 3D Embossing Folder.
  4. Using the Pretty Peacock Ink Pad, Stamp the small vase onto the 2 ½” x 1 ¼”  Earthen Elegance Designer Series Paper.  Die Cut with the coordinating die.  
  5. Using the Copper Clay Ink Pad stamp the sprig onto the Very Vanilla 2 ½” x 1 ½” scrap. Die cut with the coordinating Die from the Earthen Texture Dies.
  6. Die cut the large frond (leaf) from the Distressed Gold piece of specialty paper. This die is designed for the leaves to be folded accordion style. I put just a small crease at each score line.
  7. Attach the 5 ⅜” x 4 ⅛” Pretty Peacock layer to the folded Vanilla card base.
  8. Attach Embossed Very Vanilla layer to the Pretty Peacock layer.
  9. Attach the “shelf” to the left side of the very vanilla layer about ¾” from the bottom.
  10. Adhere the vase to the card so it’s sitting on the shelf using a Stampin’ Dimensional.
  11. Using your adhesive, place the large gold leaf and the Copper Clay Sprig to the card coming out of the vase. 
  12. Position 3 gold sequins from the package of Neutrals adhesive backed sequins randomly onto the card.
  13. Be sure to decorate the inside of your card and the envelope and it’s ready to for you to write a note to encourage a friend.
  14. So cute! Now send it to someone special.

Shopping List

Recommended Stamper’s Toolkit ❤


Let’s Celebrate Carousel Greeting Card

Thank you for your interest in this project. Some projects are exclusive to subscribers who will receive passwords by email.

Are you a subscriber? Awesome! Check your email for the password and enter it here to view this project.

Not yet subscribed?  We’d love for you to join us.  Subscribe to my email list and receive news, information and inspiration by email.

Carousel Happy Birthday

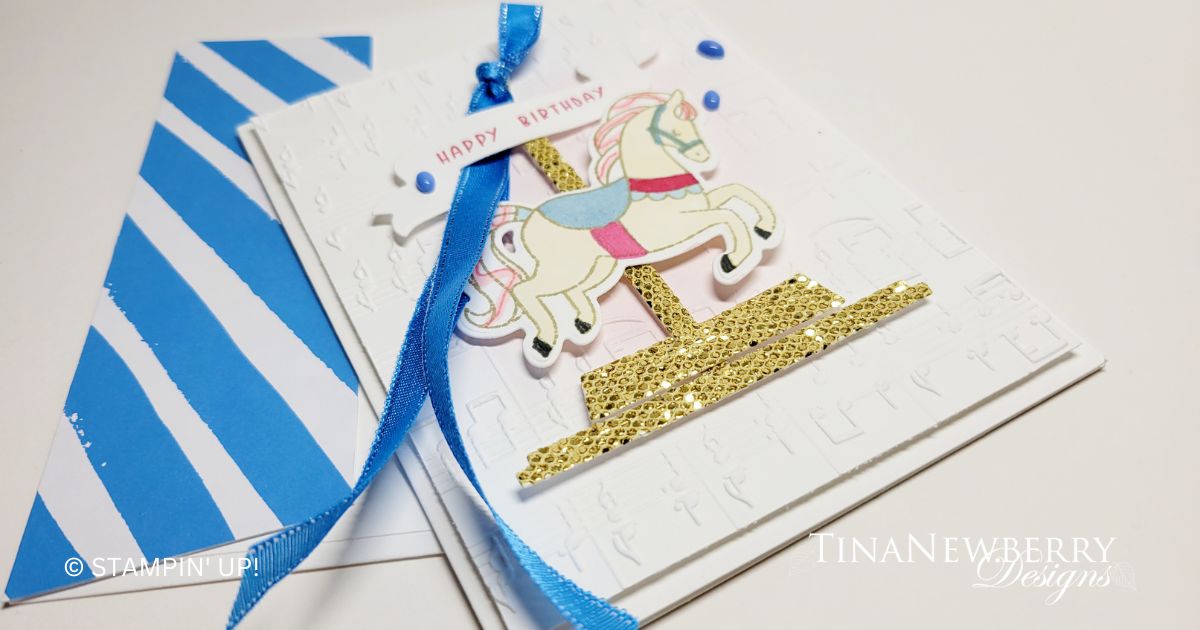
When I saw the Carousel Horses bundle, I knew I had to make some cards for Mum. She loves carousel horses so much she even once wrote a paper on their history. She has an antique real wooden carousel in their house. Did you know the wooden carved carousel horses were built with removeable ears? Yup. The ears were prone to breaking when transported, so they built them to be removed. Neato.

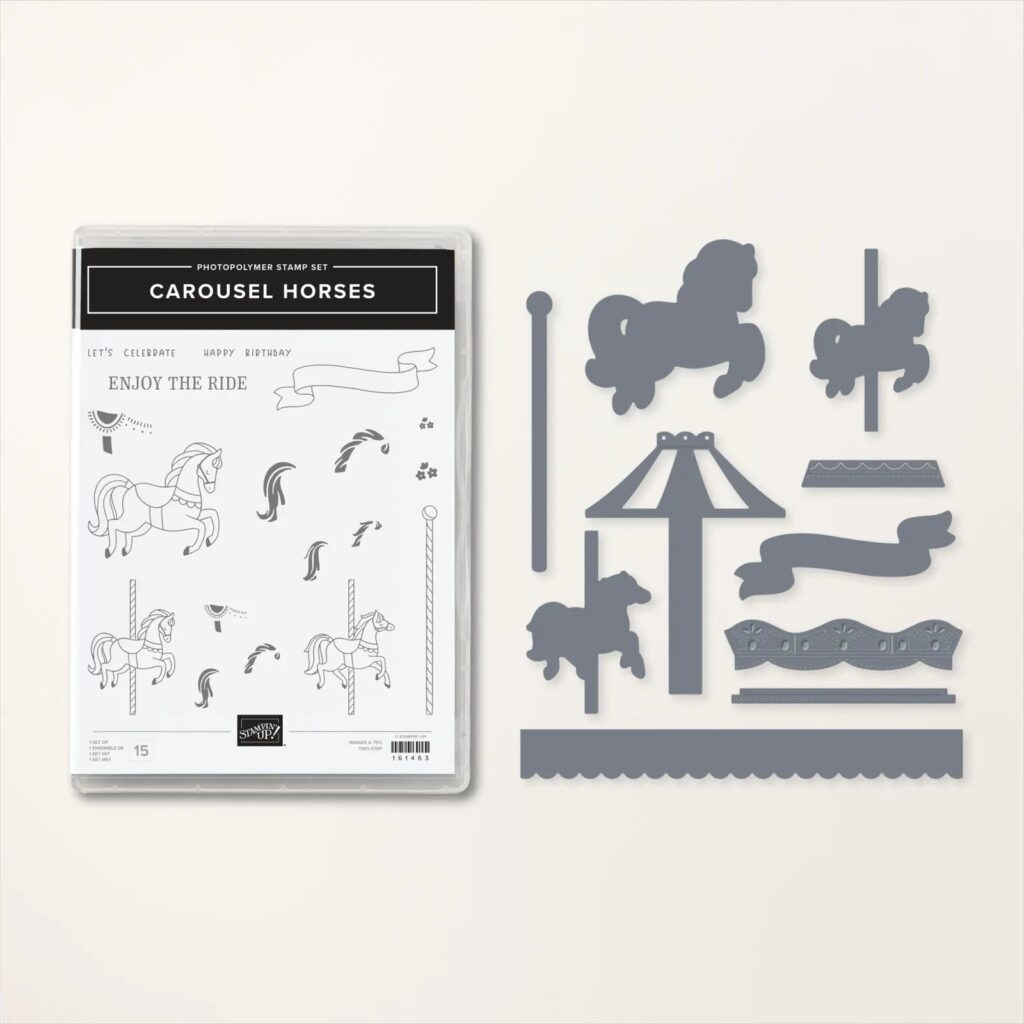
The Carousel Horses Bundle comes with Two-Step Stampin’ pieces, which means you can customize your carousel and horses however you want by mixing and matching manes, flowers, and saddles. The dies will cut out each of these pieces perfectly so you can add layers and depth to your crafts. It includes greetings for birthdays and celebratory sentiments for all your friends and family. This magical set is perfect for coloring and paper piecing techniques on projects for all your horse-loving friends!

Measurements

Full list of supplies needed, listed below. A die cutting machine is needed for this card.

Basic White Thick Cardstock: 

  • 5 1/2″ h x 8 1/2″ w folded to 5 1/2″ h x 4 1/4″ w
  • Scrap for carousel horse

Basic White Cardstock: 

  • 5 1/4″ h x 4″ w (2)
  • Scrap for sentiment banner

More Dazzle Specialty: scrap for stand


Let’s Create

  1. Affix all stamps to Acrylic Blocks.
  2. Fold the Card Base in half using a Bone Folder to sharpen the crease.
  3. Using a Blending Brush, lay down a bit of Bubble Bath ink in the center of one of the the  5 ¼” w x 4” h Basic White panels then run through the Stampin’ Cut & Emboss machine with the Merry Melody Embossing Folder.
  4. Stamp the large Carousel Horse in Crumb Cake ink on Basic White Thick Cardstock scap. Use Ivory, Balmy Blue, Melon Mambo, and Flirty Flamingo Stampin’ Blends to color the Carousel Horse. Die Cut.
  5. Die cut the Pole and Stand in the More Dazzle Specialty Paper. 
  6. Assemble the Pole, Stand, and Carousel Horse and attach with Stampin’ Dimensionals.
  7. Stamp the sentiment in Melon Mambo ink on scrap Basic White and then die cut with the banner die. 
  8. Attach the sentiment with Stampin’ Dimensionals and Stampin’ Seal.
  9. Double over and tie a knot into the top of a 8” piece of Azure Afternoon and attach to the top of the pole with a Mini Glue Dot.
  10. Sprinkle on some Opaque Ovals
  11. Stamp and decorate the remaining 5 ¼” w x 4” h for inside
  12.  Decorate your envelope.
  13. How fun! Send it today.

Shopping List

Recommended Stamper’s Toolkit ❤