Keep Your Friends Close and Your Memories Closer

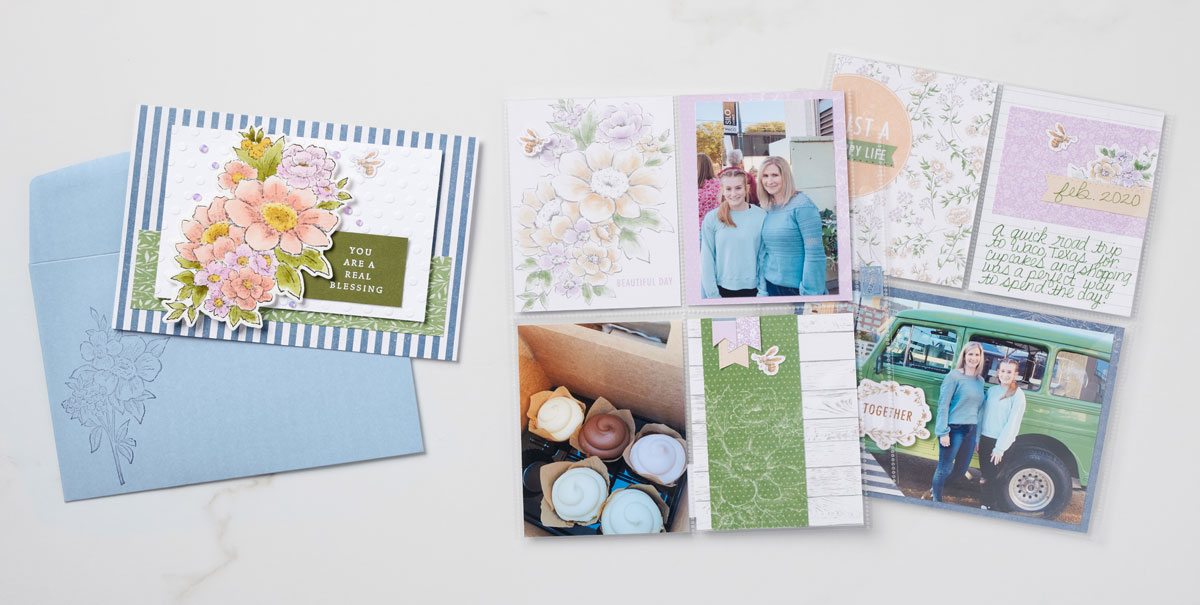
This week, try putting aside time to preserve your memories with some beautiful scrapbook pages. We had fun preserving memories and friendships with the Heart & Home Memories & More Card Pack—and we are so excited to see what projects you create!

For our scrapbook pages, we kept everything simple and didn’t do any stamping—sometimes less is more, and we loved the way it turned out! We arranged the cards into their own pockets and added a few stickers. We then used the Garden Green Stampin’ Write Marker to write a few words and popped up the bees with Stampin’ Dimensionals.

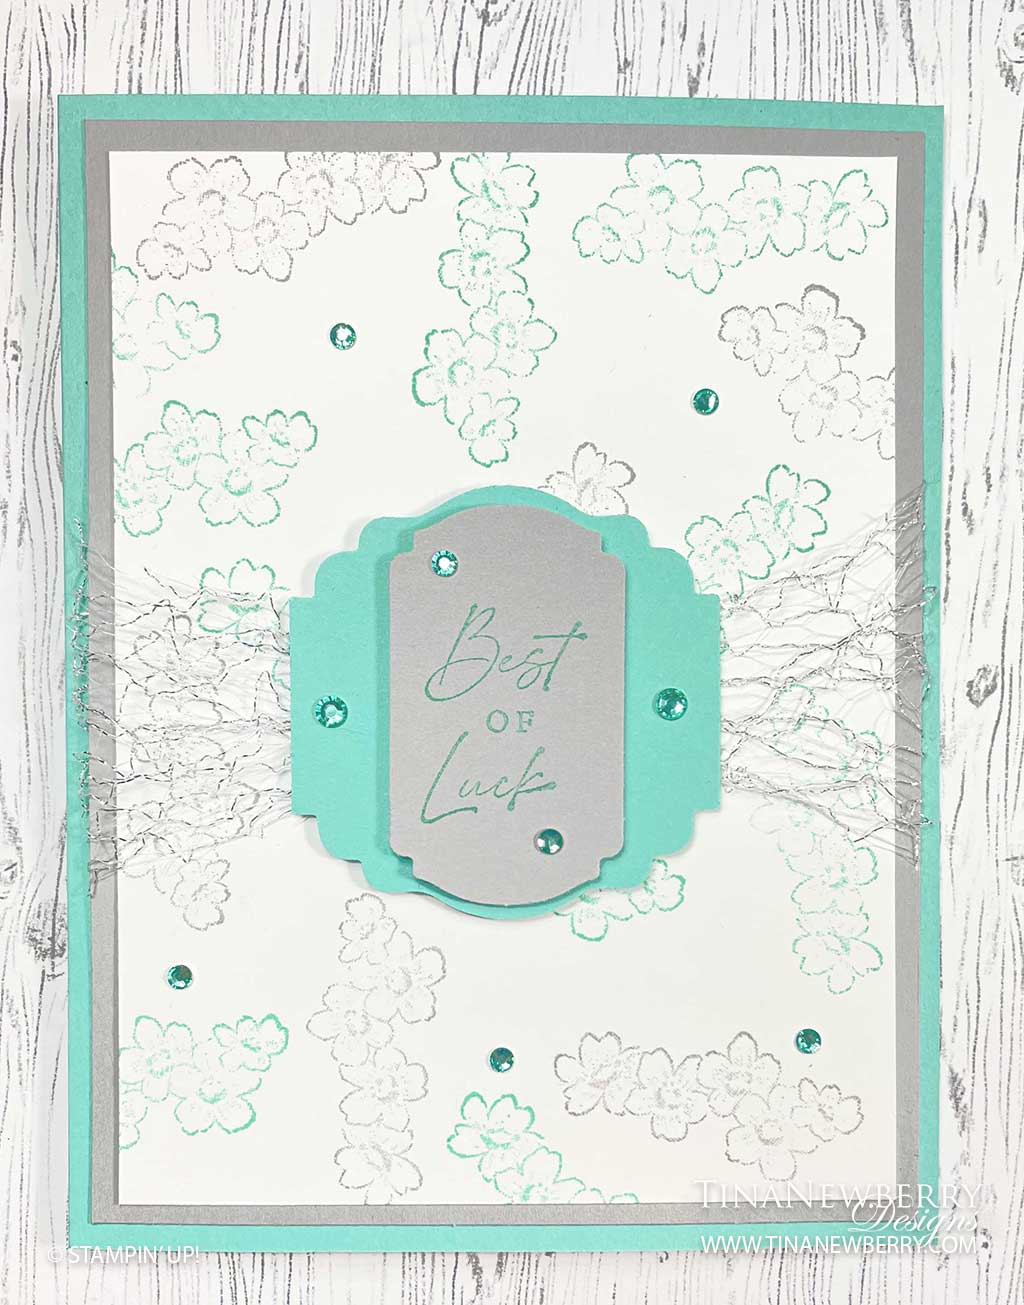
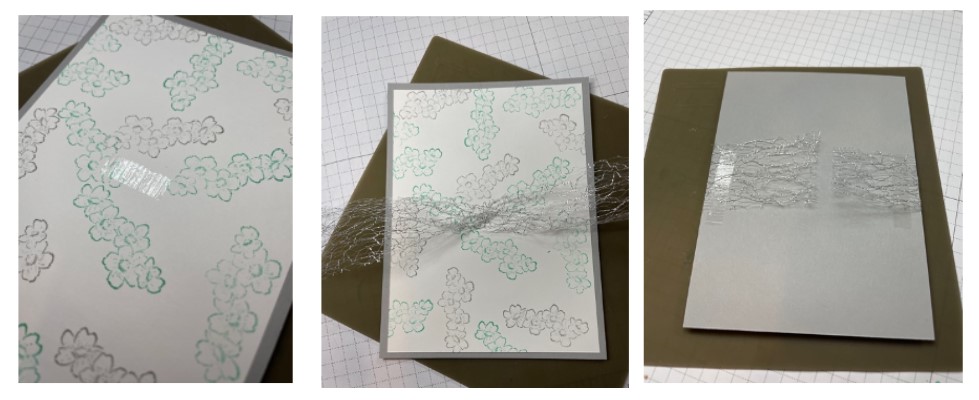
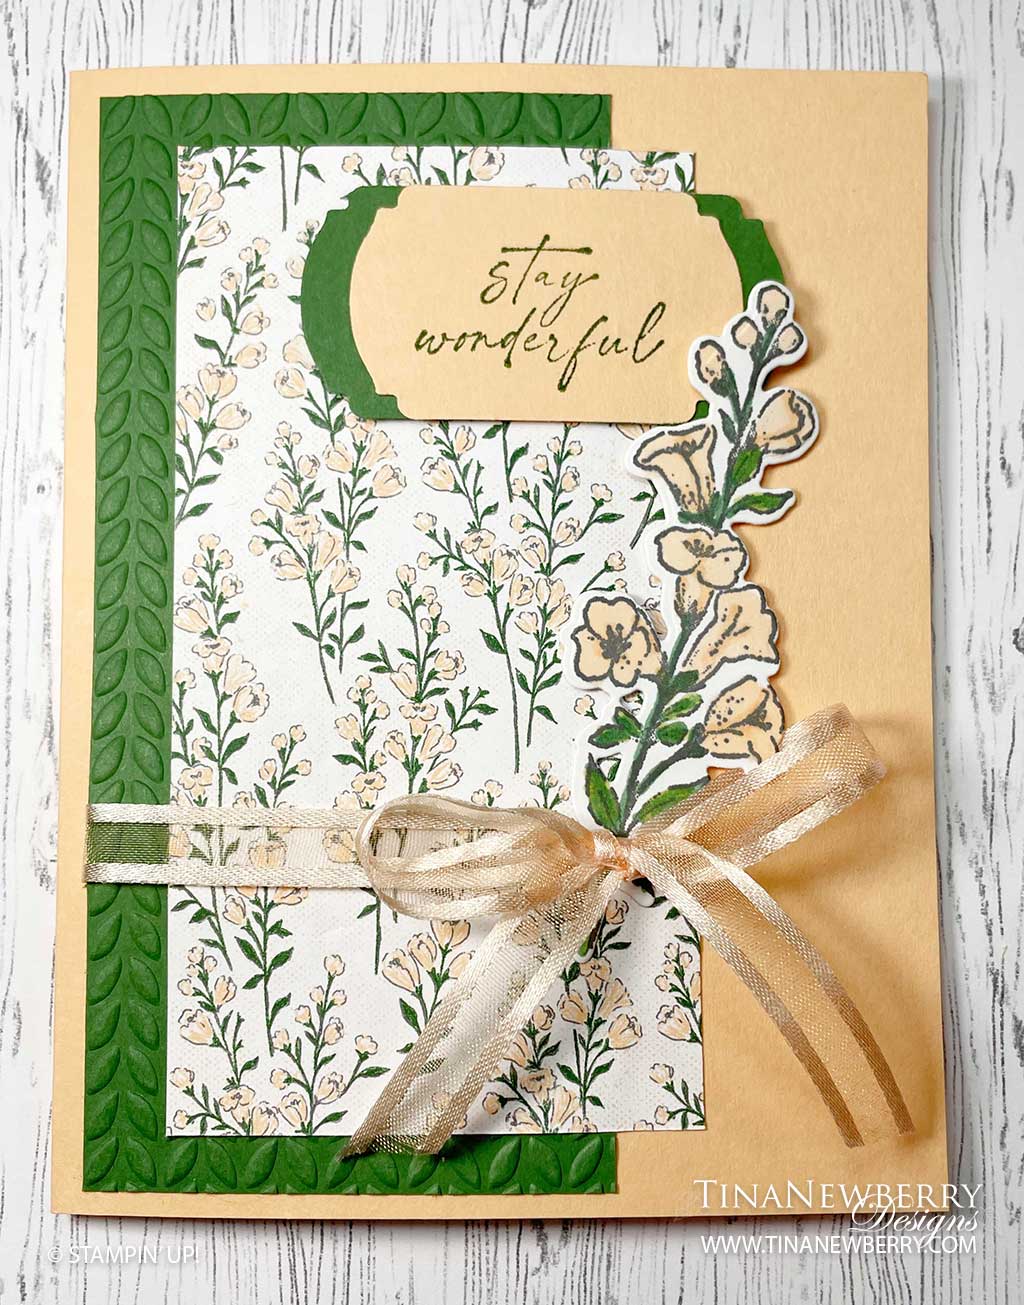
For the card, we colored the floral arrangement by squeezing drops of ink from ink refills into a stamp pad lid and using a Water Painter to color the image. We used Calypso Coral, Fresh Freesia, Old Olive, and So Saffron, and we loved the different hues of color we were able to create with the water. We finished the card with a simple embossed sentiment and a few embellishments, including some 2021–2023 In Color Jewels to coordinate with the colors in the floral image.

Let us know what memories you were able to preserve through crafting!

Shopping List

Such Happy News

Bees stamped from the Stampin’ Up! Honeybee Home Stamp set on kraft paper and die cut out with the Honerybee Blooms dies add some fun color to lovely white woodgrain paper from Stampin’ Up! Heart & Home Designer Series Paper on this uplifting card.

Measurements

Full list of supplies needed, listed below. A die cutting machine is needed for this card.
Misty Moonlight Cardstock:

  • 5 ½” h  x  8 ½” w folded to 5 ½” h x 4 ¼” w
  • 5 ¼” h x 4” w

Home and  Heart Designer Series Paper:   5″ h x 2″ w

Basic White Cardstock:

  • ½” h x 4” w for sentiment
  • 5 ¼” h x 4” w for inside
  • scrap for flower

Kraft paper: scrap for bees

Let’s Create

  1. Affix all stamps to Acrylic Blocks.
  2. Fold the Card Base in half using a Bone Folder to sharpen the crease.
  3. Emboss the Misty Moonlight card stock layer with the Timber Embossing Folder.
  4. Adhere to the card base with Stampin’ Seal.
  5. Adhere the Home and Heart DSP layer onto the card front with Stampin’ Seal.
  6. Use the Misty Moonlight Classic Stamp Pad to stamp the flowers image on a scrap of Basic White card stock.
  7. Die cut the flowers image.
  8. Adhere with Stampin’ Dimensionals to the card front.
  9. Stamp the bees image with Cinnamon Cider onto the Kraft paper. 
  10. Die cut the bees.
  11. Stamp the sentiment with Misty Moonlight Stampin’ Pad on the Basic White layer.
  12. Use the Banners Pick A Punch to punch the right side end of the sentiment layer.
  13. Wrap the Baker’s Twine around the left side of the sentiment layer, tie a bow.  Trim the ends.
  14. Adhere the sentiment banner with Stampin’ Dimensionals to the card front.
  15. Adhere the 2 bees with Stampin’ Dimensionals onto the card front. 
  16. Stamp and decorate the inside and attach with Stampin’ Seal.
  17. Decorate your envelope.
  18. Make someone’s day with this uplifting card. Send it today.
Product List

Recommended Stamper’s Toolkit ❤


Best of Luck Honeybee Home

I love the modern colors used on this card of well wishes made with a custom background from the Stampin’ Up! Honeybee Home Bundle. Use these colors or your favorite color palette, when you make your own version of this #simplestamping card using just Stamps, Ink and Paper.

Measurements

Full list of supplies needed, listed below.
Coastal Cabana Cardstock:

  • 5 ½” h  x  8 ½” w folded to 5 ½” h x 4 ¼” w card base
  • scrap

Smoky Slate Cardstock:

  • 5 1/4″ h x 4″ w
  • scrap

Basic White Cardstock:

  • 3 ¾” h x 5” w
  • 5 1/4″ h x 4″ w for inside

Let’s Create

  1. Affix all stamps to Acrylic Blocks.
  2. Fold the Card Base in half using a Bone Folder to sharpen the crease.
  3. Stamp the floral image with Coastal Cabana Stampin’ Pad and Smoky Slate Stampin’ Pad in a scattered pattern on the 3 ¾” h x 5” w Basic White layer.
  4. Adhere this layer onto the 5 1/4″ h x 4″ w Smoky Slate layer using Stampin’ Seal.
  5. Apply an inch layer of Stampin’ Seal+ to the center of the Basic White layer. Place this on the Silicone Craft Sheet.  Apply Stampin’ Seal+ onto the back edges of this layer.
  6. Twist the Metallic Mesh Ribbon and press the twist into the Stampin’ Seal+ on the center of the card front.  Wrap the Metallic Mesh ribbon around the press into the adhesive on the back side.  And attach to Card Base with Stampin’ Dimensionals.
  7. Stamp the sentiment with Coastal Cabana onto a scrap of Smoky Slate and then punch with the Label Me Fancy punch around the words.
  8. Use the Label Me Lovely punch on a scrap of Coastal Cabana card stock.
  9. Adhere the labels together with Stampin’ Dimensionals.
  10. Use Stampin’ Dimensionals to attach these labels being careful not to adhere to the ribbon twist
  11. Embellish the labels and card front with Rhinestone Waves Basic Jewels.
  12. Stamp and decorate the inside and attach with Stampin’ Seal.
  13. Decorate your envelope.
  14. So cheerful! Who needs this sunshine mail? Send it today!
Product List

Recommended Stamper’s Toolkit ❤


CASE = Copy and Share Everything

Let’s get creative this week! If you have the creativity blues, don’t worry! This week, we are on the CASE to help you copy and share everything! So, get crafty with us as we CASE the You Are Amazing card in three gorgeous ways. Then try CASEing a project or two on your own and let us know what you came up with!

For our Just for You card, we layered the Mossy Meadow Designer Series Paper onto a cardstock base, then added the Shimmery White Cardstock off-center in the upper left corner. With a stamp or two, some ribbon, and a sentiment, this card is sure to put a smile on anyone’s face.

We CASEd the I Like You card by copying the heat embossing technique used on the You Are Amazing card. First, we colored the flower stamp from the Flowing Flowers Stamp Set with Stampin’ Write Markers, then colored the ink splatters with VersaMark ink. We applied gold embossing powder, making sure to keep the gold off the flower and stem, then we heat embossed it. Isn’t it so cute?

For our Sending a Thousand Well-Wishes card we CASEd the color combination from our You Are Amazing card—Calypso Coral, Misty Moonlight, Sahara Sand, and a touch of gold. For this card we used slightly watered-down Multipurpose Liquid Glue on the flowers to add the Gilded Leafing. We just love the way it turned out.