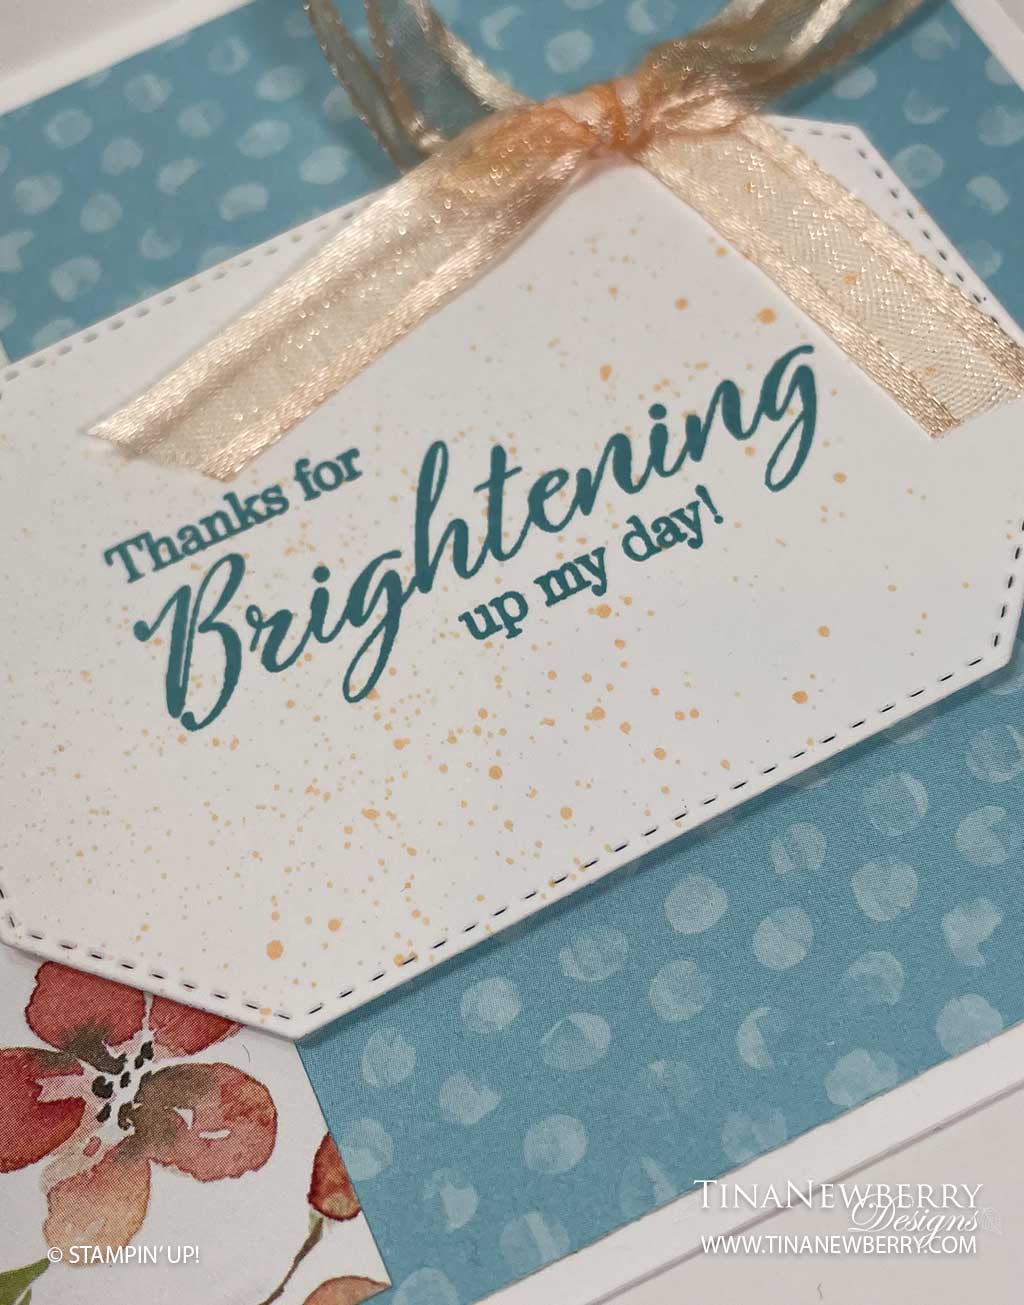
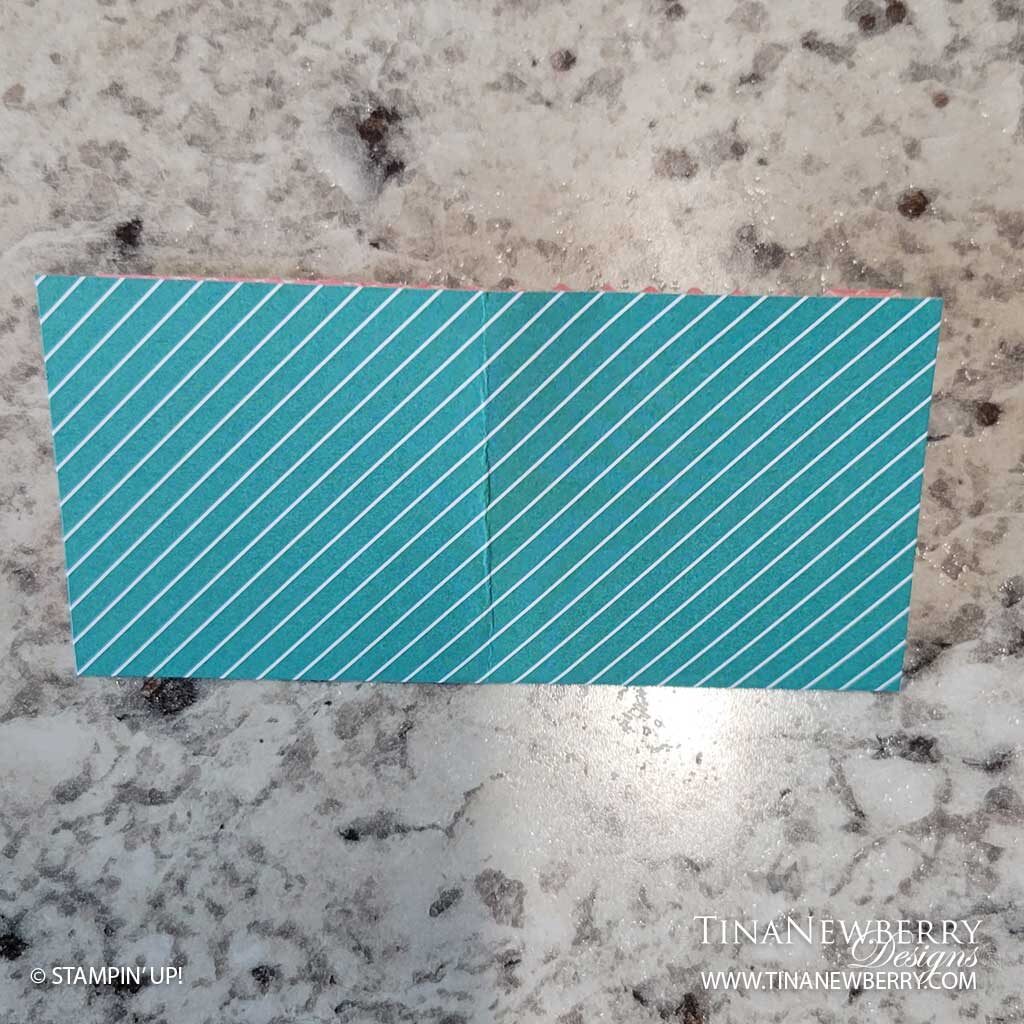
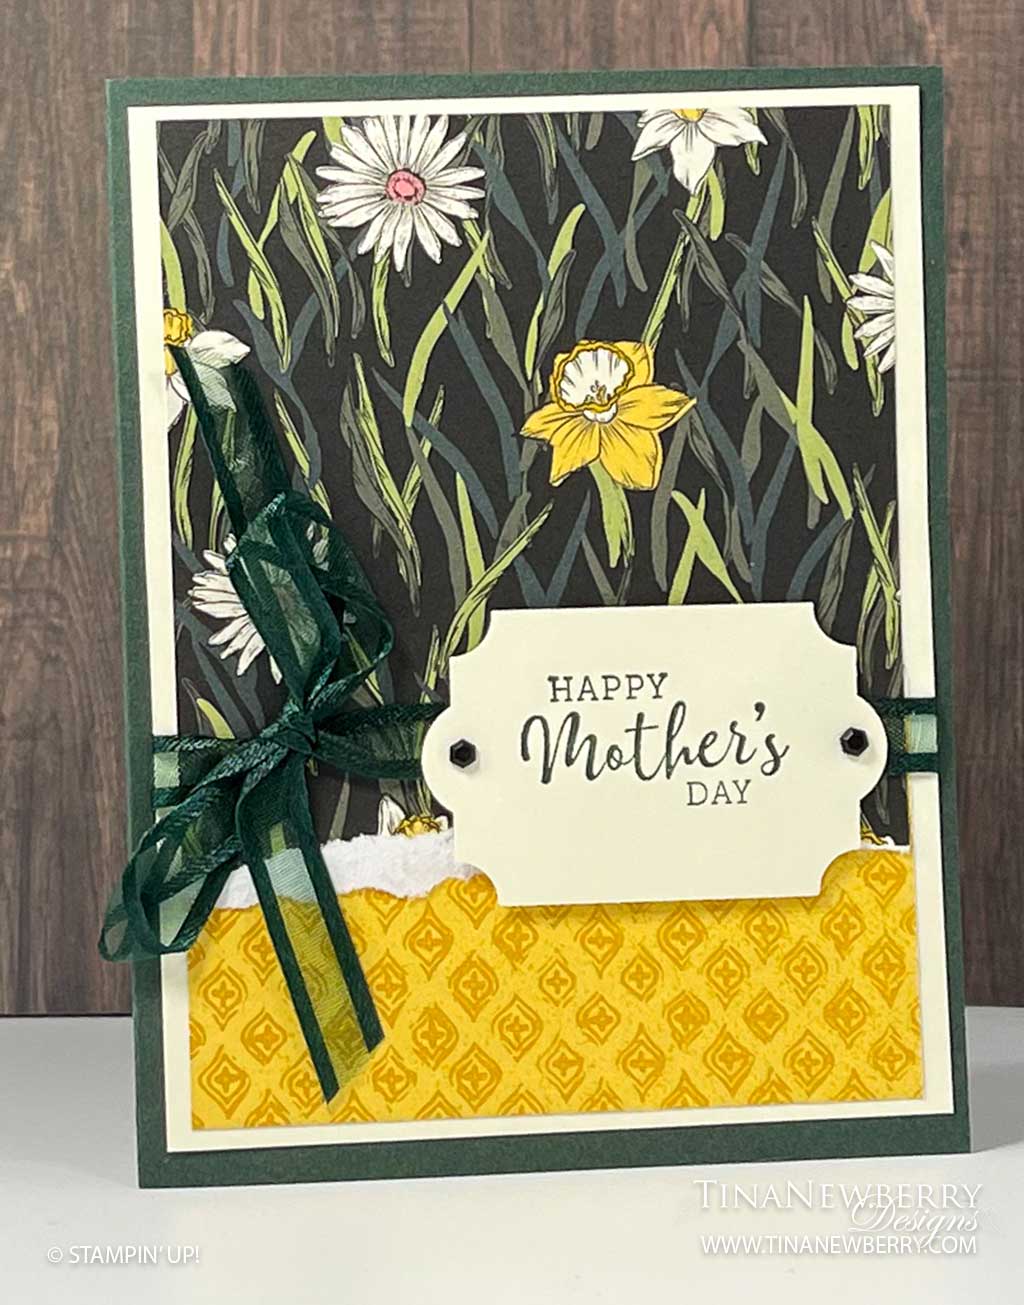
Drop a quick and easy note of thanks with this #simplestamping card. I love this Balmy Blue Polka Dot paper!

Measurements
Full list of supplies needed, listed below. A die cutting machine is needed for this card.
Thick Basic White Card Stock:
- 4 ¼” h x 11” w folded to 4 1/4″ h x 5 1/2″ w for Card Base
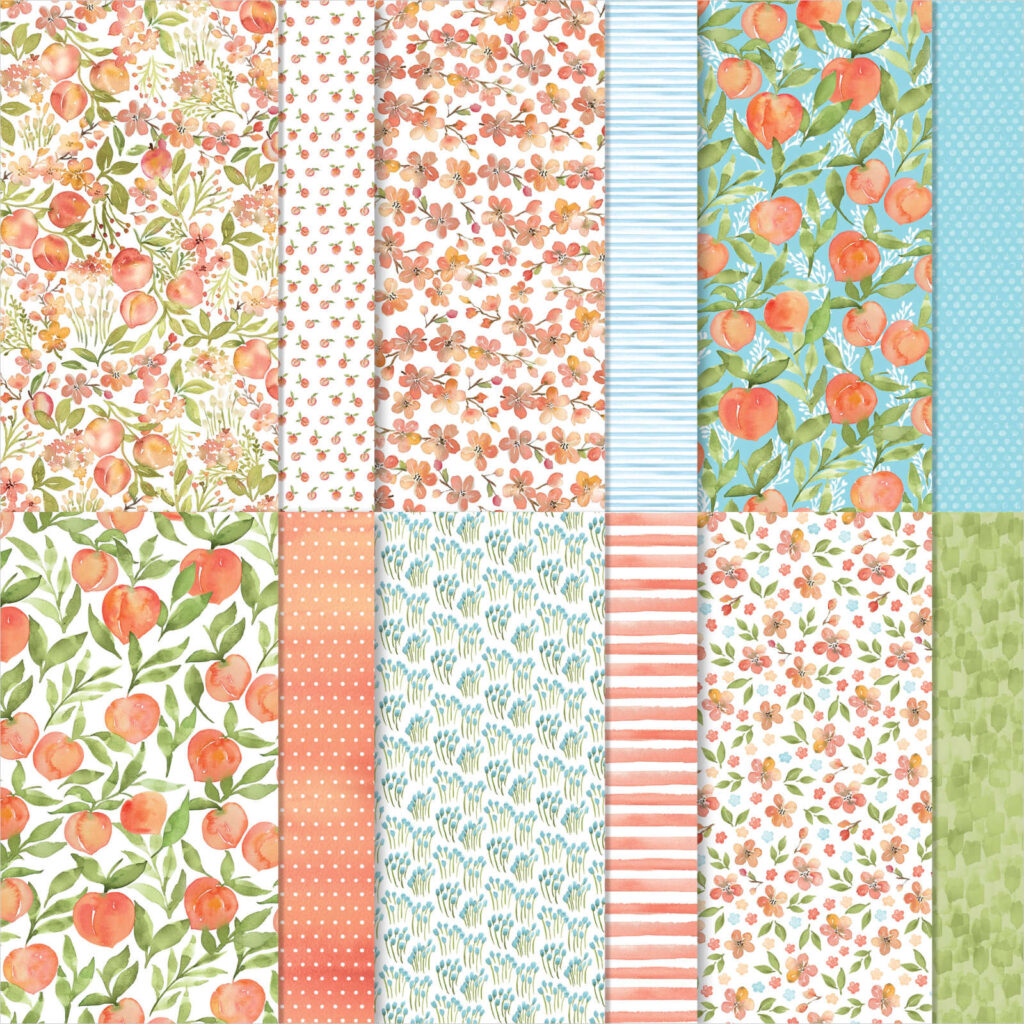
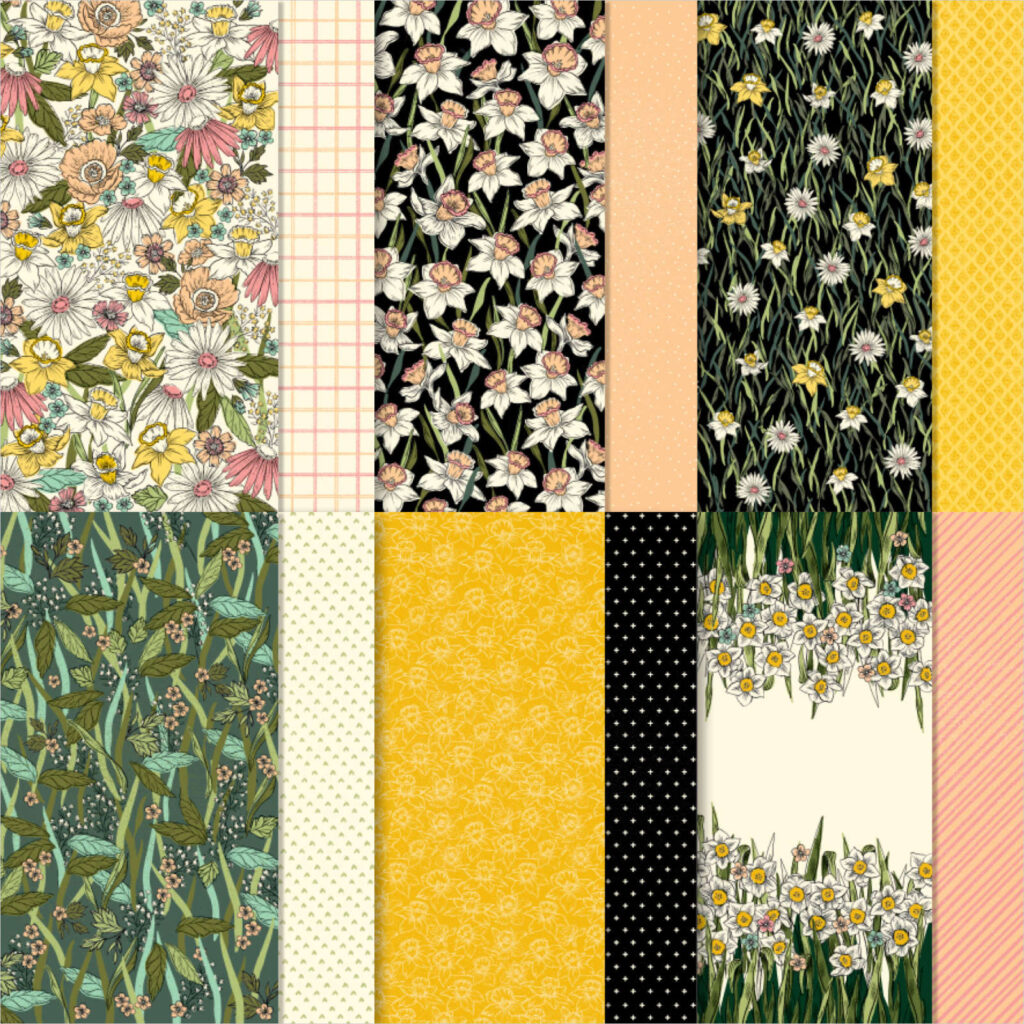
You’re a Peach Designer Series Paper:
- 4″ h x 5 1/4″ w
- 3 ¾” h x 2” w
Basic White Cardstock
- 4″ h x 5 1/4″ w
- scrap for die cut
Let’s Create
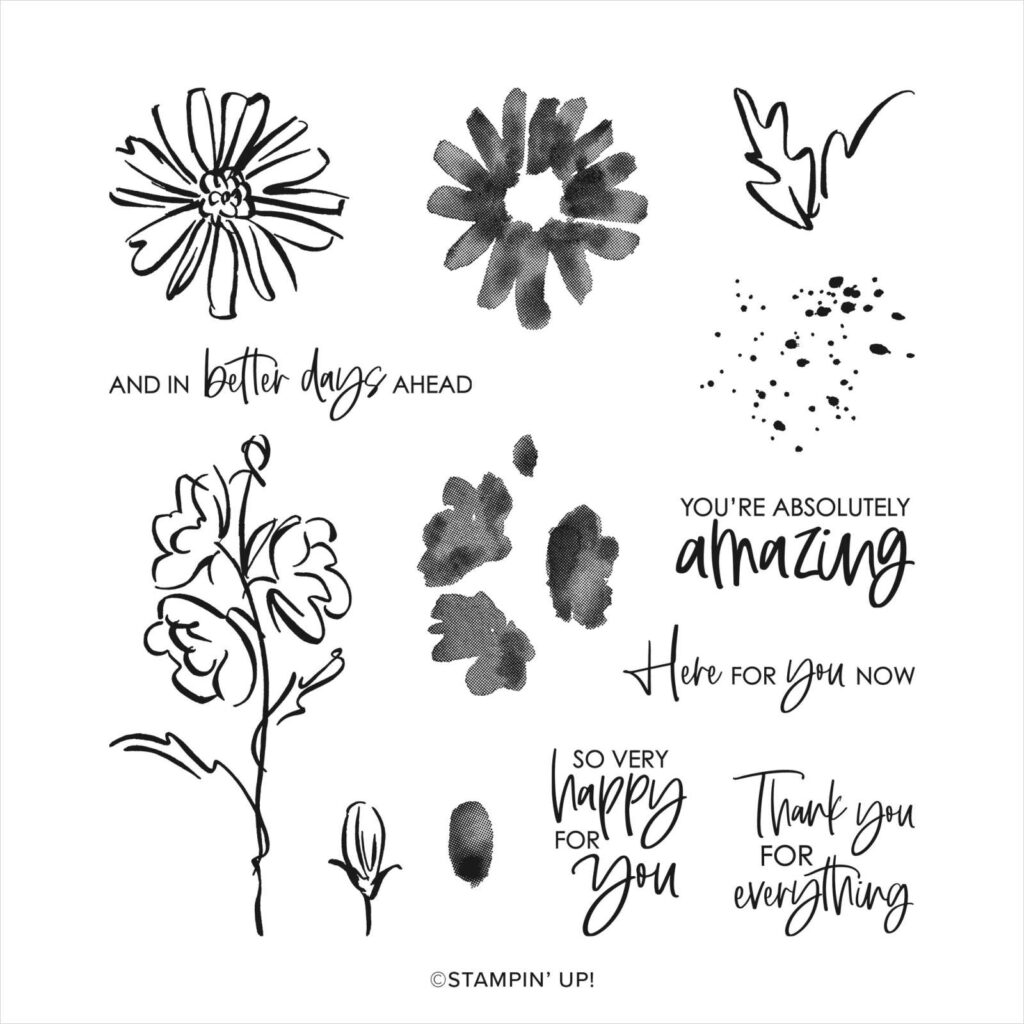
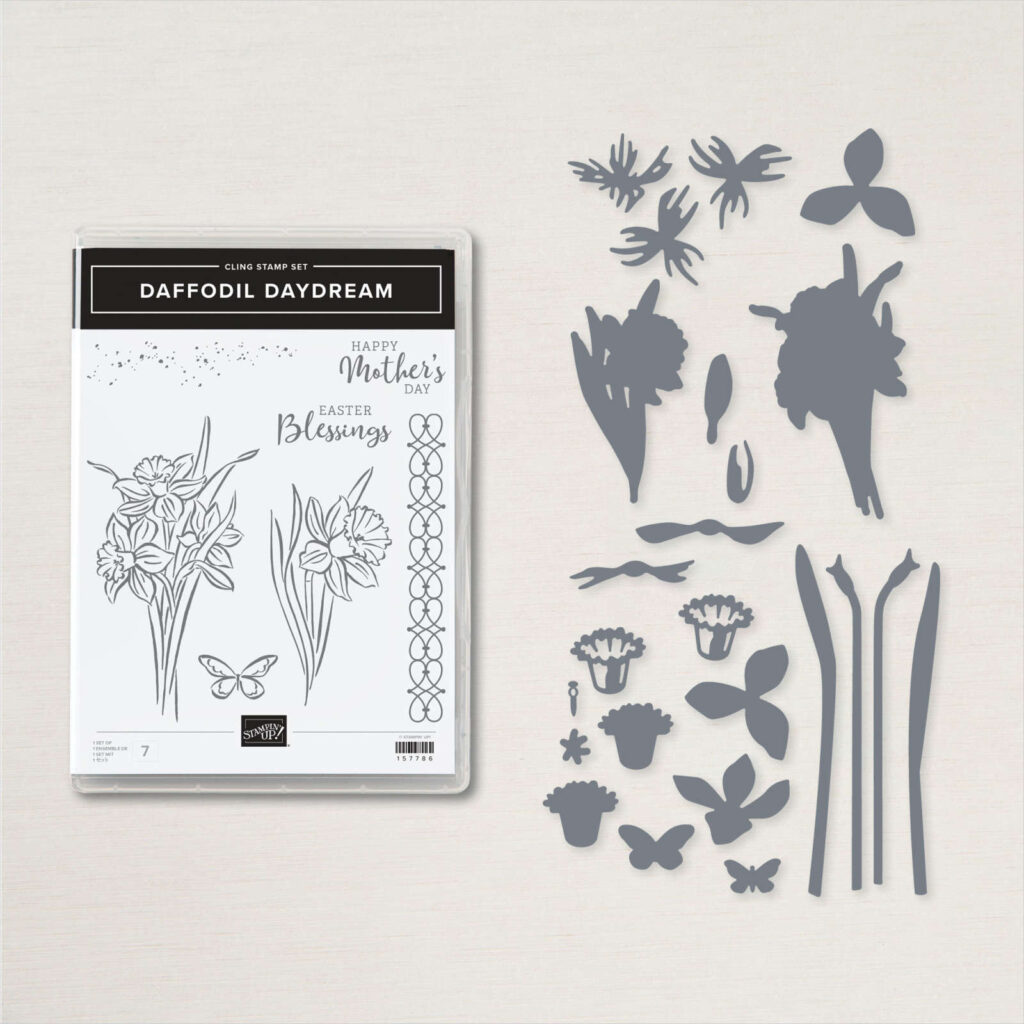
- Affix all stamps to Acrylic Blocks.
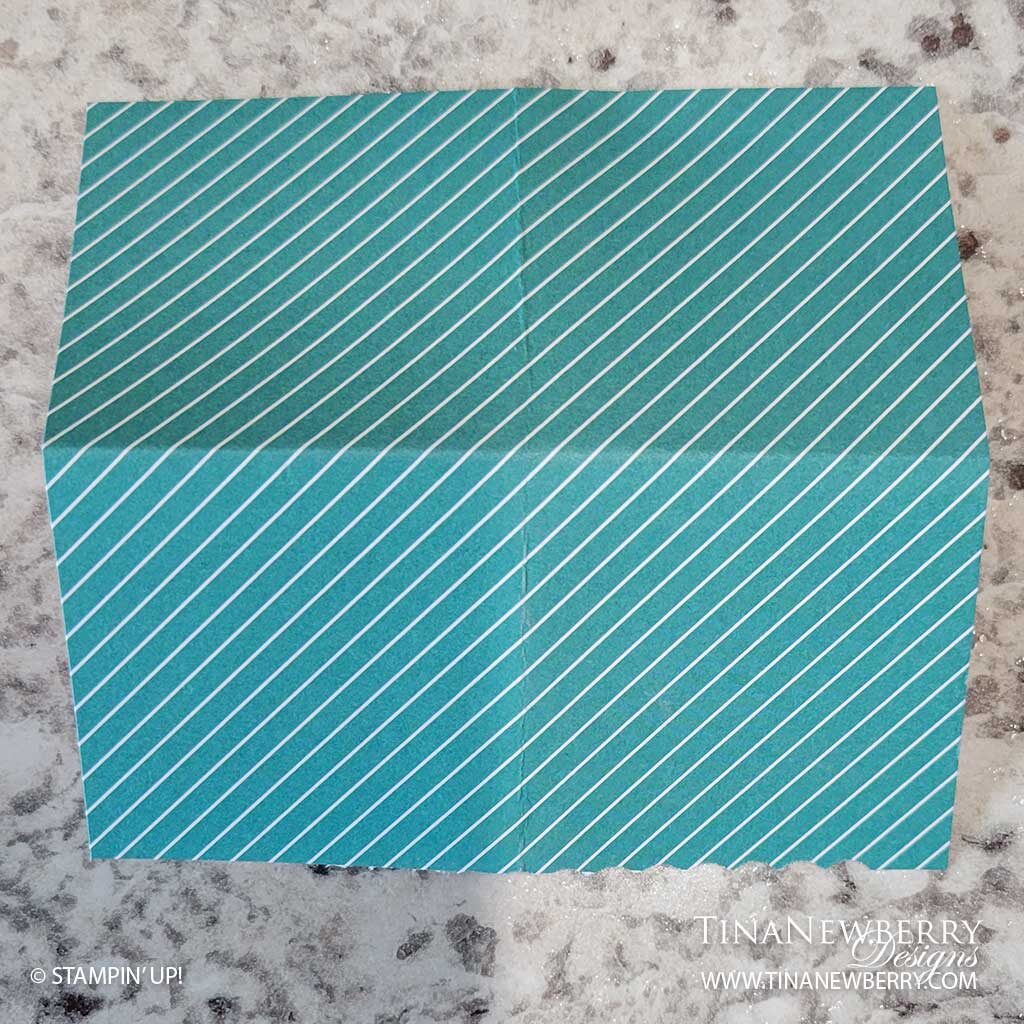
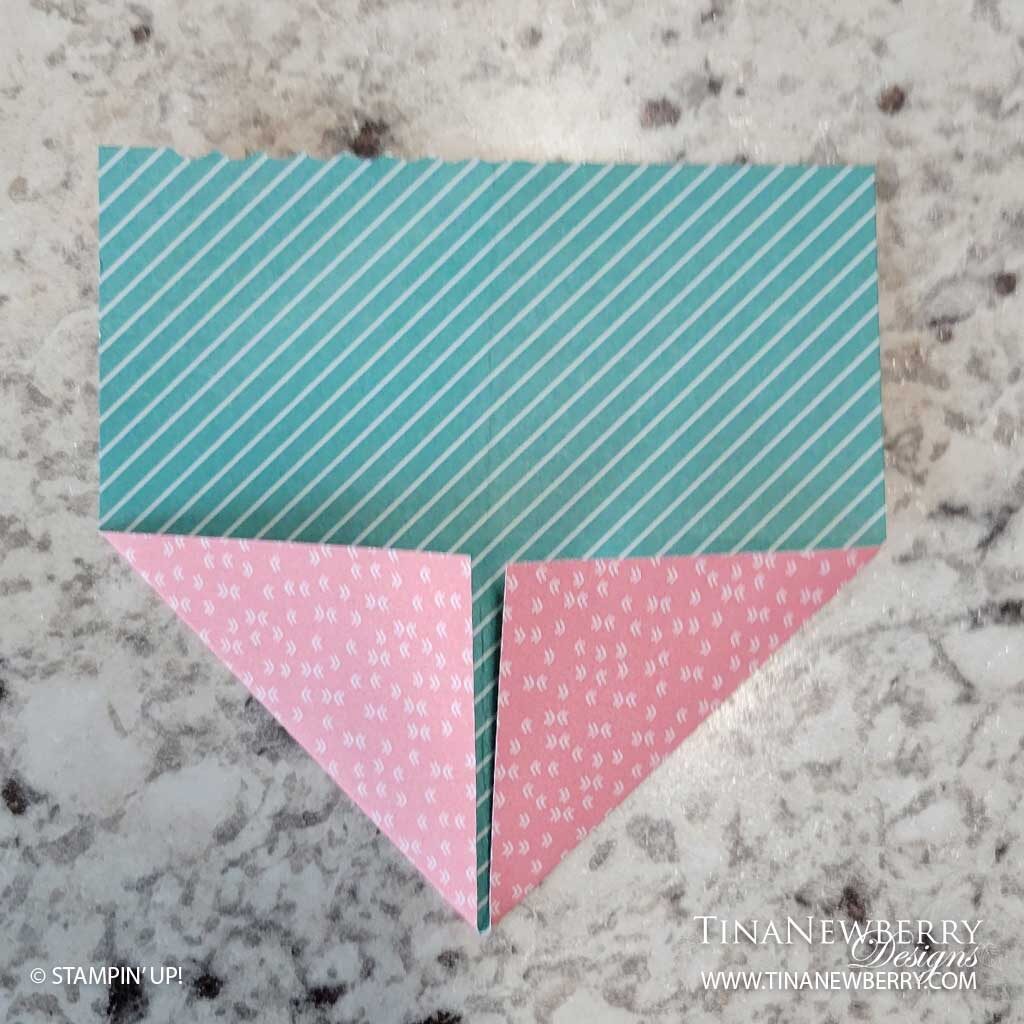
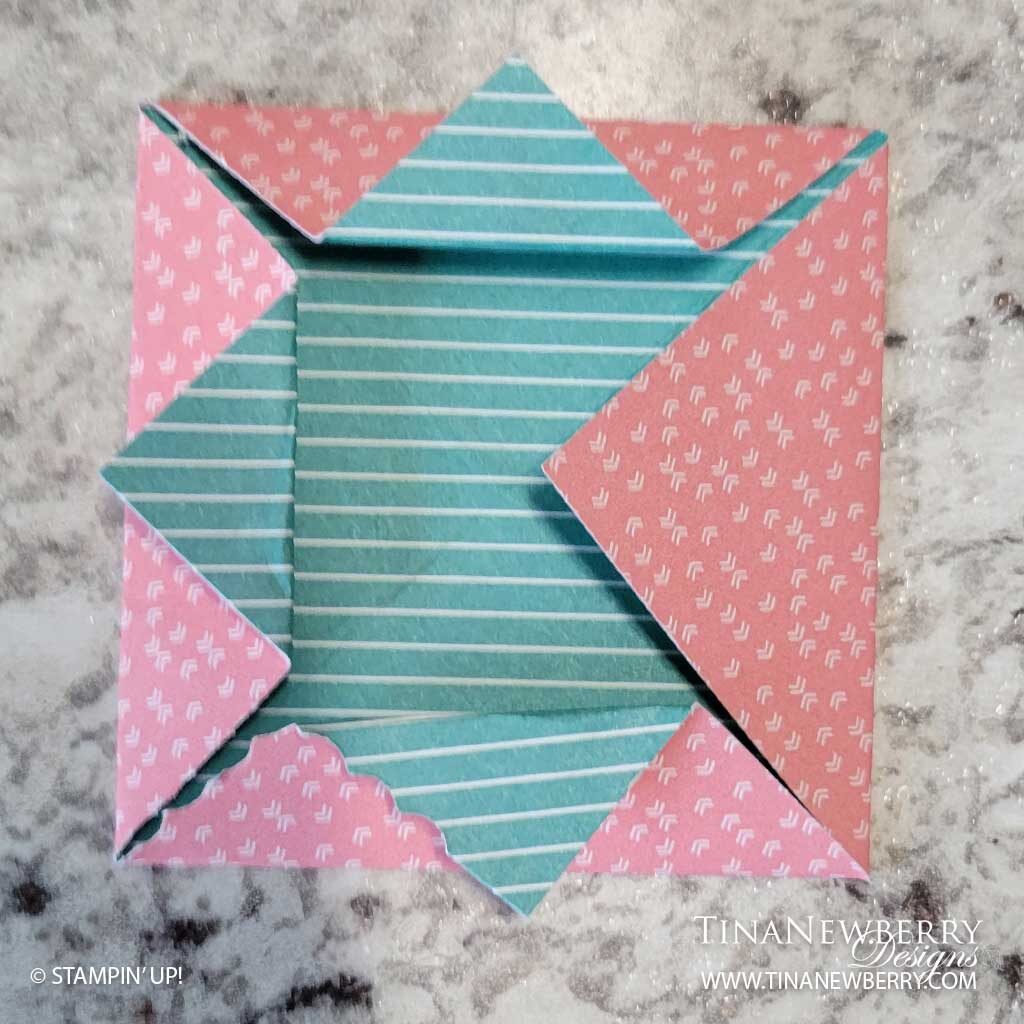
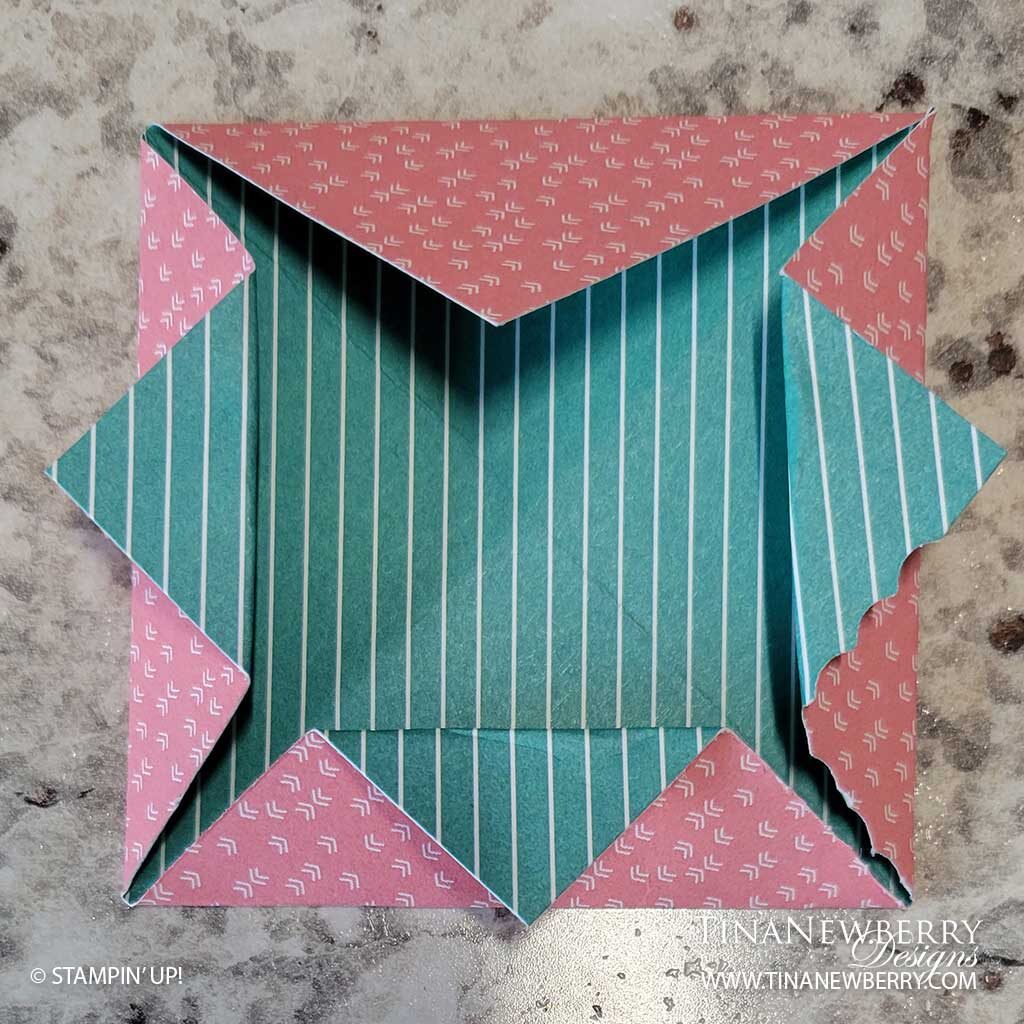
- Fold the Card Base in half using a Bone Folder to sharpen the crease.
- Adhere the two You’re a Peach DSP layers onto the card front with Stampin’ Seal.
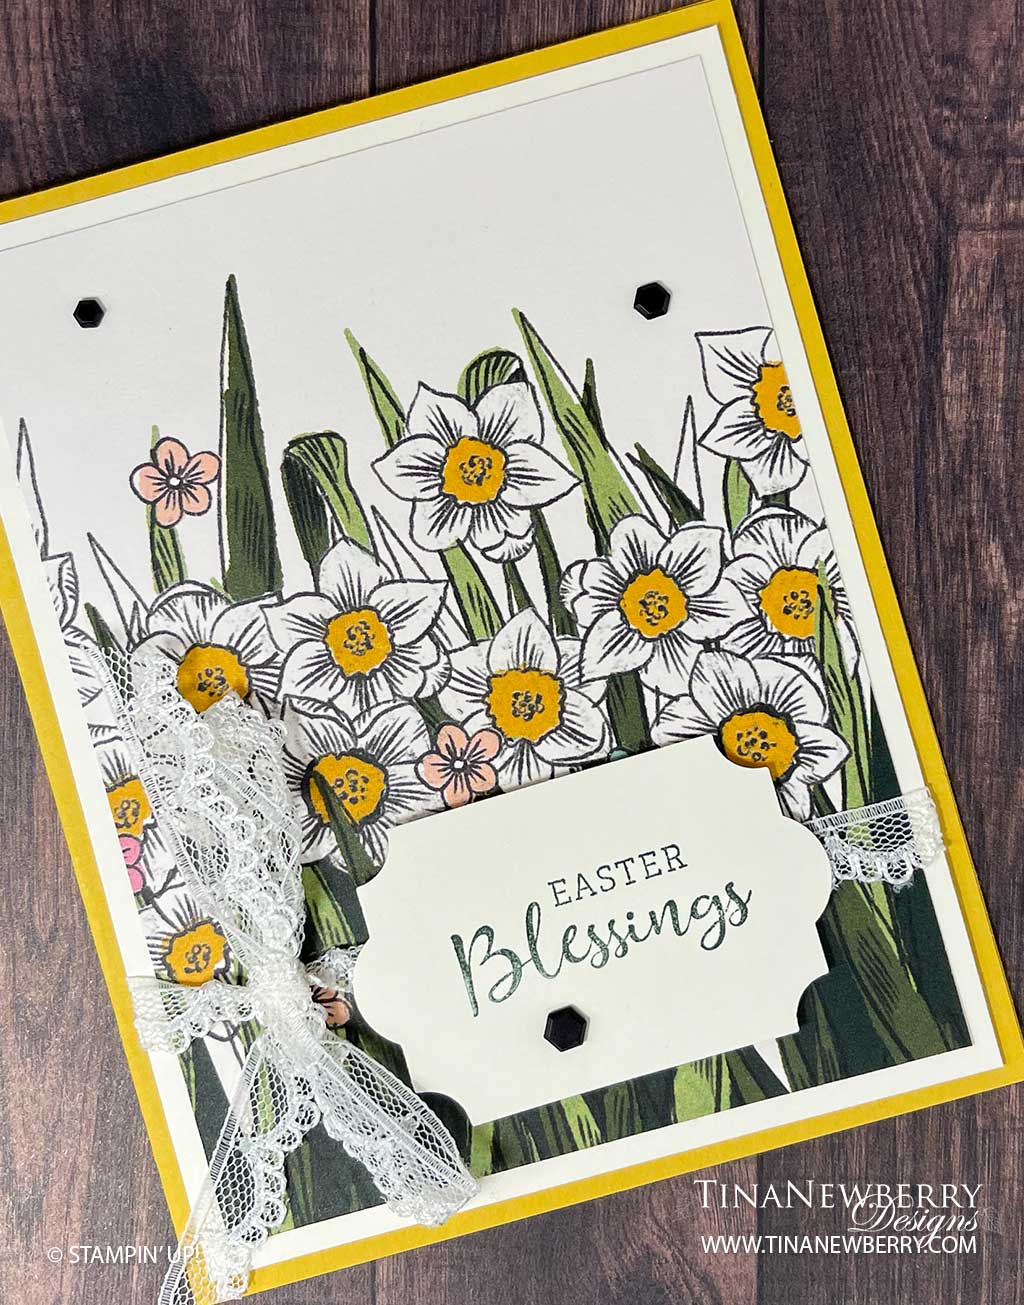
- Use Balmy Blue Stampin’ Pad to stamp your sentiment onto the Basic White cardstock.
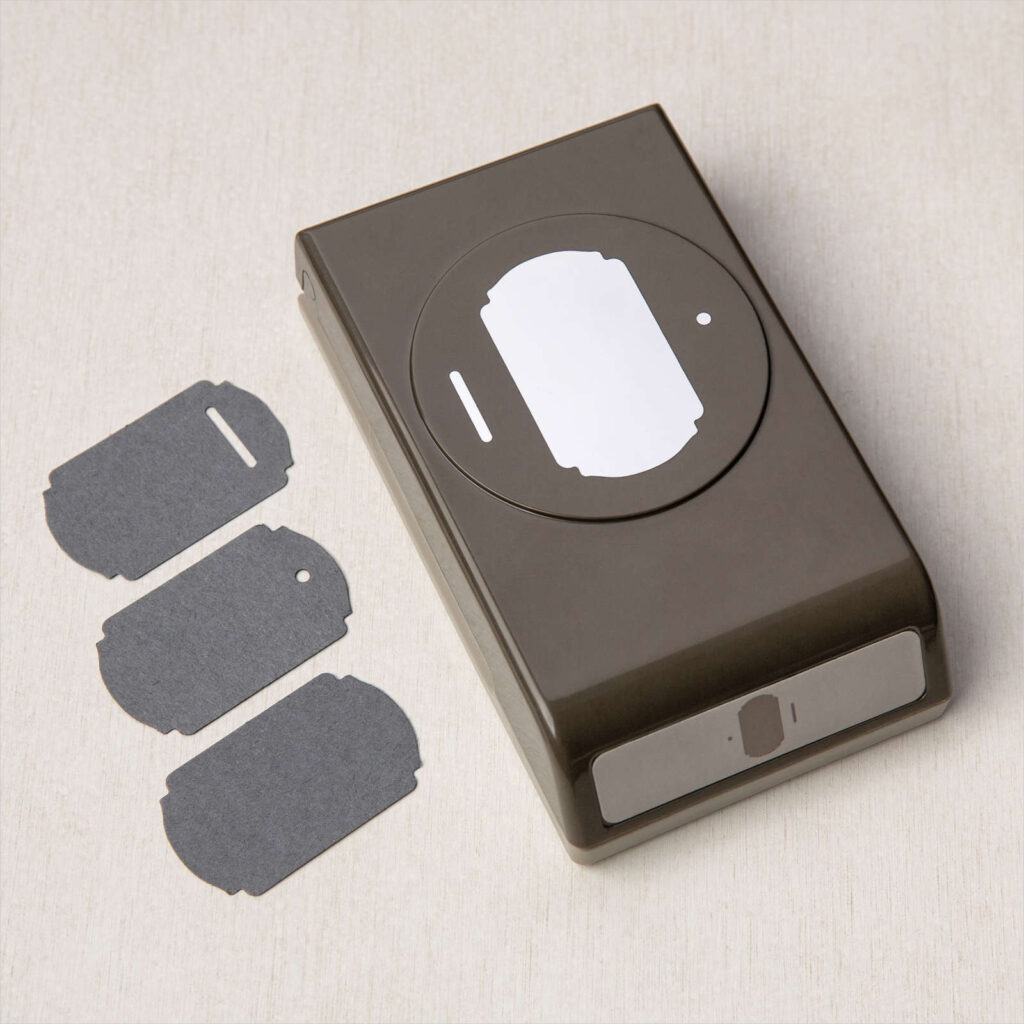
- Die cut the stamped sentiment card stock with the Hippo and Friends large octagon die in the Stampin’ Cut & Emboss Machine.
- Use the brush end of the Pale Papaya Stampin’ Blends and tap it against a clear block to splatter around the stamped sentiment.
- Adhere the sentiment label with Dimensionals onto the card front.
- Tie a bow with the Pale Papaya ribbon, adhere to the label with a Mini Glue Dot.
- Sprinkle on some gems (optional).
- Stamp and decorate the inside and attach with Stampin’ Seal.
- Decorate your envelope.
- So pretty! Now send it to someone special.
Shopping List
")


 Designer Series Paper")
 Open Weave Ribbon")

$36.00
Stamper’s Toolkit
You will also need adhesive, acrylic blocks, scissors and other basic PaperCrafting items from the Stamper’s Toolkit

$8.00

$12.00

$4.00


$5.25

$7.00

$4.00

$7.00

$10.00

$8.00

$8.00

$10.00

$25.00

$7.00

$6.00

$10.00

$8.00

$5.00

$5.00

$6.00

$71.50

$8.00

$11.75
")
$30.00

$9.50


$120.00

 Designer Series Paper")


 Crinkled Seam Binding Ribbon")


 Designer Series Paper")

 Open Weave Ribbon")


 Scalloped Lace Trim")