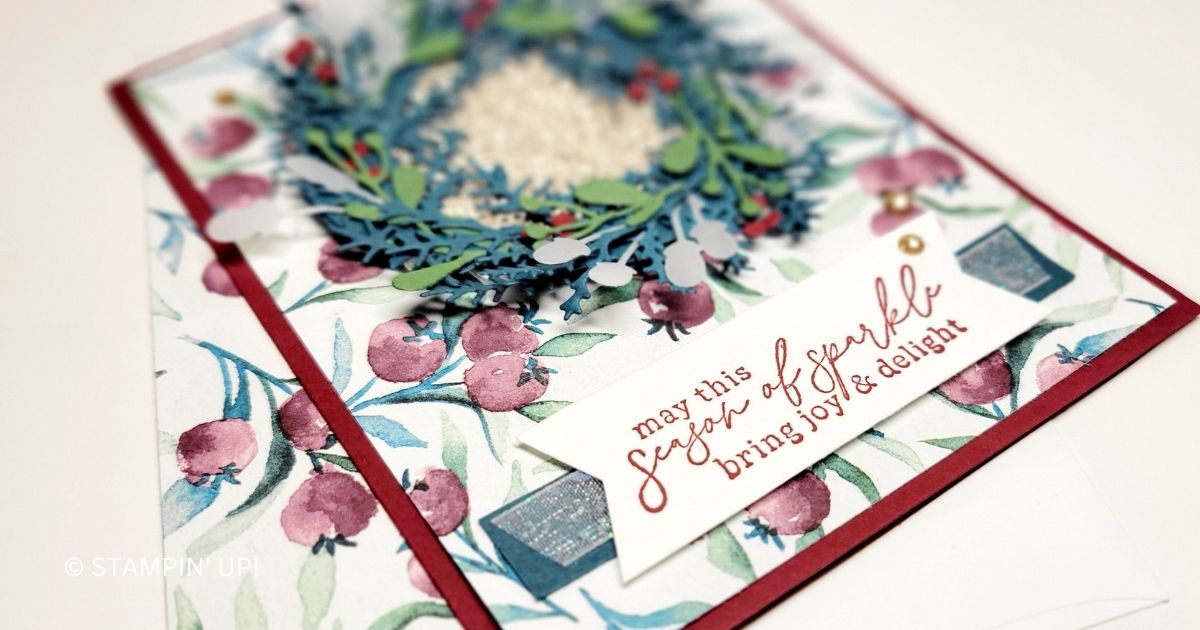
May This Season of Sparkle Bring Joy & Delight

Make a beautiful paper wreath in the colors of your choice. I’ll show you how!

Add a little winter magic to your cards and other paper crafts with the Magical Meadow Bundle. The stamps and dies coordinate: stamp, then die cut the images to use on cards, scrapbook pages, gift tags, and more.

Measurements

Full list of supplies needed, listed below. A die cutting machine is needed for this card.

  • Cherry Cobbler Cardstock:
    • 8 ½” w x 5 ½” h scored and folded on the long side at 4 ¼”
    • Scrap for berries
  • Basic White Cardstock:
    • 4 ¼” w x 5 ¼” h (1) for inside
    • 1” h x 3 ¼” w for tag
  • Winter Meadow Designer Series Paper (DSP): 4 ¼” w x 5 ¼” h 
  • More Dazzle Specialty Paper: 2” circle
  • Pretty Peacock:
    • ½” h x 3” w
    • ~2” circle ring
    • Scrap for wreath
  • Vellum Cardstock: scrap for wreath
  • Garden Green Cardstock: scrap for wreath


Let’s Create

  1. Affix all stamps to Acrylic Blocks.
  2. Fold the Card Base in half using a Bone Folder to sharpen the crease.
  3. Attach the DSP with Stampin’ Seal+
  4. To make the wreath
    1. Run the two pine and one curved branch dies through the Stampin’ Cut & Emboss machine several times with Pretty Peacock cardstock so you have 3-4 of die cut pieces of each branch.
    2. Die cut three pieces of each die with the Vellum  and Garden Green Cardstock.
    3. Attach a piece of Adhesive Sheets to the back of the Cherry Cobbler scrap and die cut the berries die 2-3 times to create a bunch of berries.
    4. On a Silicone Craft Sheet, set down the Pretty Peacock circle ring. Attach Tear n ‘ Tape to the circle ring and remove the backing.
    5. Layer the curved branches around the edge of the circle- there will be overhanging pieces. Use Multipurpose Glue to attach the curved branches to each other and use your Paper Snips to snip off the overhanging pieces. 
    6. Next layer the pine pieces, you might find you need to cut some into smaller pieces and tuck them in. Use Multipurpose Glue to adhere into place.
    7. Break the Garden Green and Vellum branches into smaller pieces and tuck them in here and there. Use Mini Glue Dots to adhere into place.
    8. Remove the adhesive backing from the berries and attach to the berries on the Pretty Peacock. 
    9. Use Mini Glue Dots to attach to the More Dazzle Circle.
  5. Attach the wreath to the DSP with Stampin’ Seal+ or Multipurpose Glue or Tear N’ Tape.
  6. Stamp the sentiment in Cherry Cobbler ink on the Basic White cardstock and trim the ends with the Banners Pick a Punch.
  7. Use Stampin’ Seal to attach the Pretty Peacock strip. 
  8. Use Tear n Tape to attach the Glitter Organdy ribbon and trim to size with your Paper Snips. 
  9. Attach the sentiment with Stampin’ Dimensionals. 
  10. Sprinkle on some Adhesive Backed Sparkle Gems. 
  11. Stamp and decorate the 5 ¼” w x 4” h for inside.
  12. Decorate your envelope.
  13. Stunning! Who will you send this to?
Shopping List

Recommended Stamper’s Toolkit

Product List
Order online from the convenience of your own home or send me your order and I’ll take care of you. ❤ Either way, please use the host code ANTD9UHS. Order online AND, if your order is $50 or more using host code ANTD9UHS between now and the end of the month you’ll receive a free pack of embellishment as a THANK YOU gift from me. ❤ If your order is over $150, skip the host code, earn Stampin’ Rewards for free stuff yourself and I’ll still send you a free pack of embellishment as a THANK YOU gift from me. ❤

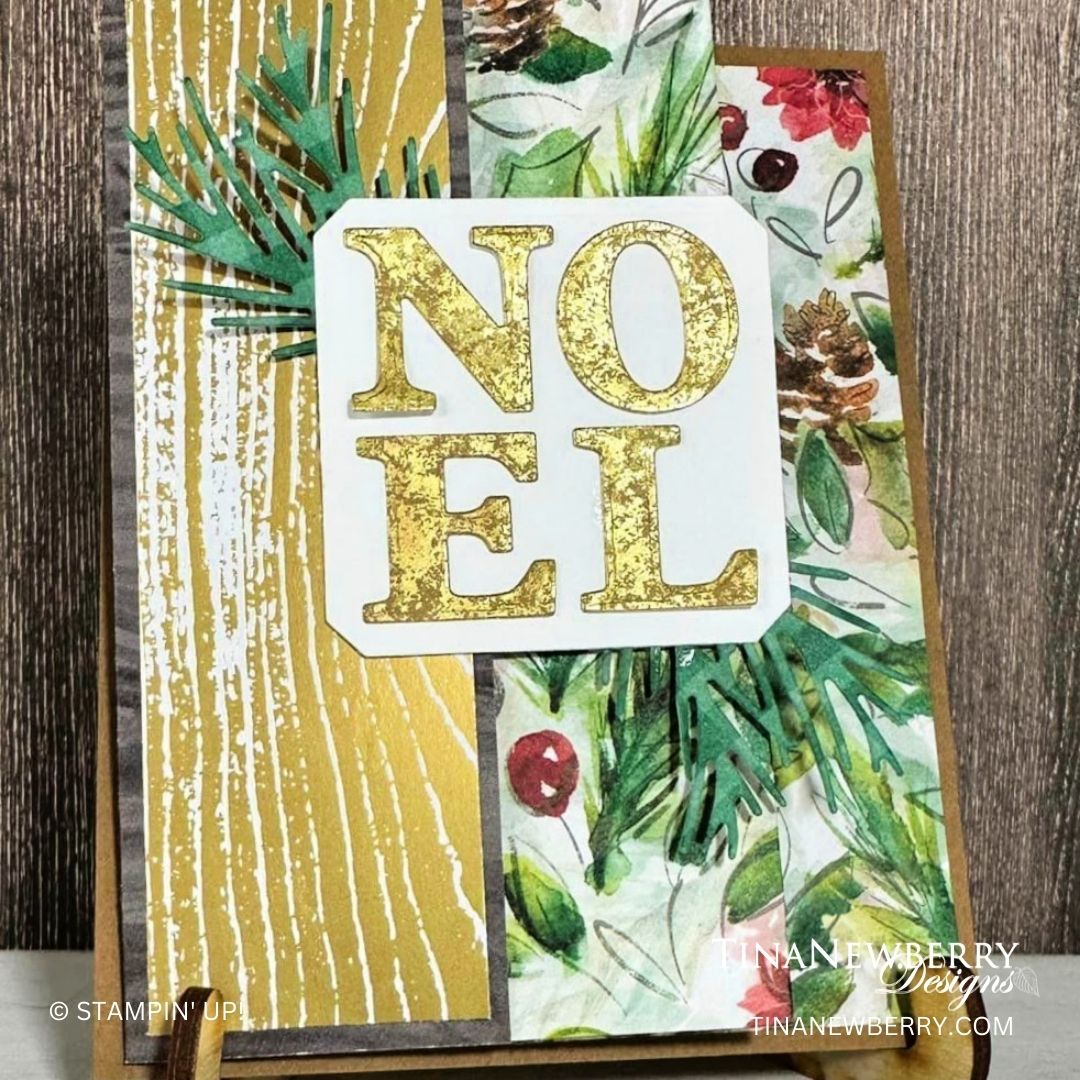
Joy of Christmas – Noel

Check out this fun-fold! Perfect for showing off your pretty patterned paper. What Designer Series Paper will you use for your card?

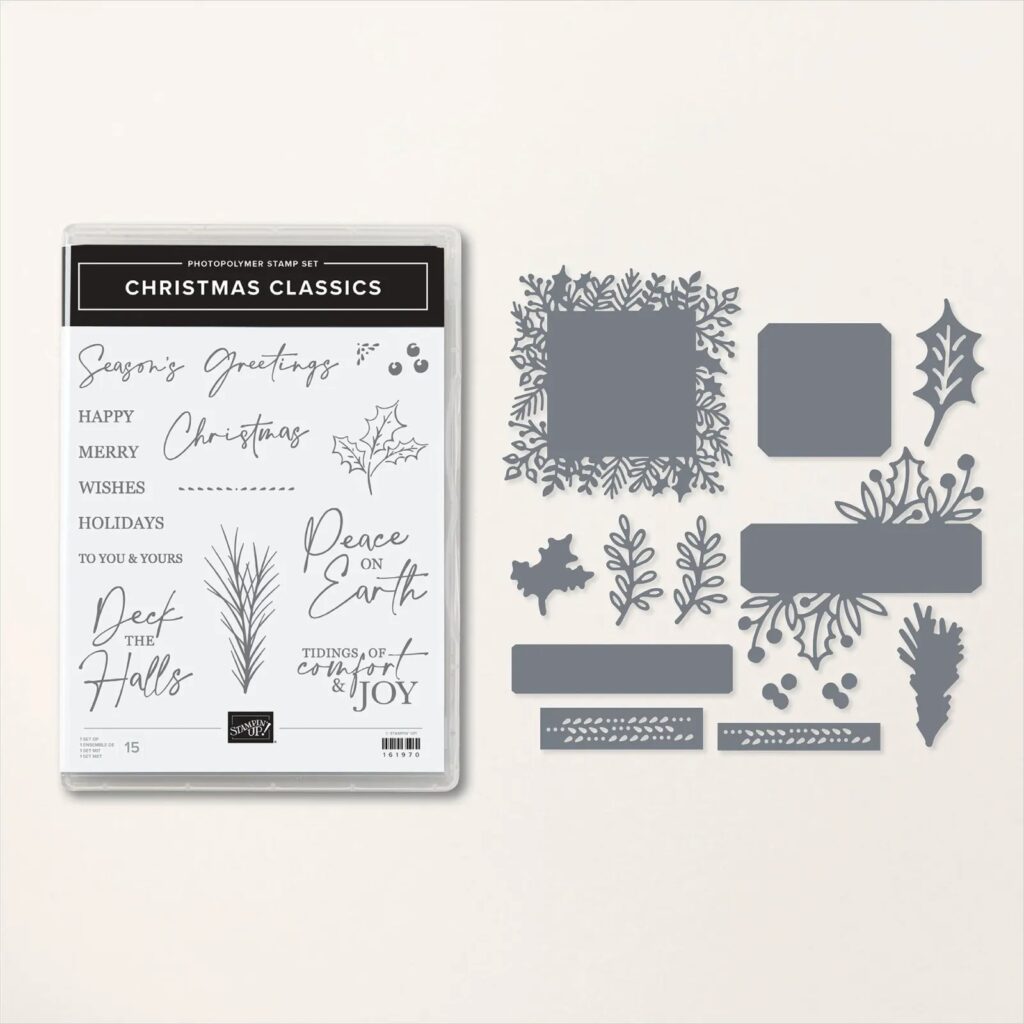
Add the Joy of Noel Bundle to your paper crafting collection and create all sorts of elegant paper crafts! Mix and match the stamp and die set greetings and designs to make wonderful Christmas wreaths and winter floral arrangements. From tags to cards to home decor elements, share the joy of Christmas with simple or sophisticated projects!

Measurements

Full list of supplies needed, listed below. A die cutting machine is needed for this card.

Card Base Pecan Pie 5 ½” x 4 ¼”

Joy of Christmas Designer Series Paper 5 ¼” x 11 ¾” (pay attention to the orientation).

  • Score at 1 ¾”, 4 ¾”, 7 ¾”
  • Basic White 2 ¼” x 5”
  • Basic White 1 ½” x 5”

Joyful 12×12 Specialty Paper 1 ½ ” x 5”

Die-Cut two sprigs in Shaded Spruce DSP

DIe-Cut two sentiment labels in Basic White

Die-Cut NOEL in Distressed Gold

Let’s Create

  1. Affix all stamps to Acrylic Blocks.
  2. Cut Card Base Pecan Pie 5 ½” x 4 ¼”
  3. Cut Designer Series Paper 5 ¼” x 11 ¾” (pay attention to the orientation).
    1. Score at 1 ¾”, 4 ¾”, 7 ¾”. Use Bone Folder to burnish the folds well.
  4. Fold the left flap back over on itself so the back of the DSP (brown wood grain) shows on the left-most flap.
  5. Adhere DSP to card base.
  6. Cut Specialty Paper 1” x 5” (Gold wood pattern). Adhere to the left-most flap.
  7. Cut Basic White 1 ½” x 5”. Stamp and adhere to inside as shown.
  8. Cut Basic White 2 ¼” x 5”. Stamp and adhere to last panel as shown.
  9. Die-Cut two sprigs in Shaded Spruce DSP 
  10. DIe-Cut (2) sentiment labels in Basic White.
  11. Die-Cut NOEL in Distressed Gold
  12. Adhere NOEL to sentiment label. Adhere sprigs behind sentiment label. Adhere second sentiment label to make a sandwich (to hide the springs when the card is open).
  13. Adhere sandwich to front panel.
  14. Sprinkle on gems as desired.

Shopping List

Recommended Stamper’s Toolkit

Product List
Order online from the convenience of your own home or send me your order and I’ll take care of you. ❤ Either way, please use the host code ANTD9UHS. Order online AND, if your order is $50 or more using host code ANTD9UHS between now and the end of the month you’ll receive a free pack of embellishment as a THANK YOU gift from me. ❤ If your order is over $150, skip the host code, earn Stampin’ Rewards for free stuff yourself and I’ll still send you a free pack of embellishment as a THANK YOU gift from me. ❤

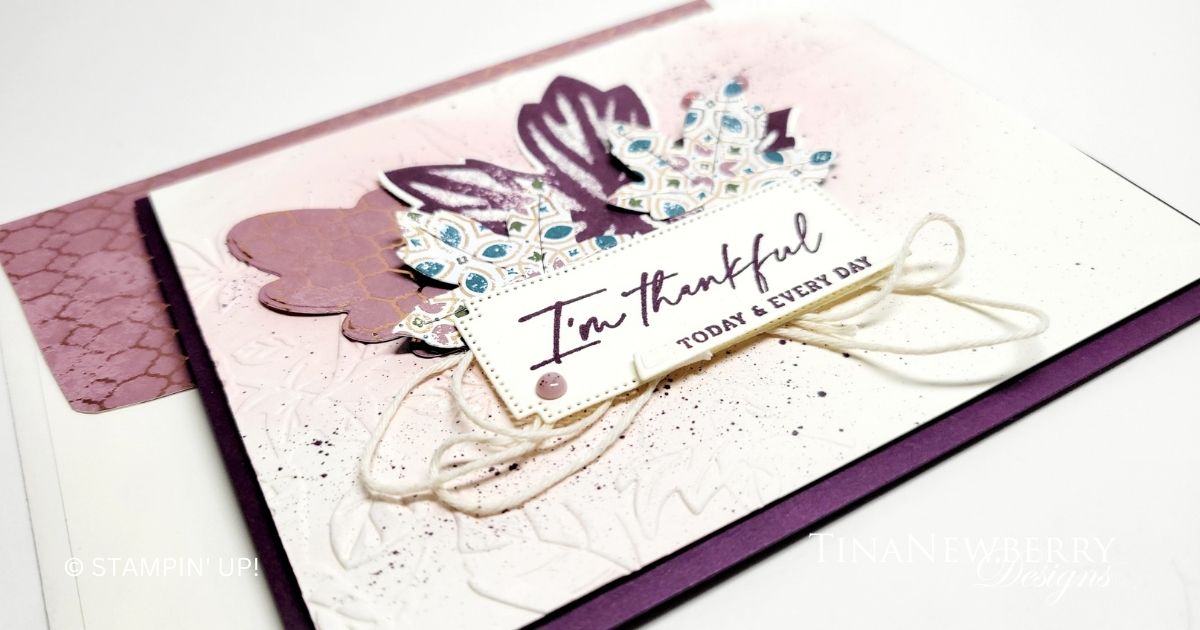
I’m Thankful Today & Every Day

A bit of a non-traditional fall color palette for this fall card, but I like it! I used the Leaf Fall Embossing folder on the background and tied in a combo of stamp leaves and leaves die cut from the All About Autumn Designer Series Paper pack.

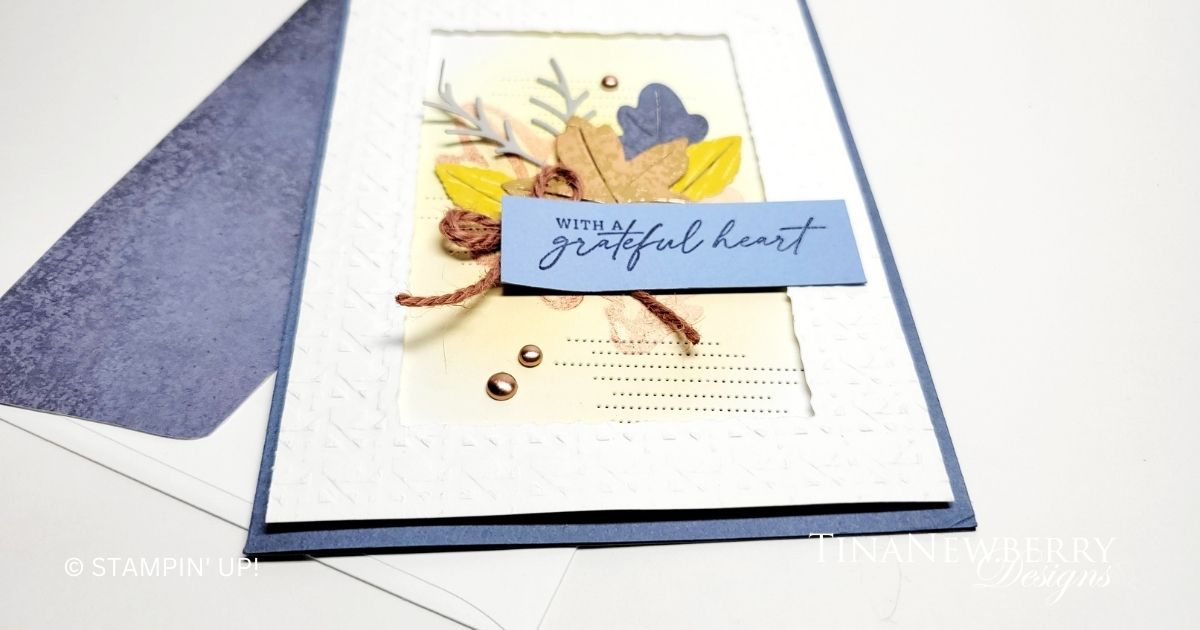
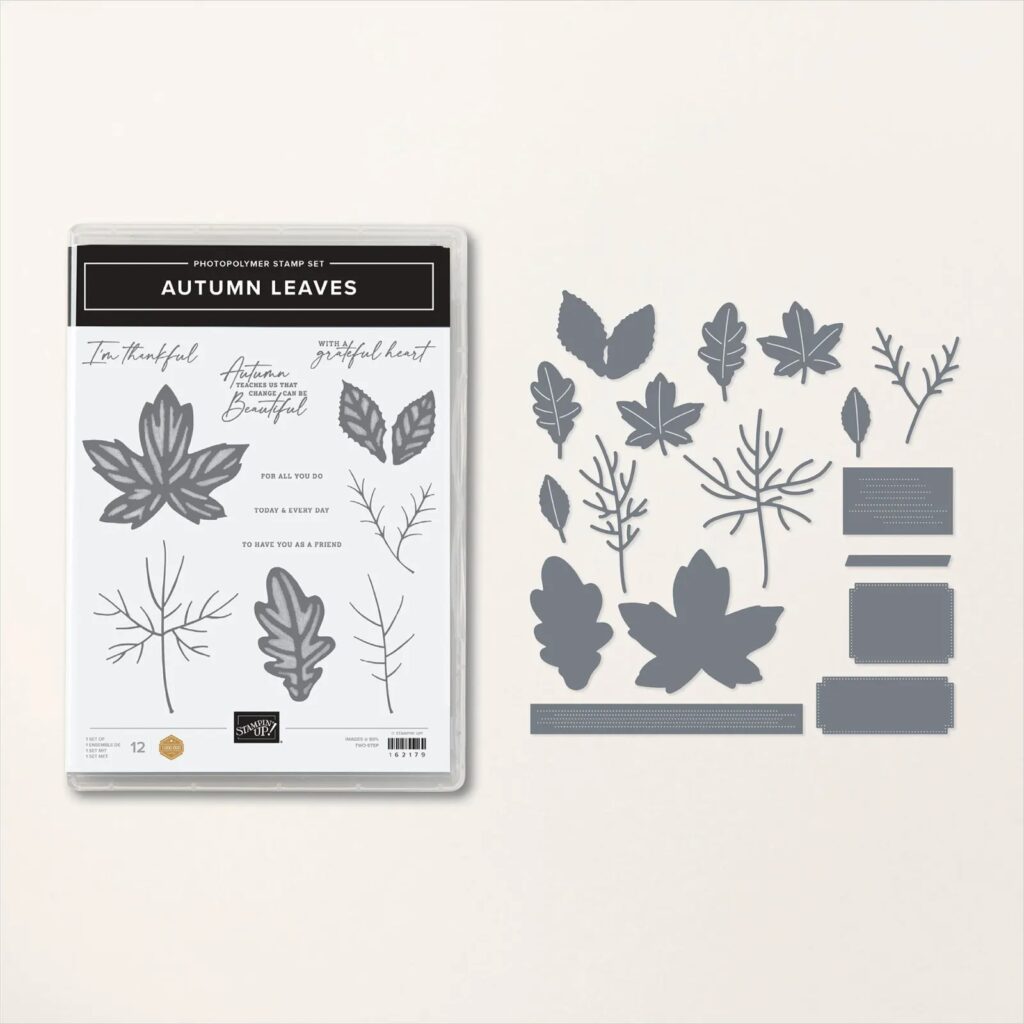
Share the ambience of autumn with your friends and family this season using the Autumn Leaves Bundle. Add die-cut leaves and stamped leaf images to your paper crafting projects, perfect for stunning cards, decorated gift packaging, and elegant gift tags. Just cut out your paper using the detailed leaf-shaped or square-shaped dies to frame the sentiments or the leaf-shaped stamps.

Measurements

Full list of supplies needed, listed below. A die cutting machine is needed for this card.
Blackberry Bliss Cardstock: 5 1/2″ w x 8 1/2″ h folded to 5 1/2″ w x 4 1/4″ h
Very Vanilla Cardstock:

  • 5 1/4″ w x 4″ h (2)
  • scrap for sentiment and leaf

All About Autumn Designer Series Paper (DSP): scrap for die cut leaves

Let’s Create

  1. Affix all stamps to Acrylic Blocks.
  2. Fold the Card Base in half using a Bone Folder to sharpen the crease.
  3. Use a blending brush to apply some Moody Mauve to one of the Very Vanilla panels. Then run it through the Leaf Fall embossing folder.
  4. On scrap Very Vanilla, stamp the large maple leaf in Blackberry Bliss and die cut.
  5. Die cut two maple leaves and one oak leaf from the All About Autumn DSP.
  6. Stamp the sentiments in Blackberry Bliss on Very Vanilla scrap and die cut out.
  7. Arrange the leaves and sentiments on the embossed panel. Arrange Very Vanilla Baker’s Twine behind the Sentiments and attach all the pieces with Stampin’ Seal, Mini Glue Dots, and/or Stampin’ Dimensionals.
  8. Sprinkle on the gems.
  9. Stamp and decorate the remaining Very Vanilla panel for the inside and attach with Stampin’ Seal.
  10. Decorate your envelope.
  11. So pretty! Who will you send it to?
Product List

Recommended Stamper’s Toolkit

Product List
Order online from the convenience of your own home or send me your order and I’ll take care of you. ❤ Either way, please use the host code ANTD9UHS. Order online AND, if your order is $50 or more using host code ANTD9UHS between now and the end of the month you’ll receive a free pack of embellishment as a THANK YOU gift from me. ❤ If your order is over $150, skip the host code, earn Stampin’ Rewards for free stuff yourself and I’ll still send you a free pack of embellishment as a THANK YOU gift from me. ❤