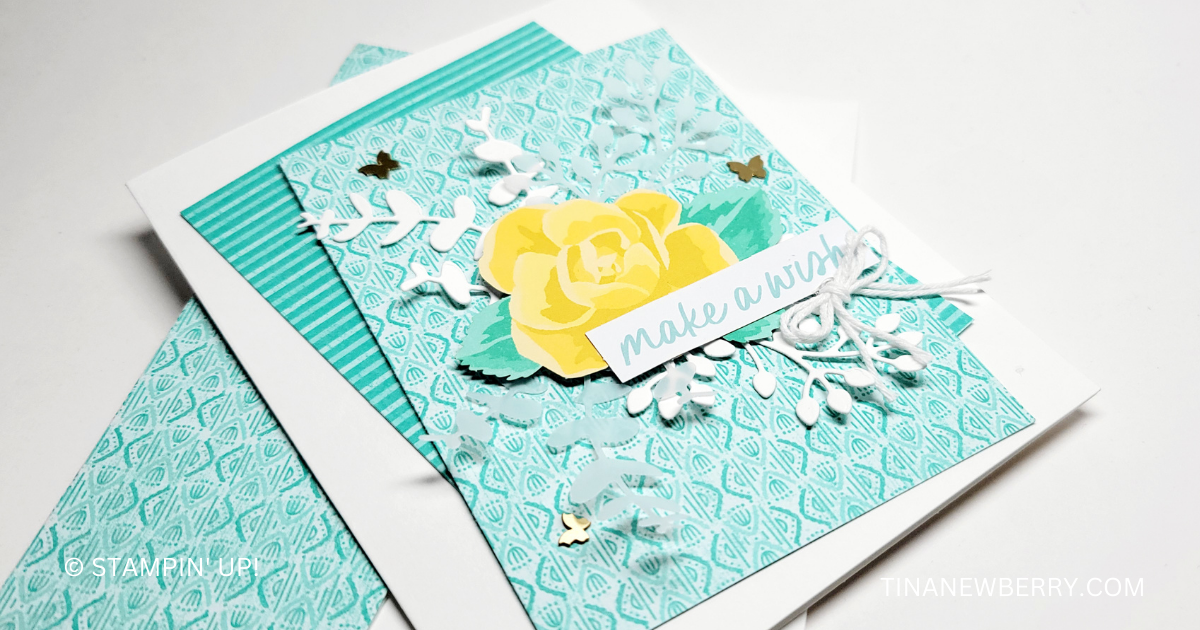
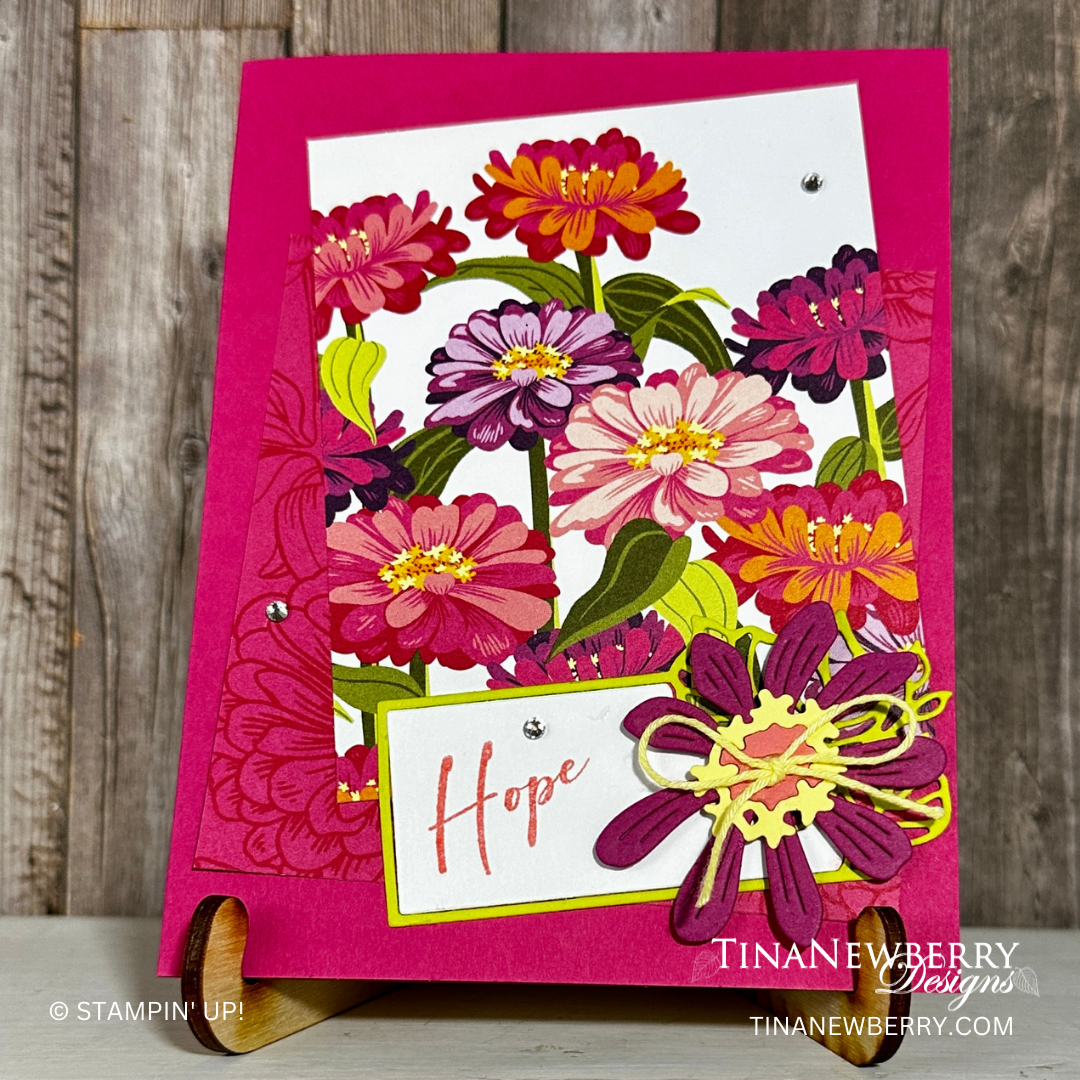
Card sketches inspire endless creativity. This project was inspired by the first sketch on page 22 of the new annual catalog. What will you make from that sketch?

Measurements
Full list of supplies needed, listed below. A die cutting machine is needed for this card.
Basic White Thick Cardstock: 5 ½” h x 8 ½” w scored and folded at 4 ¼” h
Vellum Cardstock: scrap for sprig die cuts
Basic White Cardstock: scrap for sprig die cuts
2024-2026 In Color Designer Series Paper: 4 ½” h x 3 ¼” w Summer Splash (2 patterns)
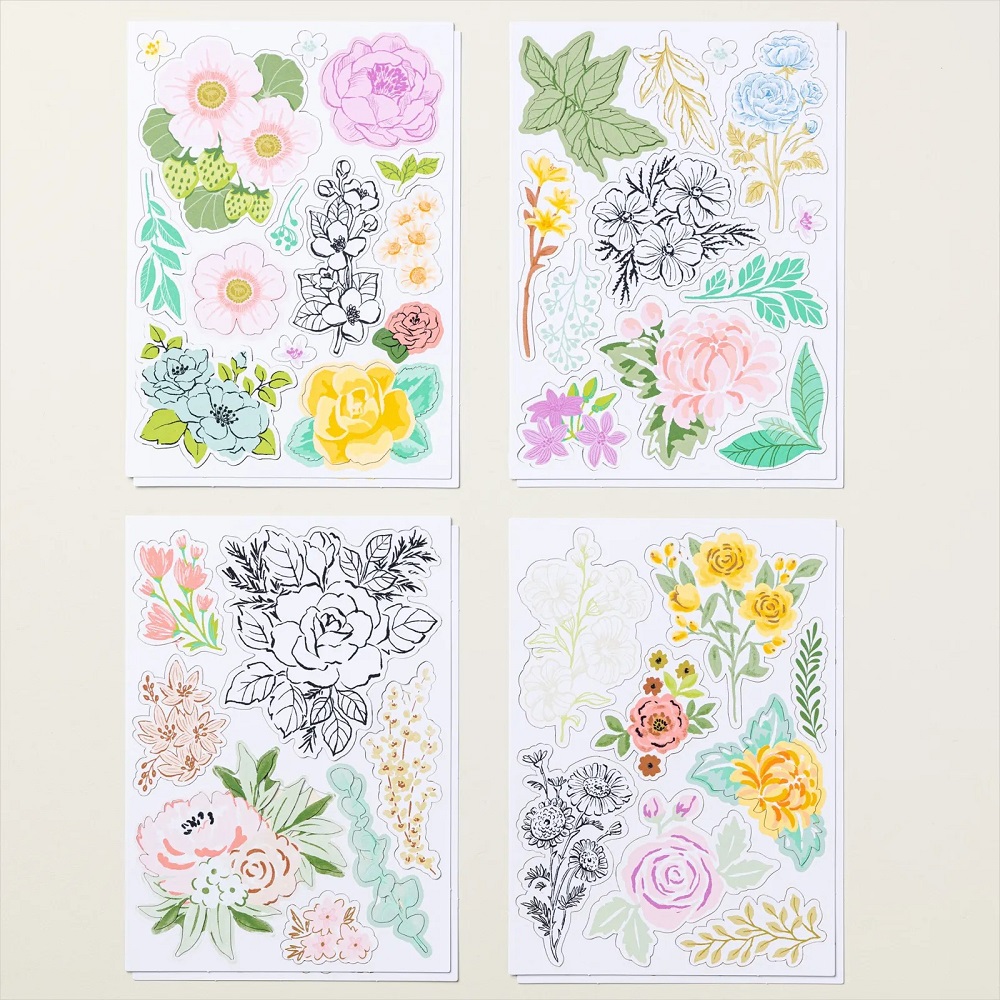
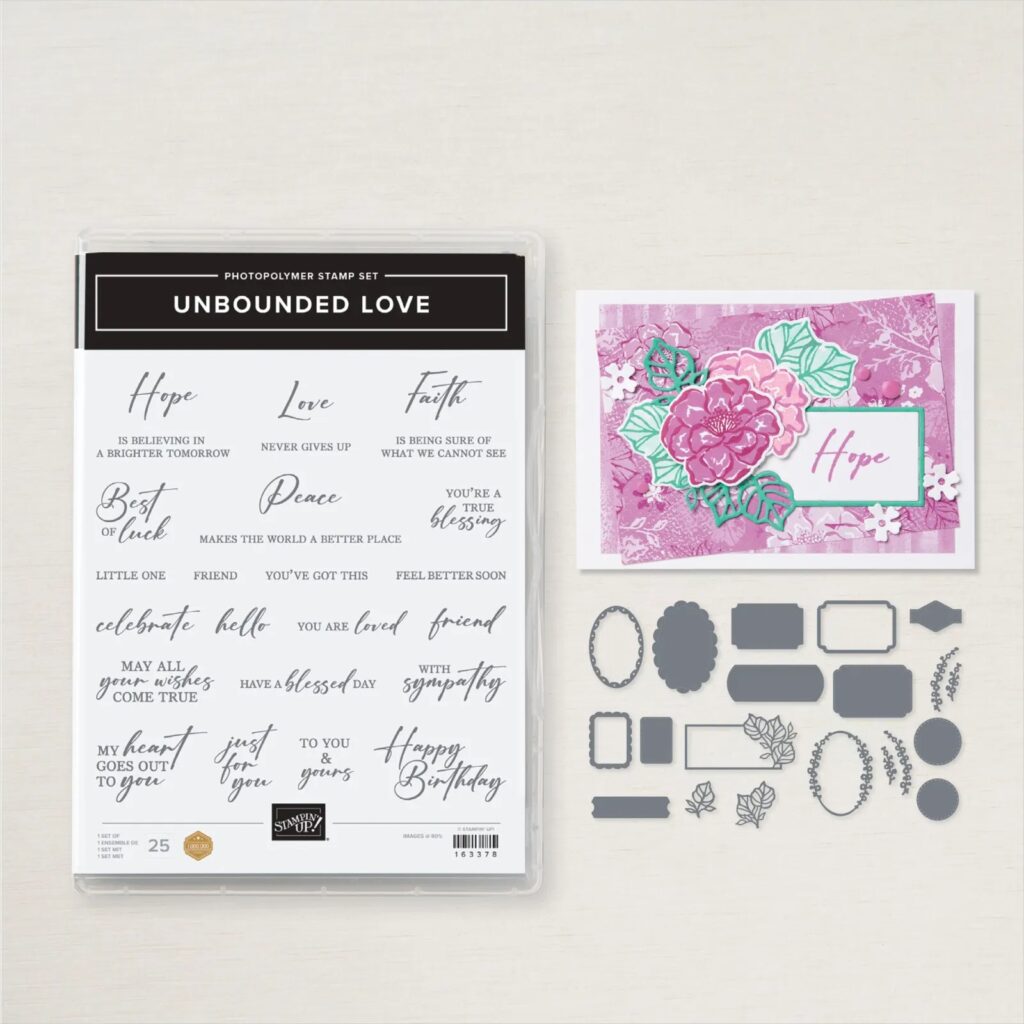
Fully Flowering Mix N Match Ephemera Pack
Saying Something Mix N Match Ephemera Pack
Let’s Create
- Use a Bone Folder to burnish the Basic White Thick Cardstock at the scoreline to create the card base.
- Attach two Designer Series Paper (DSP) panels using Stampin’ Seal. Off set from each other so both patterns are visible.
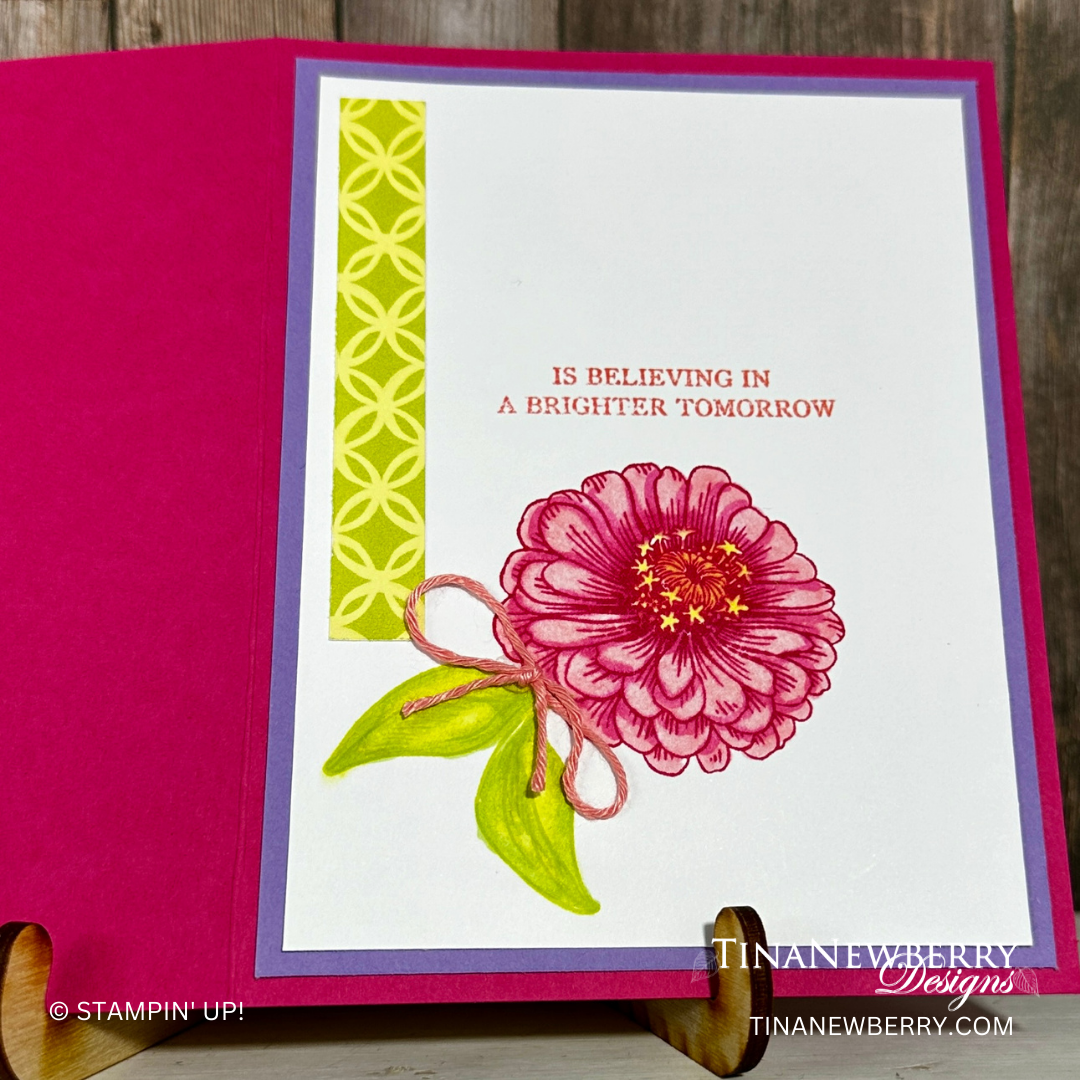
- Die cut sprigs in Basic White Cardstock and Vellum Cardstock using the Textured Florals dies.
- Attach sprigs behind flower from the Fully Flowering Mix N Match Ephemera Pack using Mini Glue Dots.
- Attach flower with Stampin’ Dimensionals.
- Overlap the flower with the sentiment from the Saying Something Mix N Match Ephemera Pack. Use Stampin’ Seal to attach where the overlap and a Stampin’ Dimensional where they overhang.
- Double up a piece of White Baker’s Twine and make a small bow. Attach with a Mini Glue Dot.
- Sprinkle on some Brushed Butterflies.
- Decorate your envelope.
- So sweet! Who will you send it to?
")


 Designer Series Paper")

$10.00


$34.00
Recommended Stamper’s Toolkit ❤

$12.00

$7.00

$4.25

$5.75

$5.50

$11.00

$26.00

$7.00

$6.50

$11.00

$20.00

$11.00

$80.75

$128.00


$16.00

$13.00


")


 Designer Series Paper")


 Specialty Designer Series Paper")

 Circle Punch")


 Bordered Ribbon")

")
 Designer Series Paper")


