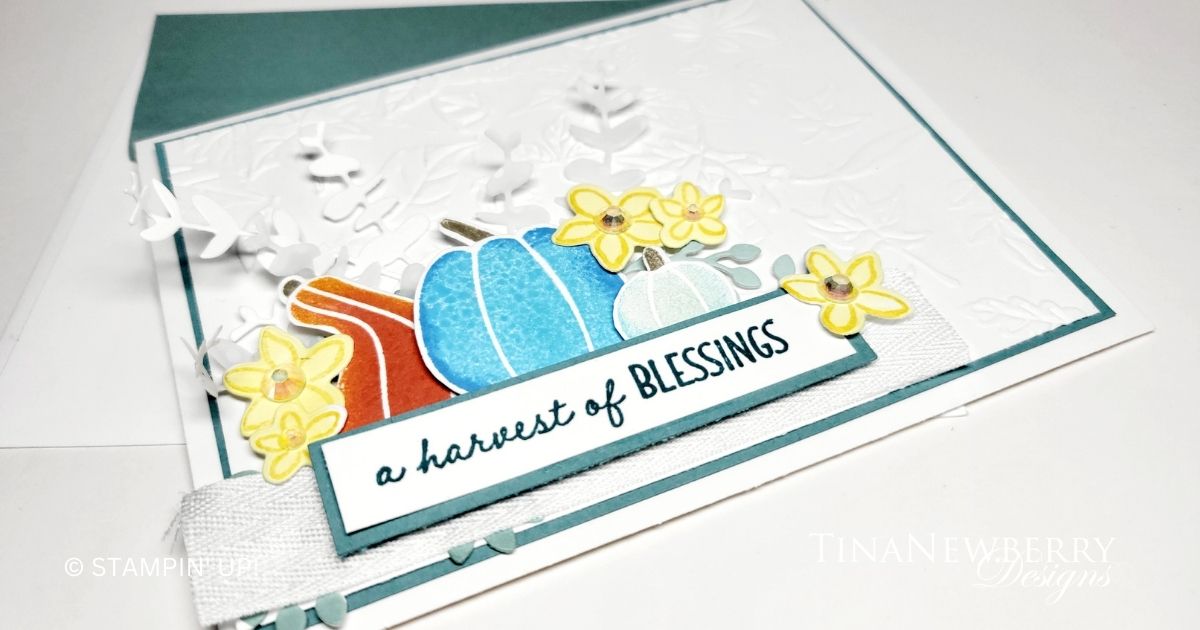
Easing into fall with a pretty pumpkin card from the Pick of the Patch bundle coming out in the Sep. – Dec. Mini Catalog launching on September 6, 2023. The bundle contains the Pick of the Patch Builder Punch and a photopolymer stamp set with a variety of gourds, mixed font sentiments, trees, leaves, and a crow. So cute!
Measurements
Full list of supplies needed, listed below. A die cutting machine is needed for this card.
Basic White Thick Cardstock: 8 ½” h x 5 ½” w scored and folded at 4 ¼” h
Lost Lagoon Cardstock:
- 4” x 5 ¼” w
- ⅝” h x 3 ⅛” w
Basic White Cardstock:
- 3 ¾” h x 5” w
- ½” h x 3” w
- Scrap for pumpkins
- Scrap for foliage
Vellum Cardstock: scrap for foliage
Lemon Lolly Cardstock: scrap for flowers
Let’s Create
- Affix all stamps to Acrylic Blocks.
- Fold the Card Base in half using a Bone Folder to sharpen the crease.
- Run the 3 ¾” h x 5” w Basic White Cardstock through the Stampin’ Cut & Embossing machine with the Leaf Fall 3-D Embossing Folder. Tip: Align the cardstock on the folder so that the unembossed portion is in the lower left corner of the white cardstock.
- Adhere the embossed panel to the 4” x 5 ¼” w Lost Lagoon with Stampin’ Seal and then attach the layered panels to the Card Base with Stampin’ Seal.
- On the Basic White scrap, use the light Lost Lagoon Stampin’ Blends to lay some color down and then cut some Lost Lagoon and Basic White foliage using the Textured Floral Dies.
- Die cut a few more pieces of foliage from Vellum Cardstock.
- On the Basic White Cardstock scrap, stamp three pumpkins- Tahitian Tide, Calypso Coral, Pool Party. Tip: Use a sponge dauber to add color to the edges of the pumpkins- Azure Afternoon to the Tahitian Tide, Pumpkin Pie to the Calypso Coral, and very lightly Tahitian Tide to the Pool Party. Then fussy cut with Paper Snips or with the Pick of the Patch Builder.
- In Daffodil Delight ink, stamp flowers from the Sweet Citrus stamp set onto Lemon Lolly cardstock. Then die cut with the Sweet Citrus Hybrid dies.
- Arrange the foliage, pumpkins and flowers in the lower left of the card front. Attach with Mini Glue Dots and Stampin’ Dimensionals.
- Stamp the sentiment in Lost Lagoon ink on the ½” h x 3” w Basic White cardstock. Attach with Stampin’ Seal to the ⅝” h x 3 ⅛” w Lost Lagoon.
- Use Tear N’ Tape to attach a piece of ¾” Herringbone Ribbon and then use Stampin’ Dimensionals to attach the layered sentiment.
- Attach Iridescent Rhinestones to the centers of all the flowers.
- Stamp and decorate the inside
- Decorate your envelope.
- So lovely! Make someone’s day. Put it in the mail.
Shopping List
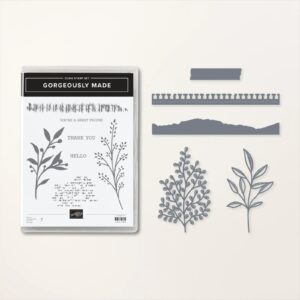
This project also contains the Pick of the Patch Bundle [162201] available beginning Sept. 6, 2023
Recommended Stamper’s Toolkit ❤


")


 Inner Braid Ribbon")


 Designer Series Paper")


")


 Designer Series Paper")

 Gingham Ribbon")

")


 Herringbone Ribbon")


