A Sweet Beachy Happy Birthday

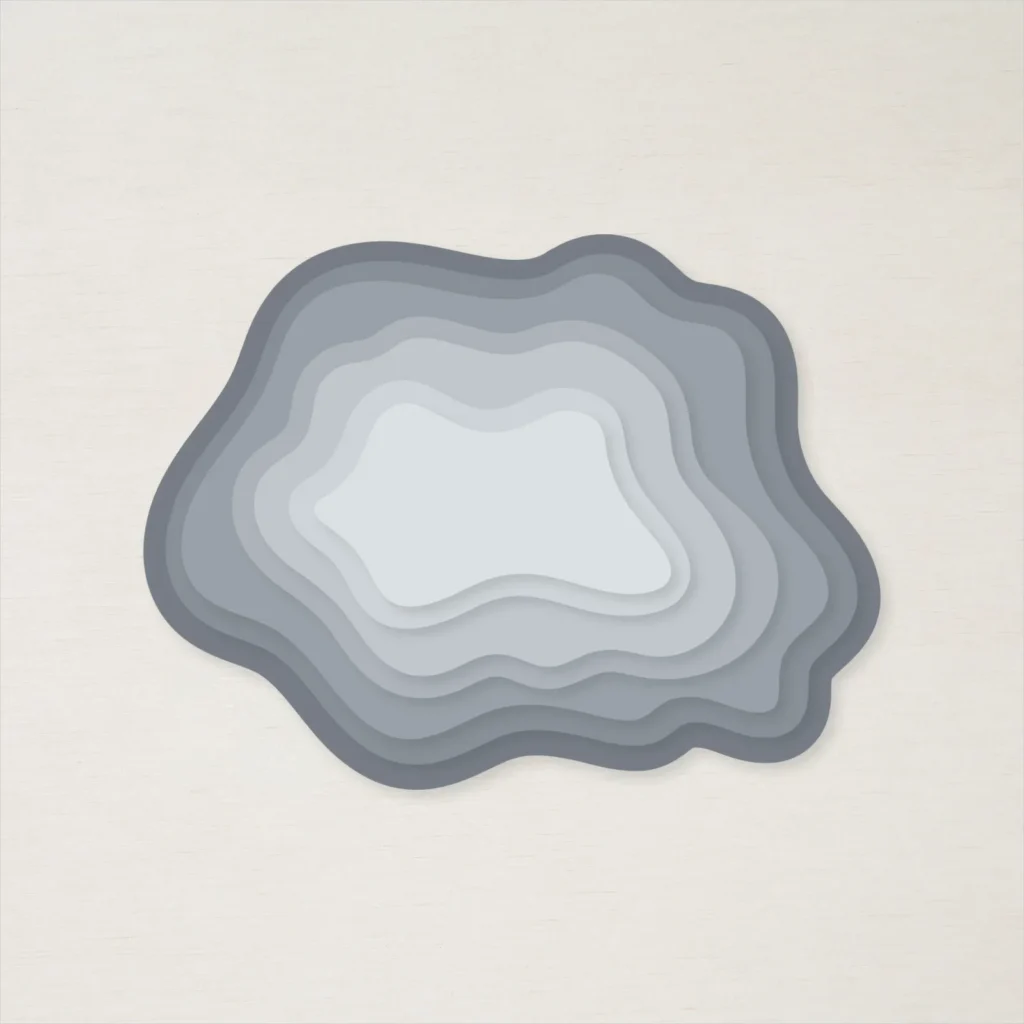
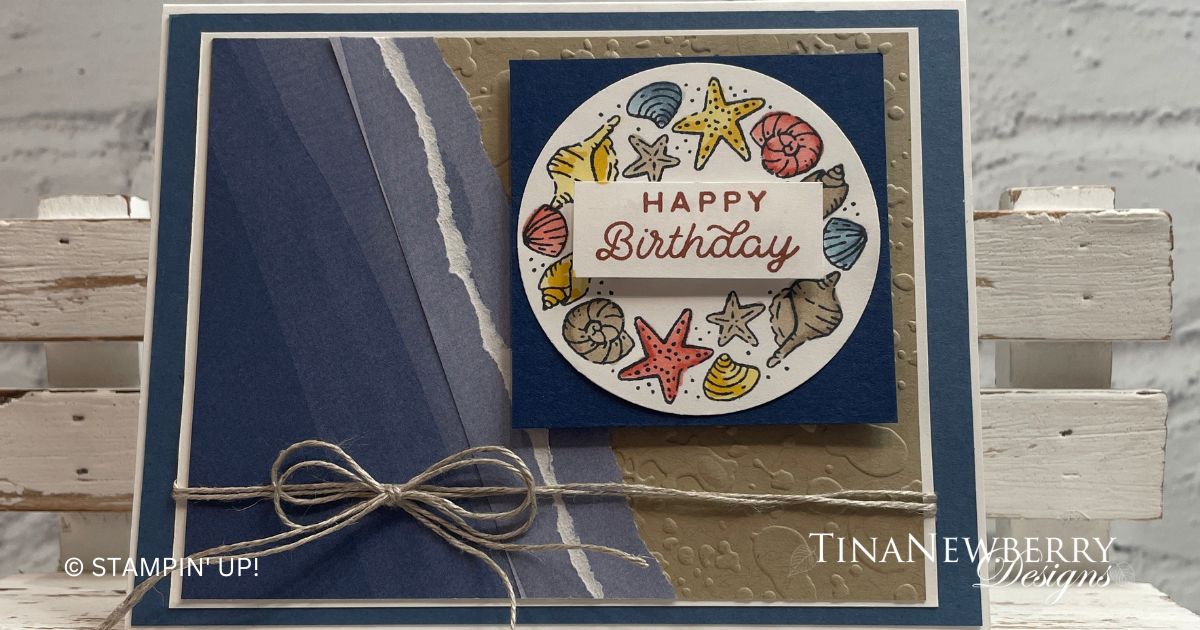
The Misty Moonlight paper from the Bright & Beautiful Designer Series Paper pack does all the work on this simple card featuring the Circled Sayings Bundle.
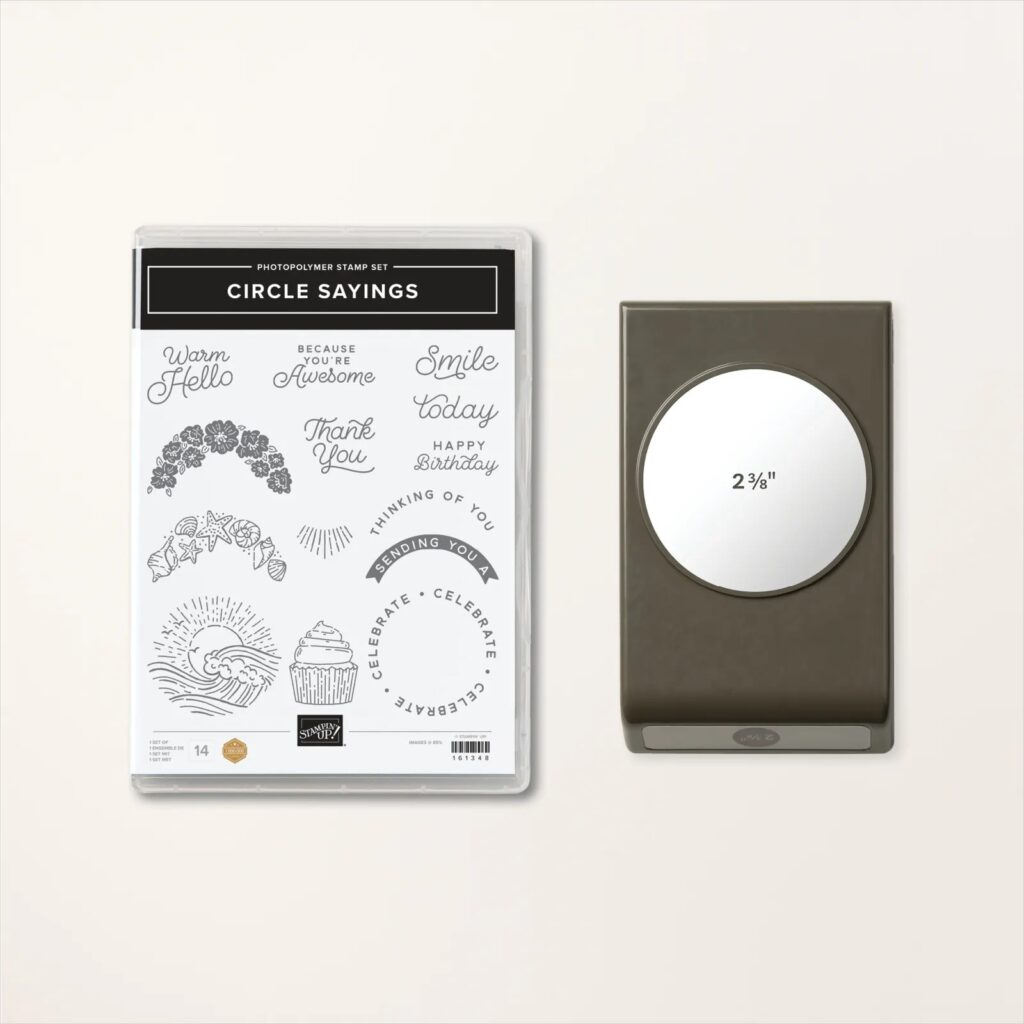
The Circle Sayings Bundle is filled with a variety of friendly greetings and decorative borders that you can mix and match to make all your projects unique! Pair the stamps together and use the 2-3/8″ (6 cm) Circle Punch to quickly punch it out to use as a centerpiece or a gift tag. Whatever the occasion and whoever your recipient is, you are going to wow them. The creativity in this bundle is endless!

Measurements

Full list of supplies needed, listed below. A die cutting machine is needed for this card.

Basic White

  • 5 ½” x 8 ½”  scored and folded on the long-side at 4 ¼” 
  • 4 ⅞” x 3 ⅞”
  • 2 ½” x 2 ½”  (for stamping and punching Sea Shell Images)
  • 1 ⅝” x ⅝” (for stamping sentiment)

Misty Moonlight

  • 4 ⅛” x 5 ⅜”

Crumb Cake

  • 4 ¾” x 3 ¾” 

Night of Navy

  • 2 ½” x 2 ½”

Bright & Beautiful Designer Series Paper

  • 3 ¾” x 3 ½” – Misty Moonlight print


Let’s Create

  1. Affix all stamps to Acrylic Blocks.
  2. Fold the Card Base in half using a Bone Folder to sharpen the crease.
  3. Emboss the 4 ¾” x 3 ¾” Crumb Cake Cardstock just on the right half using the splatters Embossing Folder from the Stripes and Splatters bundle.
  4. Tear the Designer Series Paper at an angle so that the top edge measures approximately 1 ¼”.  Use ⅜” – ½” of the torn edge with the to layer about ⅜” to ½” from the edge, this creates a layered, wave look. 
  5. Tape this to the left side of the Crumb Cake cardstock layer.
  6. Adhere these layers to the Basic White 4 ⅞” x 3 ⅞” Basic White Cardstock.
  7. Using 2 strands of Linen Thread, wrap around these layers and tie into a bow towards the left of the card.
  8. Adhere these layers to the 5 ⅜” x 4 ⅛” Misty Moonlight Cardstock layer, then adhere to the folded card base.
  9. Using Black Memento Ink, stamp the seashell image to the 2 ½” x 2 ½” square of Basic White Cardstock – stamping it twice so the it forms a circle.
  10. Color the shells using Stampin’ Blends.  I used Daffodil Delight, Crumb Cake, Calypso Coral, Balmy Blue and Night of Navy.
  11. Use the 2 ⅜” Circle Punch to punch the stamped image and adhere it to the 2 ½” x 2 ½” Night of Navy piece of Cardstock.
  12. Using Copper Clay ink pad, stamp the Happy Birthday onto the 1 ⅝” x ⅝” piece of cardstock.
  13. Adhere this to the center of the circle using Stampin’ Dimensionals.
  14. Decorate the inside of your card and your envelope and send it off to wish someone a Happy Beachy Birthday!

Shopping List

Recommended Stamper’s Toolkit ❤


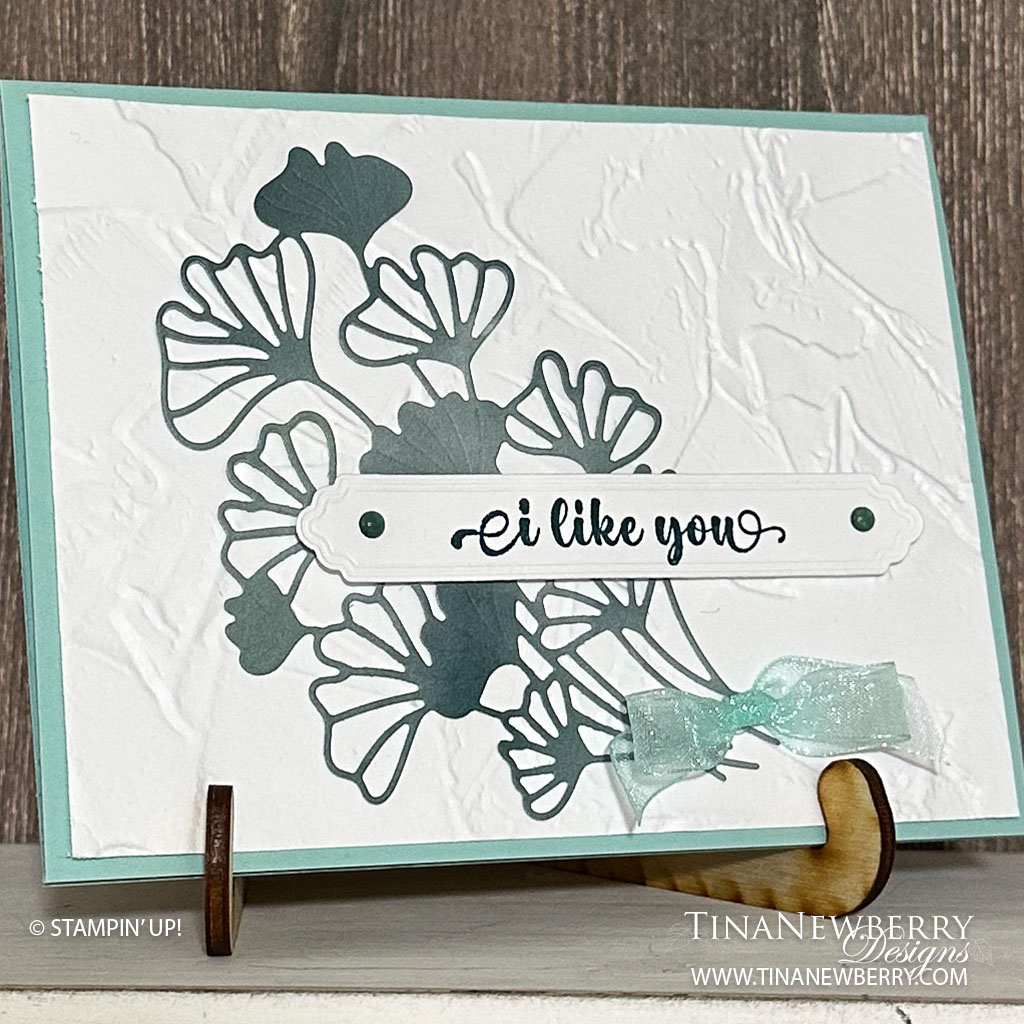
I Like You Card is Simply Irresistible

You never know what you’re going to get when you die cut Designer Series Paper, but this combo looks great together. I love the variation of color in the ginko botanical on this super simple, elegant card.

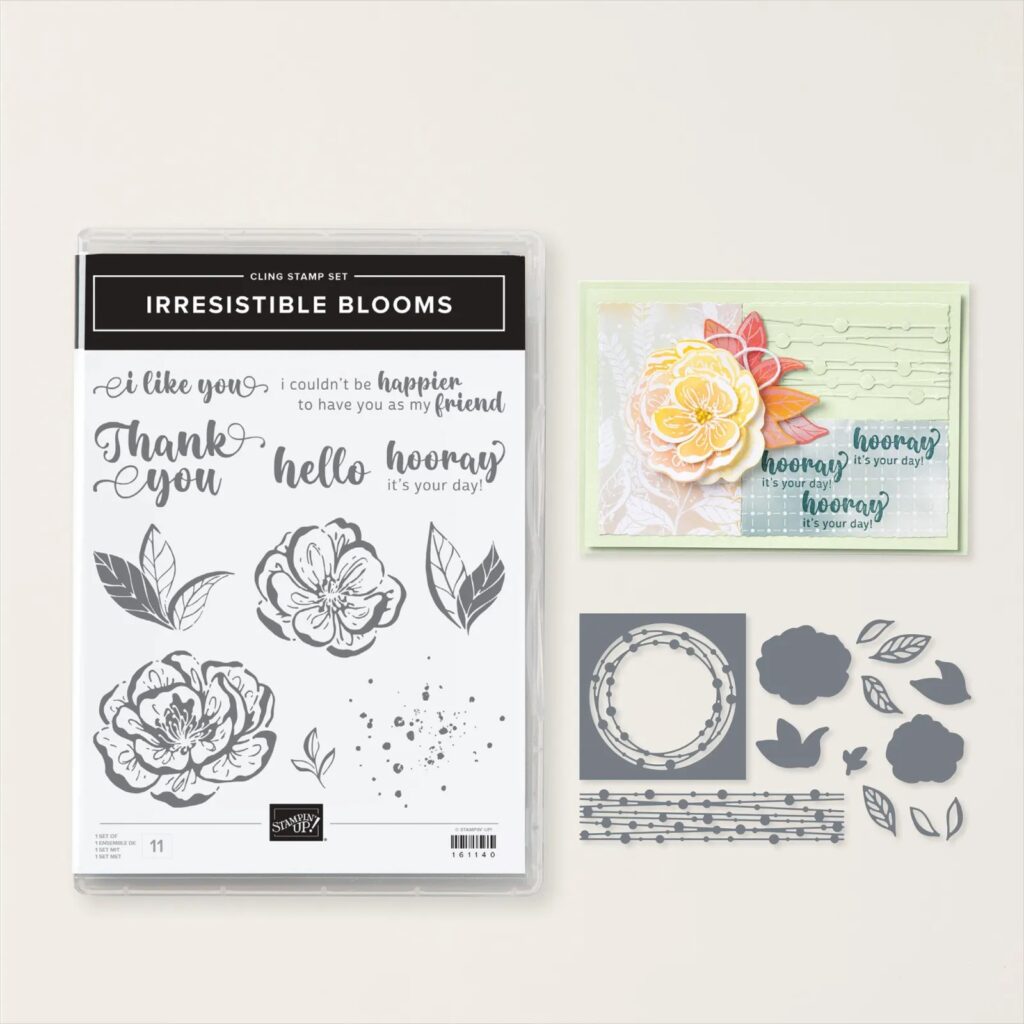
Meet the Irresistible Blooms Bundle– an online exclusive product. It’s time to make smiles bloom and create gorgeous all-occasion cards friends and family are sure to find artistically captivating! Combine the flower and leaf images from the die and stamp set to create beautiful floral pieces. Add multiple layers to your projects using swirly cutout shapes for projects that pop, or create your own peek-through cards!

Measurements

Full list of supplies needed, listed below. A die cutting machine is needed for this card.

Card Base Pool Party 8 ½” x 5 ½”, score at 4 ¼”
Basic White layer 4” x 5 ¼”, embossed with Painted Texture 3D Embossing Folder
Hello, Irresistible Designer Series Paper (DSP) scrap for branch
Basic White scrap for sentiment

Let’s Create

  1. Affix all stamps to Acrylic Blocks.
  2. Fold the Card Base in half using a Bone Folder to sharpen the crease.
  3. Cut Card Base Pool Party 8 ½” x 5 ½”, score at 4 ¼”
  4. Cut Basic White layer 4” x 5 ¼”, and emboss with Painted Texture 3D Embossing Folder
  5. Run Hello, Irresistible Designer Series Paper (DSP)  through with Gingko Branch Dies (retired) or another branch from your stash.
  6. Run Basic White through with Gingko Branch label Die (retired) or other die from your stash.
  7. Use Stampin’ Seal to adhere Painted Texture layer to card front.
  8. Use Multipurpose Glue to adhere Gingko Branch die cut.
  9. Stamp sentiment on label with Pretty Peacock ink and adhere with Stampin’ Dimensionals.
  10. Add bow and gems for the final touches.
  11. Stamp and decorate the inside.
  12. Decorate your envelope.
  13. So cute! Now send it to someone special.

Thanks to Su Mohr for the design inspiration.

Shopping List


Recommended Stamper’s Toolkit ❤
 

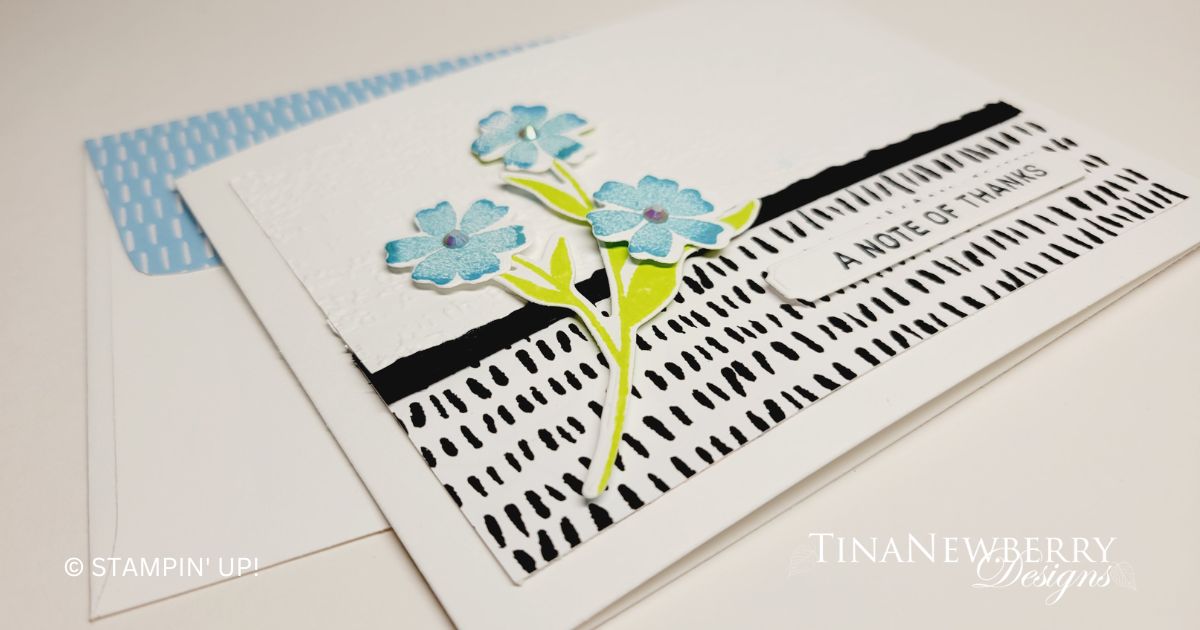
A Note of Thanks

Such a sweet, super easy card- use an embossing folder, a simple pattern and deckled dies to add a bit of interest to three rectangles for the background. Then a stamped focal image and die cut tag. That’s it!

Measurements

Full list of supplies needed, listed below. A die cutting machine is needed for this card.

Basic White Thick Cardstock: 11” w x 4 ¼” h scored and folded on the long-side at 5 ½”

Basic White Cardstock: 

  • 5 ¼” w x 4” h scrap
  • Scrap for sentiment label, blossoms, and stems. 

Basic Black Cardstock: 5” w x ½” h 

Zoo Crew Designer Series Paper (DSP): 2” h x 5” w

Let’s Create

  1. Affix all stamps to Acrylic Blocks.
  2. Fold the Card Base in half using a Bone Folder to sharpen the crease.
  3. On scrap Basic White Cardstock:
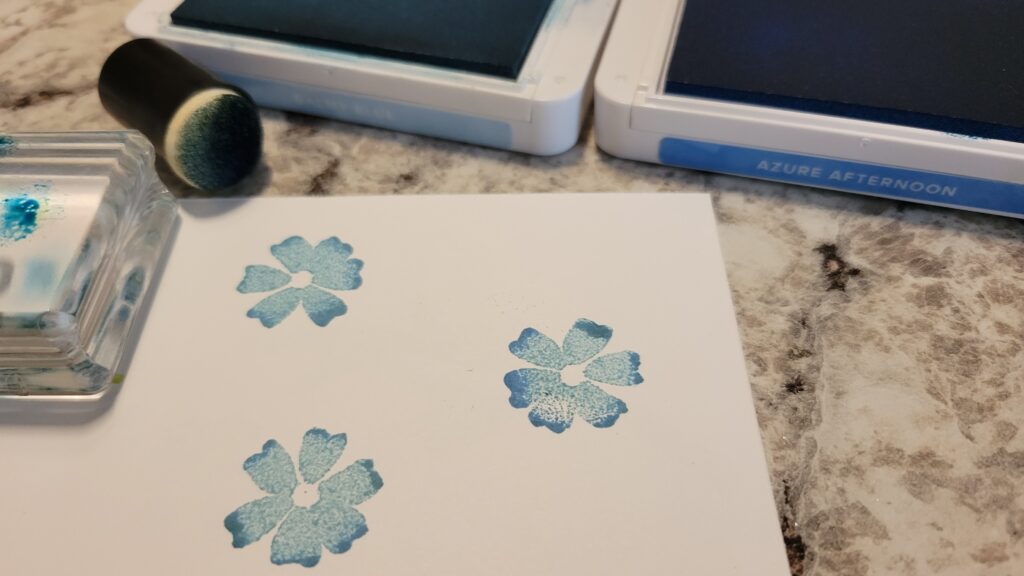
    1. Ink the flower blossom in Balmy Blue and use a sponge dauber to add a bit of Azure Afternoon on the edges. Stamp 3 flower blossoms.
    2. Stamp the large stem in Lemon Lime Twist ink
    3. Stamp the sentiment in Tuxedo Black ink.
  4. Die cut all the stamped images.
  5. Line the Basic White panel up with a long edge of the largest Deckled Rectangle, run through the Stampin’ Cut & Emboss machine. Then use your Paper Trimmer to carefully trim just a smidge of all but one long deckled edge of the rectangle leaving three straight edges and one long edge deckled. 
  6. Attach the Basic Black strip along the back of the deckled edge of the basic white panel so about ⅛-¼” of Basic Black is visible from the front. 
  7. Use Multipurpose Glue to attach the Basic Black. 
  8. Give it a minute to dry and then run the Basic White and Basic Black panel through the Stampin’ Cut & Emboss machine with Timeworn Type Embossing Folder.
  9. Set the embossed panel on the front of the Card Base toward the top. 
  10. Slide the DSP panel behind the embossed panel carefully positioning the two panels overlapping with an equal border of the Card Base behind them. Attach the two panels together with Stampin’ Seal and trim the edges as needed so they’re all the same width. 
  11. Attach with Stampin’ Seal. 
  12. In the lower right corner, attach the die cut sentiment label with Stampin’ Seal.
  13. Use Stampin’ Dimensionals to attach the large stem and the flower blossoms.
  14. Add some Balmy Blue Iridescent Pastel Gems.
  15. Stamp and decorate the inside. 
  16. Decorate your envelope.
  17. So pretty!! Who do you need to thank? Put it in the mail. 
Shopping List

Recommended Stamper’s Toolkit ❤


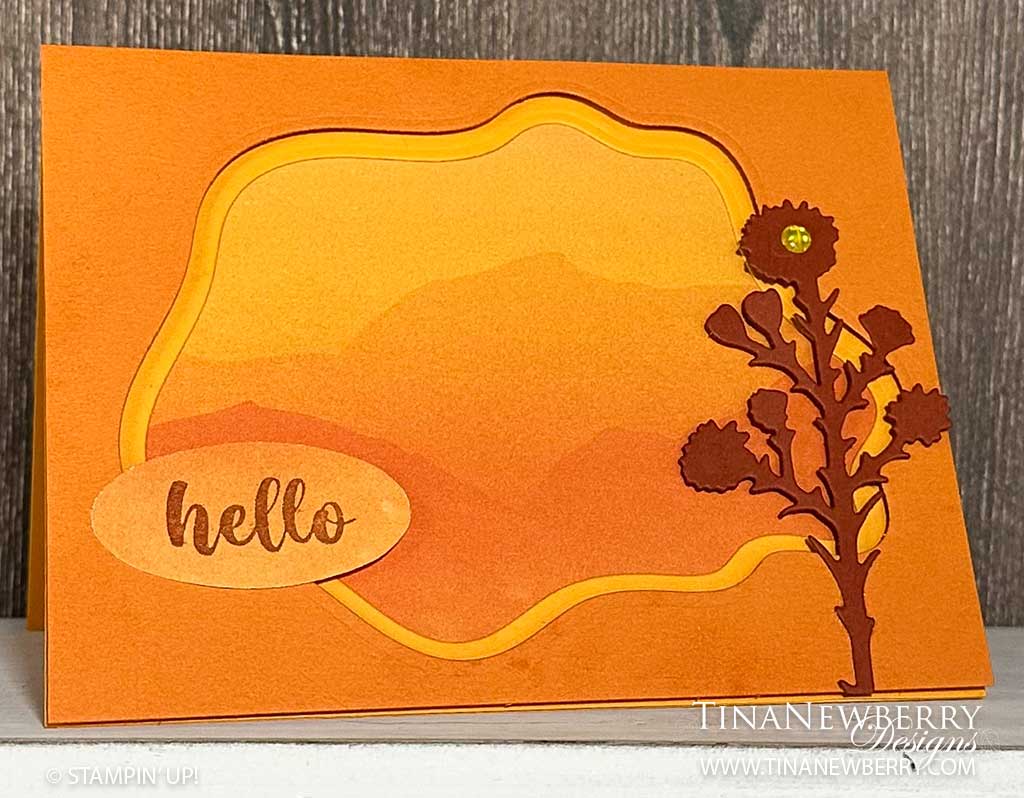
Sunset Card with Diorama Dies

A few die cuts and some amazing paper brings this card together in a jiffy.

Create incredible layered dioramas with the Layering Diorama Dies! These dies nest to create a 3D effect for unique diorama card fronts. For an easy but intricate looking diorama, use a minimum of 3 diorama layers with tonal cardstock to create depth-of-field. Want to create a safari escape? An underwater world? Or frame a space exploration? The diorama designs are versatile to fit a wide variety of diorama landscapes!

Measurements

Full list of supplies needed, listed below. A die cutting machine is needed for this card.

Card Base Pumpkin Pie Cardstock: 8 ½” x 5 ½”, score at 4 ¼”
Pumpkin Pie Cardstock: 4 ¼” x 5 ½”, Die-Cut with DIorama Die
Mango MelodyCardstock: 4 ¼” x 5 ½”, Die-Cut with next smallest DIorama Die
Designer Series Paper (DSP) Layer: 4 ⅛” x 5 ⅜”
Die-Cut Harvest Die in Cajun Craze Cardstock
Punched Dual Oval in coordinating Designer Series Paper
Inside: Basic White Cardstock 4″ h x 5 1/4″ w

Let’s Create

  1. Affix all stamps to Acrylic Blocks.
  2. Fold the Card Base in half using a Bone Folder to sharpen the crease.
  3. Die-Cut Harvest Die in Cajun Craze
  4. Punch Dual Oval in coordinating Designer Series Paper. Stamp sentiment in Cajun Craze.
  5. Assemble Card.
    • Adhere DSP to card base with liquid glue.
    • Adhere Mango Melody layer with liquid glue.
    • Adhere Pumpkin Pie layer with Stampin’ Dimensionals.
    • Adhere sentiment with liquid glue.
    • Adhere Harvest Die with liquid glue on the card base and Stampin’ Dimensionals on the inside.
  6. Sprinkle on the Glossy Dots.
  7. Stamp and decorate the inside and attach with Stampin’ Seal.
  8. Decorate your envelope.
  9. Stunning and so easy! Who needs a little hello? Put it in the mail.

Shopping List

Recommended Stamper’s Toolkit ❤