Say Thank You Over A PaperCrafted Cup Of Tea

Create your own porcelain tea cup design using the flowers in the Cup of Tea stamp set and the tea cup die. And then accent with coordinating patterned papet. What will you create?
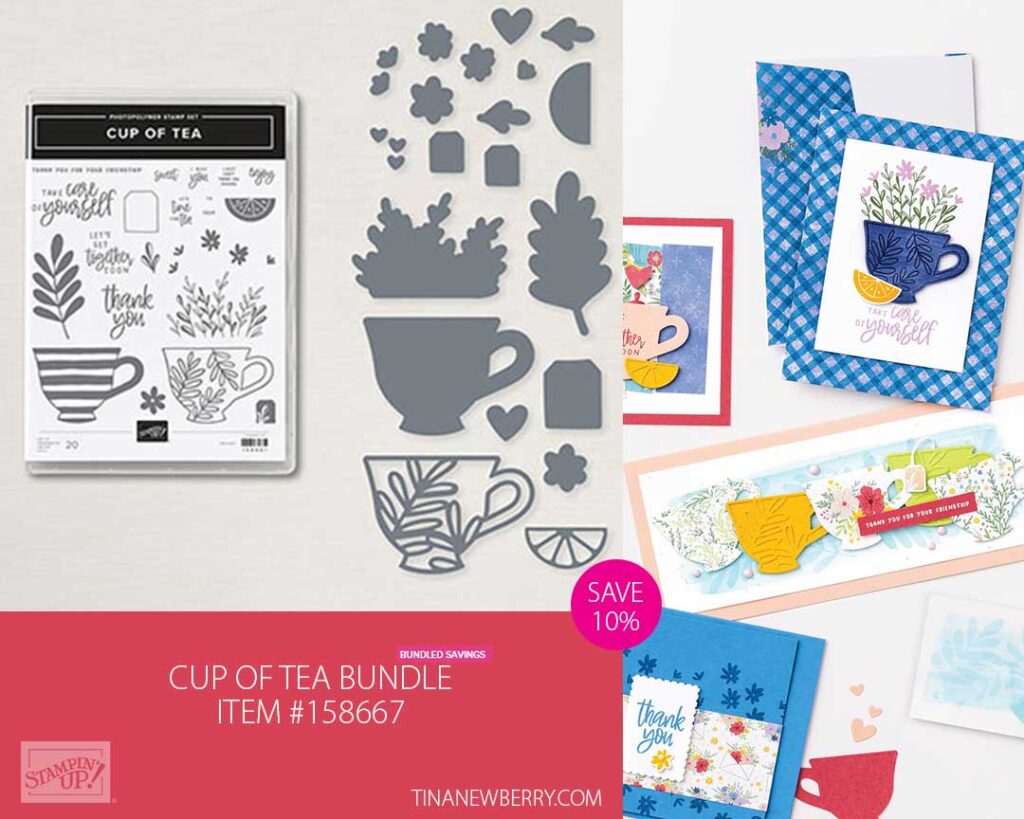
Cup of Tea Bundle – Save 10% when you buy the stamp set and coordinating dies

Measurements

Full list of supplies needed, listed below. A die cutting machine is needed for this card.

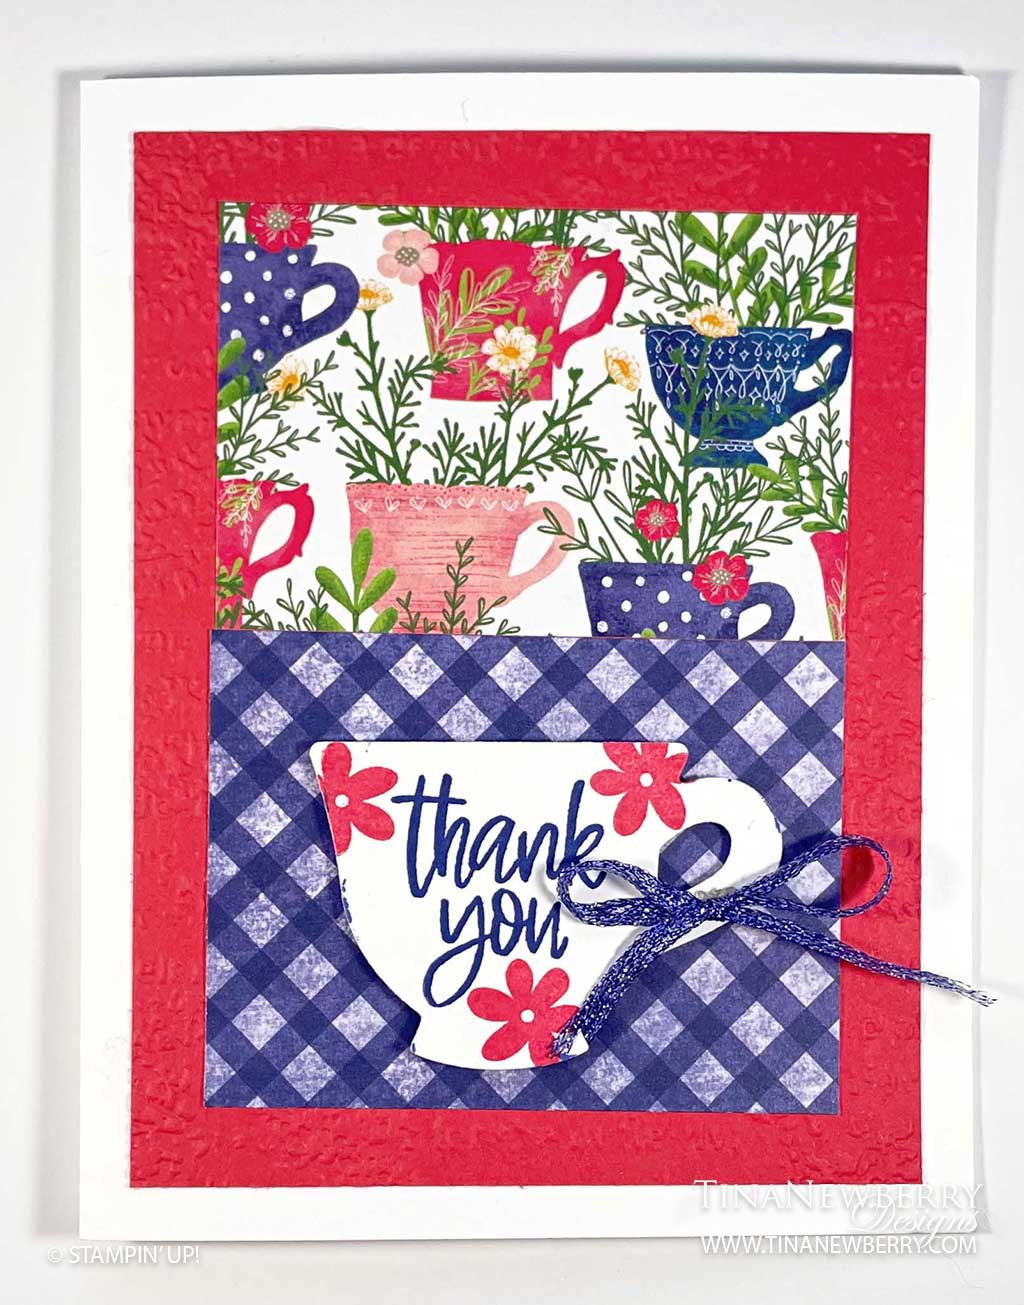
Thick Basic White Cardstock: 5 ½” h  x  8 ½” w score and folded on the long-side at 5 ½” h x 4 ¼” w for the card base.

Sweet Sorbet Cardstock: 5” h x 3 ¾” w

Tea Boutique Designer Series Paper:

  • 2” h x 3” w
  • 2 ¼” h x 3” w

Basic White Cardstock: scrap 3” h x 3” w

Let’s Create

  1. Affix all stamps to Acrylic Blocks.
  2. Fold the Card Base in half using a Bone Folder to sharpen the crease.
  3. Emboss the Sweet Sorbet card stock layer with the Timeworn Type 3D Embossing Folder.  Adhere this layer onto the front of the card base with Stampin’ Seal.
  4. Use Stampin’ Seal to adhere the Tea Boutique Designer Series Paper layers onto the embossed Sweet Sorbet layer.
  5. Die cut the tea cup shape from Basic White card stock.
  6. Stamp the sentiment onto the tea cup with Starry Sky Stampin’ Pad.
  7. Stamp the flowers around the sentiment with Sweet Sorbet Stampin’ Pad.
  8. Use Dimensionals to adhere the tea cup onto the card front.
  9. Tie a bow with the Starry Sky 1/8” (3.2 Mm) Metallic Woven Ribbon and adhere it onto the tea cup with a Mini Glue Dot.
  10. Stamp and decorate the inside and attach with Stampin’ Seal.
  11. Decorate your envelope. Cut a 2 ¼” h x 6” w piece of Tea Boutique Designer Series Paper, adhere this onto the back flap of the envelope.  Use your scissors to trim off any excess paper edges.
  12. Love it! Now send it to someone special.

Shopping List

Recommended Stamper’s Toolkit ❤


Cup of Tea Thank You Card

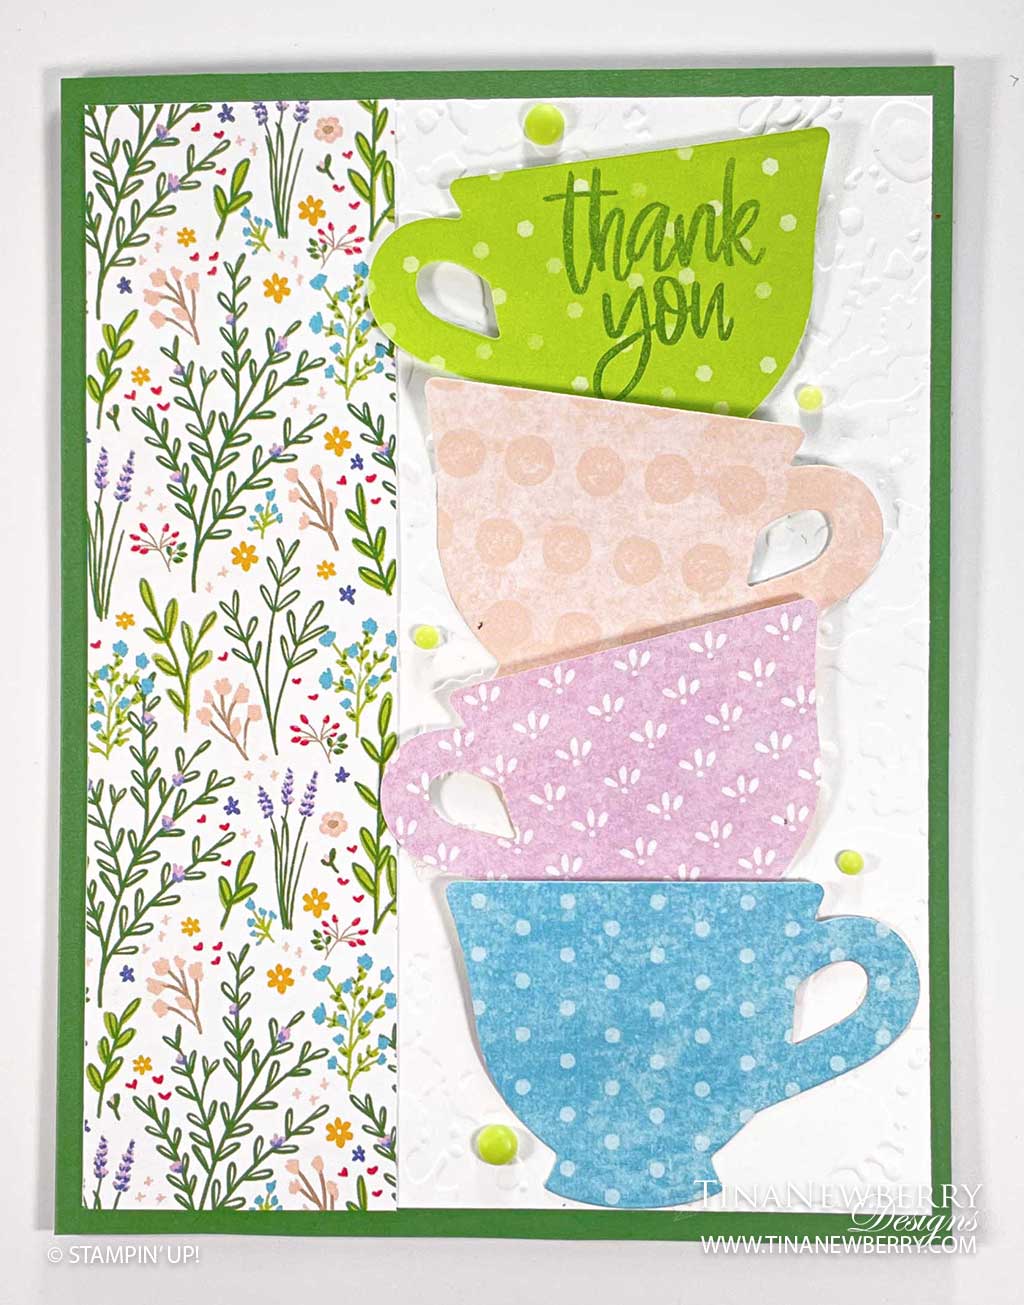
Aren’t these little tea cups adorable in fun prints? Such cheery colors. This thank you card comes together quickly with the tea cup die and the Tea Boutique Designer Series Paper bringing the fun patterns.

Cup of Tea Bundle – Save 10% when you buy the stamp set and coordinating dies

Measurements

Full list of supplies needed, listed below. A die cutting machine is needed for this card.

Garden Green Cardstock: 5 ½” h  x  8 ½” w folded to 5 ½” h x 4 ¼” w for card base

Basic White Cardstock:  5 ¼” h x 4 w

Tea Boutique Designer Series Paper (DSP):

  • 5 ¼” h x 1 ½” w
  • Scraps from 4 coordinating colors for Tea Cups

Let’s Create

  1. Affix all stamps to Acrylic Blocks.
  2. Fold the Card Base in half using a Bone Folder to sharpen the crease.
  3. Use the Splatters 3 D Embossing Folder to emboss the Basic White card stock layer.  Part of the card stock will not be embossed and that is okay as it will be covered and not visible.
  4. Use Stampin’ Seal to adhere the embossed Basic White layer onto the front of the card base.
  5. Use Stampin’ Seal to adhere the Tea Boutique Designer Series Paper layer onto the left hand side of the embossed Basic White layer.
  6. Die cut 4 tea cups from the Tea Boutique Designer Series Paper. You will use the back side of 2 tea cups, so select your prints accordingly that there are 2 backs and 2 fronts that will be 4 various prints
  7. Stamp the sentiment onto 1 tea cup with Garden Green Stampin’ Pad. 
  8. I used Dimensionals on the upper backsides of each tea cup and a Stampin’ Seal adhesive on the bottom edges of the cups.  This helps the cup look wider at the top, as it holds the next cup.  Lay them out to get the idea before using the adhesives, then adhere them.
  9. Embellish with the Parakeet Party 2022 2024 In Color Matte Decorative Dots, I used 5 Dots placed around the tea cups.
  10. Stamp and decorate the inside and attach with Stampin’ Seal.
  11. Stamp the envelope flap with flower images and Parakeet Party Stampin’ Pad. 
  12. So cheery! Who will you send it to?

Shopping List

Recommended Stamper’s Toolkit ❤
 

Let Your Dreams Set Sail Encouragement Card

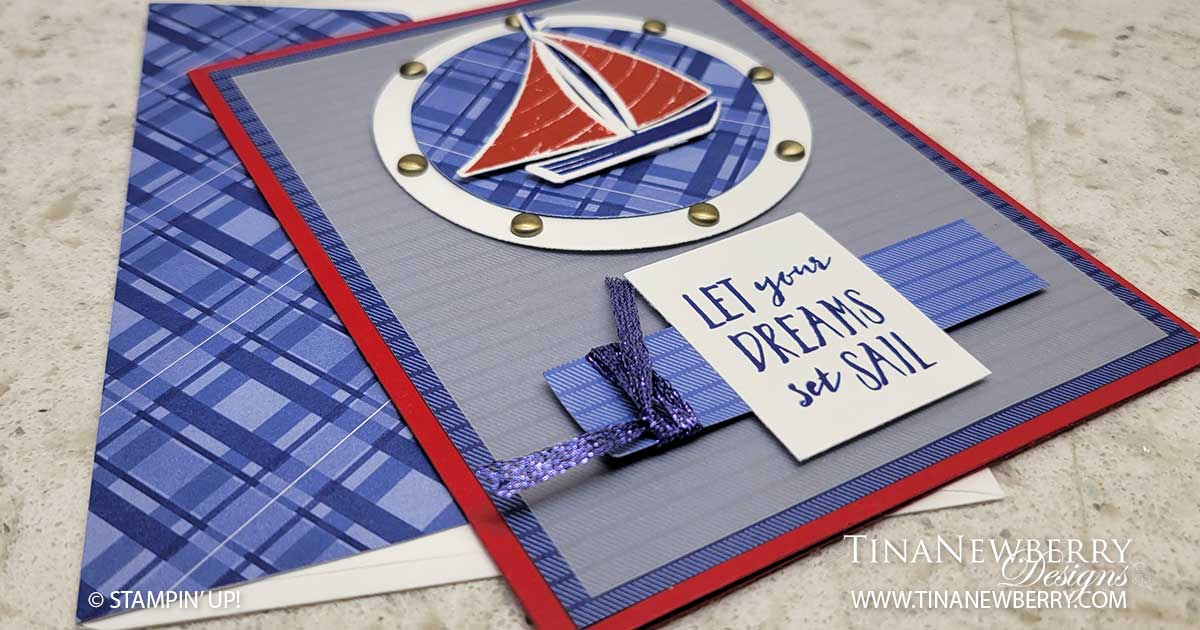
Mimic the look of a porthole. I’ll show you how on this fun nautical red, white and blue encouragement card.

Let's Set Sail Bundle
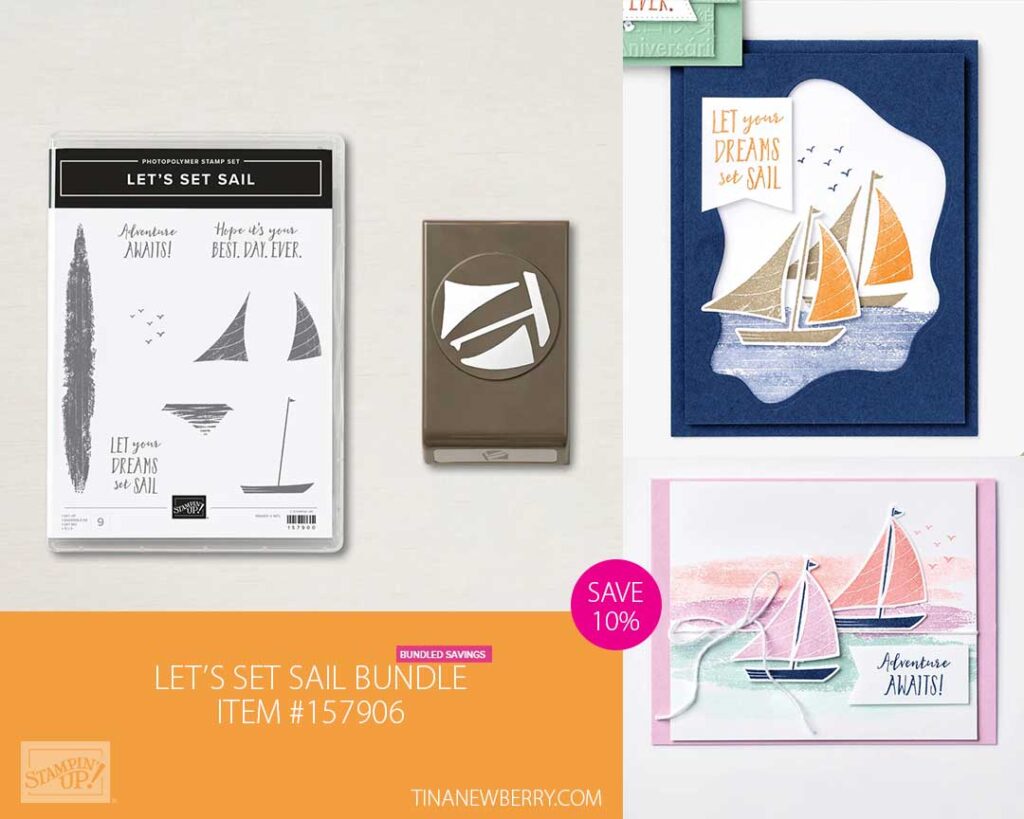
Let’s Set Sail Stamp Set and Punch Bundle – Save 10% on the bundle.

Measurements

Full list of supplies needed, listed below. A die cutting machine is needed for this card.
Real Red Cardstock 5 ½” h x 8 ½” w scored and folded on the long-side at 4 ¼” w

2022-2024 6”x6” Designer Series Paper (DSP): 

  • 5 ¼” h x 4” w
  • 2 ⅜” circle
  • ¾” h x 3” w

Lovely Layers Vellum: one sheet 5” h x 3 ¾” w

Basic White Cardstock:

  • 3” circle
  • 1 ½” h x 1 ¼” w for sentiment
  • 5 ½” h x 4” w for inside
  • Scrap for sailboat

Let’s Create

  1. Affix all stamps to Acrylic Blocks.
  2. Fold the Card Base in half using a Bone Folder to sharpen the crease.
  3. Attach the 5 ¼” h x 4” w DSP to the Card Base using Stampin’ Seal.
  4. Add Stampin’ Seal to the Vellum piece only in the center near top and bottom, where the sailboat and sentiment will be attached.
  5. If you haven’t already, die cut the 3” circle from Basic White Cardstock and the 2 ⅜” circle from the DSP. Use Stampin Seal to attach the two circles together.
  6. Use Stampin Dimensionals to attach the circles to the Vellum.
  7. On Basic White cardstock scrap stamp the sailboat and mast with Starry Sky in and the sails with Real Red ink. Punch pieces out with the sailboat builder punch.
  8. On a silicone matte, assemble the sailboat and use Mini Glue Dots on the back to hold sailboat together. 
  9. Use Stampin’ Dimensionals to attach the sailboat to the DSP Circle.
  10. Stamp the sentiment in Starry Sky Ink on the 1 ½” h x 1 ¼” w sentiment layer.
  11. Use Stampin’ Seal to attach the sentiment to the ¾” h x 3” w DSP . 
  12. Wrap some Starry Sky metallic ribbon around the ¾” h x 3” w DSP and tie a knot. Then attach ¾” h x 3” w DSP  to the Vellum with Stampin’ Dimensionals.
  13. Add some Brushed Metallic Adhesive dots to the Basic White Circle to resemble a port hole.
  14. Stamp and decorate the 5 ¼” h x 4” w Basic White for the inside and attach with Stampin’ Seal.
  15. Decorate your envelope.
  16. Love it!! ! Now who need some encouragement? Put it in the mail.
Product List

Recommended Stamper’s Toolkit ❤


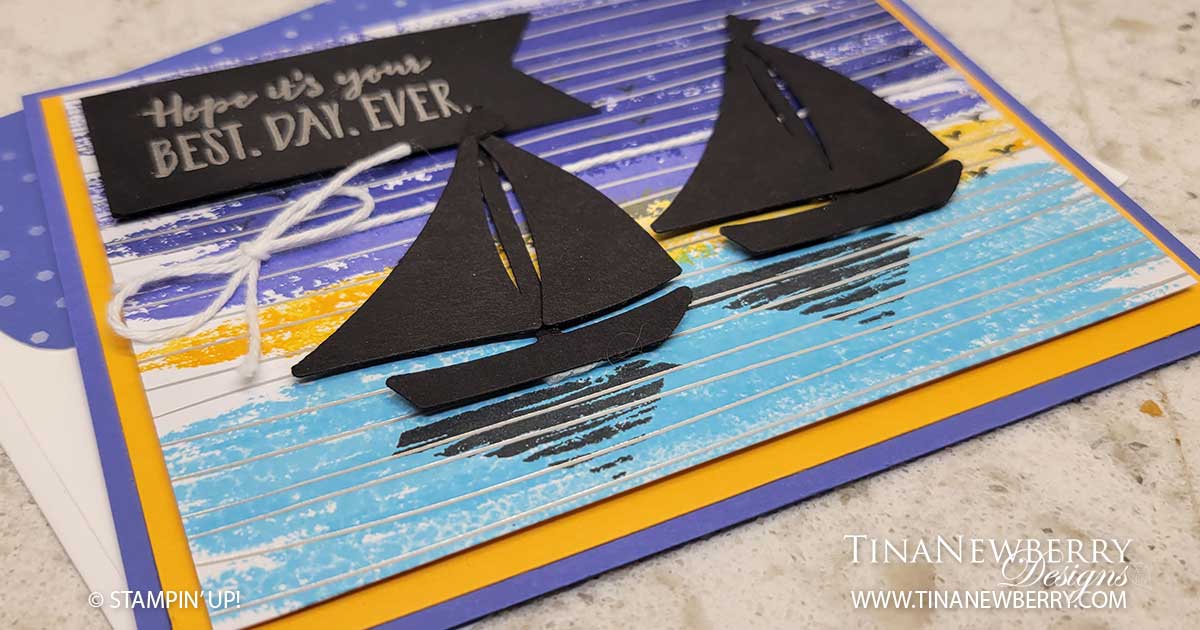
Hope It’s Your Best. Day. Ever Encouragement Card

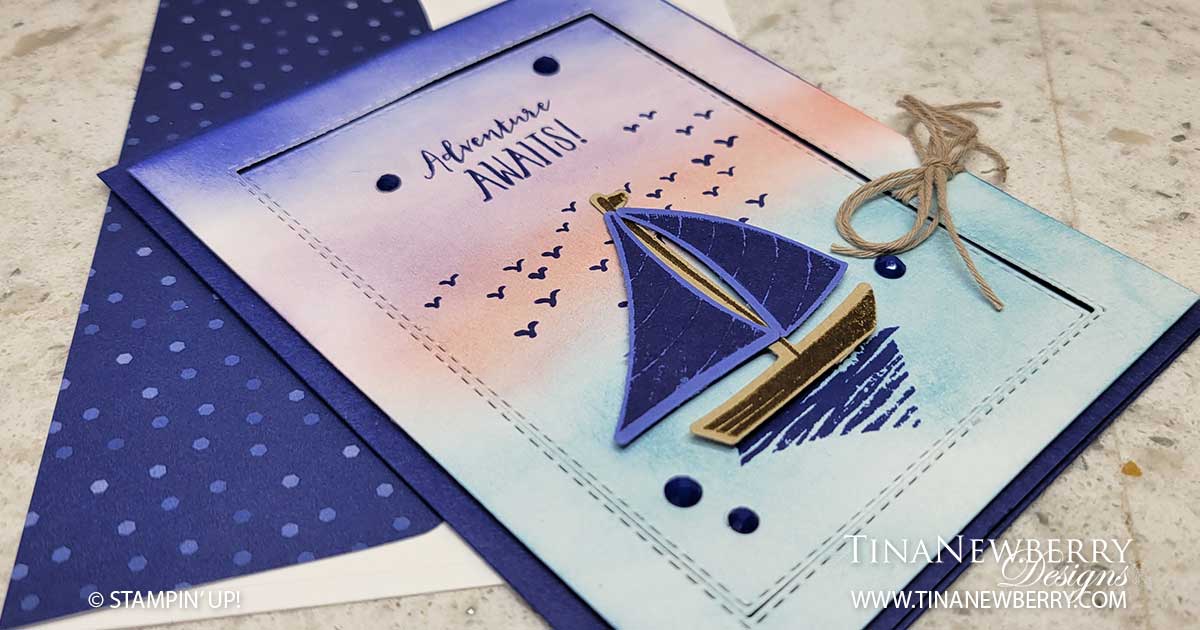
We captured a beautiful sunrise with stamps, ink and free Sale-a-bration paper. That’s right the Silver & Gold Designer Series Paper used in the background for this card, can be colored any colors you want. My cousin Joyce and I used the large water stamp to create the sky and the water for this serene quick & easy encouragement card.

Measurements

Full list of supplies needed, listed below. A die cutting machine is needed for this card.
Orchid Oasis Cardstock: 8 1/2″ h x 5 1/2″ w scored and folded on the long-side at 4 1/4″

Mango Melody Cardstock: 4″ h x 5 1/4″ w

Silver & Gold Designer Series Paper (DSP): 3 3/4″ h x 5″ w

Basic Black:

  • scrap for sailboats
  • 1 1/4″ h x 2 3/4″ w for tag

Basic White Cardstock (for inside): 4″ h x 5 1/4″ w

Let’s Create

  1. Affix all stamps to Acrylic Blocks.
  2. Fold the Card Base in half using a Bone Folder to sharpen the crease.
  3. Attach the Mango Melody panel with Stampin’ Seal.
  4. With the large water stamp, use Starry Sky, Orchid Oasis, Mango Melody and Tahitian Tide to stamp the sunset and water on the Silver & Gold DSP.
  5. Punch out two boats from the Sailboat Builder Punch in Basic Black Cardstock. Assemble the sailboats using Mini Glue Dots where the sails attach to the masts.
  6. Arrange the Sailboats on the water of your stamped sunset and water panel, leaving room for your sentiment. Then stamp the reflection stamp in Tuxedo Black Memento Ink for each boat. Attach the Sailboats with Stampin’ Dimensionals.
  7. Run white Baker’s Twine around the stamped sunset and water panel and tie a bow.
  8. Flag the end of the Basic Black Tag, by using Paper Snips to cut a slit into the right edge, about halfway up the edge and in about 1/2″ to 3/4″. Then cut from each corner into the end of the slit, removing two small triangles of cardstock.
  9. Stamp sentiment in Versamark Ink on Basic Black tag, sprinkle with Silver Embossing Powder, tap off the excess and use a Heat Tool to set. Attach with Stampin’ Dimensionals.
  10. Use Starry Sky Ink to stamp some birds.
  11. Stamp and decorate the inside and attach with Stampin’ Seal.
  12. Decorate your envelope.
  13. So pretty! Who needs some encouragement? Put it in the mail.

Shopping List

Recommended Stamper’s Toolkit ❤