Handy Box

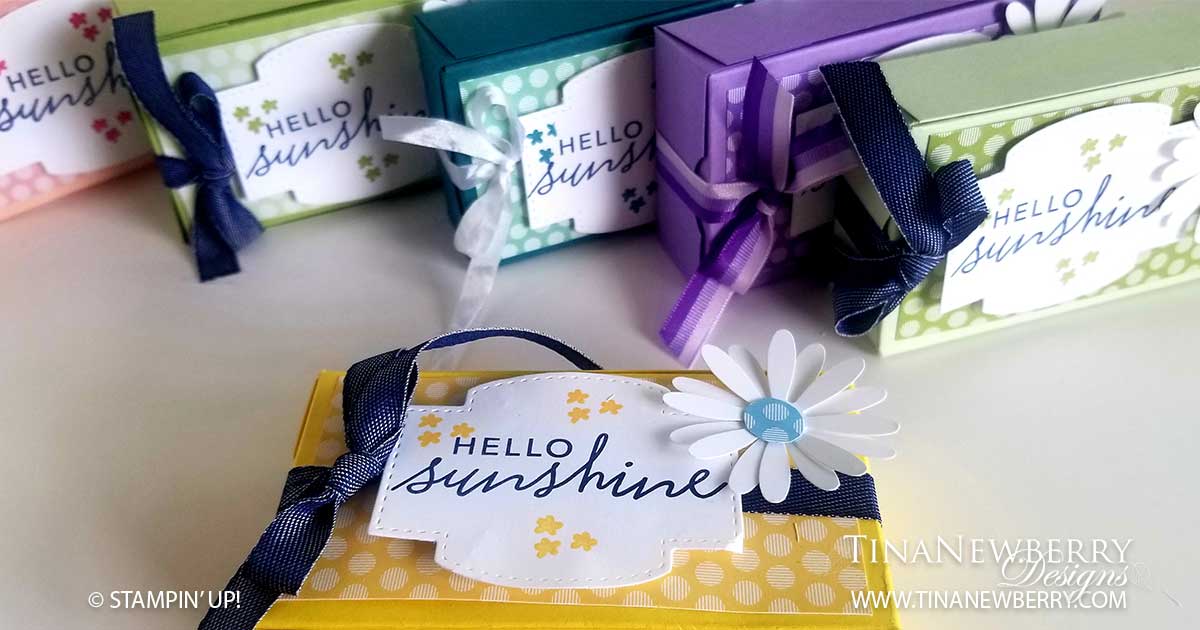
I made 12 of these handy boxes filled with Hand Sanitizer as gifts for my customers, financial advisor and the nurses I will see in the coming weeks. What a fun and timely little gift! This box is the perfect size to hold a 2 oz. bottle of Hand Sanitizer. And with finished dimensions of 1″ h x 2 1/4″ w x 4″ d, this box could hold so many other fun treats for your loved ones. Read on for details and you’ll be spreading some joy in no time too.

Let’s Create

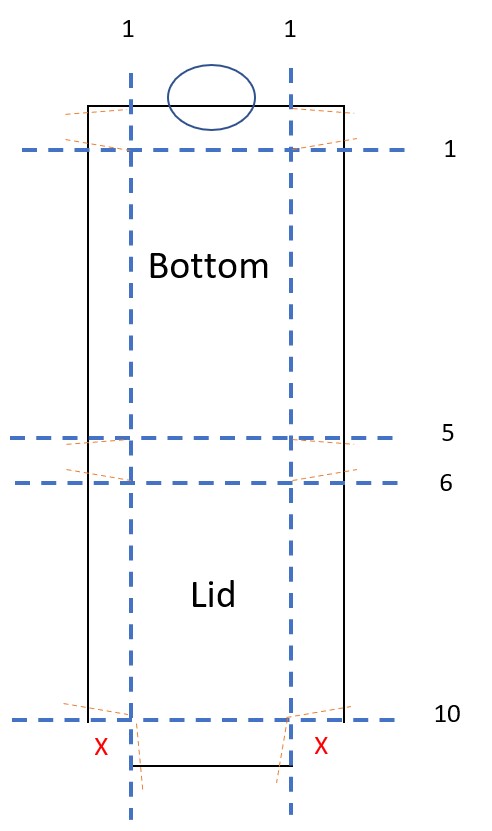
  1. Start with an 11” h x 4 1/4” w piece of Cardstock
  2. Score the Cardstock at:
    • 1” on the long sides
    • 1”, 5” 6” and 10” on the short sides
  3. Use a bone folder to crease the scored lines
  4. Use Scissors to
    • On the Lid, remove the two squares on the Short Edge and notch the outer sides.
    • Notch both sides of all the remaining squares.
  5. Cut a half-circle notch out of the Bottom Short Edge. (A Circle Punch would be ideal, but I used an edge of my Heart Punch to do this. A Snowman Builder Punch would work too. )
  6. If you want to Stamp a Sentiment to the Lid, this is the time to do it.
  7. Fold the box at the 5″ and 6″ Score Lines to create the Lid and Bottom.
  8. Fold the Lid Edges at the Score Lines
  9. For the Bottom, fold up the Long Edges and then fold the Notched Squares of the Bottom from the Short Edges in toward the folded up Long Edges to begin to shape the box.
  10. Holding the corners of the Bottom, assemble the box, but do not adhere yet.
  11. Wiggle and nudge the Bottom of the box with the Lid nestled inside until you get good alignment and everything fits. I had to re-crease the short edge of my Lid to get it fit snuggly without being too long.
  12. Once you have everything fitting, use Stampin’ Seal + to adhere the Notched Square to the Long Edges of the Bottom.
  13. The coordinating patterned paper on the top is 2″h x 3 3/4″ w.
  14. That’s it! Now it’s time to decorate it.

Decorate Your Box

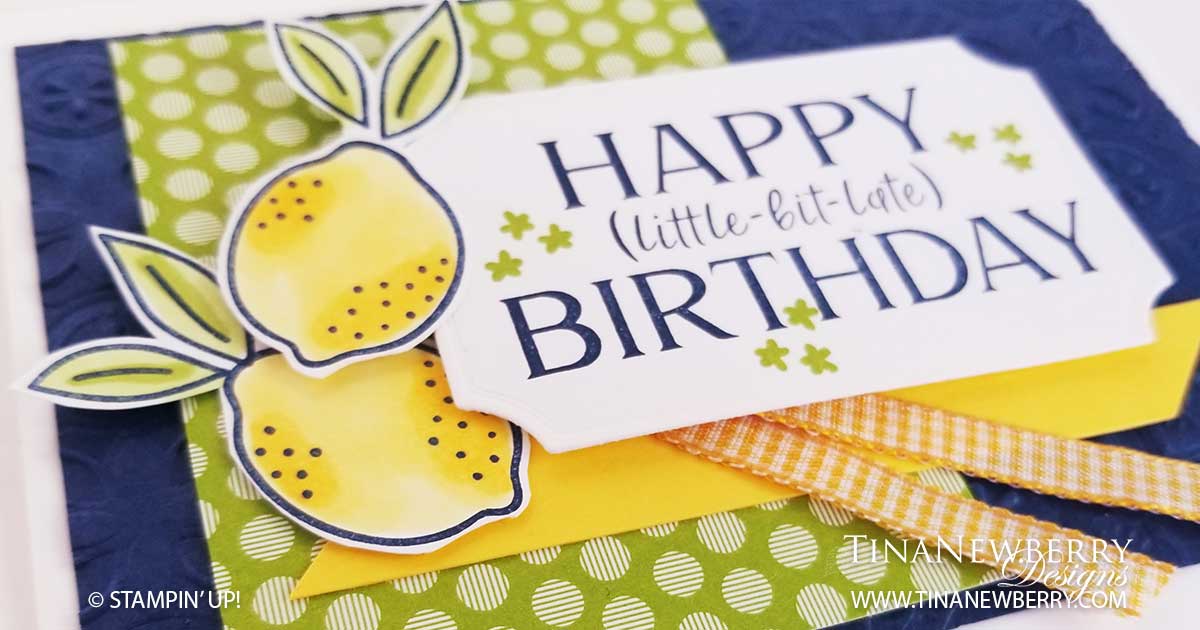
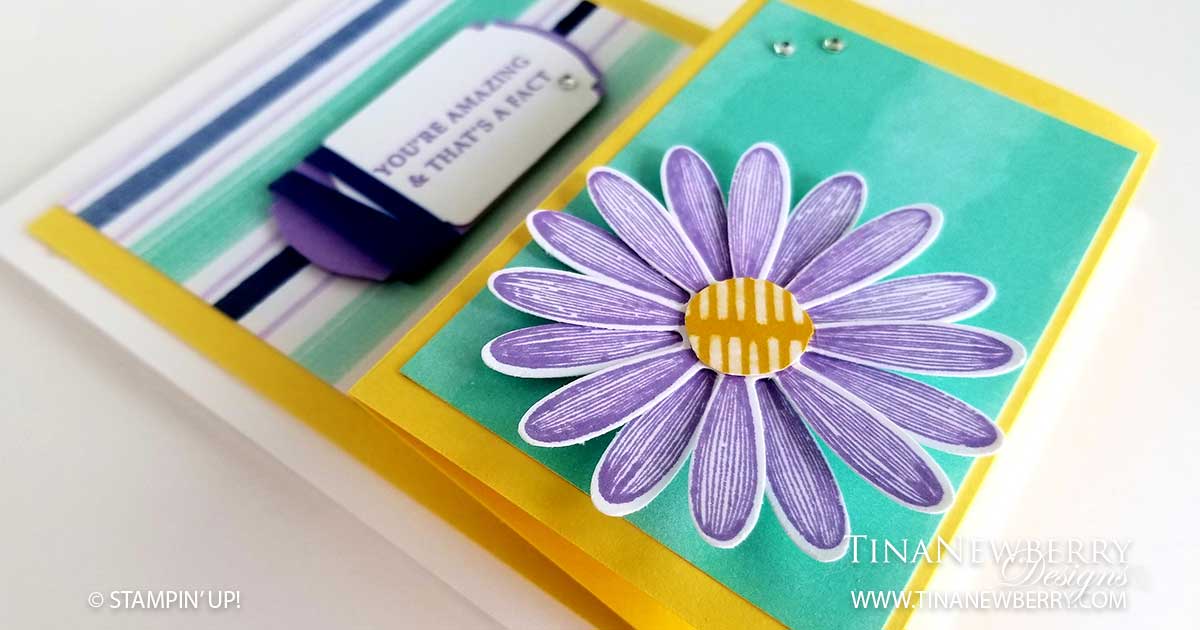
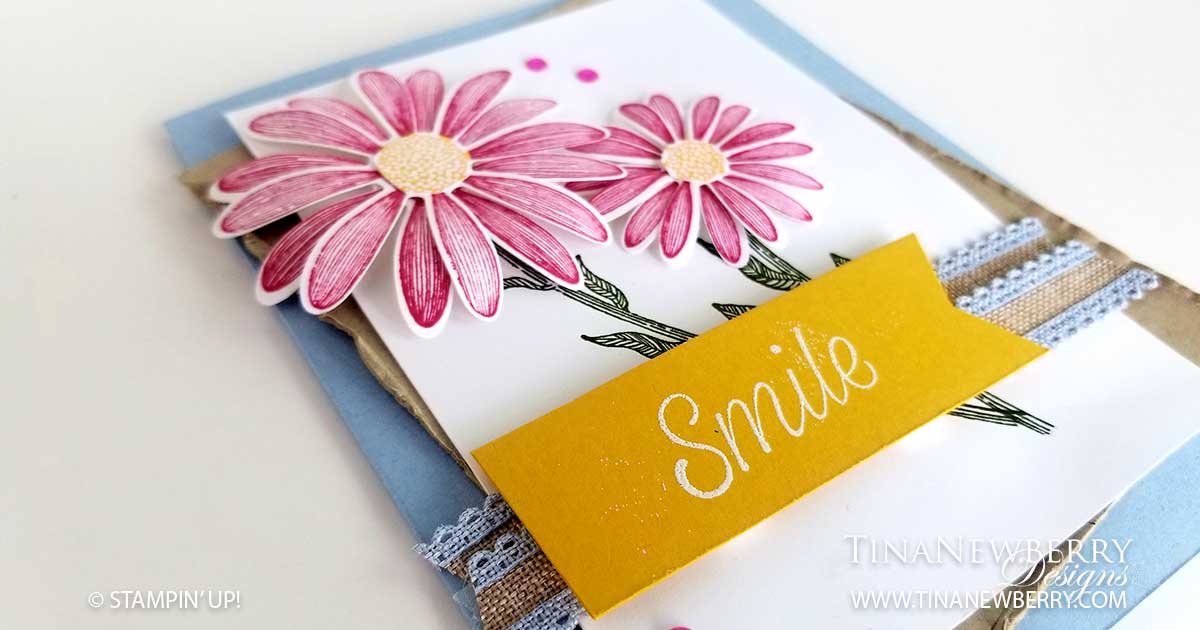
For my boxes, I wrapped a piece of coordinating Ribbon around and tied it in a bow to hold the box shut. The bow is near that little thumb notch I made in the Short-Edge of the Bottom so people know how to open it. Next, I used the Stamps from the Simply Citrus Stamp Set. I just love the Sentiments. I put Thank you for Being You on the inside lid (see Step 6 above) and Hello Sunshine on the outside. The tag is made from the Stitched So Sweetly Dies and I added a little coordinating bling using the three-star Stamp. I attached the tag to the top with Stampin’ Dimensionals for a little pop. Then I used the Medium Daisy Punch to make the flower. I Punched it twice with Whisper White and once with Balmy Blue (or So Saffron) from the 2020-2022 Subtles Designer Series Paper and then I trimmed off the petals of the Balmy Blue (or So Saffron) flower leaving me with a pretty light blue center for my Whisper White Stacked flowers. I used a Mini Glue Dot to adhere all three flower layers together and a Stampin’ Dimensional to adhere it to the box.

There are so many fun options with this box with some cardstock, coordinating DSP and a punch, you can cover all kinds of fun themes and seasons. I’m thinking of Christmas and Valentine’s day next. Now I just need to decide on the treats to put in it! Ha. Can’t wait!

Shopping List

Daisies for a Friend

Straight from page 23 of the ’19-’20 Annual Catalog, this colorful Gerbera Daisy card is sure to spread happiness to someone you love and it’s pretty easy to make! I just love these Daisies!

Measurements

Full list of supplies needed, listed below.
Card Base: Seaside Spray Cardstock 8 1/2 h” x 5 1/2″ folded to 5 1/2″ h x 4 1/4″ w.
Background Matte: Crumb Cake Cardstock 4 3/4″ h x 3 3/4″ w
Background: Whisper White Cardstock 4 3/4″ h x 3 1/2″ w
Sentiment Layer: 
Crushed Curry Cardstock 1″ h x 3″ w trimmed to 1″h x 2 3/4″ w with one Banner Tip
Ribbon: 2 4″ pieces of Seaside Spray Scalloped Linen Ribbon

Let’s Create

  1. Affix all stamps to Acrylic Blocks.
  2. Fold the Card Base in half using a Bone Folder to sharpen the crease.
  3. Distress the edges of the Background Matte.
  4. Stamp the Stems on the Background with Mossy Meadow ink.
  5. Affix the Background to the Background Layer, as shown, and attach to Card Base.
  6. With the large Daisy Stamp stamp the Petals twice on Whisper White scrap Cardstock in Melon Mambo ink and once in Crushed Curry ink. Repeat with the small Daisy Stamp.
  7. Punch the Daisy pieces out with the coordinating punch.
  8. Trim the petals off the Crushed Curry flower. Stack the flower layers and adhere with Mini Glue Dots.
  9. Affix the Daisies with Stampin’ Dimensionals.
  10. Affix the Ribbon with Tear n’ Tape.
  11. Heat emboss the Sentiment on the Sentiment Layer with White Embossing Power. Affix with Stampin’ Dimensionals.
  12. Add Enamel Dots.
  13. Well done! Now send it to someone special.

Shopping List

Product List

Recommended Stamper’s Toolkit

Product List
Order online from the convenience of your own home or send me your order and I’ll take care of you. ❤ Either way, please use the host code ANTD9UHS. Order online AND, if your order is $50 or more using host code ANTD9UHS between now and the end of the month you’ll receive a free pack of embellishment as a THANK YOU gift from me. ❤ If your order is over $150, skip the host code, earn Stampin’ Rewards for free stuff yourself and I’ll still send you a free pack of embellishment as a THANK YOU gift from me. ❤

Happy Birthday, Daisy!

My friend Tonya Farthing made this card a few months ago and I knew I would just have to make it! These colors to me are perfect for Daisies and summer. The card is pretty simple, even with the embossed Daisy petals.

Measurements

Full list of supplies needed, listed below. A die cutting machine is needed for this card.
Card Base: Whisper White Thick Cardstock 8 1/2 h” x 5 1/2″ w folded to 5 1/2″ h x 4 1/4″ w.
Background Matte: 2020-2022 In-Color DSP 4 1/4″ h x 3 3/4″ w
Background: Whisper White Cardstock 3 3/4″h x 3 1/4″ w

Let’s Create

  1. Affix all stamps to Acrylic Blocks.
  2. Fold the Card Base in half using a Bone Folder to sharpen the crease.
  3. Stamp the Sentiment in the lower right corner in Balm Blue ink.
  4. Attach the Background Matte with Stampin’ Seal.
  5. Stamp the Stems on the Background with Mossy Meadow Ink and then Emboss with Subtles Embossing folder and attach with Stampin’ Seal.
  6. Heat Emboss 2 Large and 2 Small Daisy Petals on Vellum Cardstock and color the back of the center with the Dark Daffodil Delight Stampin’ Blend.
  7. Use Mini Glue Dots to layer the Flowers and adhere to the card with Stampin’ Dimensionals.
  8. Add some Basic Pearls.
  9. That’s It! Who are you going to send it to?

Shopping List

Recommended Stamper’s Toolkit

Product List
Order online from the convenience of your own home or send me your order and I’ll take care of you. ❤ Either way, please use the host code ANTD9UHS. Order online AND, if your order is $50 or more using host code ANTD9UHS between now and the end of the month you’ll receive a free pack of embellishment as a THANK YOU gift from me. ❤ If your order is over $150, skip the host code, earn Stampin’ Rewards for free stuff yourself and I’ll still send you a free pack of embellishment as a THANK YOU gift from me. ❤

Design inspired by Tonya Farthing and Florence Bezanson.