Tag Buffet

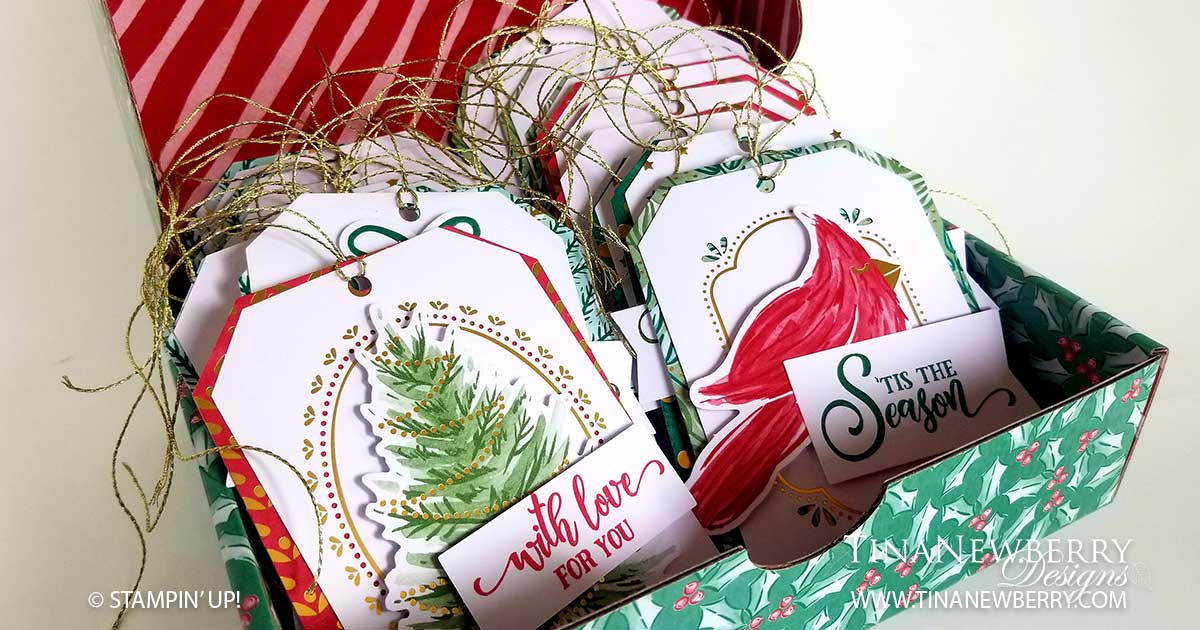
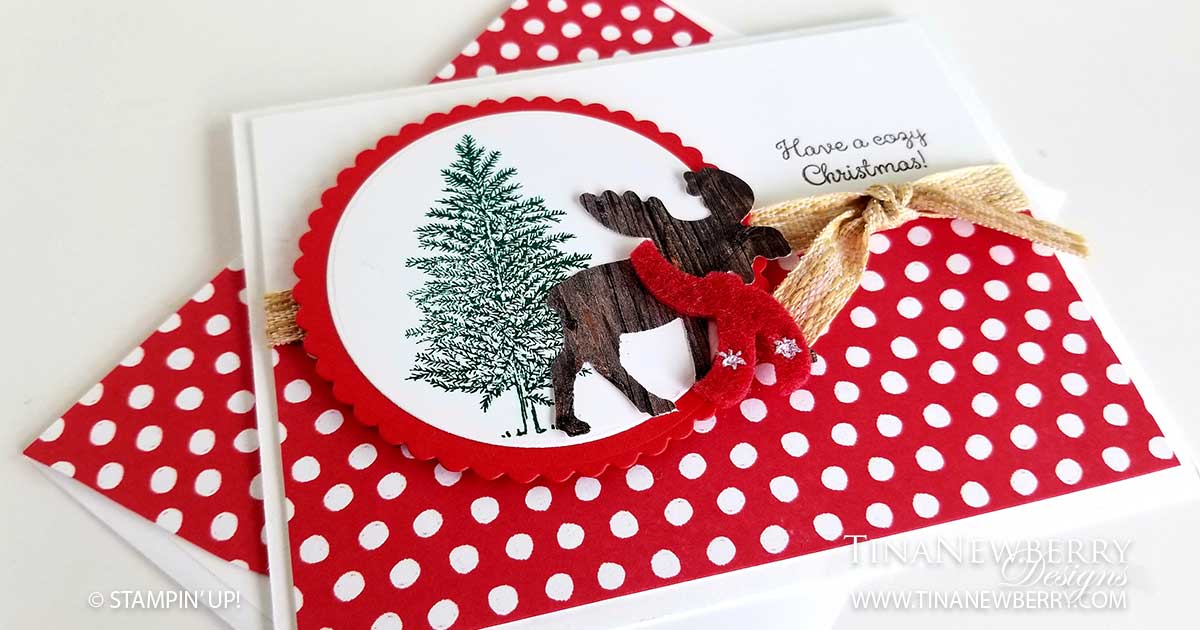
Create stunning seasonal gift tags with the Tag Buffet Project Kit and the Tag Buffet Stamp Set! This duo is perfect for new crafters, busy crafters, or crafters on the go. Pair with ink and your choice of adhesive for complete tags. This is a semi-inclusive card kit. Semi-inclusive kits require additional supplies to complete. Take a look at the Shopping List below to see the additional products needed. To keep costs down, you could use the same ink color on all the tags.

The best part of Kits, is all the materials are all pre-cut! Yipeee!

  1. Affix all stamps to Acrylic Blocks.
  2. Separate all of the die cuts into little piles. There are supplies to make 5 each of 6 designs for 30 total tags!
  3. Take a look at the instructions sheet inside the kit and the pictures of the finished tags.
  4. Choose one of the 6 designs – ornament, bird, presents, tree, stocking or foliage and assemble the five tags. Assemble each of the tags and finish with the gold trim.
  5. So pretty and easy!

Shopping List

Recommended Stamper’s Toolkit

Product List
Order online from the convenience of your own home or send me your order and I’ll take care of you. ❤ Either way, please use the host code ANTD9UHS. Order online AND, if your order is $50 or more using host code ANTD9UHS between now and the end of the month you’ll receive a free pack of embellishment as a THANK YOU gift from me. ❤ If your order is over $150, skip the host code, earn Stampin’ Rewards for free stuff yourself and I’ll still send you a free pack of embellishment as a THANK YOU gift from me. ❤

Happiest of Holidays

Look at that cute Moose peaking out from the trees! Oh goodness. The versatility of the Merry Moose Stamp Set is limitless! For this card I used the small pine tree stamp with the Moose. So many options. So little time. Luckily, you can make this card in just a few minutes. I’ll show you how. Details below.

Full list of supplies needed, listed below. A die cutting machine is needed for this card.
Card Base: Whisper White Thick Cardstock 8 1/2 h” x 5 1/2″ w folded to 5 1/2″ w x 4 1/4″ h.
Background: Real Red Cardstock 4″ h x 5 1/4″ w with the Parisian Flourish Embossing Folder.
Decorative Strip: Heartwarming Hugs DSP 1 1/2″ h x 5 1/2″ w
Rectangles (3): Whisper White Cardstock 1 3/4″ h x 1 1/4″ w Stitched Rectangles Die
Sentiment Layer: 
Whisper White Cardstock 1″ h x 3″ w Stitched Rectangles Die

  1. Affix all stamps to Acrylic Blocks.
  2. Fold the Card Base in half using a Bone Folder to sharpen the crease.
  3. Emboss the Background and attach with Stampin’ Seal+.
  4. Attach the Decorative Strip.
  5. Stamp and Die Cut the three Rectangles using Old Olive and Soft Suede ink, attach with Dimensionals.
  6. Stamp and Die Cut the Sentiments using Real Red ink. Attach with Stampin’ Dimensionals.
  7. Tie a bow and attach with a Mini Glue Dot.
  8. Decorate the Inside.
  9. Decorate the envelope.
  10. Eek! Love it. Who are you going to send it to?

Shopping List

Recommended Stamper’s Toolkit

Product List
Order online from the convenience of your own home or send me your order and I’ll take care of you. ❤ Either way, please use the host code ANTD9UHS. Order online AND, if your order is $50 or more using host code ANTD9UHS between now and the end of the month you’ll receive a free pack of embellishment as a THANK YOU gift from me. ❤ If your order is over $150, skip the host code, earn Stampin’ Rewards for free stuff yourself and I’ll still send you a free pack of embellishment as a THANK YOU gift from me. ❤

Design inspired by Darla Watson.

Have a Cozy Christmas

Isn’t this red polka dot paper adorable? At first I didn’t really like the Trimming the Town Designer Series Paper. It was too busy with all the houses and things, but when I paid a close look at the back side I realized there are some REALLY cute patterns – dots, stripes, snowflakes, curly-ques. All perfect for my simple Mr. Moose card using the Merry Moose Bundle.

Full list of supplies needed, listed below. A die cutting machine is needed for this card.
Card Base: Whisper White Thick Cardstock 8 1/2 h” x 5 1/2″ w folded to 5 1/2″ w x 4 1/4″ h.
Sentiment Layer: Whisper White Cardstock 4″ h x 5 1/4″ w
Background: Trimming the Town DSP 2 1/2″ h x 5 1/4″ w
Circle Matte: 3″ Layering Circle Die
Circle Layer: Whisper White Cardstock 2 5/8″ Layering Circle Die
Ribbon: 12″ 3/8″ Embroidered Ribbon
Moose: In Good Taste Designer Series Paper with the Moose Punch

  1. Affix all stamps to Acrylic Blocks.
  2. Fold the Card Base in half using a Bone Folder to sharpen the crease.
  3. Stamp the Tree on the Circle in Shaded Spruce Ink.
  4. Attach the Circle to the Circle Matte with Stampin’ Seal. Add the Moose. (My Moose is wearing a felt scarf left over from the 2019 Snowman Season Suite.)
  5. Stack the Background on the Sentiment Layer and approximate where the ribbon will be. Then stamp the Sentiment in Soft Suede ink.
  6. Attach the Background to the Sentiment Layer using Stampin’ Seal.
  7. Wrap Ribbon around and tie a bow. Use a glue dot if needed to hold Ribbon in place.
  8. Decorate the Inside.
  9. Decorate the envelope.
  10. So cute! Now send it to someone special.

Shopping List


Recommended Stamper’s Toolkit

Product List
Order online from the convenience of your own home or send me your order and I’ll take care of you. ❤ Either way, please use the host code ANTD9UHS. Order online AND, if your order is $50 or more using host code ANTD9UHS between now and the end of the month you’ll receive a free pack of embellishment as a THANK YOU gift from me. ❤ If your order is over $150, skip the host code, earn Stampin’ Rewards for free stuff yourself and I’ll still send you a free pack of embellishment as a THANK YOU gift from me. ❤

Design inspired by Jean Addis.