Such Happy News

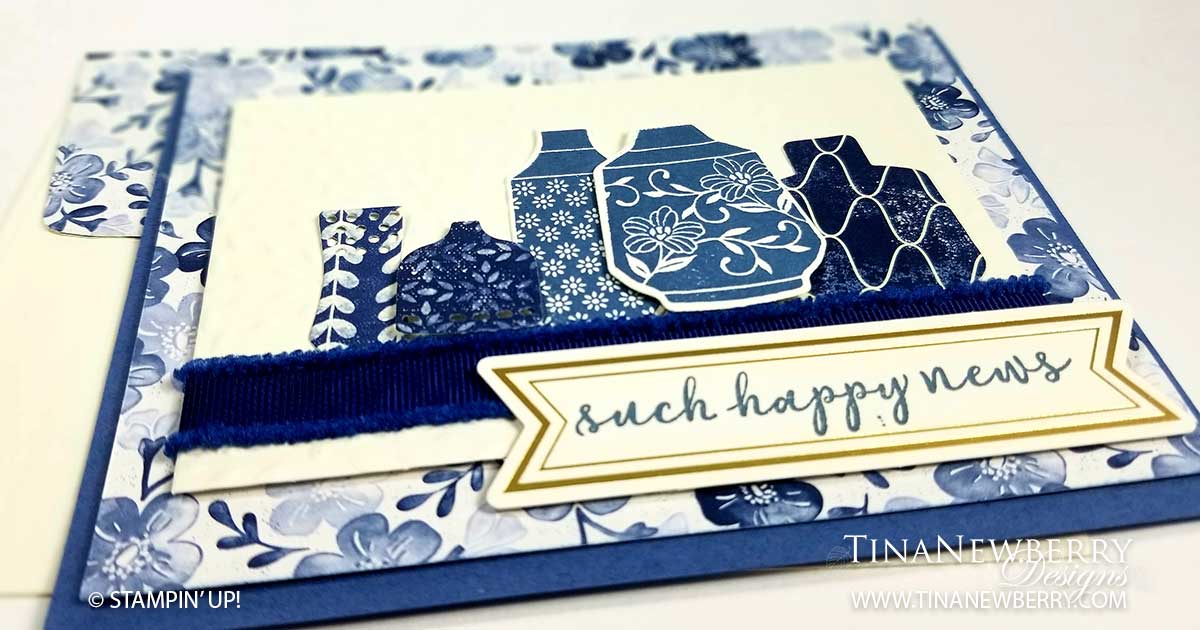
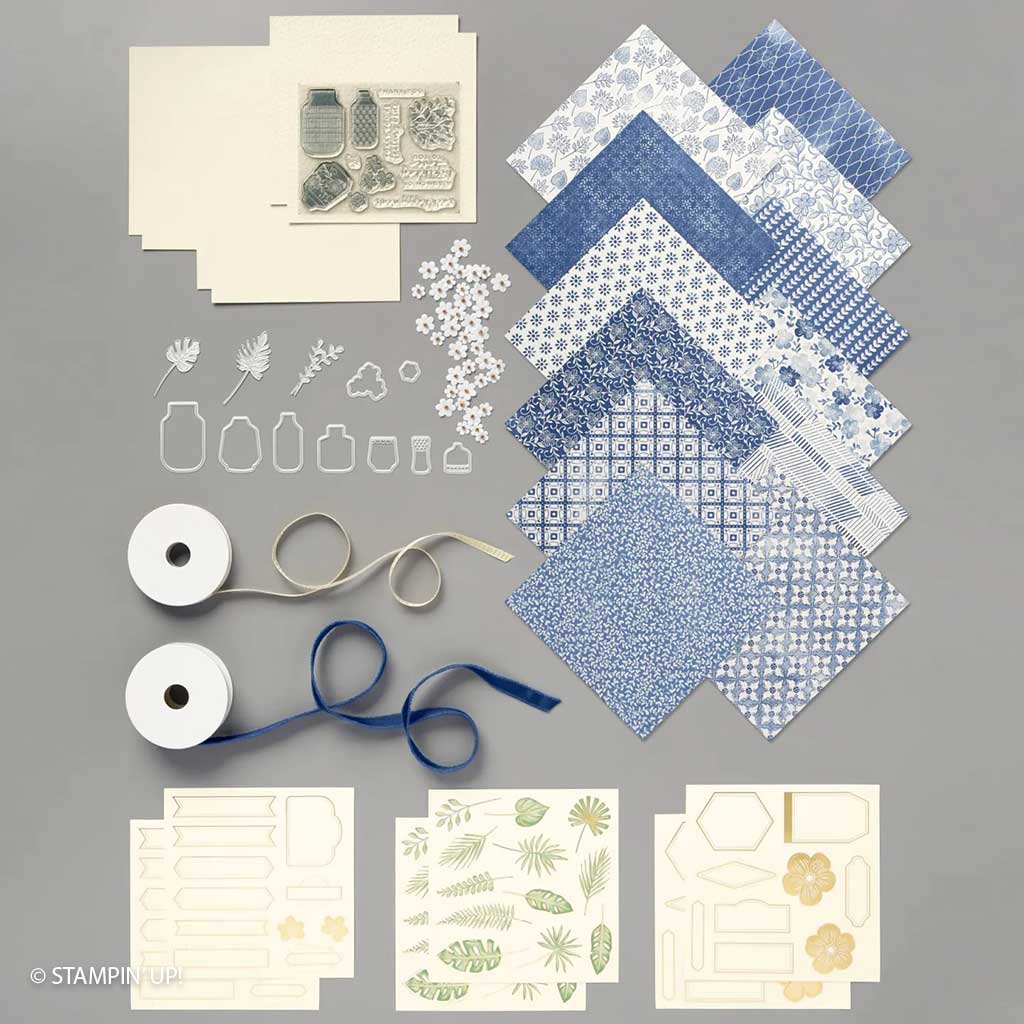
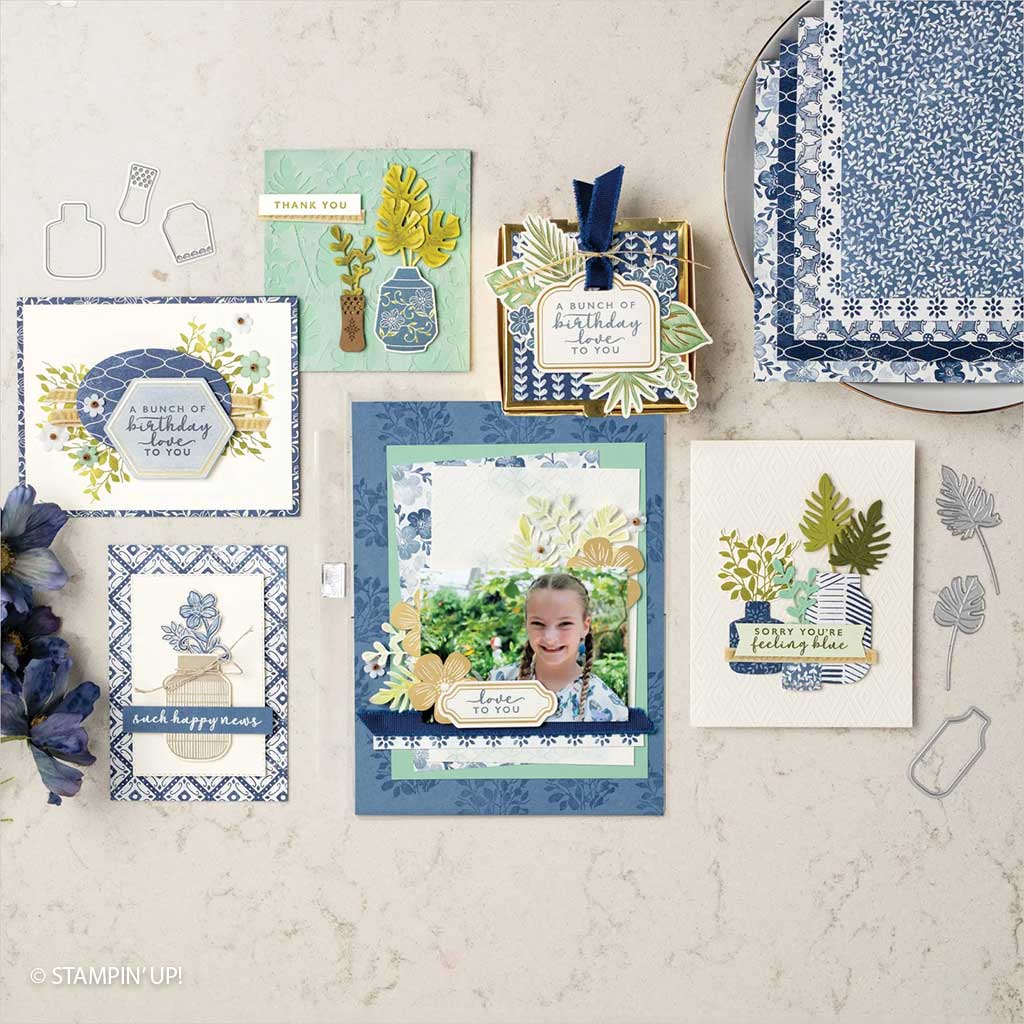
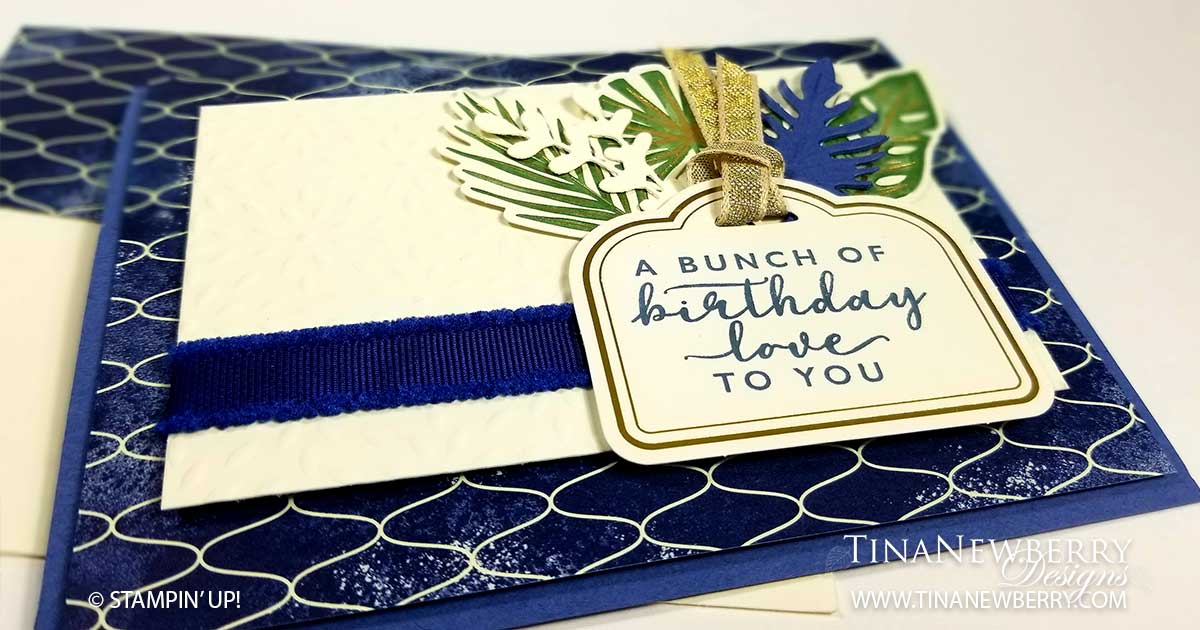
My eyes are naturally drawn to blues and greens, so when I first saw the Boho Indigo Medley, I was hooked. And a product medley takes all the guess work out out of it because everything coordinates just beautifully. The paper, die cuts, embossed paper, ribbon and adorable paper flowers are all ready to be used together. All I had to do was choose a layout, cut the paper, stamp the sentiments and voila! A beautiful card. It was so easy I made two using the same layout and different elements.

Boho Indigo Product Medley

Measurements

Full list of supplies needed, listed below. A die cutting machine is needed for this card.
Card Base: Misty Moonlight Cardstock 5 1/2″ h x 8 1/2″ w folded to 4 1/4″ h x 5 1/2″ w.
Background: Boho Indigo DSP 4″ h x 5 1/4″ w
Embossed Layer: Boho Indigo Embossed Sheet 3″ h x 4″ w
Sentiment Layer: 
Boho Indigo Die Cut
Inside Layer: Very Vanilla Cardstock 5 1/4″ h x 4″ w

Let’s Create

  1. Affix all stamps to Acrylic Blocks.
  2. Fold the Card Base in half using a Bone Folder to sharpen the crease.
  3. Attach the Background with Stampin’ Dimensionals.
  4. Stamp two vases in Misty Moonlight Ink and Die Cut.
  5. Die Cut three more vases from Boho Indigo Designer Series Paper.
  6. Attach two to the Embossed Layer with Stampin’ Dimensionals and attach three with Stampin’ Seal.
  7. Wrap ribbon around the Embossed Layer and attach on the back with Tear & Tape.
  8. Stamp the Sentiment in Misty Moonlight ink on the Die Cut Banner Tag and attach with Stampin’ Dimensionals.
  9. Attach the Embossed Layer with Stampin’ Dimensionals.
  10. Decorate the Inside Layer and attach.
  11. Decorate the envelope.
  12. Beautiful! Put it in the mail and send it.
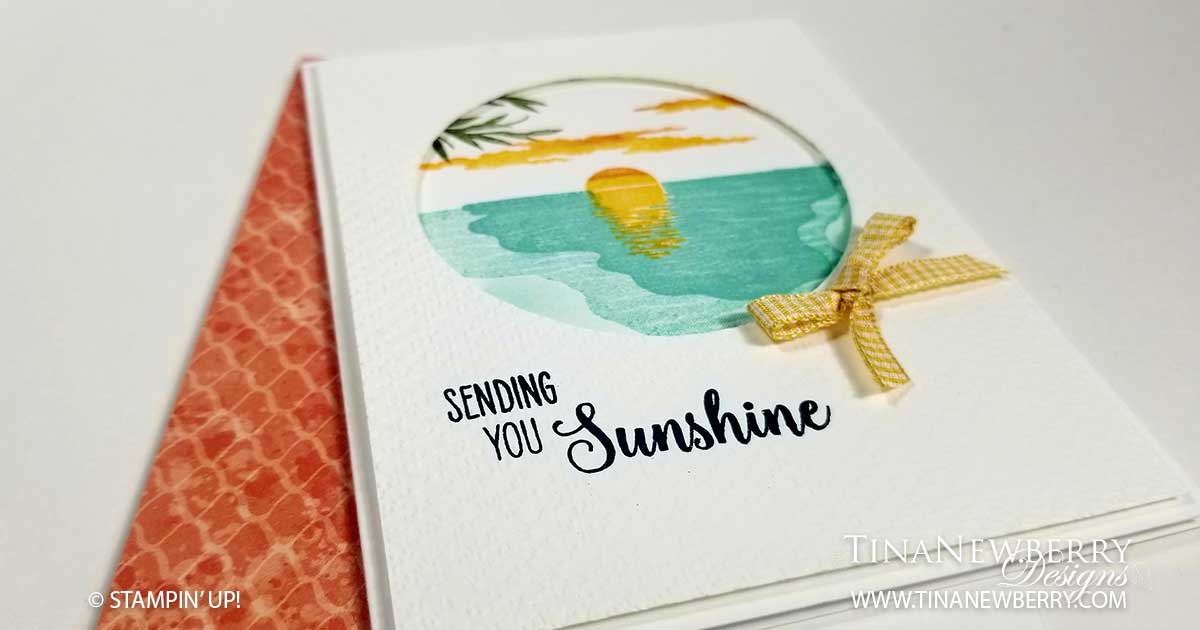
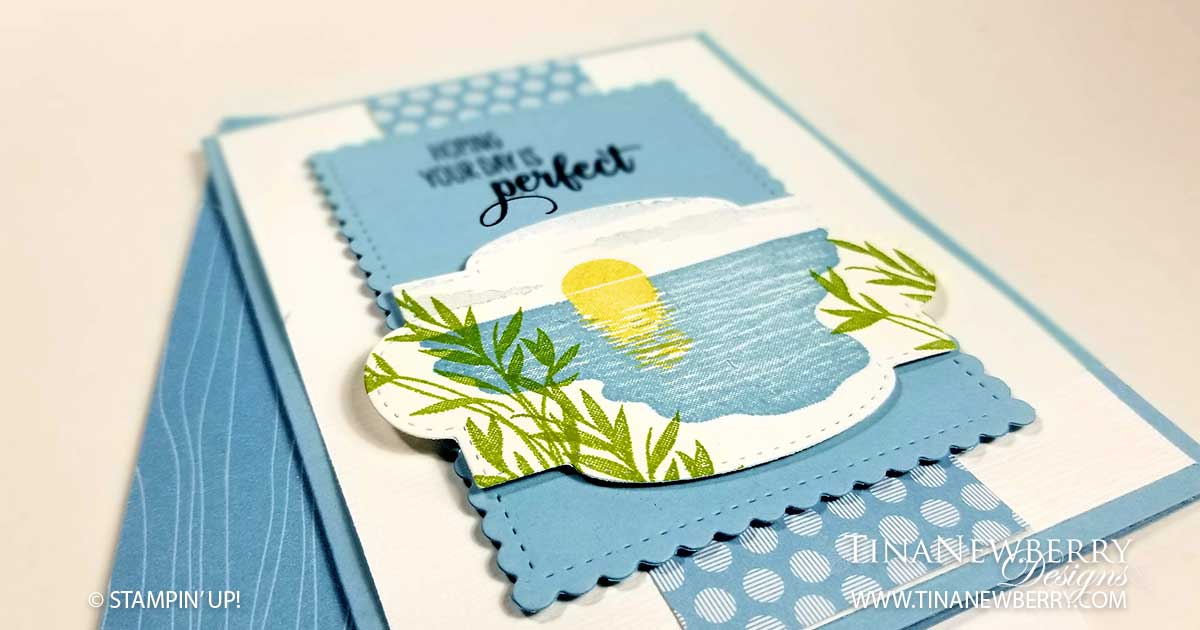
Additional Design

Shopping List

Stamper’s Toolkit

You will also need adhesive, acrylic blocks, scissors and other basic PaperCrafting items from the Stamper’s Toolkit

Sending You Sunshine

There’s something about watching the sunset over water that brings quiet peace and relaxation. Jo Anne Hewins captured that feeling perfectly in her version of this card. I had a good time recreating it myself. The Sending Sunshine stamp set makes it incredibly easy with overlapping stamps.

Full list of supplies needed, listed below. A die cutting machine is needed for this card.
Card Base: Basic White Thick Cardstock 8 1/2 h” x 5 1/2″ w folded to 5 1/2″ h x 4 1/4″ w.
Background: Basic White Cardstock 3 1/2″ h x 3 1/2″ w
Sentiment Layer: 
Basic White Cardstock 5 1/4″ h x 4″ w

  1. Affix all stamps to Acrylic Blocks.
  2. Fold the Card Base in half using a Bone Folder to sharpen the crease.
  3. Creating the Background Layer
    1. Lay the 3″ Circle Die from the Layering Circles Die set in the center of the Background Layer and mark the outside edge lightly with pencil.
    2. Stamp the smallest water stamp first in Coastal Cabana.
    3. Stamp the largest water stamp in Pool Party, overlapping the first layer.
    4. Next Stamp the Sun in Mango Melody and a smidge of Pumpkin Pie, overlapping the two water layers. To get the smidge of Pumpkin Pie, I first stamped the image in the Mango Melody, then pressed just the top edge of the sun onto the Pumpkin Pie ink pad. Practice on scrap paper first.
    5. Add the clouds, also in Mango Melody with a smidge of Pumpkin Pie.
    6. Lastly stamp the Palm Fronds with Mossy Meadow ink.
  4. Stamp the Sentiment in Tuxedo Black ink on the Sentiment Layer. Then die cut the 3″ circle and run the layer through the Tasteful Textiles Embossing Folder.
  5. Use Dimensionals to attach the Background behind the 3″ window.
  6. Use Dimensionals to attach the Sentiment Layer.
  7. Add a bow.
  8. Decorate the Inside Layer and attach.
  9. Decorate the envelope.
  10. So cute! Now send it to someone who needs some sunshine.

Shopping List

Stamper’s Toolkit

You will also need adhesive, acrylic blocks, scissors and other basic PaperCrafting items from the Stamper’s Toolkit

Design inspired by Jo Anne Hewins.

Hoping Your Day is Perfect

I was immediately drawn to the Sending Sunshine stamp set because well for one, I love sunrise and sunset and for two, I knew my northern peeps would be needing some sunshine right about now. Connie Babbert deserves all the credit for this card. I’m just a really good copier! This beauty is just Stamps, Ink & Paper.

Full list of supplies needed, listed below. A die cutting machine is needed for this card.
Card Base: Balmy Blue Cardstock 8 1/2 h” x 5 1/2″ w folded to 5 1/2″ h x 4 1/4″ w.
Background: Basic White Cardstock 5 1/4″ h x 4″ w
Decorative Strip: Pastels DSP 5 1/4″ h x 1 3/4″ w
Sentiment Layer: 
Balmy Blue Cardstock scrap trimmed with the 4″ x 3″ Stitched So Sweetly Die
Stamped Decorative Layer: Basic White Cardstock scrap trimmed with the Stitched So Sweetly Die

  1. Affix all stamps to Acrylic Blocks.
  2. Fold the Card Base in half using a Bone Folder to sharpen the crease.
  3. Run the Background through the Stampin’ Cut & Emboss machine with the Subtle Embossing Folder. Attach to card.
  4. Attach Decorative Strip.
  5. Stamp the Sentiment on the Sentiment Layer with Tuxedo Black Ink.
  6. Stamp the sunset scene on the Stamped Decorative Layer.
  7. Attach the Stamped Decorative Layer to the Sentiment Layer with Stampin’ Dimensionals.
  8. Attach the Sentiment Layer with Stampin’ Dimensionals.
  9. Decorate the Inside Layer and attach.
  10. Decorate the envelope.
  11. So cute! Now send it to someone special.
Product List

Stamper’s Toolkit

You will also need adhesive, acrylic blocks, scissors and other basic PaperCrafting items from the Stamper’s Toolkit

Design inspired by Connie Babbert.