You Are So Special

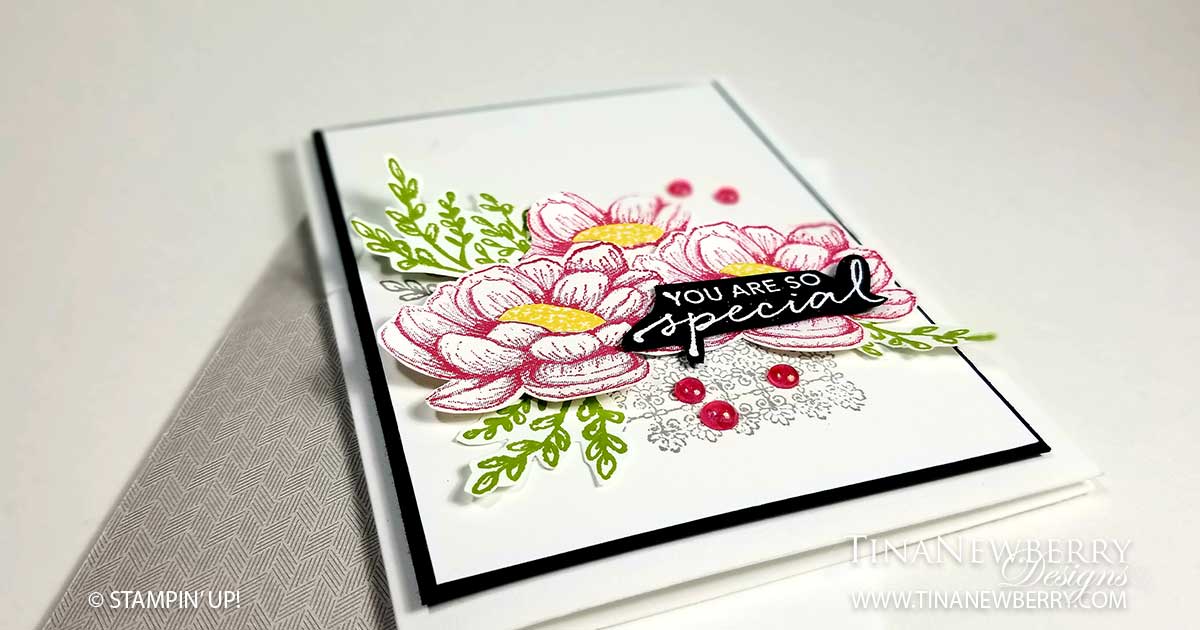
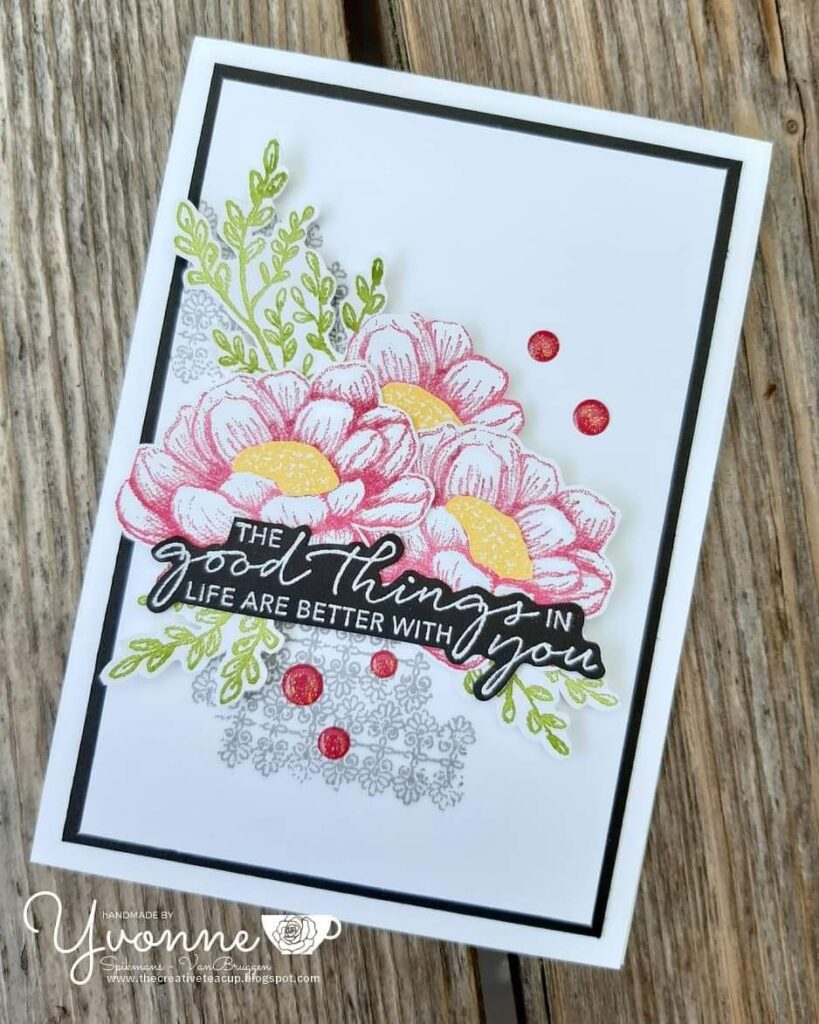
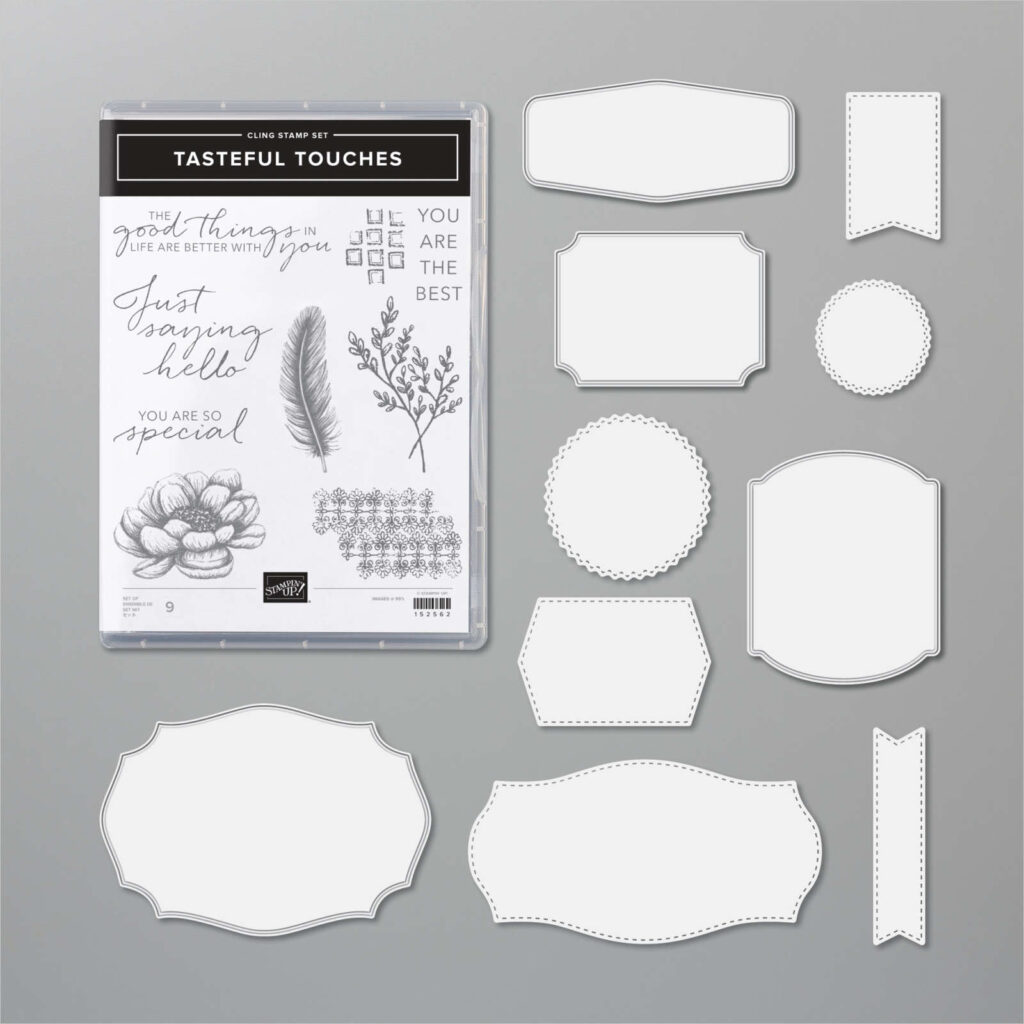
This pretty card really shows off the stamp set and dies found in the Tasteful Touches Bundle. For me there is something about a white card and I just love the look of a white embossed sentiment on any color cardstock, but especially black. Yvonne Spikmans-Van Bruggen nailed both in her original design of this card. Hard to believe without the gems, this beauty is just stamps, ink and paper!

Full list of supplies needed, listed below. A die cutting machine is needed for this card.
Card Base: Basic White Thick Cardstock 8 1/2 h” x 5 1/2″ w folded to 5 1/2″ h x 4 1/4″ w.
Background Matte: Basic Black Cardstock 5 1/8″ h x 3 7/8″ w
Background: Basic White Cardstock 5″ h x 3 3/4″ w
Flowers and Branches: Basic White Cardstock scraps
Sentiment Layer: Basic Black scrap

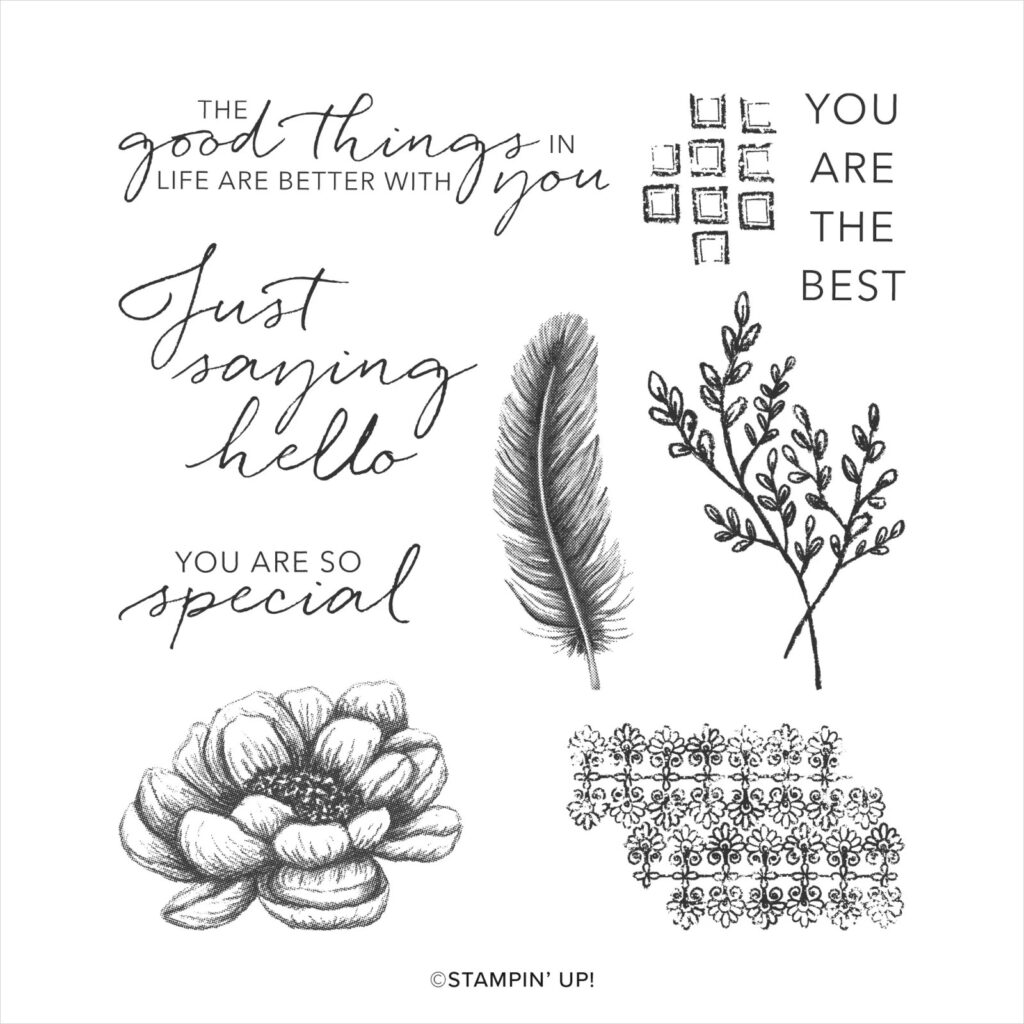
  1. Affix all stamps to Acrylic Blocks.
  2. Fold the Card Base in half using a Bone Folder to sharpen the crease.
  3. In Smoky Slate ink stamp one Branch in the mid-left of the Background and one Decorative Background stamp in the lower right-center and then attach the Background to the Background Matte and then attach to the Card Base using Stampin’ Dimensionals.
  4. On Basic White scrap cardstock stamp three Flowers each in Melon Mambo and Daffodil Delight and three Branches in Granny Apple Green. Using Paper Snips, fussy cut them all out. Trim the Daffodil Delight Flowers down to the centers and then attach the Daffodil Delight flower centers to the Melon Mambo flowers.
  5. Arrange the Flowers and Branches – trimming if desired- on the Background and attach using adhesive, Stampin’ Dimensionals and/or Mini Glue Dots, as needed.
  6. Stamp the Sentiment in Versamark ink on the Sentiment scrap, heat emboss with White Embossing Powder and use Paper Snips to fussy cut around the words. Attach with Stampin’ Dimensionals.
  7. Use the Melon Mambo Dark Stampin’ Blend to color five Opal Rounds. Allow a few seconds to dry and then attach to the Card.
  8. Decorate the Inside Layer and attach.
  9. Decorate the envelope.
  10. Lovely! Now send it to someone special.

Shopping List

Stamper’s Toolkit

You will also need adhesive, acrylic blocks, scissors and other basic PaperCrafting items from the Stamper’s Toolkit

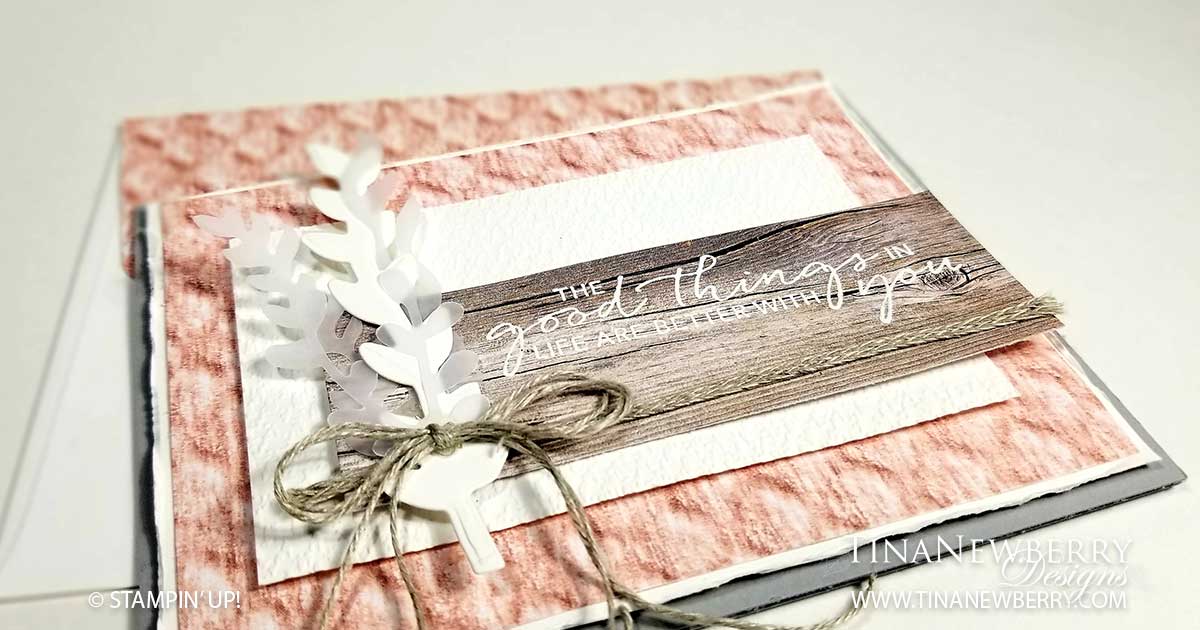
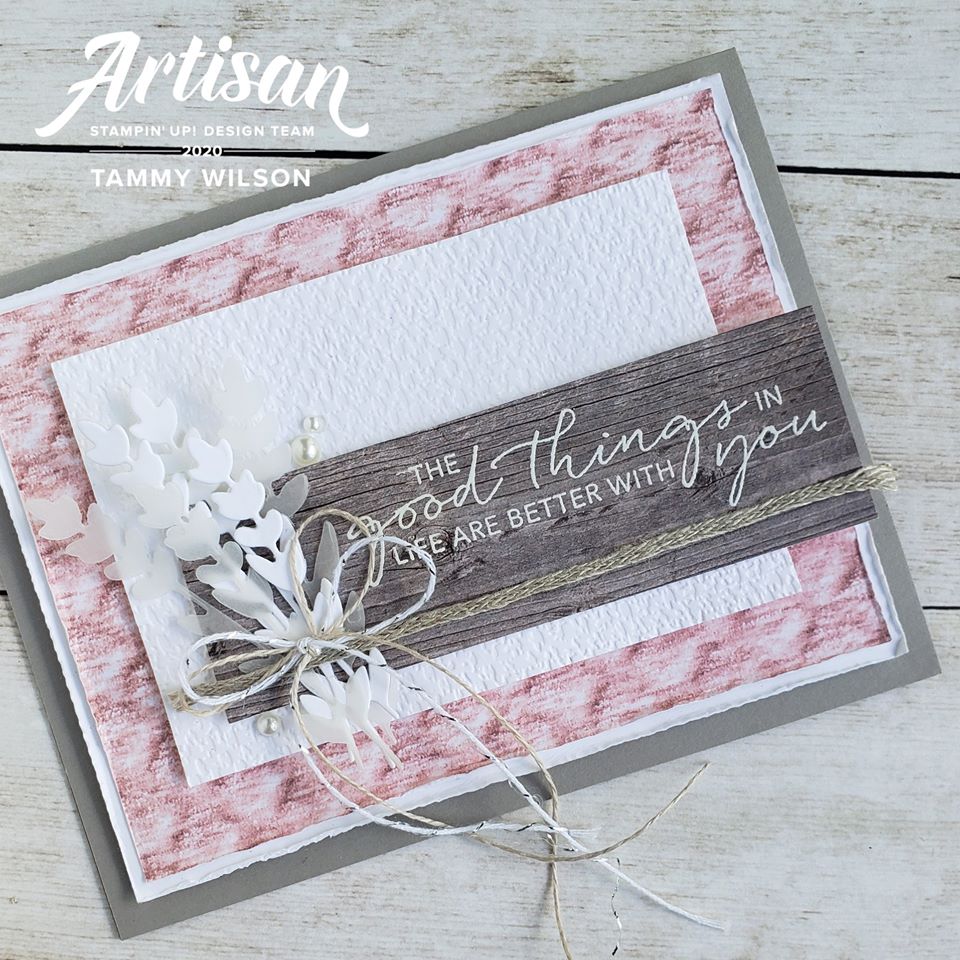
The Good Things in Life are Better with You

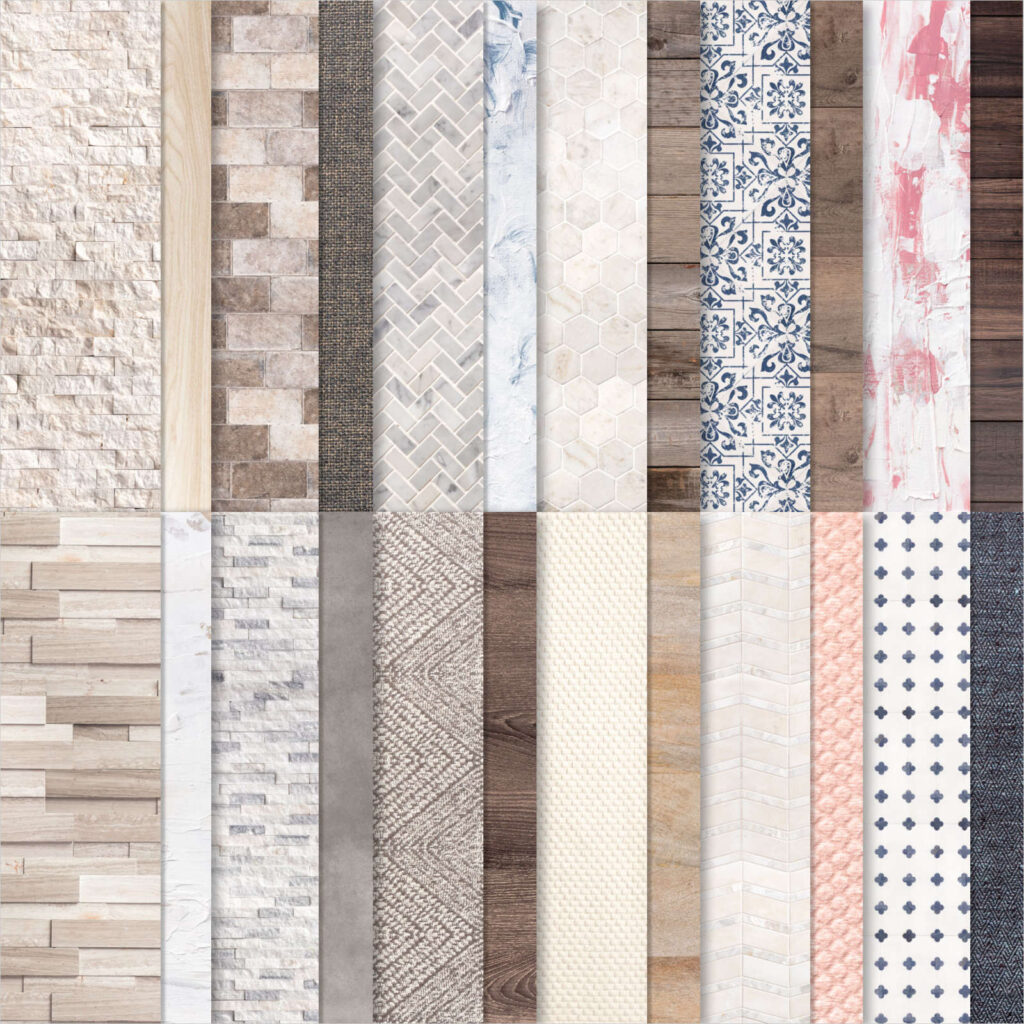
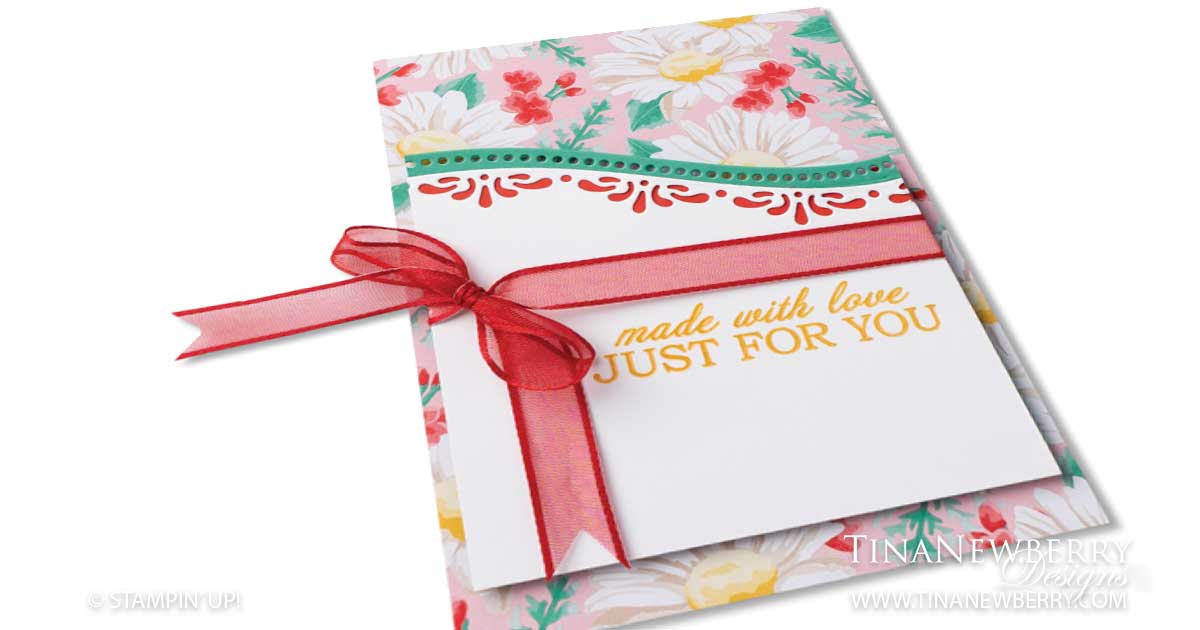
I’ve been seeing beautiful projects with the In Good Taste Suite all year. And I feel like I’ve had a love/hate relationship with the paper and the fonts in the stamp set, but when I sat down to recreate this pretty card by Artisan Design Team Member, Tammy Wilson, I really enjoyed working with all the elements. The Tasteful Touches embossing folder has quickly become a close competitor for my favorite the Subtle embossing folder and I just love the mixed fonts in this stamp. I hope you enjoy the lovely textures portrayed on this photographic paper. I didn’t quite have all the same supplies Tammy used, but I’m pretty happy with the results.

Full list of supplies needed, listed below. A die cutting machine is needed for this card.
Card Base: Smoky Slate Cardstock 8 1/2 h” x 5 1/2″ w folded to 4 1/4″ h x 5 1/2″ w .
Background Matte: Basic White Cardstock 4″ h x 5 1/4″ w
Background: Tasteful Touches Designer Series Paper 3 7/8″ h x 5 1/8″ w
Embossed Layer: Basic White Cardstock 2 3/4″ h x 4 1/4″ w
Sentiment Layer: Tasteful Touches Designer Series Paper 1 1/4″ h x 1 1/2″ w

  1. Affix all stamps to Acrylic Blocks.
  2. Fold the Card Base in half using a Bone Folder to sharpen the crease.
  3. Use the Bone Folder to distress the edges of the Background Matte.
  4. Attach the Background to the Background Matte and then attach to the Card Base using Stampin’ Dimensionals.
  5. Emboss the Embossed Layer with the Tasteful Touches Embossing Folder and attach with Stampin’ Dimensionals.
  6. Stamp the Sentiment in Versamark Ink on the Sentiment Layer and Heat Emboss with White Embossing Powder. Attach using Stampin’ Dimensionals.
  7. Attach a piece of Braided Linen Thread
  8. Die cut, fussy cut or punch two vellum and one Basic White pieces of foliage. Attach with Mini Glue Dots.
  9. Tie a double strand of Linen Thread in a bow and attach with Mini Glue Dots.
  10. Add Basic Pearls (suggested)
  11. Decorate the Inside Layer and attach.
  12. Decorate the envelope.
  13. Lovely! Now send it to someone special.

Shopping List

Stamper’s Toolkit

You will also need adhesive, acrylic blocks, scissors and other basic PaperCrafting items from the Stamper’s Toolkit

You’re One in a Million

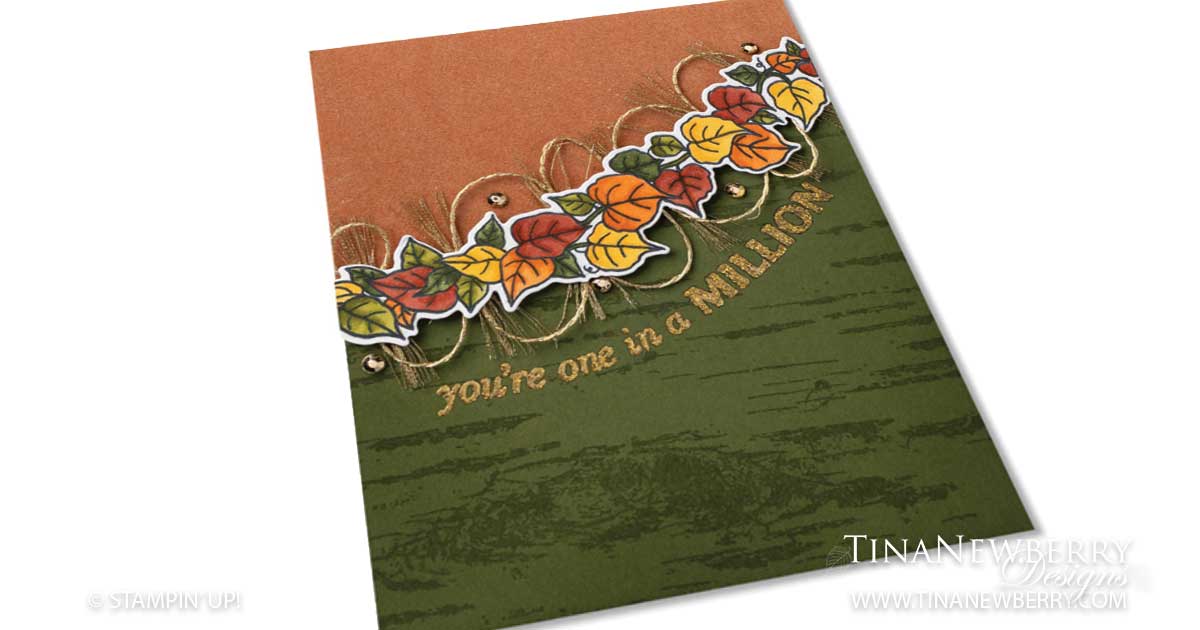
A masculine card for the men in your life. Dare I say it’s pretty? Maybe handsome is the word. Either way, you can create wonderful cards with this rich color palette, that’s not just for fall. I love the Birch stamp background on the Mossy Meadow layer and the luscious Velveteen paper. Makes this one more manly, doesn’t it? And only 3 layers!

Full list of supplies needed, listed below. A die cutting machine is needed for this card.
Card Base: Mossy Meadow Cardstock 8 1/2 h” x 5 1/2″ w folded to 5 1/2″ h x 4 1/4″ w.
Background: Snail Mail DSP 5″ h x 3 3/4″ w
Velveteen Layer: Color Velveteen Paper Pack 3″ h x 4 /14″ w trimmed with the Quite Curvy Dies
Inside Layer: Whisper White Cardstock 5 1/4″ h x 4″ w

  1. Affix all stamps to Acrylic Blocks.
  2. Fold the Card Base in half using a Bone Folder to sharpen the crease.
  3. Stamp the Birch Background onto the Card Base with Mossy Meadow ink.
  4. Stamp the Sentiment on the Card Base with Versamark and heat emboss with Gold Ink.
  5. Die cut the Velveteen Layer with the Quite Curvy Dies and attach to the Card Base with Stampin’ Seal.
  6. Stamp the Leaves with Memento ink and color with the Stampin Blends. Then diet cut.
  7. Coil the gold thread and attach to the back of the Leaves with Mini Glue Dots.
  8. Attach the Leaves with Stampin’ Dimensionals.
  9. Add a sprinkling of Gilded Gems.
  10. Decorate the Inside Layer and attach.
  11. Decorate the envelope.
  12. Yes! One for the boys! Now send it to someone special.

Shopping List

Recommended Stamper’s Toolkit

Product List
Order online from the convenience of your own home or send me your order and I’ll take care of you. ❤ Either way, please use the host code ANTD9UHS. Order online AND, if your order is $50 or more using host code ANTD9UHS between now and the end of the month you’ll receive a free pack of embellishment as a THANK YOU gift from me. ❤ If your order is over $150, skip the host code, earn Stampin’ Rewards for free stuff yourself and I’ll still send you a free pack of embellishment as a THANK YOU gift from me. ❤

Design by Stampin’ Up!