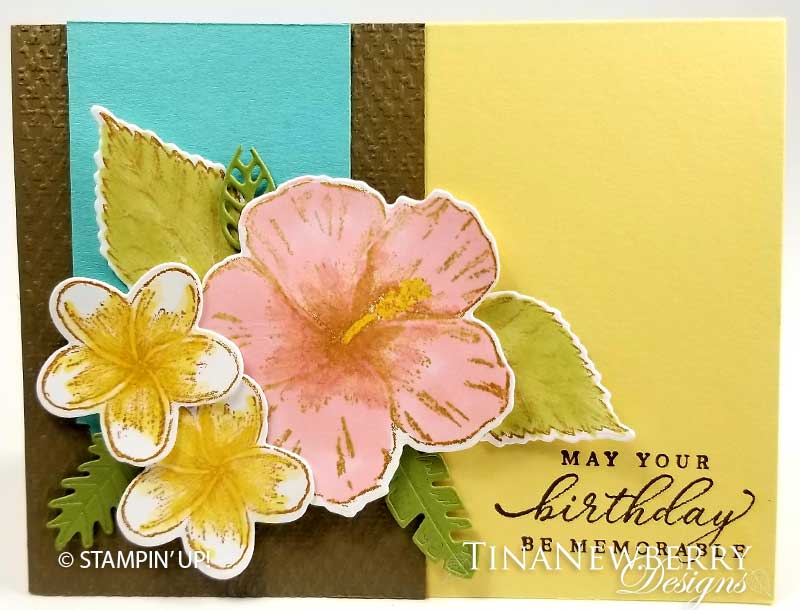
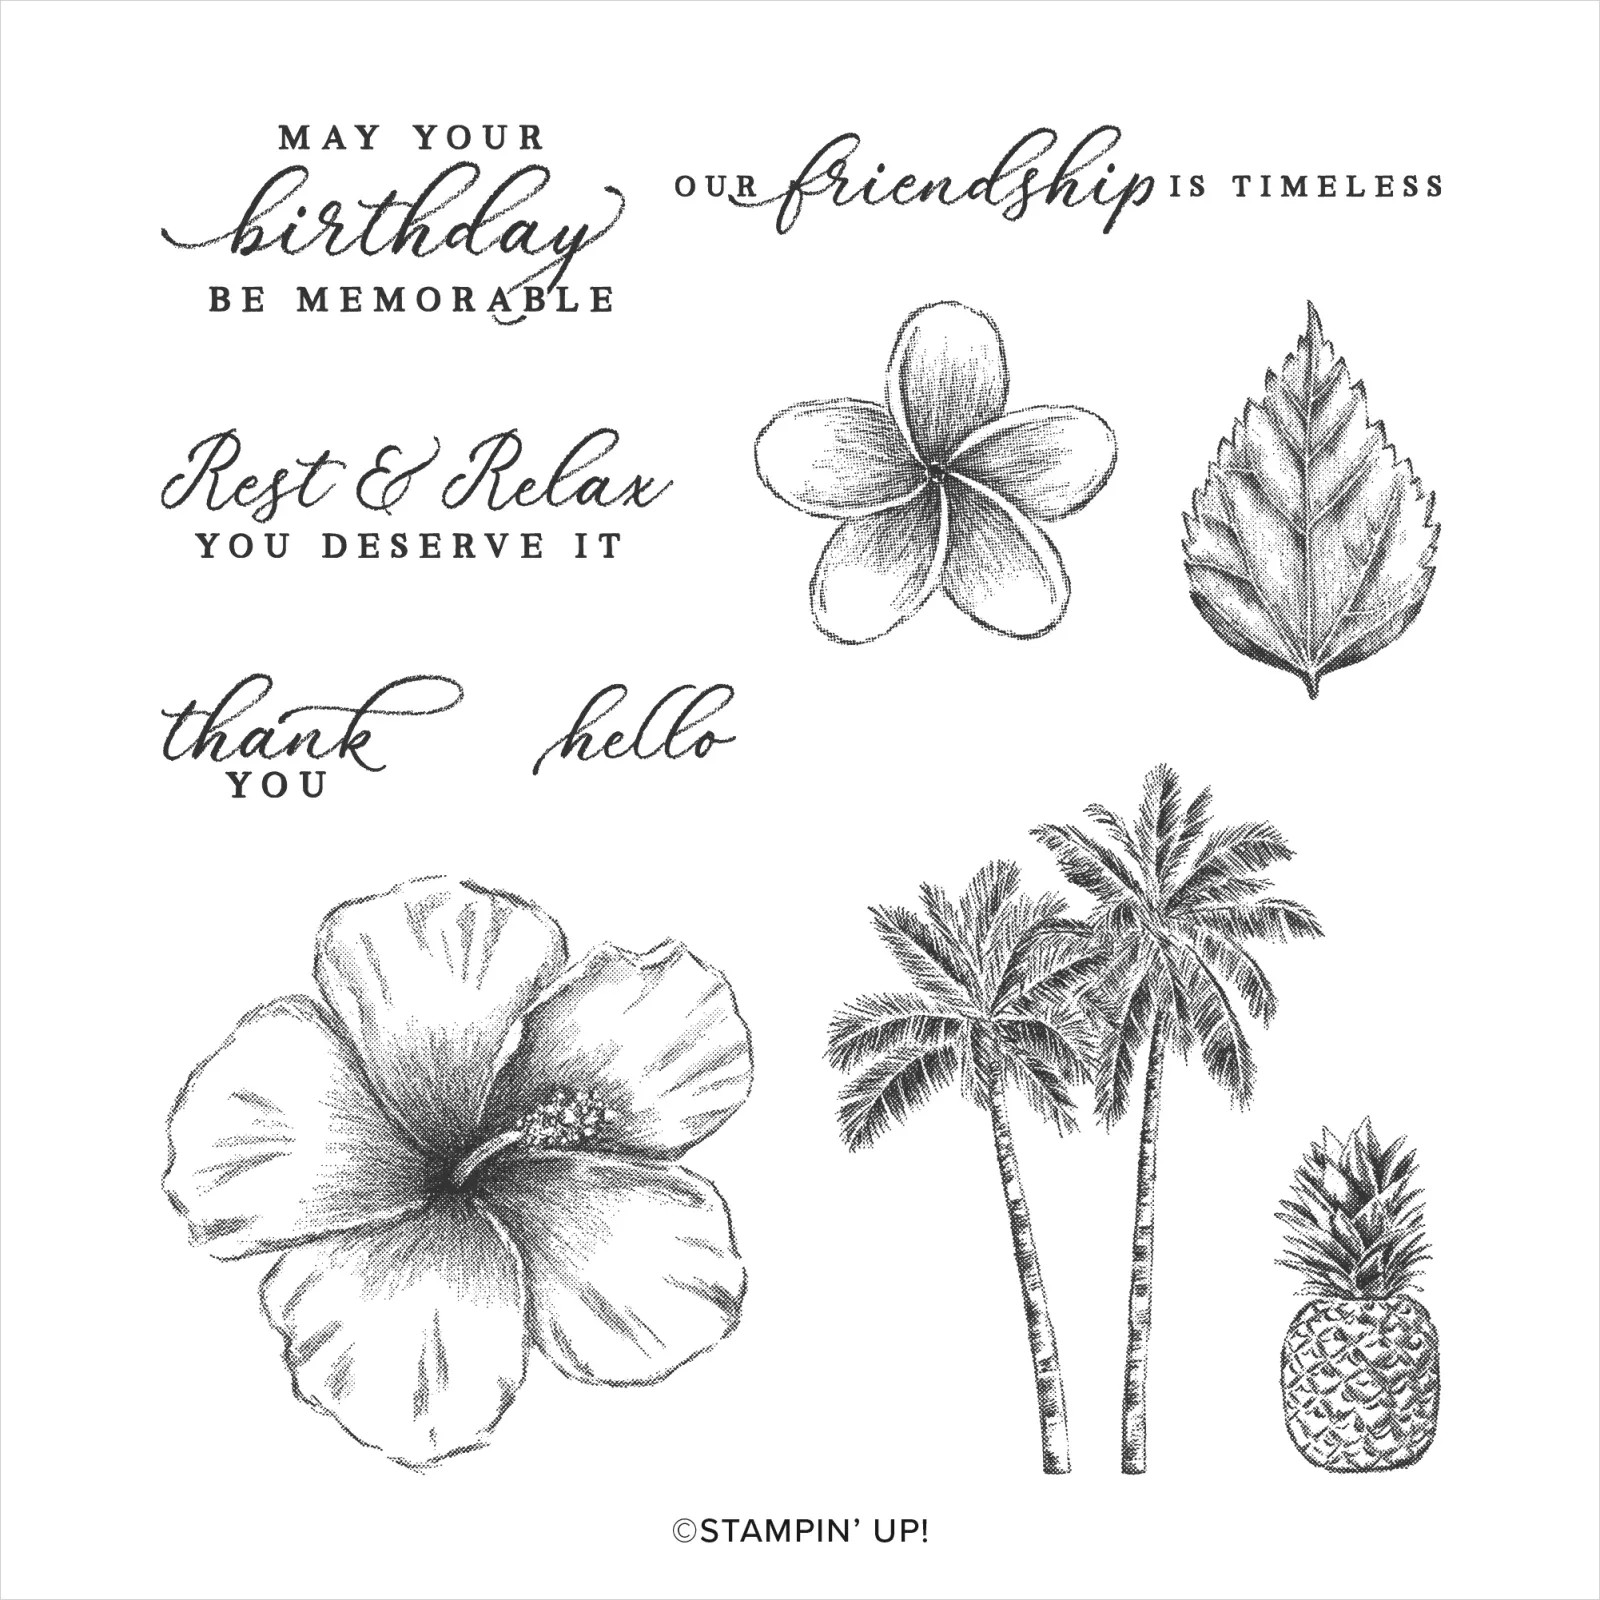
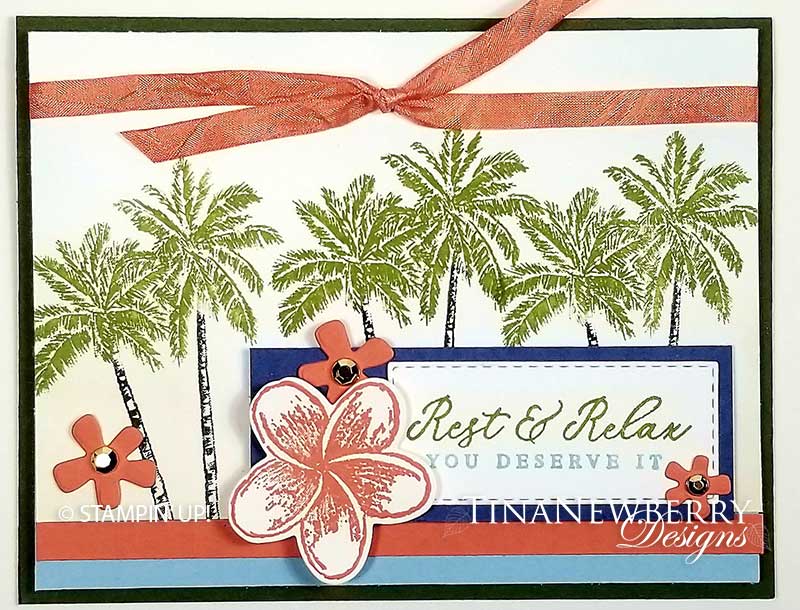
What a beautiful hibiscus! Can’t you just smell the plumeria? Spread joy and cheer with this #simplestamping card – yes this is just stamps, ink and paper! – in a soothing tropical color palette and thoughtful birthday wishes.
Measurements
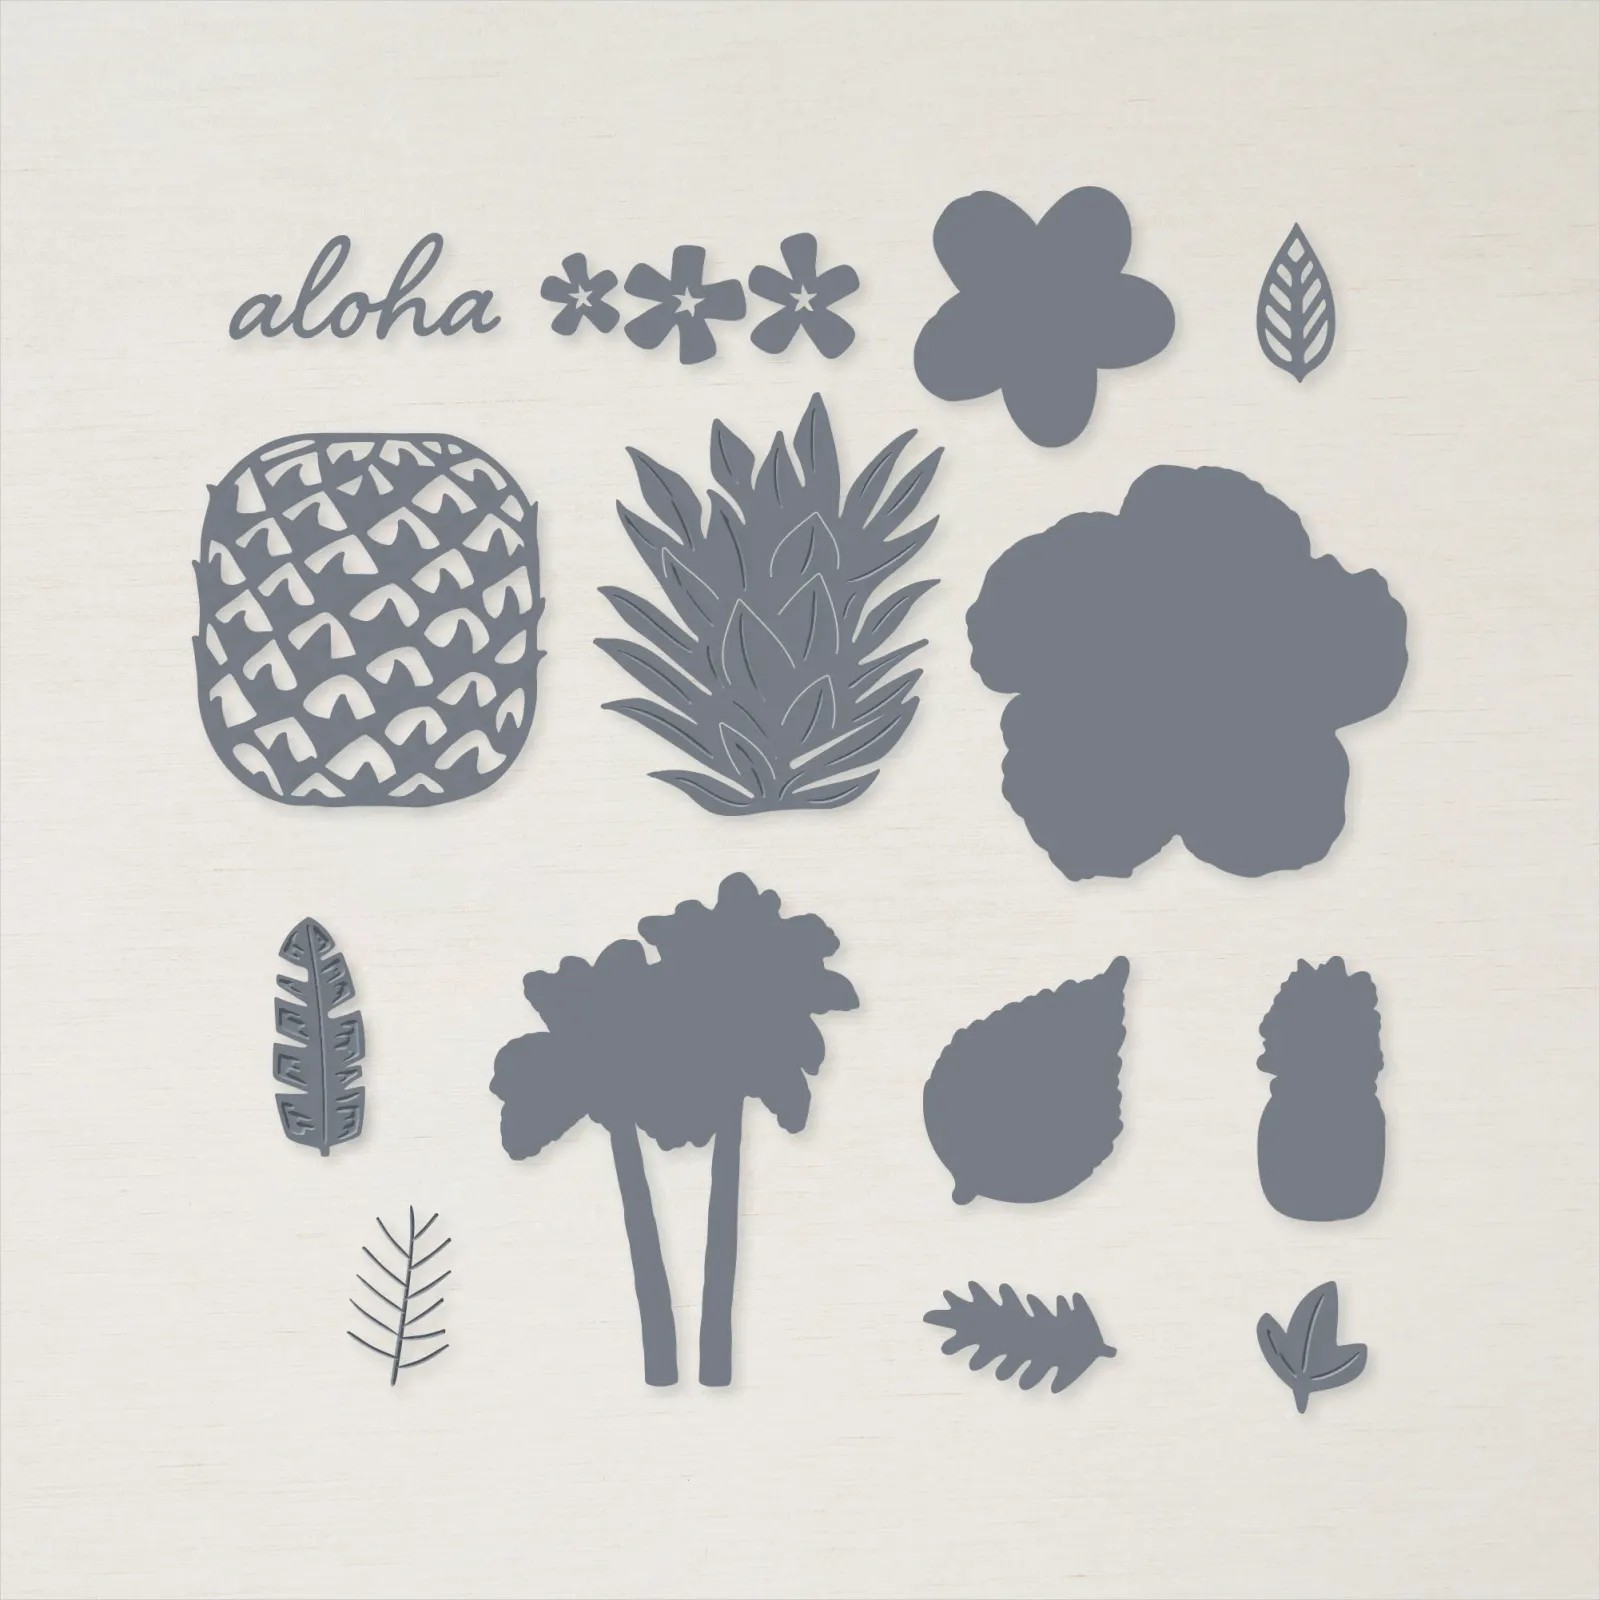
Full list of supplies needed, listed below. A die cutting machine is needed for this card.
Card Base: So Saffron Cardstock 8 1/2″ h x 5 1/2″ w folded to 4 1/4″ h x 5 1/2″ w
Background: Soft Suede Cardstock 4 1/4″ h x 3″ w run through the Tasteful Textile Embossing Folder
Tag Background: Coastal Cabana Cardstock 3 3/4″ h x 2″ w trimmed with the Label Me Lovely punch
Leaves: Old Olive Cardstock scraps
Flowers & Leaves: Basic White Thick Cardstock Scrap
Inside Layer (Optional): Basic White Cardstock 4″ h x 5 1/4″ w
Let’s Create
- Affix all stamps to Acrylic Blocks.
- Fold the Card Base in half using a Bone Folder to sharpen the crease.
- Stamp the Sentiment in the lower right-hand corner of the Card Base with Early Espresso Ink.
- Run the Soft Suede Cardstock Background through Stampin’ Cut & Emboss Machine with the Tasteful Textile Embossing Folder and then attach to Card Base with Stampin’ Seal+ or Tear & Tape.
- Feed the Coastal Cabana Tag Background through the Use the Label Me Lovely Punch to trim the one end only then attach to Soft Suede Cardstock Background with Stampin’ Seal.
- Die cut several leaves from Old Olive Cardstock scrap and set aside.
- Stamp the large flower, two small flowers and two leaves in Cinnamon Cider Ink (for more muted lines) or Memento Tuxedo Black Ink or Stazon Saddle Brown Ink (for more crisp lines) on Basic White Thick Cardstock scarp and then use Stampin’ Blend alcohol markers to color in the images. Die cut.
- Arrange the Flowers, stamped leaves and die cut leaves on the Coastal Cabana layer and adhere with Mini Glue Dots.
- Stamp the Inside Layer to your liking and attach with adhesive of your choice.
- Decorate your envelope.
- Stunning!!!! Now go put it in the mail and brighten someone’s day!
Shopping List
")


Stamper’s Toolkit
You will also need adhesive, acrylic blocks, scissors and other basic PaperCrafting items from the Stamper’s Toolkit


")


 Crinkled Seam Binding Ribbon")