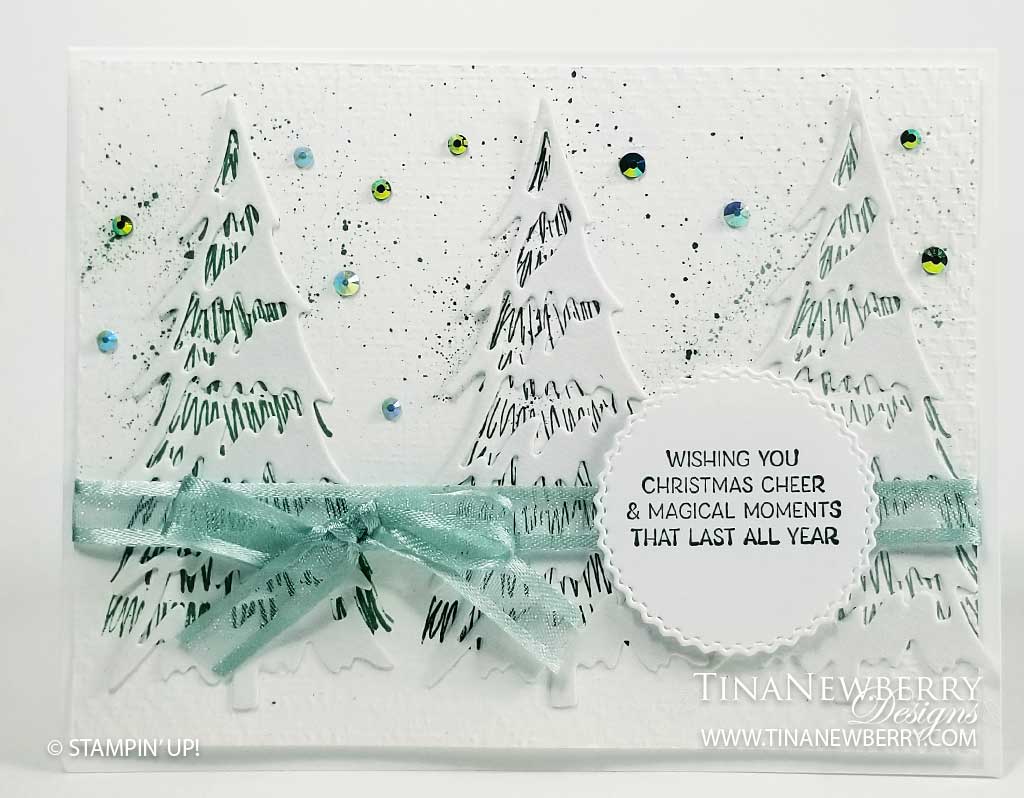
I REALLY do not like the cold of winter, but growing up in New Hampshire one of my favorite moments was the morning after a snow storm. The trees were all covered with a layer of snow and the sounds of the world were all muffled. We were often dragged on what we grew to call ‘forced marches’ with our father and the day after a snowfall was a great time for a forced march by cross country skiis. I remember skiing into a stand of pine trees all draped in snow, so beautiful and peaceful. The day after a storm, usually the wind is calm and the sun comes out making the trees glisten, especially in the early morning glow. These scenes from my childhood were inspiration for this card. I like winter by papercrafting!
Measurements
Full list of supplies needed, listed below. A die cutting machine is needed for this card.
Card Base: Basic White Thick Cardstock 8 1/2″ h x 5 1/2″ w folded to 4 1/4″ h x 5 1/2″ w
Background: Basic White Cardstock 4″ h x 5 1/4″ w
Sentiment Layer: Basic White Cardstock scrap
Snow on Trees: Snowy White Velvet Sheets scrap
Inside Layer (optional): Basic White Cardstock 4″ h x 5 1/4″ w
Let’s Create
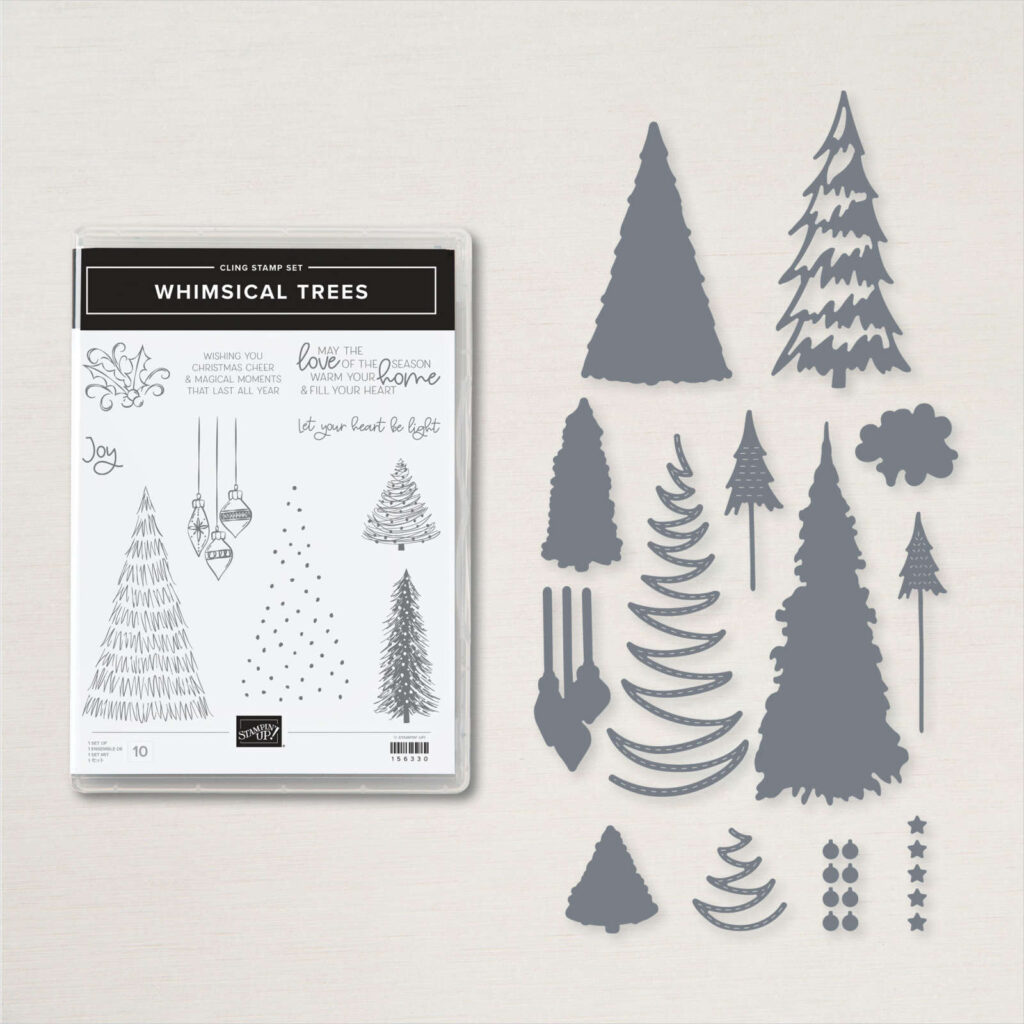
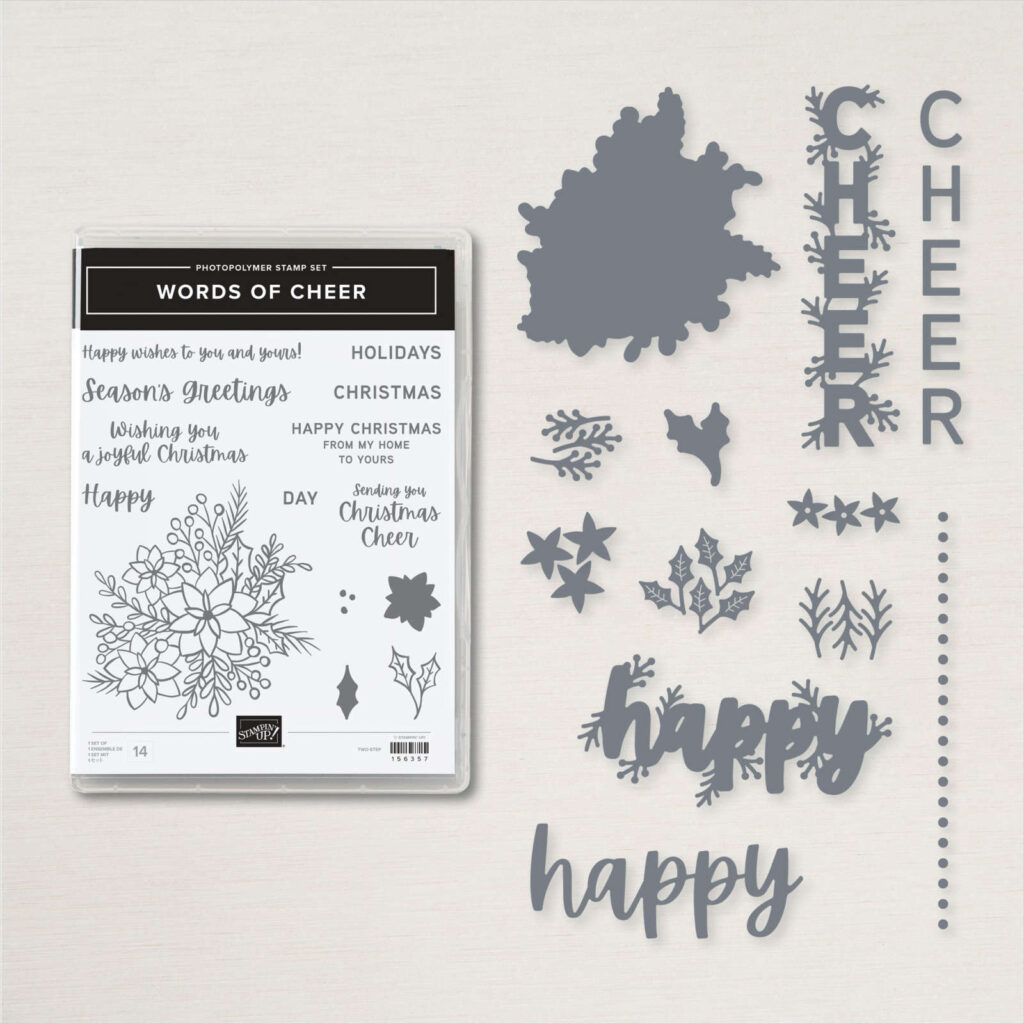
- Affix all stamps to Acrylic Blocks.
- Stamp three trees on the Basic White Background layer – 1 each in Shaded Spruce, Evening Evergreen and Soft Succulent.
- Run the stamped Basic White Background layer through the Die Cut & Embosss Machine with the Tasteful Textiles Embossing Folder.
- Using Stampin’ Write Markers in Shaded Spruce, Evening Evergreen and Soft Succulent, flick color onto the Basic White Background layer.
- Attach Adhesive Sheets to the back of Snowy White Velvet Sheet scraps and die cut three Snow Dies. Peel the adhesive backing from the Snow Dies and attach to the three trees on the Basic White Background.
- Wrap Soft Succulent Open Weave Ribbon around the Basic White Background Layer and tie a bow.
- Sprinkle with 2021-2023 In-Color Gems
- Attach the Basic White Background Layer with Stampin’ Dimensionals.
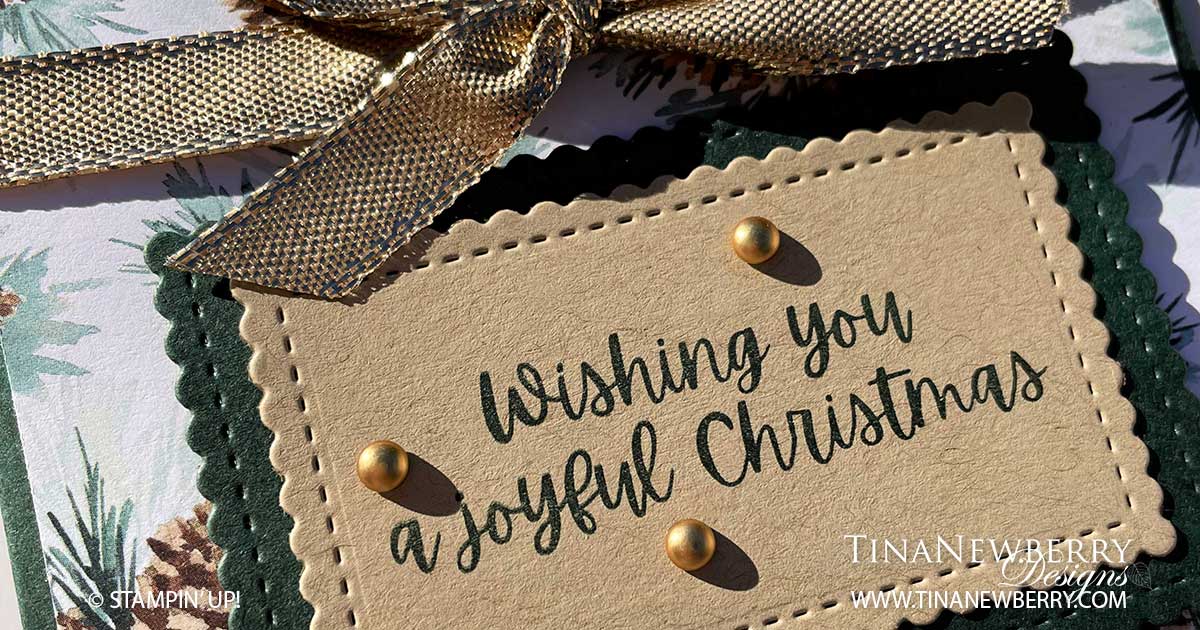
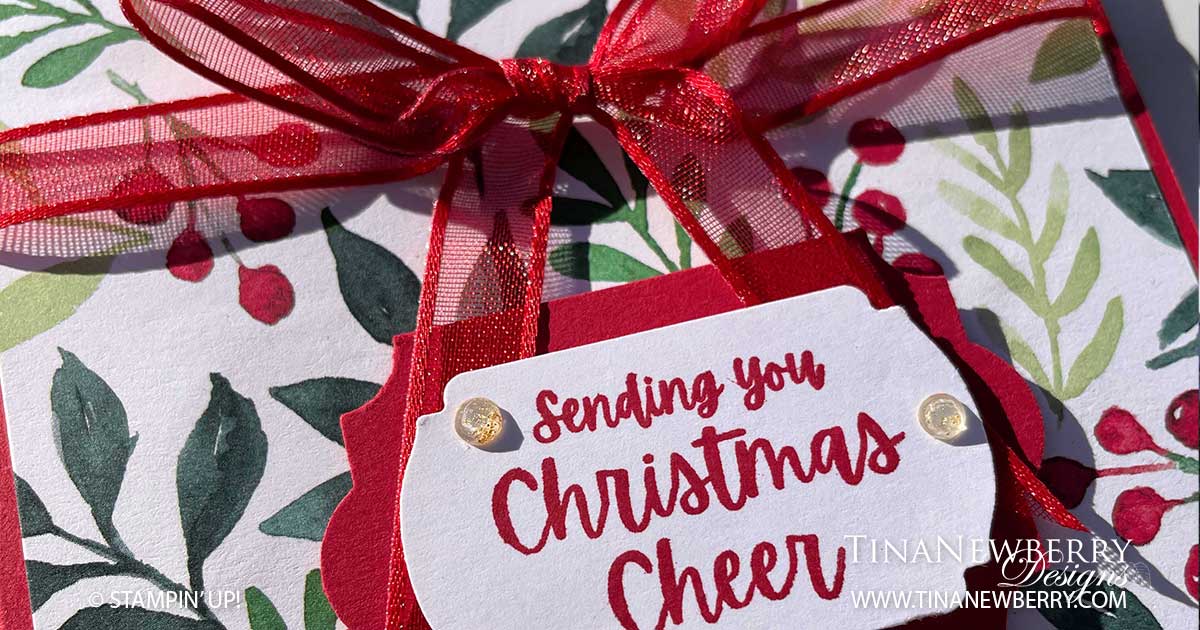
- Stamp the Sentiment in Evening Evergreen ink on Basic White Cardstock scrap.
- Die cut the Sentiment with the Tasteful Labels Die and attach with Stampin’ Dimensionals.
- Stamp Inside Layer and attach.
- Decorate your Envelope.
- So peaceful! Who will you send it to?
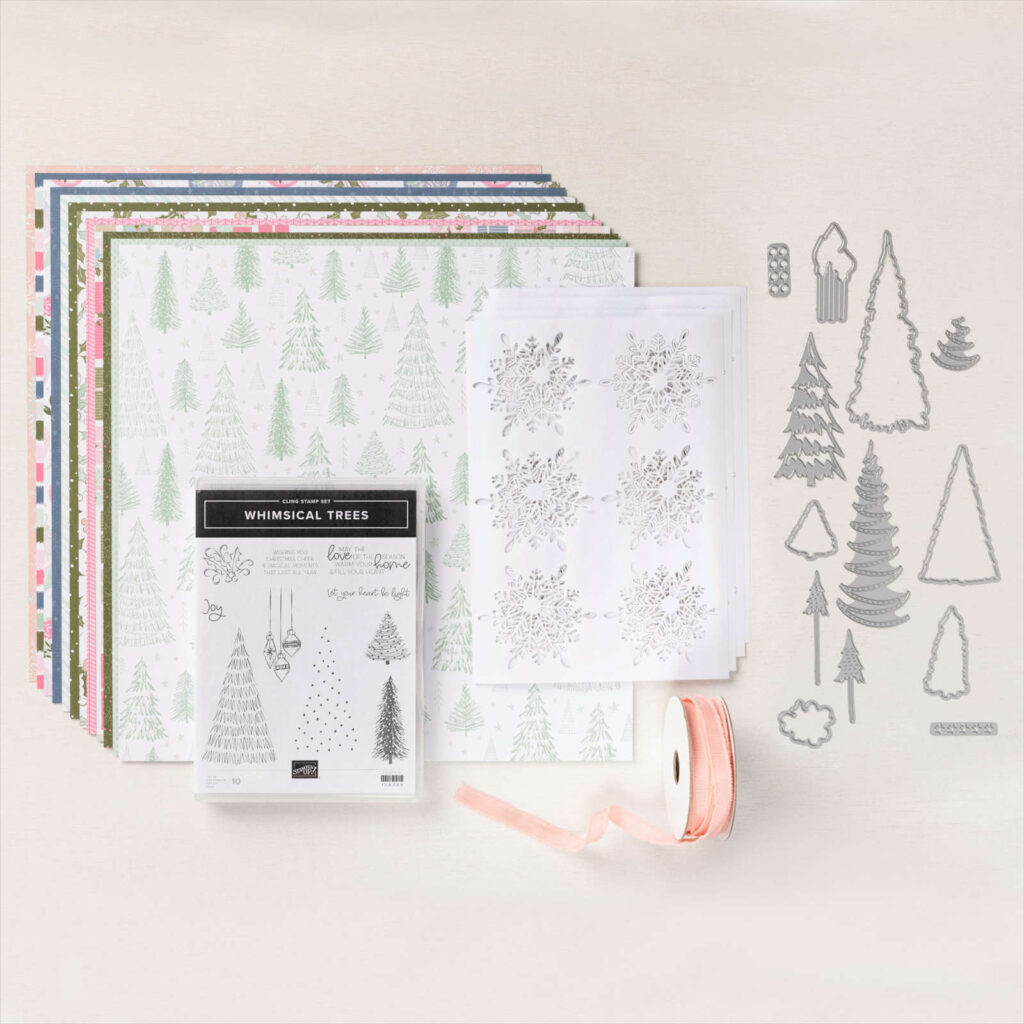
Shopping List
")


 Velvet Sheets")
 Open Weave Ribbon")


Stamper’s Toolkit
You will also need adhesive, acrylic blocks, scissors and other basic PaperCrafting items from the Stamper’s Toolkit


")


 Designer Series Paper")

 Shimmer Ribbon")


 Sheer Ribbon")