Cheers!

Paper Gingerbread Cookies!! Oh what fun! Kraft paper makes it easy. A fun piece of Designer Series Paper brings it all together on this quick and easy card.

Measurements

Full list of supplies needed, listed below. A die cutting machine is needed for this card.

Real Red Cardstock: 4 ¼” h x 11”  w scored and folded on the long side at 5 ½”

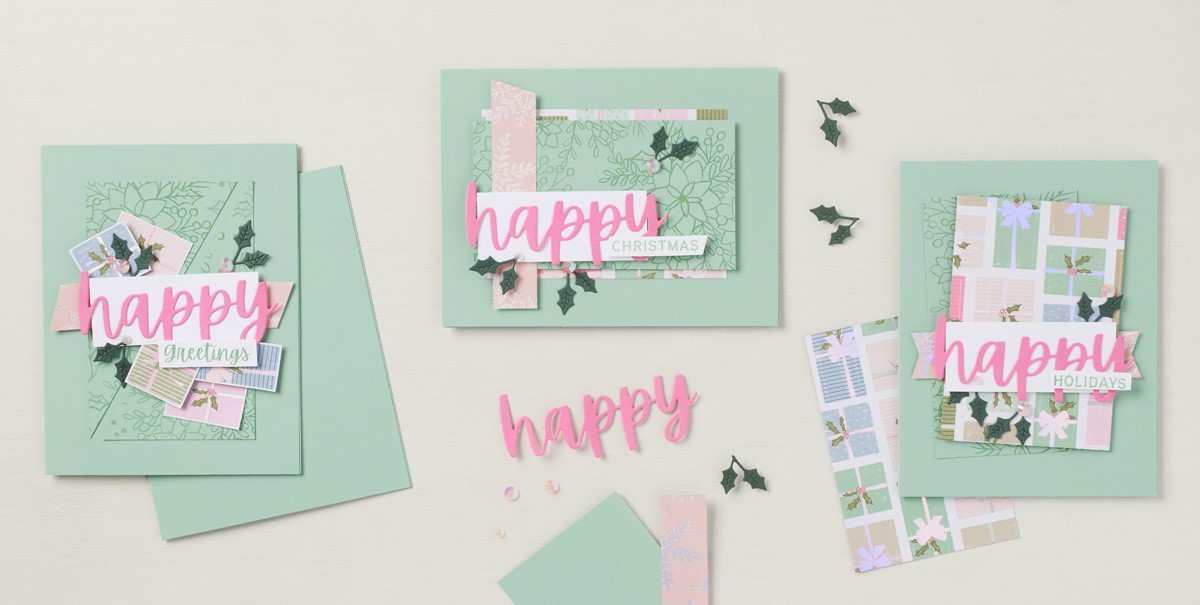
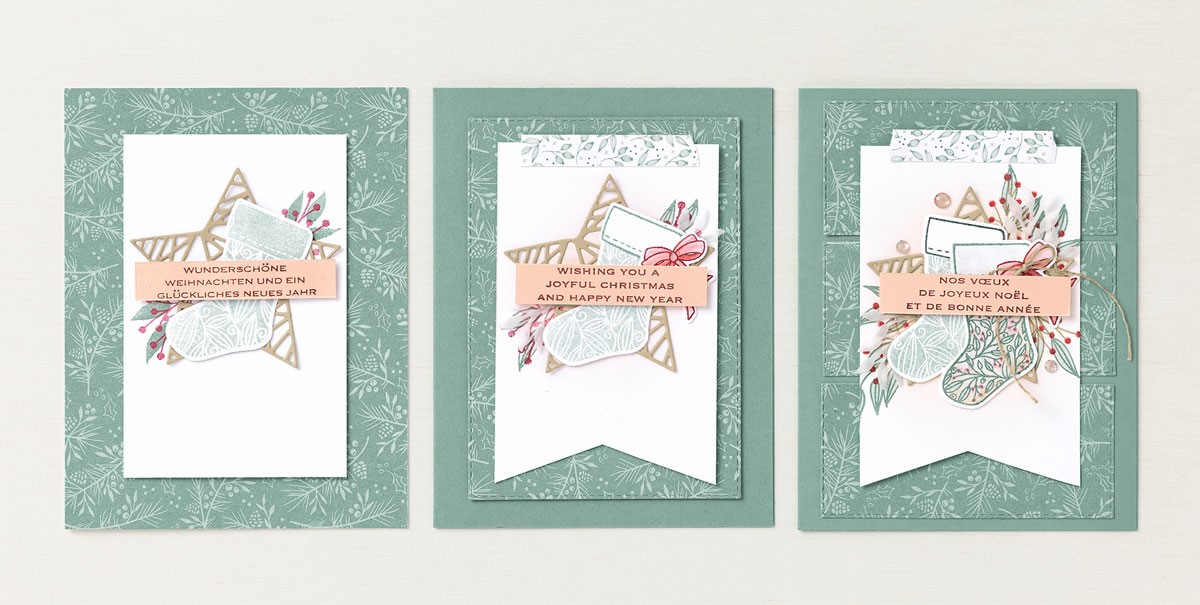
Heartwarming Hugs DSP: 3 ½” h x 5 ½” w

Basic White Cardstock:

  • ¼” h x 5 ½” w (2)
  • 1 ½” h x 2 ½” w scrap
  • 3” x 3” scrap
  • 2” x 2” scrap (2)

Kraft Paper: 

  • 3” x 3” scrap
  • 2” x 2” scrap (2)

Let’s Create

  • Affix all stamps to Acrylic Blocks.
  • Use a Bone Folder to sharpen the crease on the Card Base.
  • Use Stampin’ Seal to attach the Heartwarming Hugs DSP layer and the two ¼” x 5 ½” strips.
  • Attach Adhesive Sheets to the back of the Basic White 3” x 3” scrap and two 2” x 2” scraps.
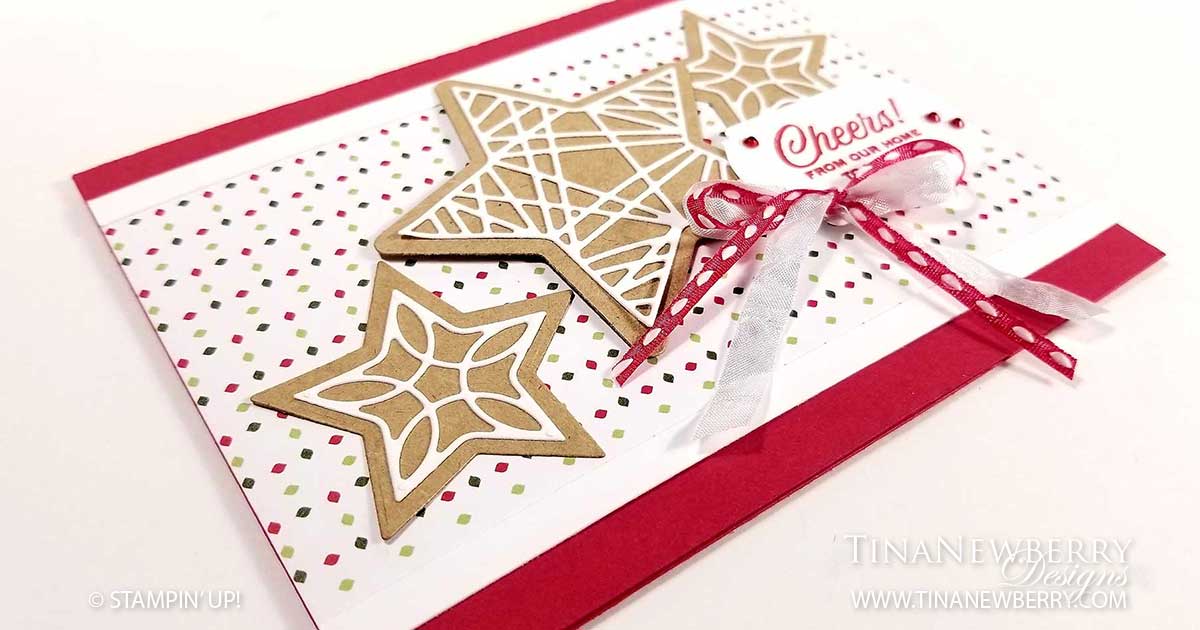
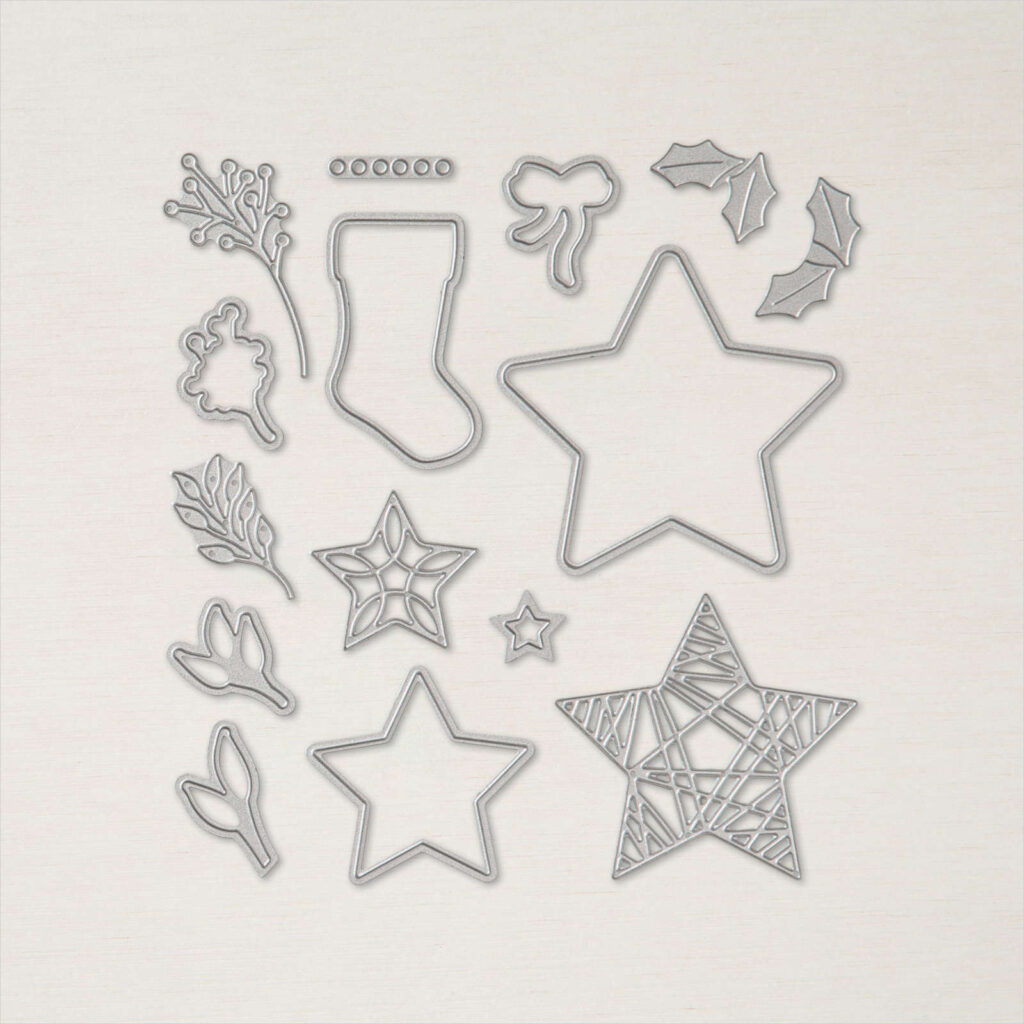
  • Die cut:
  • One large and two small stars from Kraft Paper
  • One large and two small detailed stars from Basic White Cardstock scraps with Adhesive Sheets on the back.
  • Remove the adhesive backing and attach the Basic White detailed stars to the Kraft stars.
  • Use Stampin’ Seal to attach the two small stars and Stampin’ Dimensionals to attach the one large star.
  • Stamp the Sentiment in Real Red ink on 1 ½” h x 2 ½” w Basic White scrap then punch with the Label Me Fancy punch.
  • Use Stampin DImensionals to attach the Sentiment.
  • Cut 9” of the red Pampered Pets Trim and the Crinkle Seam Binding. Holding both pieces together, tie a bow.
  • Attach the bow with a Mini Flue Dot
  • Sprinkle on some Red Rhinestones
  • Stamp Inside Layer and attach.
  • Decorate your Envelope.
  • Love it! Who will you send it to?!

Shopping List

Stamper’s Toolkit

You will also need adhesive, acrylic blocks, scissors and other basic PaperCrafting items from the Stamper’s Toolkit

Stepping It Up: Tidings & Trimmings

‘Tis the season to start thinking about creating festive, handcrafted cards for Christmas! So if you’d like to start “wrapping up” your plans for a Yule-themed class or event, we’ve got you covered with a series of step-ups using the new Tidings & Trimmings Bundle.

CASUAL

To make the “Wunderschöne Weihnachten” card, stamp the berries in Cherry Cobbler Ink and the leaves in Soft Succulent Ink. Die cut the star and adhere it using Mini Glue Dots, placing the berries and the leaves on top. Layer with the stocking, stamped in Soft Succulent Ink on Basic White Cardstock (stamp off once!), and use Stampin’ Dimensionals to place the Cherry Cobbler sentiment with Petal Pink Cardstock on the top. This will create the gorgeous, layered look in an easy way!

AVID

We stepped up our “Wishing You a Joyful Christmas” card by using Blending Brushes and a little ink to create a soft, glowing background of the die-cut star. We also added banner tips to the Basic White Cardstock piece, amplifying the sophistication. And don’t you love the faux washi tape? Simply cut a strip of Designer Series Paper and rip the ends to get the look. Finally, add subtle color to the bow using Blender Pens.

ARTFULLY AVID

Our “Nos vœux de joyeux Noël” is filled with lavish detail, including a die-cut Vellum Cardstock embellishment, a Linen Thread bow, an extra stocking colored with Blender Pens, and a smattering of Elegant Faceted Gems. So pretty!

Let Your Heart Be Light

Pink for Christmas! Such a refreshing take on the season and so pretty in the The Whimsy & Wonder Suite. For this card, I embossed in silver right on the Pink Snowflake Designer Series Paper and then I used White Craft Ink and a Water Painter to ‘flick’ some snow flurries on the background. Some Snowy White Velvet Garland, Basic Rhinestones and a bit of Silver Trim complete this fun card.

Measurements

Full list of supplies needed, listed below. A die cutting machine is needed for this card.
Card Base: Blushing Bride Cardstock 8 1/2″ h x 5 1/2″ w scored and folded to 4 1/4″ h x 5 1/2″ w
Background: Whimsy & Wonder Designer Specialty Series Paper 4″ h x 5 1/4″ w
Sentiment Layer: Basic White Cardstock scrap
Garland: Snowy White Velvet Sheets scrap
Inside Layer (optional): Basic White Cardstock 4″ h x 5 1/4″ w

Let’s Create

  1. Affix all stamps to Acrylic Blocks.
  2. Stamp three trees – one large dots and two small- on the Background with Versamark Ink, sprinkle with Silver Embossing Powder and Heat Emboss.
  3. Attach Adhesive Sheets to the back of the Snowy White Velvet Sheet scrap and die cut the Garland Die.
  4. Remove the backing on the Garland and attach to the largest tree.
  5. Stamp the Sentiment in Polished Pink ink on Basic White Cardstock scrap.
  6. Die cut the Sentiment with the Stitched Rectangle Die
  7. Use a Mini Glue dot to attach the Silver Trim to the back of the Sentiment and then attach Sentiment with Stampin’ Dimensionals.
  8. Sprinkle on Basic Rhinestones.
  9. Stamp Inside Layer and attach.
  10. Decorate your Envelope.
  11. Pretty!!Put it in the mail!

Shopping List

Stamper’s Toolkit

You will also need adhesive, acrylic blocks, scissors and other basic PaperCrafting items from the Stamper’s Toolkit

Parts & Pieces: Words of Cheer

‘Tis the season to be jolly—and to start creating hand-stamped Christmas cards to make the season bright! If you’re thrifty, you may want to use parts and pieces that you already have. Dig into your treasure trove of scraps to see what gems you can find to make unique Christmas greetings—or CASE our samples using the products featured in these 4-1/4″ x 5-1/2″ cards:

We used the same elements for every card but made each one unique by moving things around—cutting an angle or banner tip here or sprinkling on a few gems there. But get creative—switch up the colors, add some embellishments or some ribbon! There are no hard and fast rules when it comes to creativity.

Most of all, have fun assembling your beautiful yuletide cards this year—made with love for friends and family. Be sure to post your holly jolly creations in the the Customer PaperCrafty Time Group too, so we can admire them!