BONUS PROJECTS: Turtle Friends Bundle

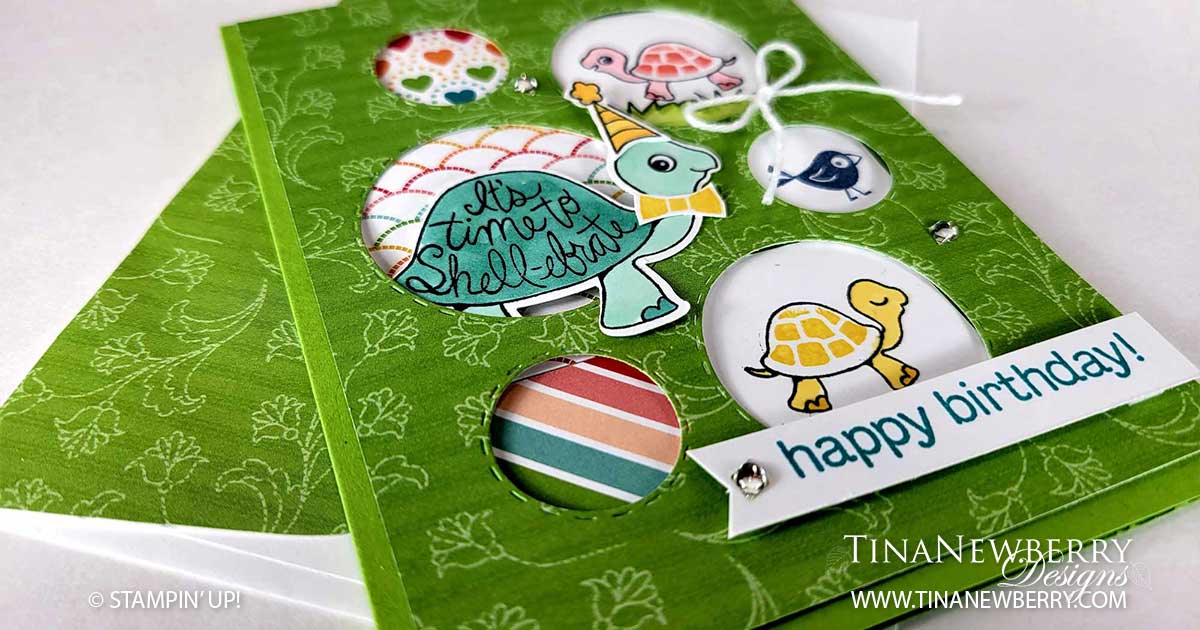
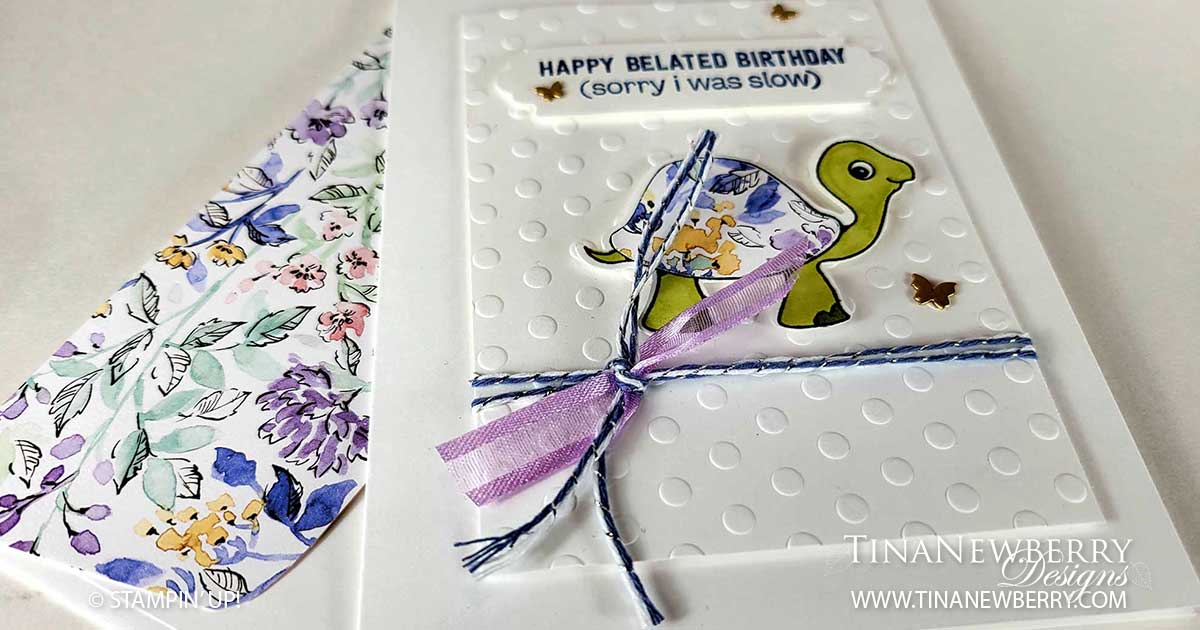
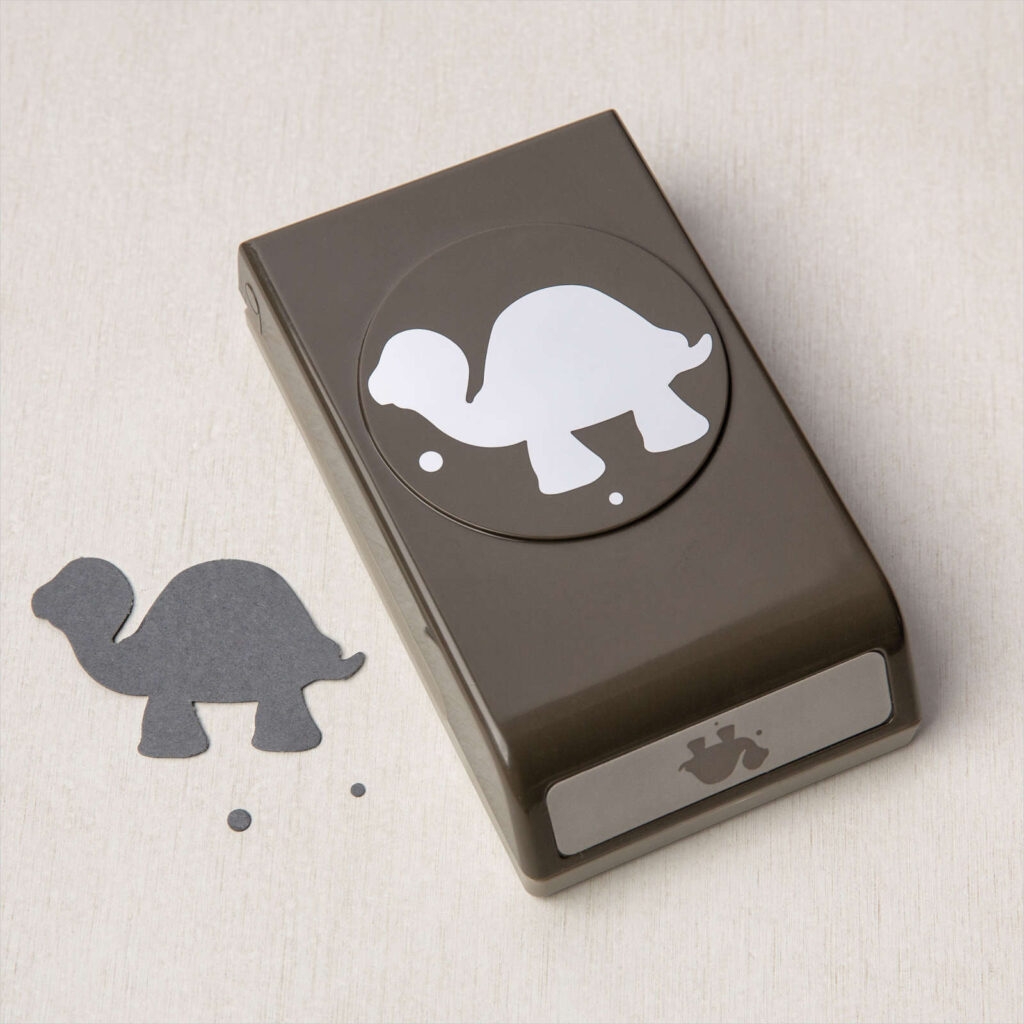
Send happy shell-ebrations to all your friends with the Turtle Friends Bundle! With two-step turtle stamps, party images, and punny sentiments, this stamp set will soon be your go to for turtle-y fun cards! And whether you craft with them or for them, the Turtle Friends Bundle is perfect for kids! Create super cute, layered turtle images for birthday cards or invitations!
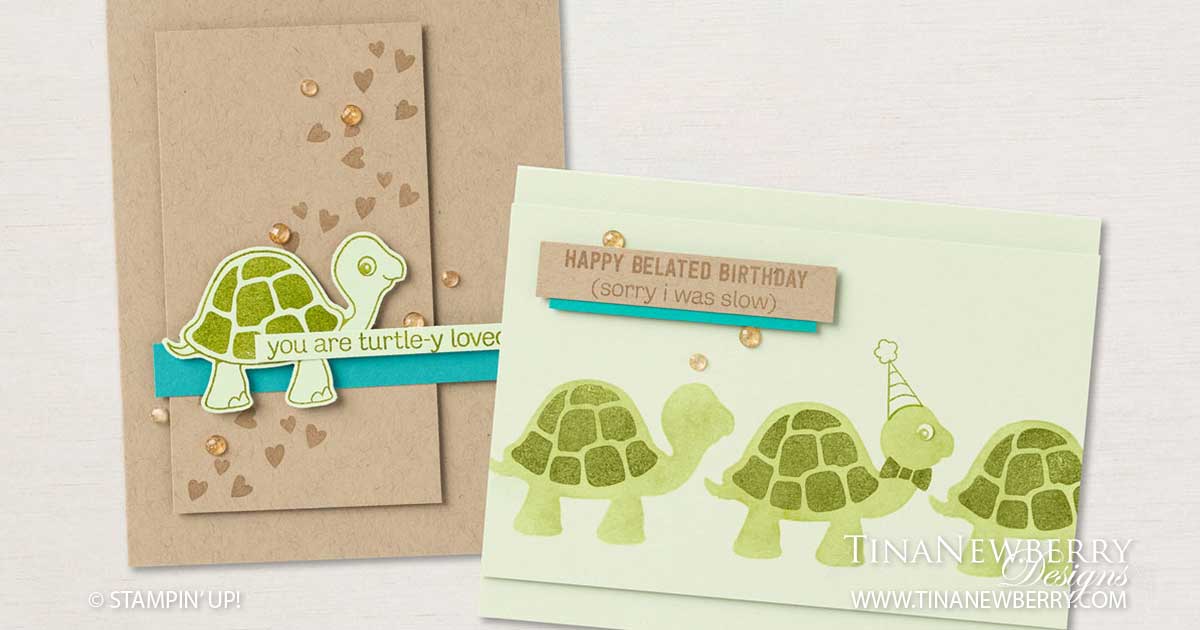
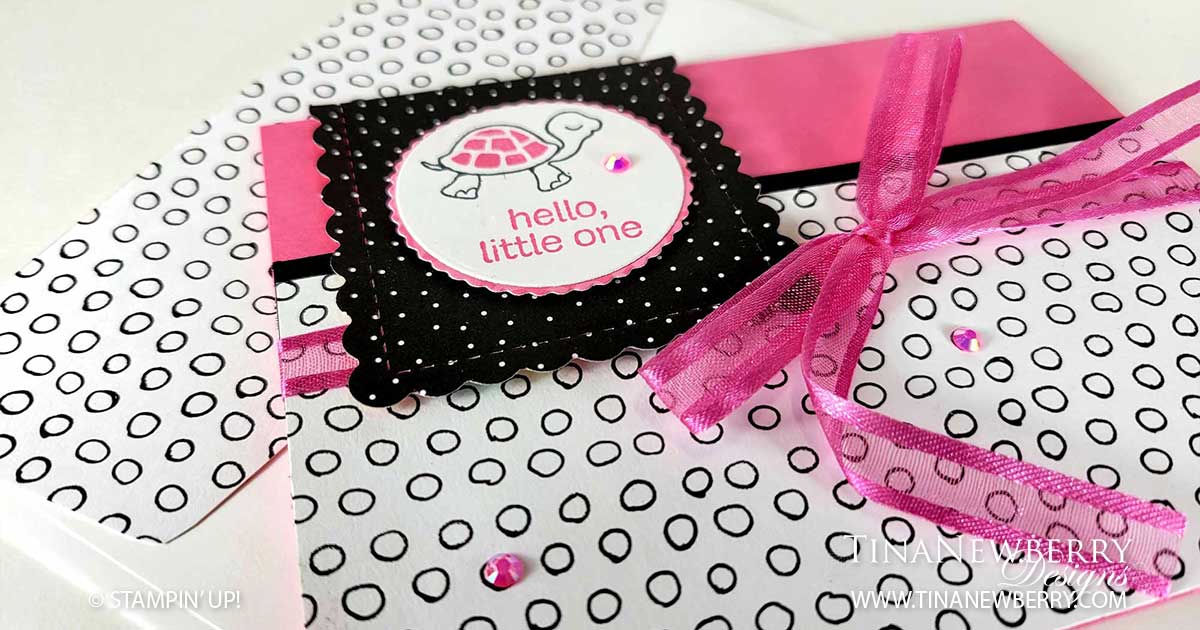
TURTLE-Y LOVED CARD
4-1/4″ x 5-1/2″ (10.5 x 14.9 cm)

  1. Fold the Crumb Cake Cardstock (5-1/2″ x 8-1/2″; 14.9 x 21 cm) in half to
    create the card base.
  2. Stamp turtle image on Soft Sea Foam Cardstock (2″ x 4″; 5 x 10.16 cm),
    punch it out and adhere the turtle on top of the Bermuda Bay (4” x 1/2”;
    10.16 x 1.27 cm) piece with Stampin’ Dimensionals.
  3. Using Crumb Cake ink, stamp heart image repeatedly on Crumb Cake
    Cardstock (2-1/2″ x 4-1/2″; 6.35 x 11.43 cm) and adhere to left side of card
    base with Stampin’ Dimensionals.
  4. Cut the corner off the Bermuda Bay Cardstock at an angle and adhere to
    heart cardstock.
  5. Stamp sentiment on Soft Sea Foam (1/4″ x 2-1/2″; 0.64 x 6.35 cm) in
    Granny Apple Green ink and adhere onto turtle and Bermuda Bay piece.
  6. Embellish with Genial Gems.

PRODUCTS USED

HAPPY BELATED BIRTHDAY CARD
5-1/2″ x 4-1/4″ (14.9 x 10.5 cm)

Fold the Soft Seafoam Cardstock (5-1/2″ x 8-1/2″; 14.9 x 21 cm) in half to create
the card base.

  1. Punch turtle out of the Soft Sea Foam Cardstock (3-1/2″ x 5-1/2″: 8.89 x 13.97
    cm) to use as a stencil.
  2. Starting in the center, stencil three turtles on the other Soft Sea Foam
    Cardstock (3-1/2″ x 5-1/2″: 8.89 x 13.97 cm) with Granny Apple Green ink and a
    Blending Brush.
  3. Stamp the turtle shell image onto the stenciled turtles with Granny Apple
    Green ink. Dress up the middle turtle with the party hat and bow tie accessory
    stamps with Granny Apple Green ink.
  4. Adhere the stamped turtle cardstock to the center of the Soft Seafoam
    Cardstock card base with Stampin’ Dimensionals.
  5. Stamp only the face of the turtle stamp to the corner of the leftover Soft Sea
    Foam Cardstock (3-1/2″ x 5-1/2″: 8.89 x 13.97 cm) and punch out the eye with the
    Turtle Punch.
  6. Adhere the punched-out eye to the middle turtle with Multipurpose Liquid Glue.
  7. Stamp the Happy Belated Birthday sentiment to the Crumb Cake Cardstock
    (1/2″ x 2-3/4″: 1.27 x 7 cm) with Crumb Cake ink and adhere to the Bermuda Bay
    Cardstock (1/2″ x 2-1/2″: 1.27 x 6.35 cm) as shown.
  8. Adhere sentiment piece with Stampin’ Dimensionals to the top-left corner of
    the card and embellish with Genial Gems.
PRODUCTS USED

Recommended Stamper’s Toolkit

Product List
Order online from the convenience of your own home or send me your order and I’ll take care of you. ❤ Either way, please use the host code ANTD9UHS. Order online AND, if your order is $50 or more using host code ANTD9UHS between now and the end of the month you’ll receive a free pack of embellishment as a THANK YOU gift from me. ❤ If your order is over $150, skip the host code, earn Stampin’ Rewards for free stuff yourself and I’ll still send you a free pack of embellishment as a THANK YOU gift from me. ❤

Happy Belated Birthday

Of course I HAD to make a white on white card with a little Designer Series Paper and trim for POPs of color. These little turtles are SO CUTE! Love! Love! Love!

Measurements

Full list of supplies needed, listed below. A die cutting machine is needed for this card.

Basic White Thick Cardstock:

  • 5 1/2” h x 8 1/2″ w folded to 4 1/4” w for Card Base
  • 3” square scrap for Turtle Punch

Basic White Cardstock:

  • 3/4″ h x 3 1/4″ w for Sentiment
  • 4 1/2″ h x 3 1/4″ w for embossed layer

Hand-Penned Designer Series Paper:

  • 3” square scrap for Turtle Shell

Let’s Create

  1. Affix all stamps to Acrylic Blocks.
  2. Fold the Card Base in half using a Bone Folder to sharpen the crease.
  3. Run the 4 1/2″ h x 3 1/4″ w basic White through the Die Cut & Emboss machine with the Dots embossing folder from the Checks & Dots Embossing Folders pack. 
  4. Wrap two strands of the Misty Moonlight Baker’s Twine from the Flowers For Every Season Trim Combo pack around the Embossed Layer, add a small piece of Fresh Freesia Open Weave Ribbon and tie a knot.  
  5. On 3” square Basic White Thick scrap stamp the Large Turtle with Tuxedo Black Memento Ink. Color head, neck, feet and tail with Old Olive Stampin’ Blends using light on body and dark on toes and use Light Balmy Blue Stampin’ Blend for the eye,  then punch out with the Turtle Punch. 
  6. On 3” square Hand-Penned DSP scrap stamp the Large Turtle with Tuxedo Black Memento Ink. Use Paper Snips to fussy cut the Shell, cutting just inside the line. Attach to Turtle with Multipurpose Liquid Glue so you can wiggle it into position.
  7. Attach to the Embossed Layer with Stampin’ Dimensionals.
  8. Attach Embossed Layer to Card Base with Stampin Dimensionals. 
  9. Stamp the Sentiment in Misty Moonlight ink on the 3/4″ h x 3 1/4″ w Basic White piece and then trim the ends with the Lovely Labels Pick a Punch. Attach with Stampin’ Dimensionals.
  10. Sprinkle on the gems.
  11. Stamp and decorate the 4″ h x 5 1/4″ w Basic White inside and attach with Stampin’ Seal.
  12. Decorate your envelope.
  13. Eek so cute! I might even purposely miss someone’s birthday so I can send this one. LOL. Who will you send it to?

Shopping List

Stamper’s Toolkit

You will also need adhesive, acrylic blocks, scissors and other basic PaperCrafting items from the Stamper’s Toolkit

Hello Little One

Don’t you just LOVE the cute turtles in the Turtle Friends Bundle? They have such happy little faces and this one is perfect for a new baby card. I couldn’t resist going pink and black and the Pattern Party Designer Series Paper pack delivered just the right patterns to keep the black light and airy.

Measurements

Full list of supplies needed, listed below. A die cutting machine is needed for this card.
Polished Pink:

  • 8 1/2″ h x 5 1/2″ w scored and folded at 4 1/4″ h for Card Base
  • 2″ x 2″ scrap for the Sentiment Matte

Pattern Party Designer Series Paper:

  • 3 3/4″ h x 5 1/2″w
  • 2 3/4″ h x 2 3/4″ w die cut with Scalloped Contours Dies and trimmed to 2 1/2″ square

Basic Black Cardstock:

  • min 1/2″ h x 5 1/2″ w (could be up to 3 15/16″ h)

Basic White Cardstock:

  • 4″ h x 5 1/4″ w for the inside
  • 2″ x 2″ scrap for the Sentiment die cut with the 1 5/8″ Smooth Edge Layering Circles Die

Let’s Create

  1. Affix all stamps to Acrylic Blocks.
  2. Fold the Card Base in half using a Bone Folder to sharpen the crease.
  3. Attach the Basic Black Cardstock to the 3 3/4″ h x 5 1/2″ w Pattern Party DSP leaving about 1/8″ showing and attach to the Card Base.
  4. Wrap Open Weave Polished Pink Ribbon around the Card Base and tie a bow slightly off center.
  5. Die Cut the 2″ x 2″ Basic White with the 1 5/8″ Smooth Edge Circle and the 2″ x 2″ Polished Pink with the 1 3/4″ Scalloped Circle Die.
  6. Stamp the Turtle in Tuxedo Black Memento Ink and the Shell and Sentiment in Polished Pink Ink on the Basic White 1 5/8″ Smooth Edge Circle and attach to the 1 3/4″ Polished Pink Scalloped Circle.
  7. Die cut the 2 3/4″ h x 2 3/4″ w Pattern Party DSP and trim to 2 1/2″ square.
  8. Attach the Matted Sentiment to the 2 1/2″ square Pattern Party DSP with Dimensionals and attach the 2 1/2″ square Pattern Party DSP to the Card Base with Dimensionals.
  9. Sprinkle on the gems.
  10. Stamp and decorate the 4″ h x 5 1/4″ w Basic White inside and attach with Stampin’ Seal.
  11. Decorate your envelope.
  12. Adorable! Who is having a baby girl?

Shopping List

Stamper’s Toolkit

You will also need adhesive, acrylic blocks, scissors and other basic PaperCrafting items from the Stamper’s Toolkit