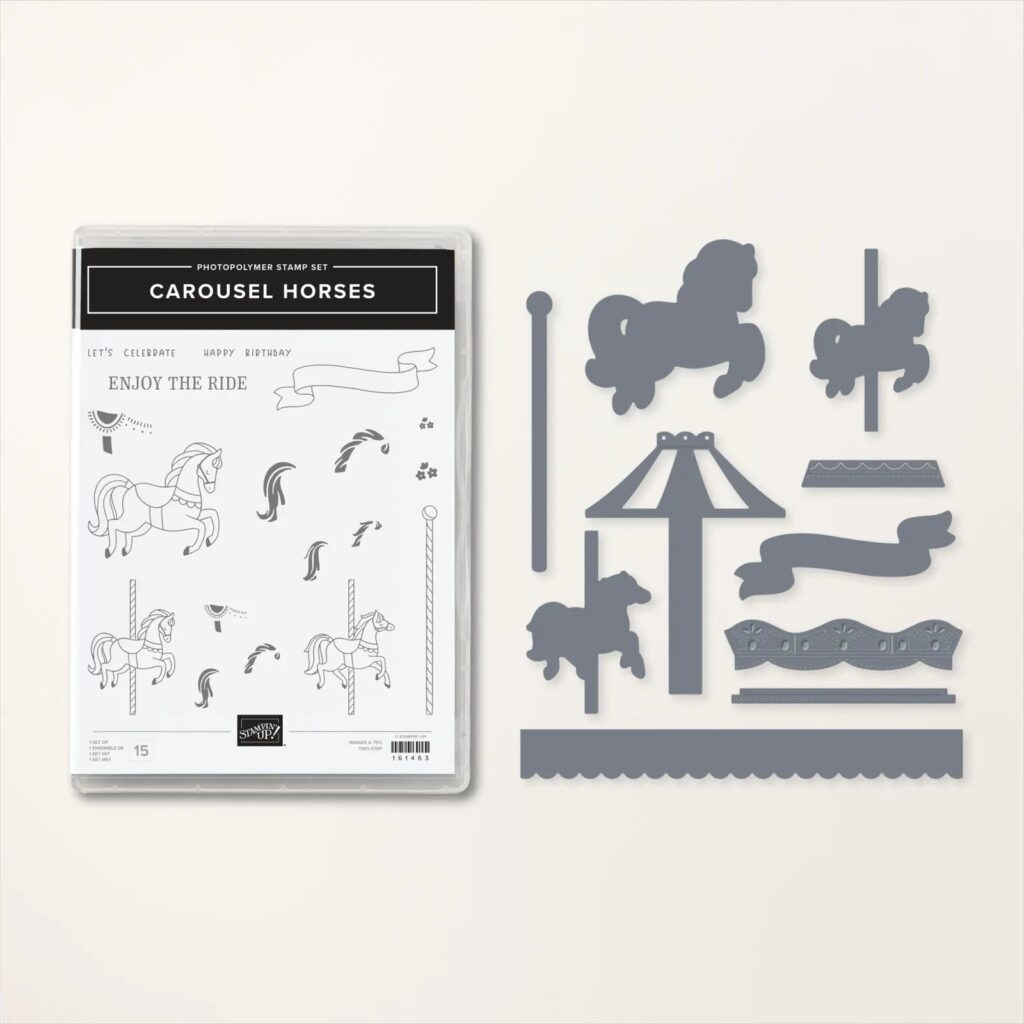
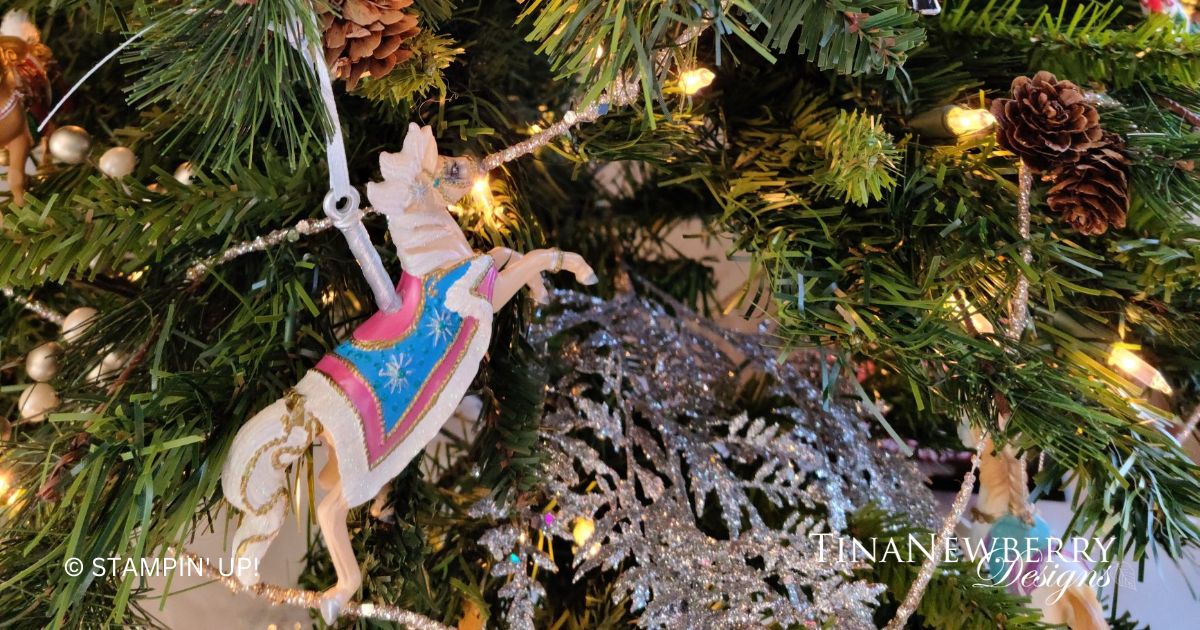
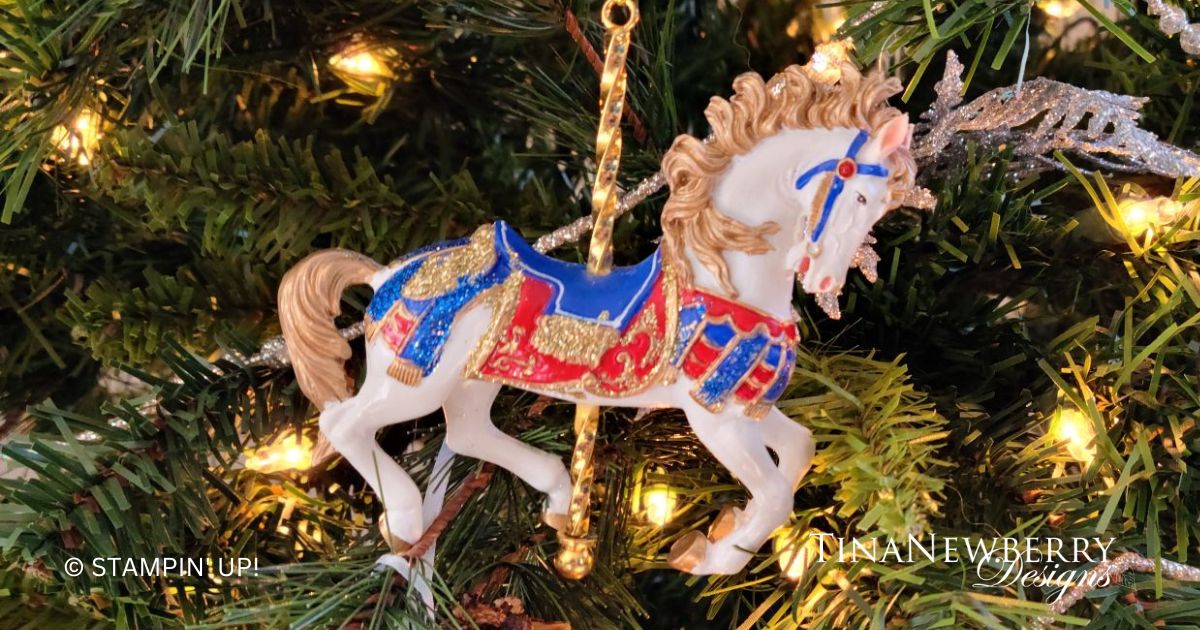
When I saw the Carousel Horses bundle, I knew I had to make some cards for Mum. She loves carousel horses so much she even once wrote a paper on their history. She has an antique real wooden carousel in their house. Did you know the wooden carved carousel horses were built with removeable ears? Yup. The ears were prone to breaking when transported, so they built them to be removed. Neato.
Measurements
Full list of supplies needed, listed below. A die cutting machine is needed for this card.
Basic White Thick Cardstock:
- 5 1/2″ h x 8 1/2″ w folded to 5 1/2″ h x 4 1/4″ w
- Scrap for carousel horse
Basic White Cardstock:
- 5 1/4″ h x 4″ w (2)
- Scrap for sentiment banner
More Dazzle Specialty: scrap for stand
Let’s Create
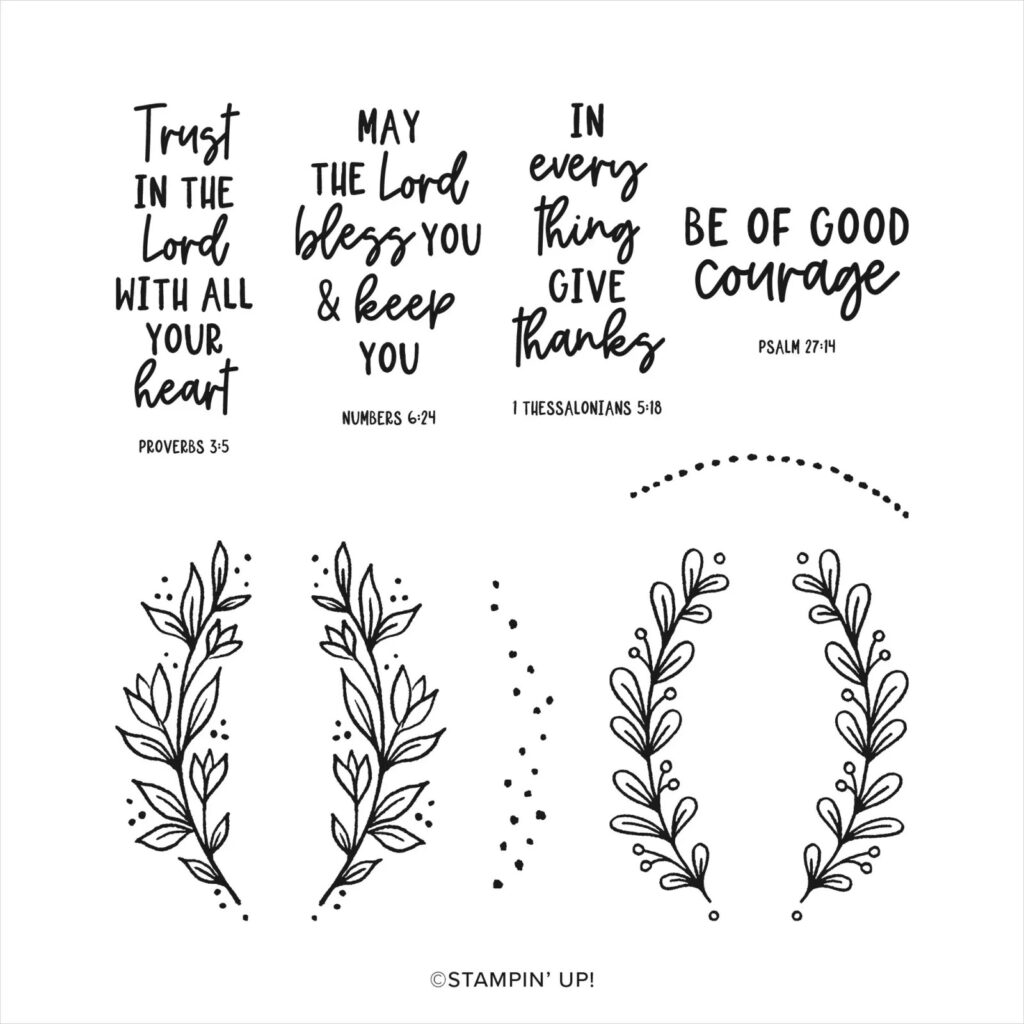
- Affix all stamps to Acrylic Blocks.
- Fold the Card Base in half using a Bone Folder to sharpen the crease.
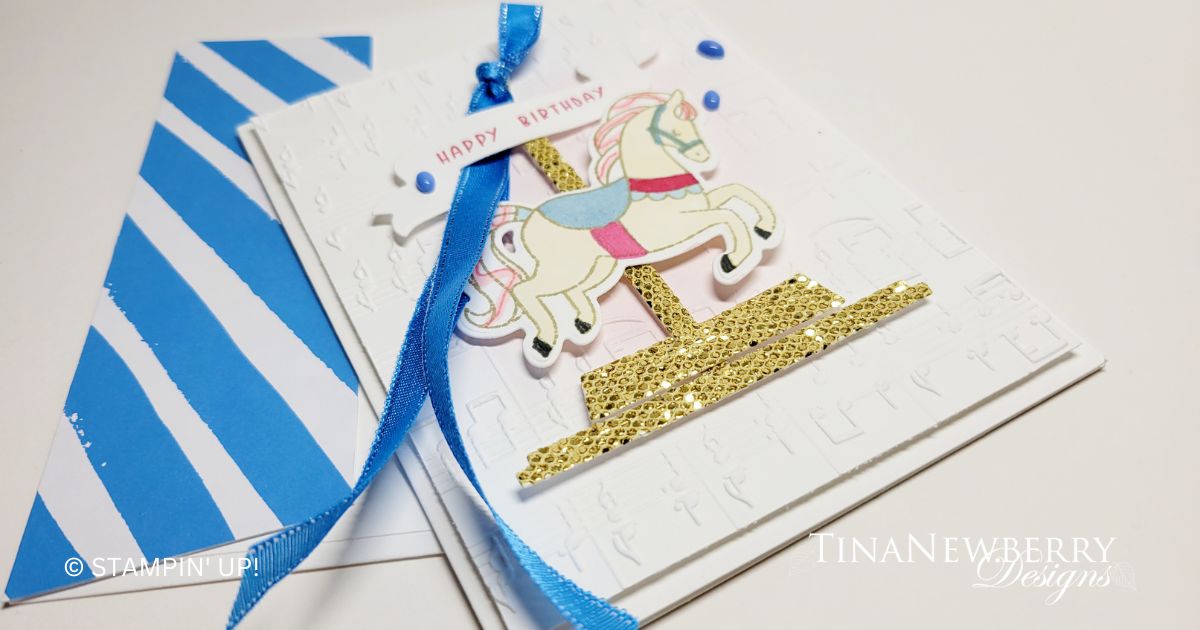
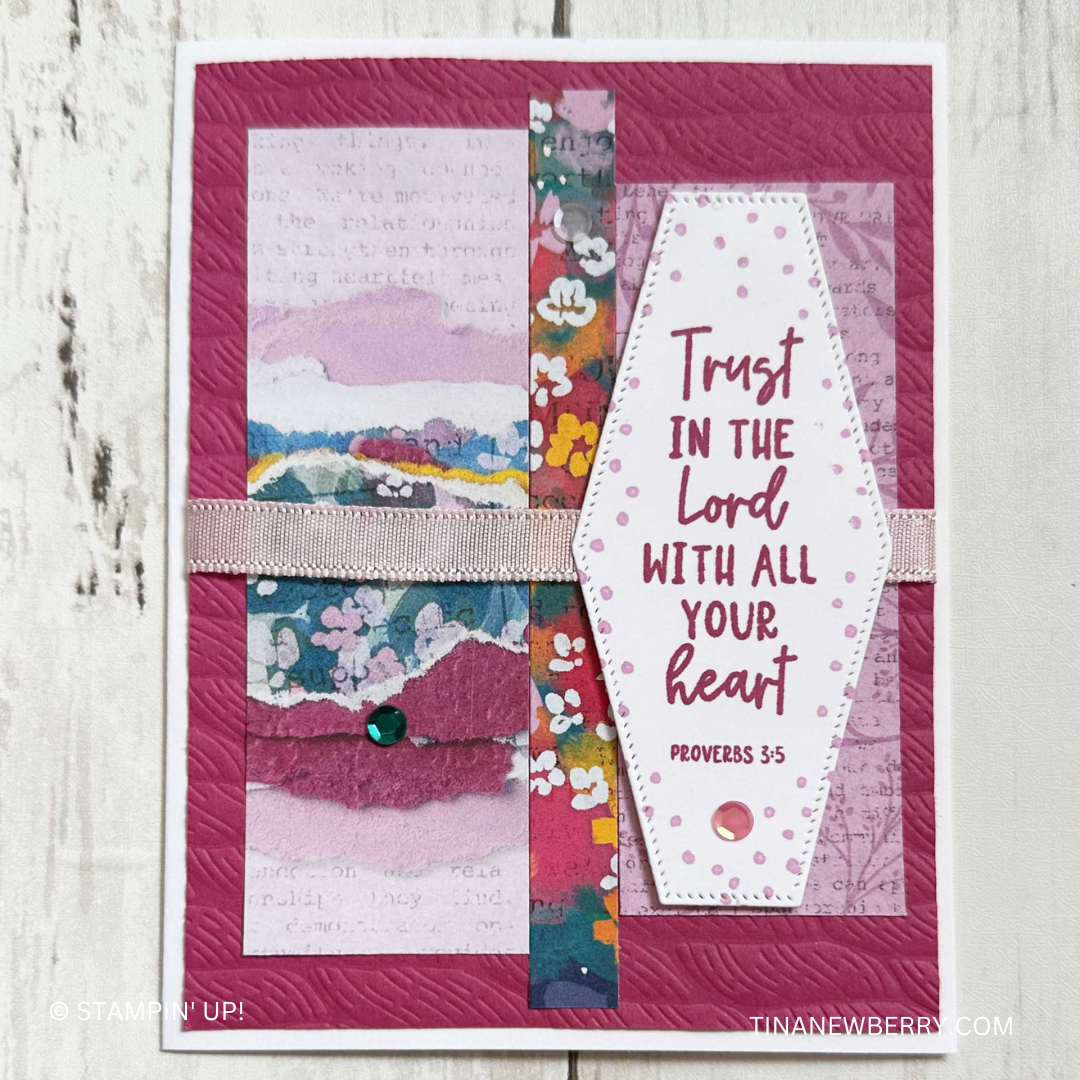
- Using a Blending Brush, lay down a bit of Bubble Bath ink in the center of one of the the 5 ¼” w x 4” h Basic White panels then run through the Stampin’ Cut & Emboss machine with the Merry Melody Embossing Folder.
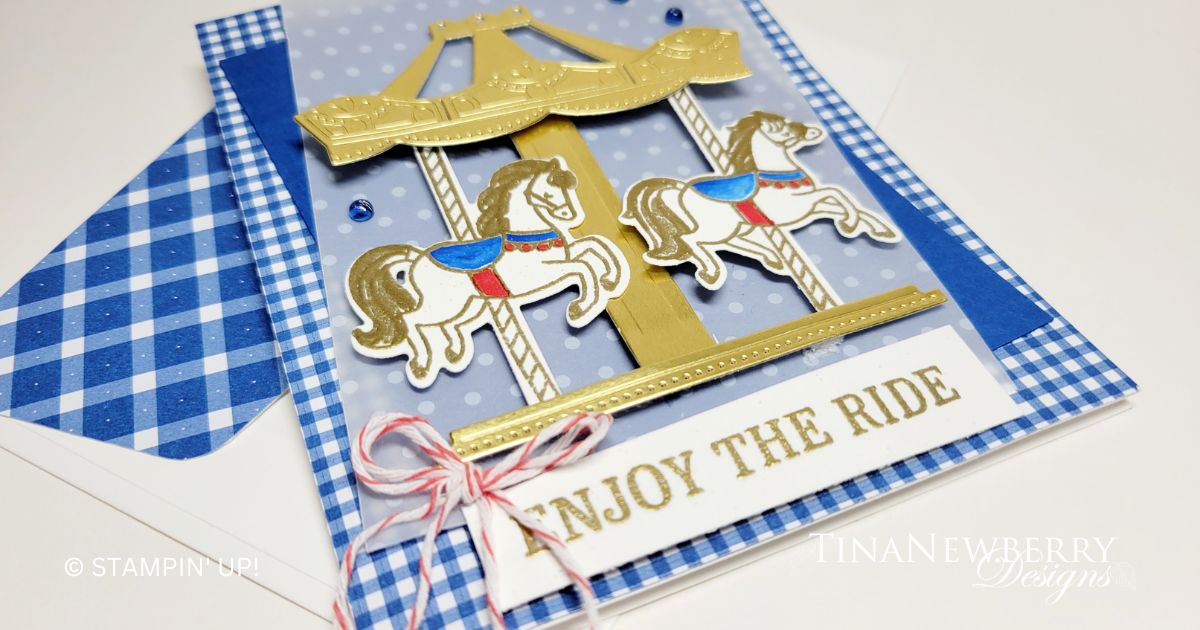
- Stamp the large Carousel Horse in Crumb Cake ink on Basic White Thick Cardstock scap. Use Ivory, Balmy Blue, Melon Mambo, and Flirty Flamingo Stampin’ Blends to color the Carousel Horse. Die Cut.
- Die cut the Pole and Stand in the More Dazzle Specialty Paper.
- Assemble the Pole, Stand, and Carousel Horse and attach with Stampin’ Dimensionals.
- Stamp the sentiment in Melon Mambo ink on scrap Basic White and then die cut with the banner die.
- Attach the sentiment with Stampin’ Dimensionals and Stampin’ Seal.
- Double over and tie a knot into the top of a 8” piece of Azure Afternoon and attach to the top of the pole with a Mini Glue Dot.
- Sprinkle on some Opaque Ovals
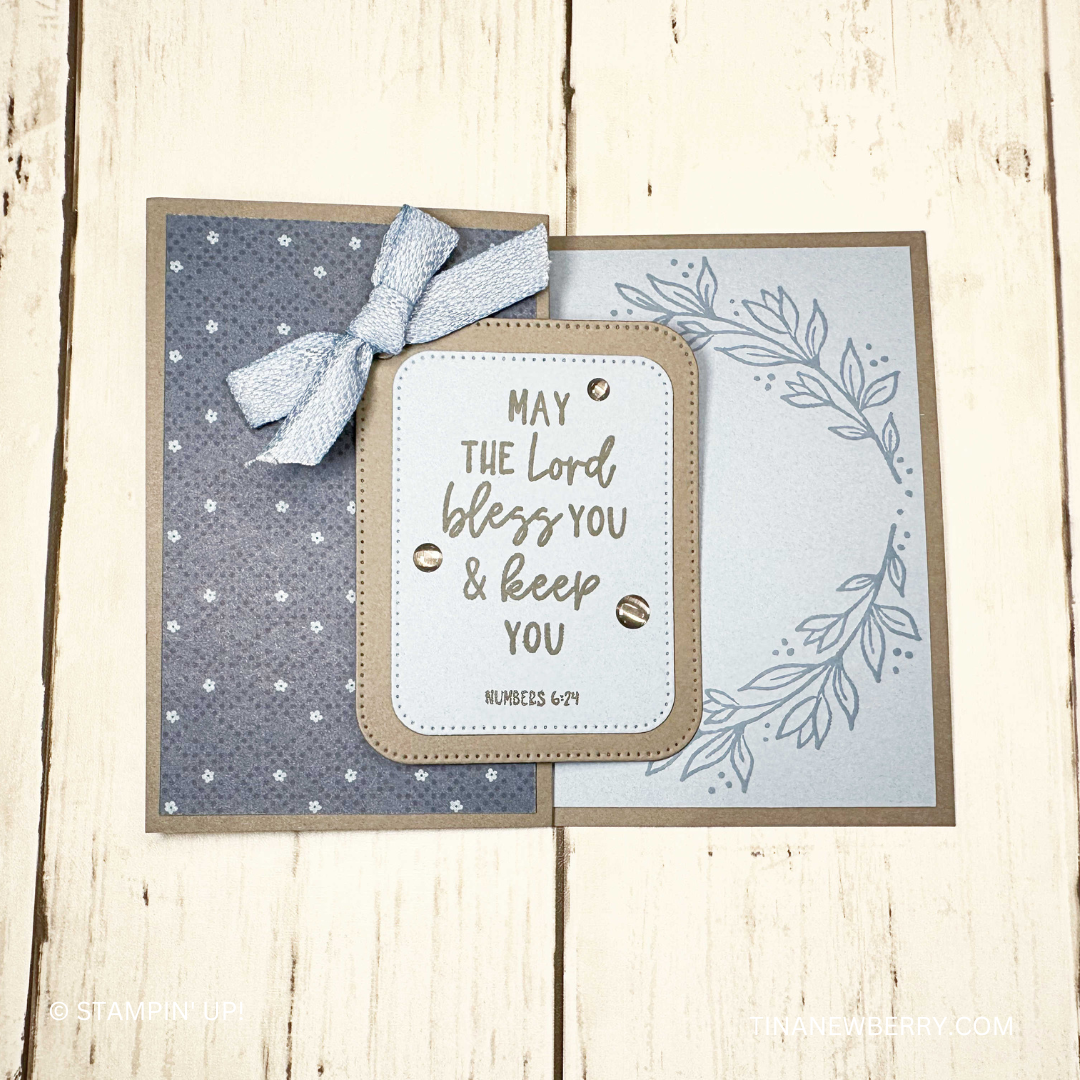
- Stamp and decorate the remaining 5 ¼” w x 4” h for inside
- Decorate your envelope.
- How fun! Send it today.
Shopping List

$52.00


 Specialty Paper")

$7.50
 Sheer Ribbon Combo Pack")

Recommended Stamper’s Toolkit ❤
Product List
$12.00

$7.00

$4.25

$5.75

$5.50

$11.00

$26.00

$7.00

$6.50

$11.00

$20.00

$11.00

$80.75

$128.00


$16.00

$13.00


 Specialty Designer Series Paper")
 Designer Series Paper")


")


 Designer Series Paper")
 Textured Ribbon")


 Designer Series Paper")
 Bordered Ribbon")
