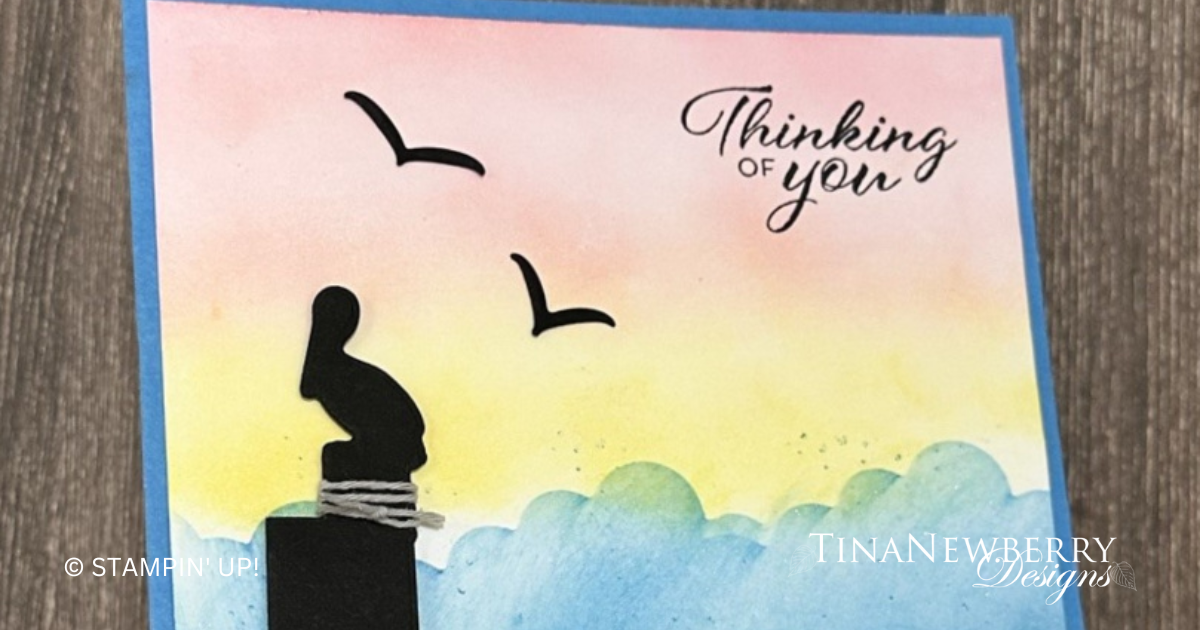
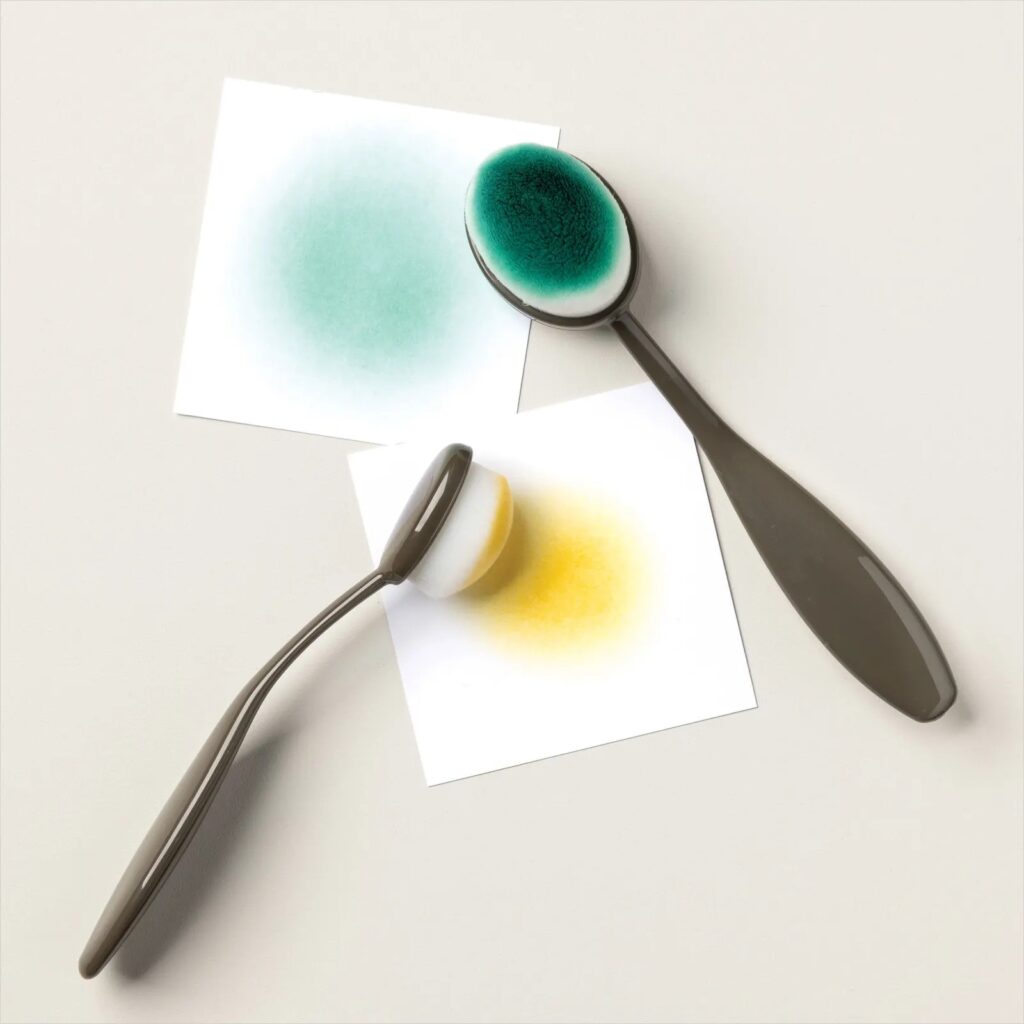
Clouds! Get Your Blending Brushes

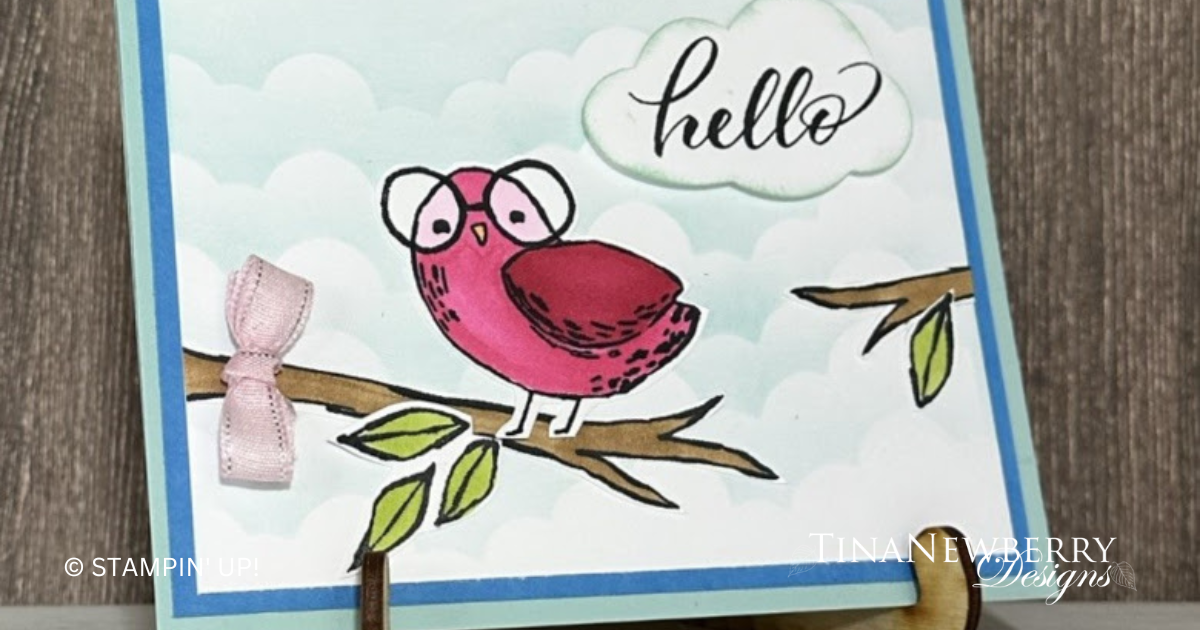
Isn’t this bird from the Bird’s Eye View stamp set SO CUTE? Use your blending brushes and a stencil to make a background of clouds to set off this little cutie.

Measurements

Full list of supplies needed, listed below. A die cutting machine is needed for this card.
Card Base Pool Party cardstock 8 ½” h x 5 ½” w, scored at 4 ¼”
Layer 1 Azure Afternoon cardstock – 4” h x 5 ¼” w
Layer 2 Basic White cardstock – 3 ¾” h x 5” w
Inside Layer Basic White cardstock – 4” h x 5 ¼” w
Punch cloud from Basic White cardstock scrap4” h x 5 ¼” w4” h x 5 ¼” w
Stamp and fussy cut bird and branches and leaves from Basic White scrap
Create a stencil from Thick Basic White cardstock using the Basic Borders die


Let’s Create

  1. Affix all stamps to Acrylic Blocks.
  2. Fold the Card Base in half using a Bone Folder to sharpen the crease.
  3. Adhere Azure Afternoon layer to card front with Stampin’ Seal.
  4. Create cloud-patterned stencil from Basic Borders Dies.
  5. Using the stencil, very lightly brush Pool Party to create your first row of clouds across the top of the layer. Shift the position of the stencil, move down the page ½” or so, and very lightly brush another row of clouds. Repeat until you reach the bottom of the layer.
  6. Adhere Cloud layer to card front with Stampin’ Seal.
  7. Punch Basic White cloud. Use sponge dauber to add color to the edges of the Cloud, in Pool Party ink.
  8. Adhere cloud to front of card with Stampin’ DImensionals.
  9. Use Tuxedo Black Memento Ink Pad to stamp the bird and leaves on a Basic White scrap. And the branches on the Cloud layer.
  10. Color as desired with Blends or Stampin’ Write Markers.
  11. For this card, I used Stampin’ Blends. I colored the branches in Pecan Pie, the leaves in Granny Apple Green, and the bird using Melon Mambo Dark on the wing. I used Melon Mambo Light on the body of the bird. And I used Bubble Bath behind the glasses.
  12. Fussy cut leaves and bird.
  13. Arrange in a pleasing manner on the card front and attach with preferred adhesive.
  14. Add sweet little pink bow with Mini Glue Dots on the branch.
  15. Stamp and decorate the inside 4” h x 5 ¼” w Basic White cardstock and attach with Stampin’ Seal.
  16. Decorate your envelope.
  17. So cute! Now send it to someone special.

Shopping List

Recommended Stamper’s Toolkit

Product List
Order online from the convenience of your own home or send me your order and I’ll take care of you. ❤ Either way, please use the host code ANTD9UHS. Order online AND, if your order is $50 or more using host code ANTD9UHS between now and the end of the month you’ll receive a free pack of embellishment as a THANK YOU gift from me. ❤ If your order is over $150, skip the host code, earn Stampin’ Rewards for free stuff yourself and I’ll still send you a free pack of embellishment as a THANK YOU gift from me. ❤

Use Blending Brushes to Add Color To An Embossed Panel

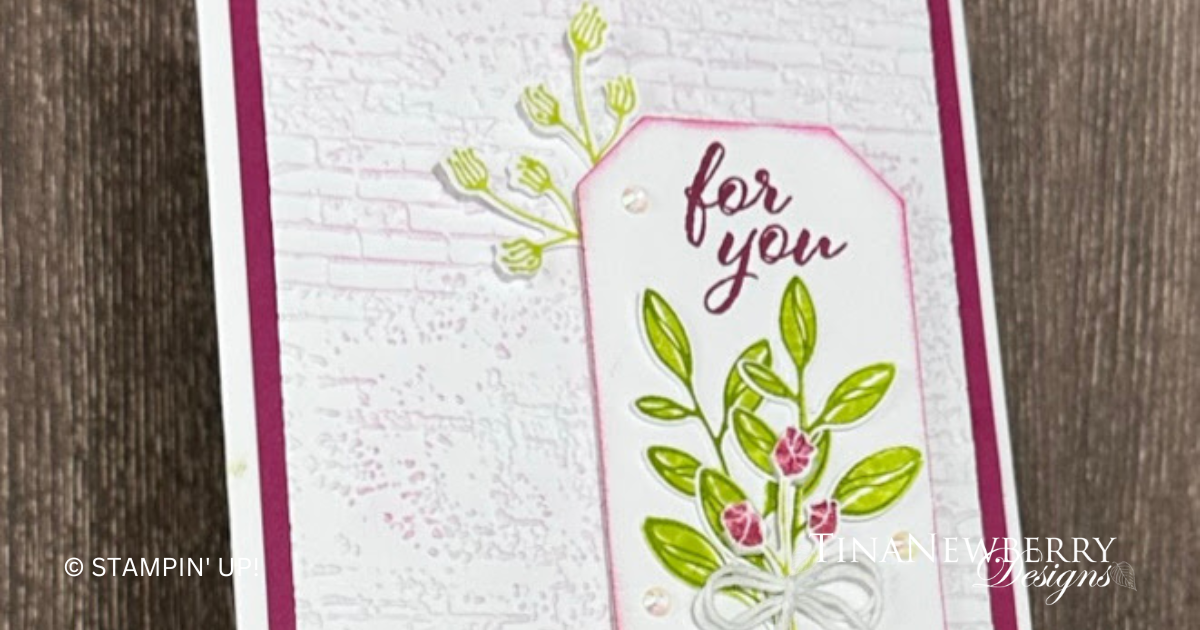
Show off your embossed panel by adding a bit of color using a blending brush.

Measurements

Full list of supplies needed, listed below. A die cutting machine is needed for this card.
Card Base Basic White Thick 8 ½” x 5 ½”, scored at 4 ¼”
Layer 1 Berry Burst – 4” x 5 ¼”
Layer 2 Basic White – 3 ¾” x 5”,
Die Cut Countryside Corners label die (~1 3.4” x 3 1/2”) in Basic White
Stamp and punch leaves and little flowers

Let’s Create

  1. Affix all stamps to Acrylic Blocks.
  2. Fold the Card Base in half using a Bone Folder to sharpen the crease.
  3. Emboss the 3 ¾” x 5” Basic White with Exposed Brick 3D Embossing Folder
  4. Die Cut the Countryside Corners label die  (~1 3.4” x 3 1/2”) in Basic White
  5. Stamp and punch leaves and little flowers. Use the two-step stamping technique. Stamp-off the solid part of the leaves first.  (Granny Apple Green and Berry Burst)
  6. Adhere Berry Burst layer to card base with Stampin’ Seal.
  7. Use Blending Brush to lightly brush Bubble Bath across the bricks. Truly, use just the very lightest touch for just a hint of color. Adhere layer to card front with Stampin’ Seal.
  8. Use dauber to add color to the edges of the Countryside Corners die cut, in Berry Burst.
  9. Stamp sentiment in Berry Burst.
  10. Adhere label to card front with DImensionals.
  11. Arrange leaves in a pleasing manner and adhere with Mini Glue Dots or Multipurpose-glue.
  12. Add a sweet little bow
  13. Sprinkle on a trio of gems.
  14. Tuck two little flowers behind the upper left corner of the label.
  15. Stamp and decorate the inside.
  16. Decorate your envelope.
  17. Love it! Now send it to someone special.

Shopping List

Recommended Stamper’s Toolkit

Product List
Order online from the convenience of your own home or send me your order and I’ll take care of you. ❤ Either way, please use the host code ANTD9UHS. Order online AND, if your order is $50 or more using host code ANTD9UHS between now and the end of the month you’ll receive a free pack of embellishment as a THANK YOU gift from me. ❤ If your order is over $150, skip the host code, earn Stampin’ Rewards for free stuff yourself and I’ll still send you a free pack of embellishment as a THANK YOU gift from me. ❤

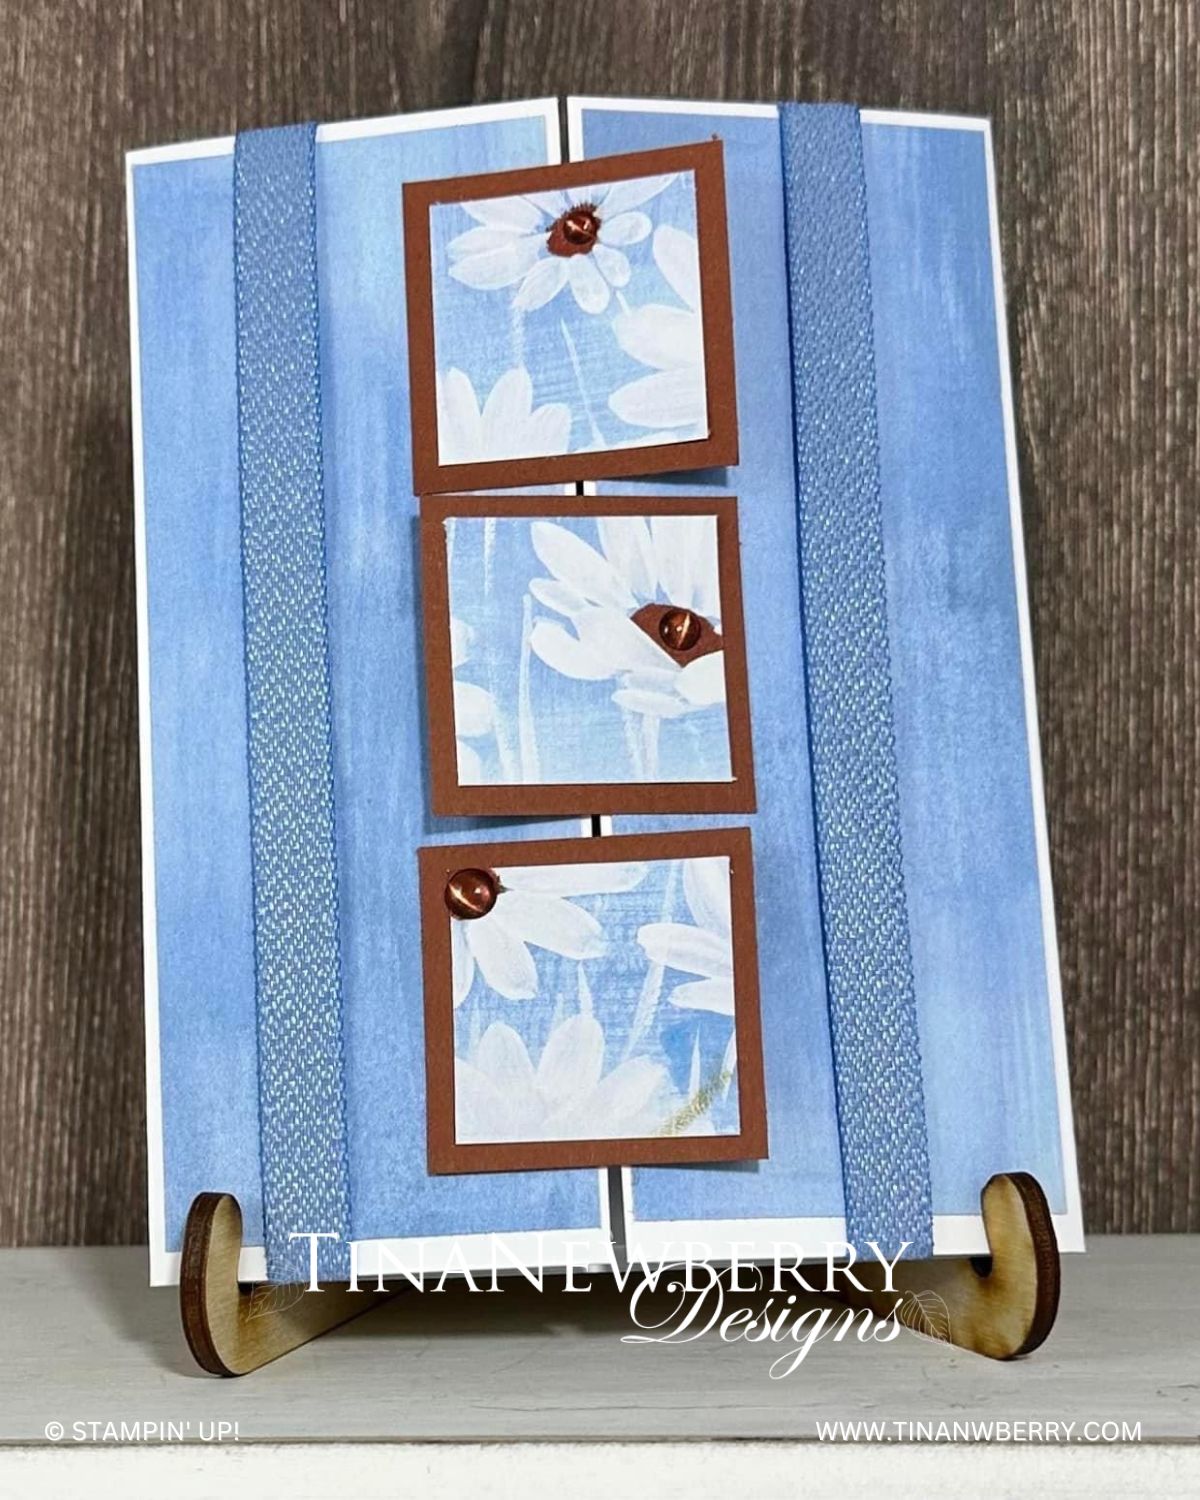
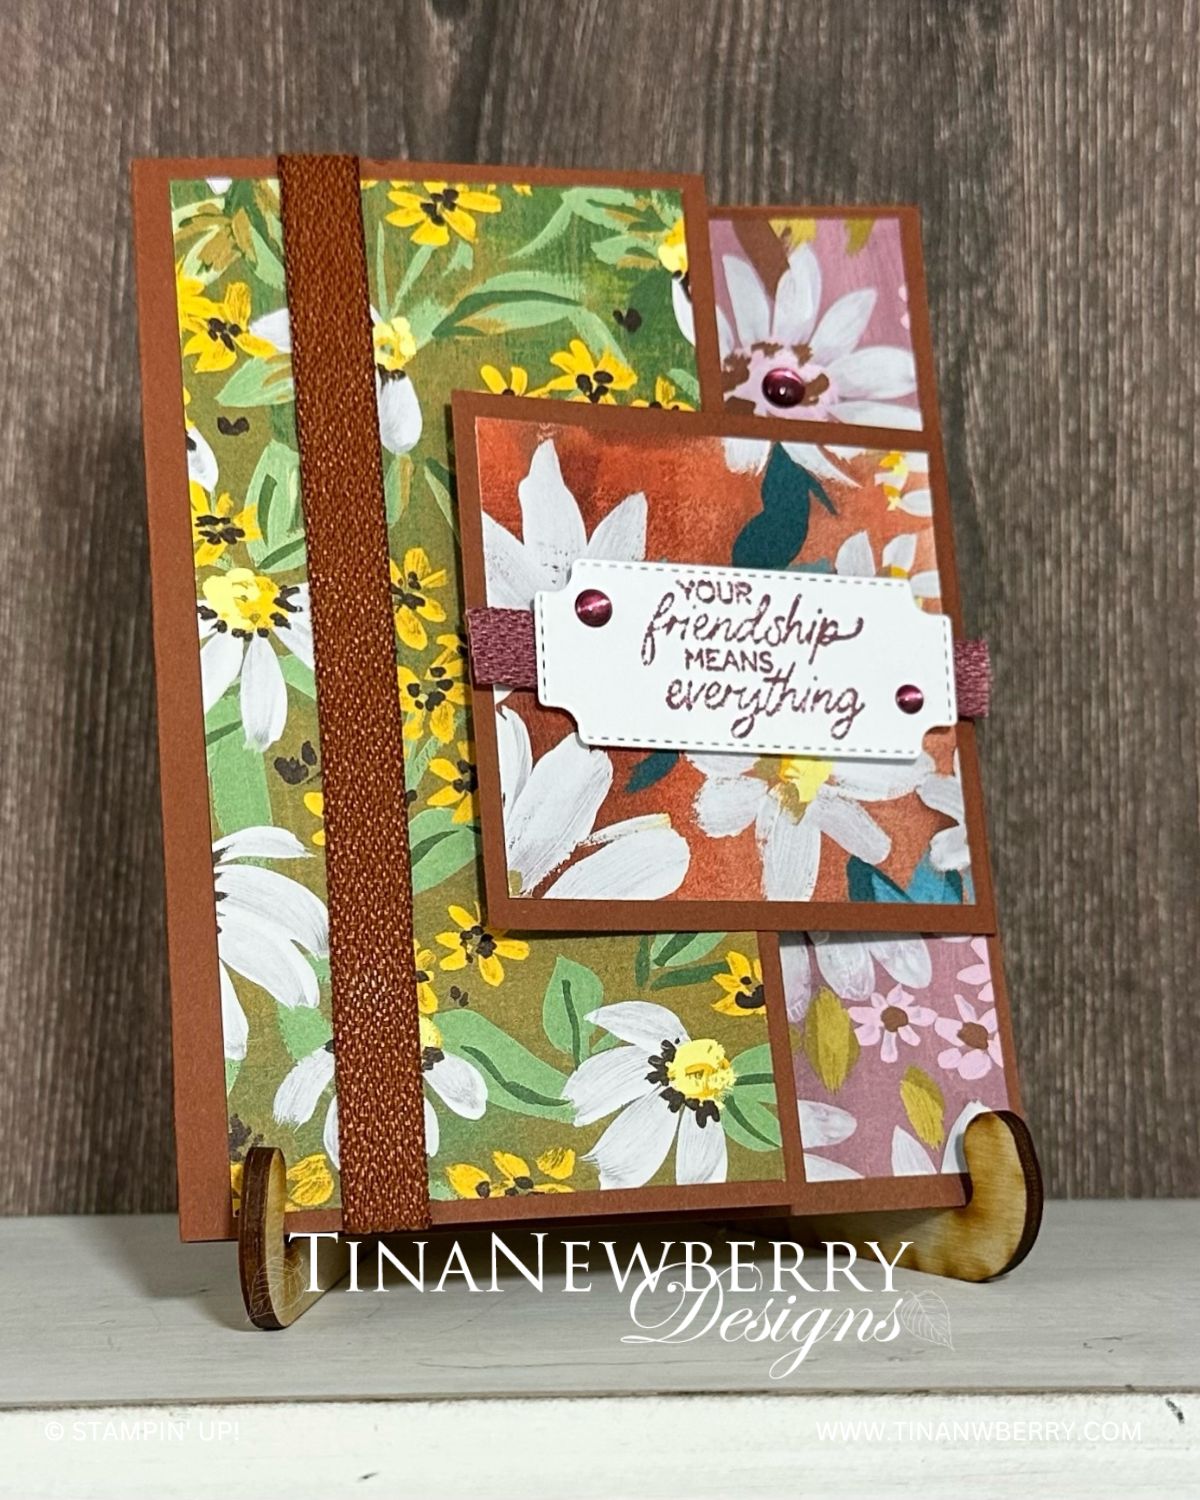
Your Friendship Means Everything

Make a simple fun-fold that showcases your patterned paper while sending cheer to a friend.

Your cards will bloom with happiness when you use the Cheerful Daisies Bundle. Stamp a daisy or two complete with leaves and stem, then cut out using the coordinating dies. Happy has never been so easy!

Measurements

Full list of supplies needed, listed below. A die cutting machine is needed for this card.

Card Base Copper Clay 5 ½” x 7 ¼” and score at 4 ¼”
DSP 2 ¾” x 5 ¼” (front)
DSP 1 ¾” x 5 ¼” (inside right)
Basic White 2 ¼” x 5 ¼” (inside)
Copper Square: 2 ¾” x 3 ¾” scored at 1”
DSP 2 ½” x 2 ½” (decorative layer for the square)
Die-Cut sentiment tag from Daisies Dies
Die-Cut Daisies


Let’s Create

  1. Affix all stamps to Acrylic Blocks.
  2. Fold the Card Base at score line using a Bone Folder to sharpen the crease. Fold 2 ¾” x 3 ¾” Copper Clay Square at 1” score line using a Bone Folder to sharpen the crease.
  3. Adhere DSP to Card Base with Stampin’ Seal.
  4. Use Stampin’ Seal to adhere 2 ¾” x 3 ¾” Copper Clay Square flap by placing fold on inside right edge so that the fold meets the edge of the card base.
  5. Use Stampin’ Seal to adhere DSP over the flap front.
  6. Stamp the sentiment with Copper Clay.
  7. Use a Tear N’ Tape or Mini Glue Dots to adhere a strip of Mauve Ribbon behind the sentiment.
  8. Adhere sentiment to square with Stampin’ Dimensionals.
  9. Wrap full length of ribbon around left of card until it overlaps on the inside of the card. Cut a nice clean edge and adhere ribbon securely with Tear N’ Tape.
  10. Adhere die-cut daisies with Mini Glue Dots..
  11. Sprinkle on the gems.
  12. Attach the DSP 1 ¾” x 5 ¼” (inside right) to the 2 ¼” x 5 ¼” (inside) Basic White. Stamp the Basic White and attach with Stampin’ Seal.
  13. Decorate your envelope.
  14. So pretty! Now send it to someone special.

Shopping List

Recommended Stamper’s Toolkit

Product List
Order online from the convenience of your own home or send me your order and I’ll take care of you. ❤ Either way, please use the host code ANTD9UHS. Order online AND, if your order is $50 or more using host code ANTD9UHS between now and the end of the month you’ll receive a free pack of embellishment as a THANK YOU gift from me. ❤ If your order is over $150, skip the host code, earn Stampin’ Rewards for free stuff yourself and I’ll still send you a free pack of embellishment as a THANK YOU gift from me. ❤