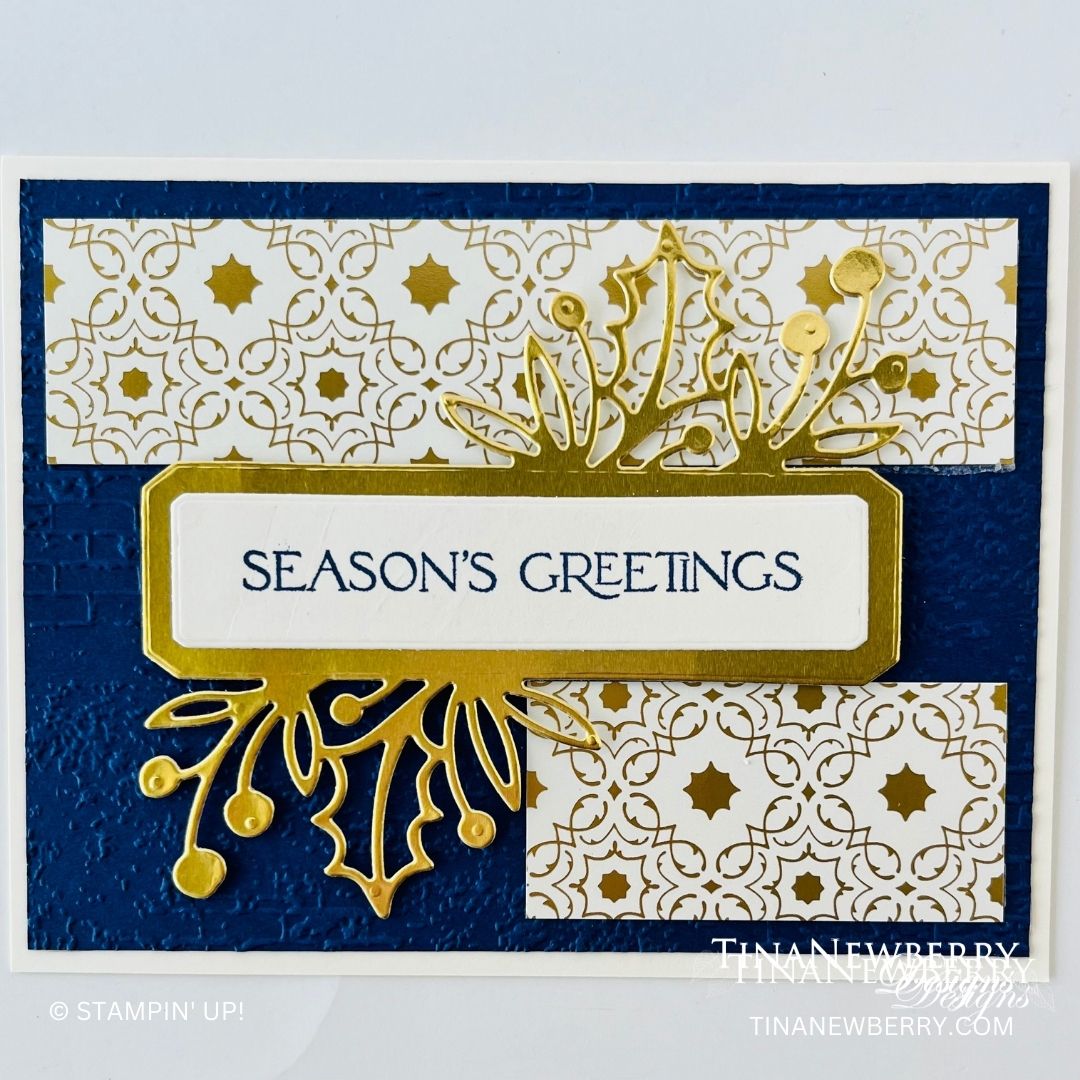
Creating a stunning greeting card with joyful wishes is simple and easy when you let the pretty patterned paper do all the work. In this case the Shining Brightly Specialty Designer Series Paper was used, but you could use any paper and color combo with this design.
Jazz up your cards and gift tags with the Shining Brightly 12″ x 12″ Specialty Designer Series Paper! Each sheet of paper included in this series is radiant, showcasing detailed gold and blue designs. You can cut out the star-studded Night of Navy and Very Vanilla pages for holiday gift tags or Christmas cards. The golden floral pages make great accent features and can be incorporated into greeting or thinking of you cards for extra festivity. Whether you use this paper for holiday paper crafts or something else, the gold-gilded details will make all your projects shine!
Measurements
Full list of supplies needed, listed below. A die cutting machine is needed for this card.
Card base – Night of Navy
5 ½” x 8 ½” scored at 4 ¼”
2 ¼” x 4”
Scrap for die cutting
Very Vanilla – 4” x 5 ¼”
Shining Brightly – Navy and Gold leaf pattern
2” x 4”
Let’s Create
Affix all stamps to acrylic blocks.
Fold and burnish card base using bone folder.
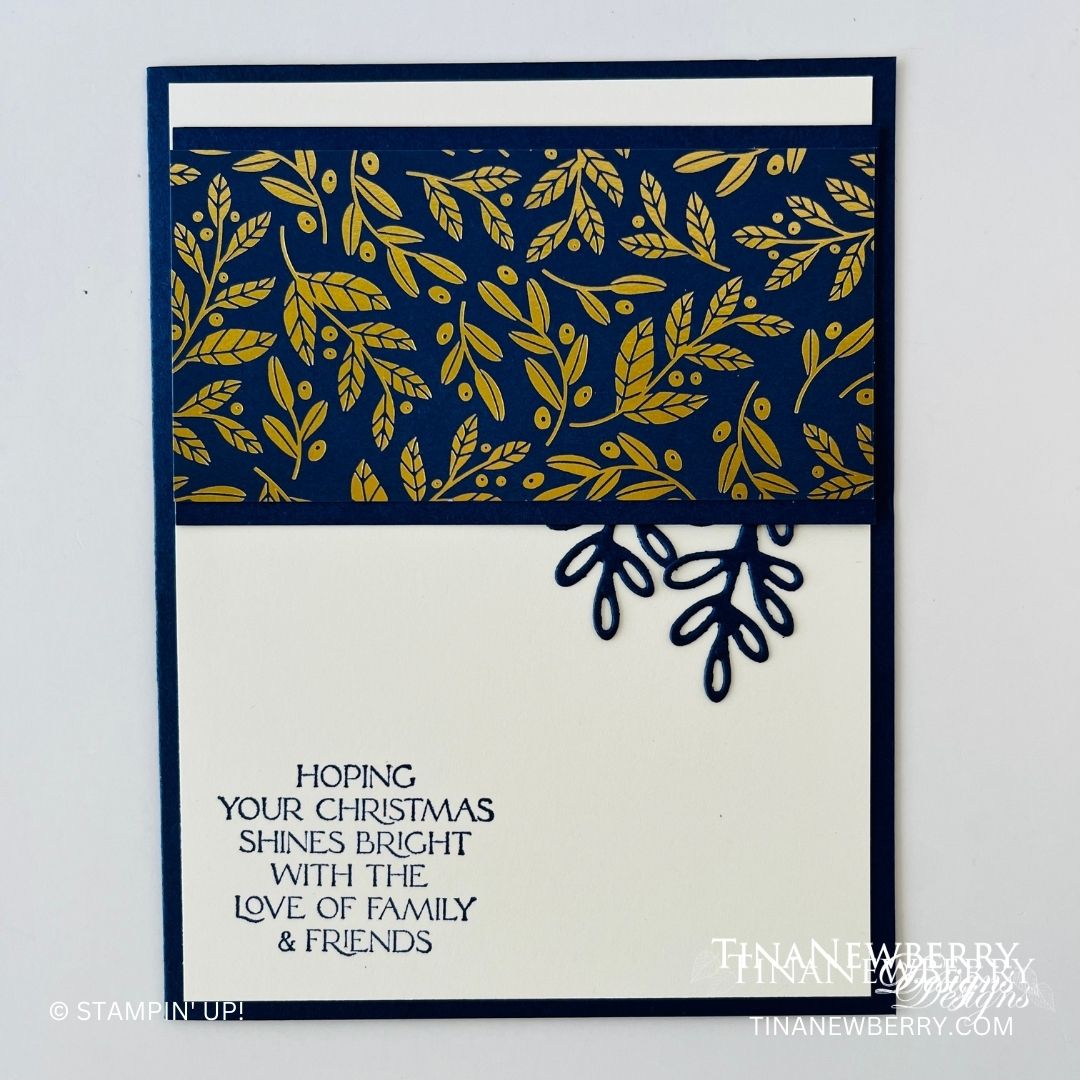
Attach the dsp to the Night of Navy strip.
Use the leaf sprigs dies and cut 2 from the scrap of Night of Navy.
Add the die cut leaf sprigs to the bottom right hand side of the strip from Step 3.
Glue the panel from Step 5 to the Very Vanilla panel about ¼” from the top.
Stamp the sentiment in the lower left hand corner of the Very Vanilla panel.
Adhere the Very Vanilla panel from Step 7 to the card base centering on all sides.
Use a leaf sprig stamped in navy to decorate the inside of the card and envelope.
Order online from the convenience of your own home or send me your order and I’ll take care of you. ❤ Either way, please use the host code KBSZKQ3A. Order online AND, if your order is $50 or more using host code KBSZKQ3A between now and the end of the month you’ll receive a free pack of embellishment as a THANK YOU gift from me. ❤ If your order is over $150, skip the host code, earn Stampin’ Rewards for free stuff yourself and I’ll still send you a free pack of embellishment as a THANK YOU gift from me. ❤
Gold Foil, Vanilla, and Navy blue are stunning together in the Shining Brightly Specialty Designer Series Paper. Apparently everyone else thinks so too because this beautiful paper keeps selling out! Don’t worry though, it’s due back in stock the week of Oct. 23, 2023.
Jazz up your cards and gift tags with the Shining Brightly 12″ x 12″ Specialty Designer Series Paper! Each sheet of paper included in this series is radiant, showcasing detailed gold and blue designs. You can cut out the star-studded Night of Navy and Very Vanilla pages for holiday gift tags or Christmas cards. The golden floral pages make great accent features and can be incorporated into greeting or thinking of you cards for extra festivity. Whether you use this paper for holiday paper crafts or something else, the gold-gilded details will make all your projects shine!
Measurements
Full list of supplies needed, listed below. A die cutting machine is needed for this card.
Card base – Very Vanilla
5 ½” x 8 ½” scored at 4 ¼”
Scrap for die cutting
Night of Navy – 4” x 5 ¼”
Scrap for die cutting
Shining Brightly – Vanilla star pattern
Scrap for die cutting
Gold foil – ¾” x 2 ¼”
scrap for die cutting
Let’s Create
Affix all stamps to acrylic blocks.
Fold and burnish card base using bone folder.
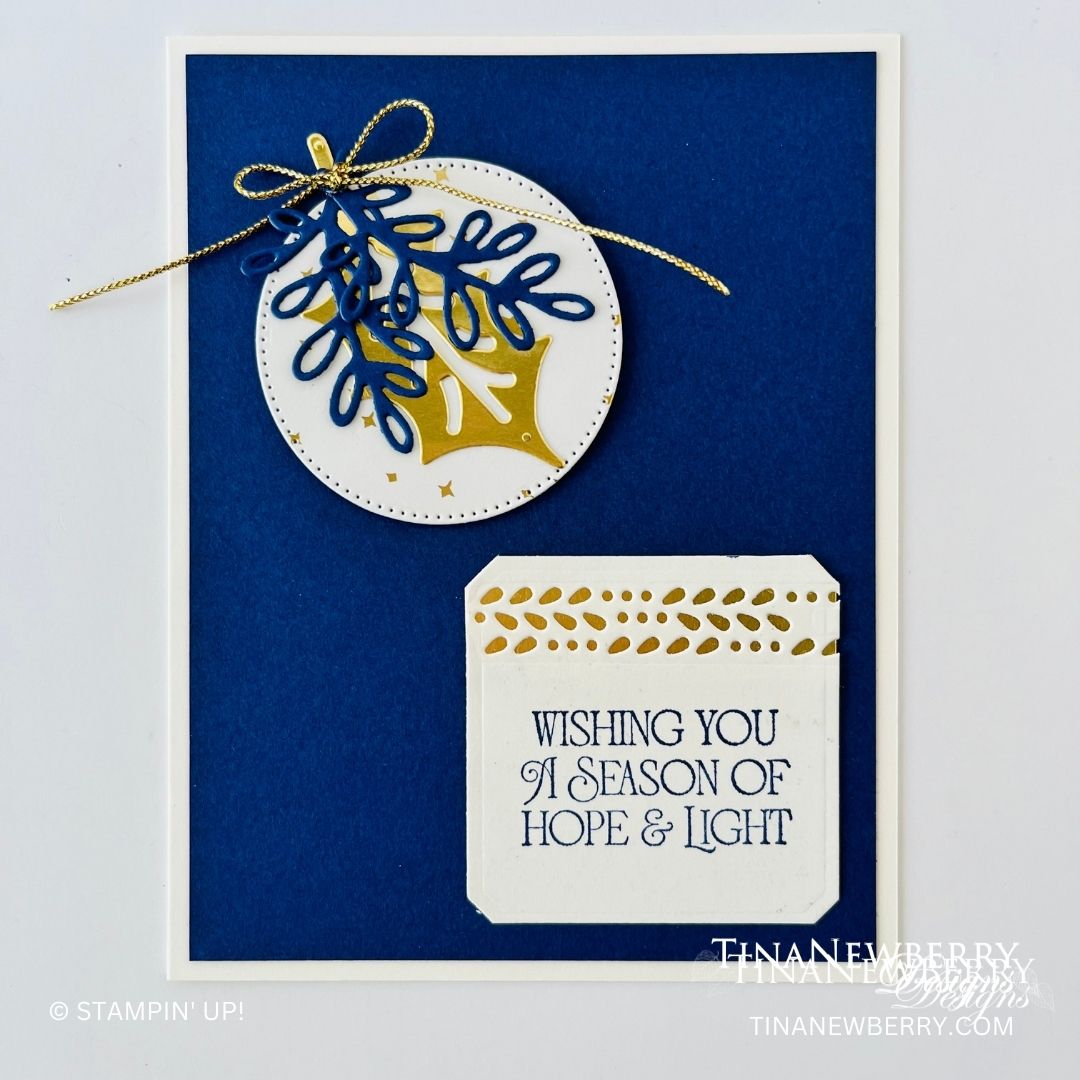
Add the Night of Navy panel to the card front.
Use the scrap of Very Vanilla and the square from the dies and cut it out.
Stamp your sentiment using Night of Navy ink in the lower part of the square.
Use the square from Step 5 and the wider decorative die strip and cut out the pattern at the top of the square about ¼” from the top.
Add the strip of Gold foil to the back top of the square from Step 6 using glue dots. Trim as needed.
Glue the square to the lower right hand corner of the card front having equal spacing on bottom and right hand side.
Use the 4th largest Stylish Shapes circle die to die cut from the star pattern paper. Add the die cut circle to the upper left hand corner of the card about ½” from the top and left hand side of the card using dimensionals.
Use the holly leaf and leaf sprig to die cut the following:
Holly leaf – fold foil
Leaf sprig – Night of Navy (2)
Glue the holly leaf on top of the die cut circle. Glue the 2 leaf sprigs on top of the holly leaf with one down the left side of the holly leaf and the other down the right side of the holly leaf. 12 Tie a bow using the gold Simply Elegant trim and add it to the stems of the Holly leaf and leaf sprigs using a glue dot.
Use a holly leaf stamped in gold or navy to decorate the inside of the card and envelope.
Order online from the convenience of your own home or send me your order and I’ll take care of you. ❤ Either way, please use the host code KBSZKQ3A. Order online AND, if your order is $50 or more using host code KBSZKQ3A between now and the end of the month you’ll receive a free pack of embellishment as a THANK YOU gift from me. ❤ If your order is over $150, skip the host code, earn Stampin’ Rewards for free stuff yourself and I’ll still send you a free pack of embellishment as a THANK YOU gift from me. ❤
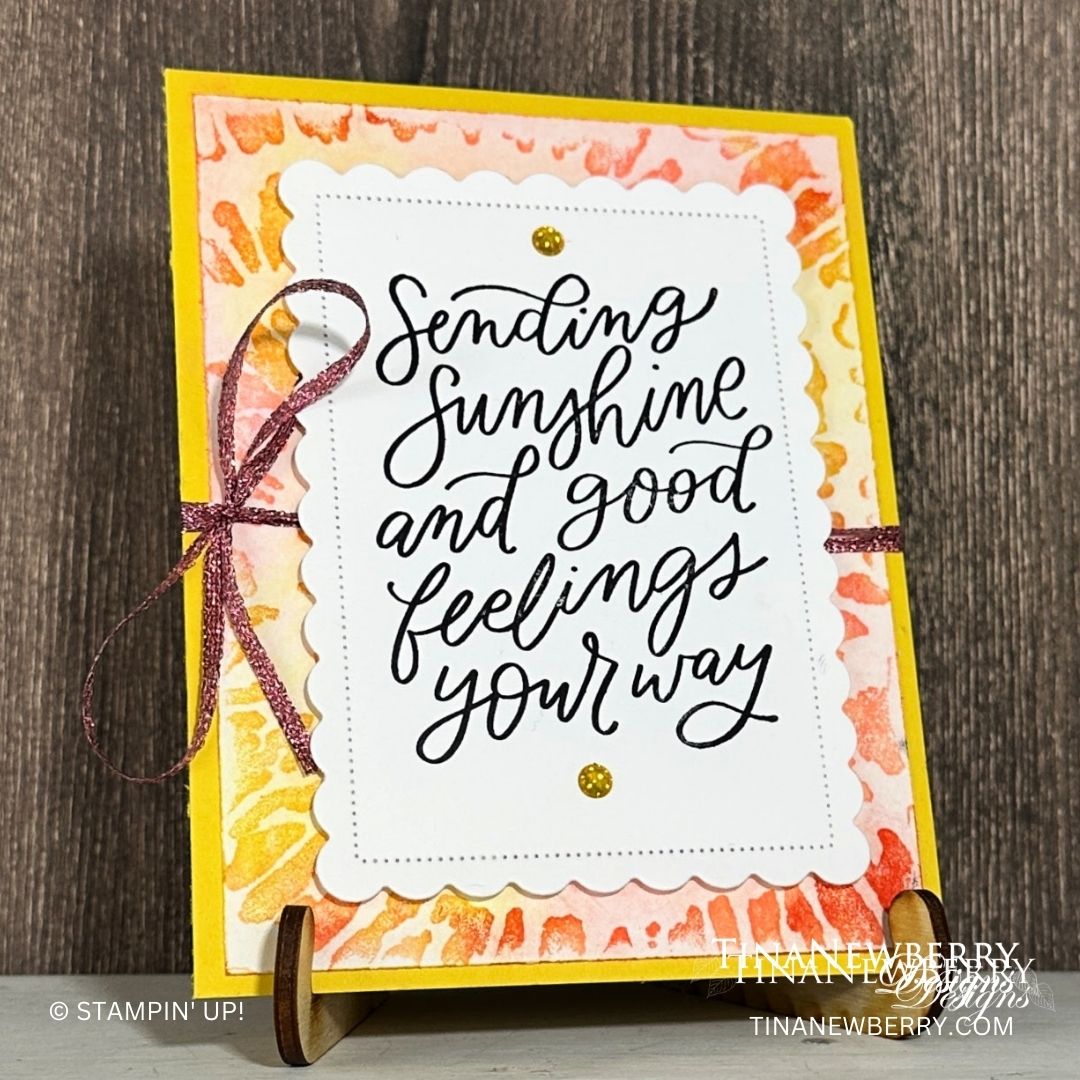
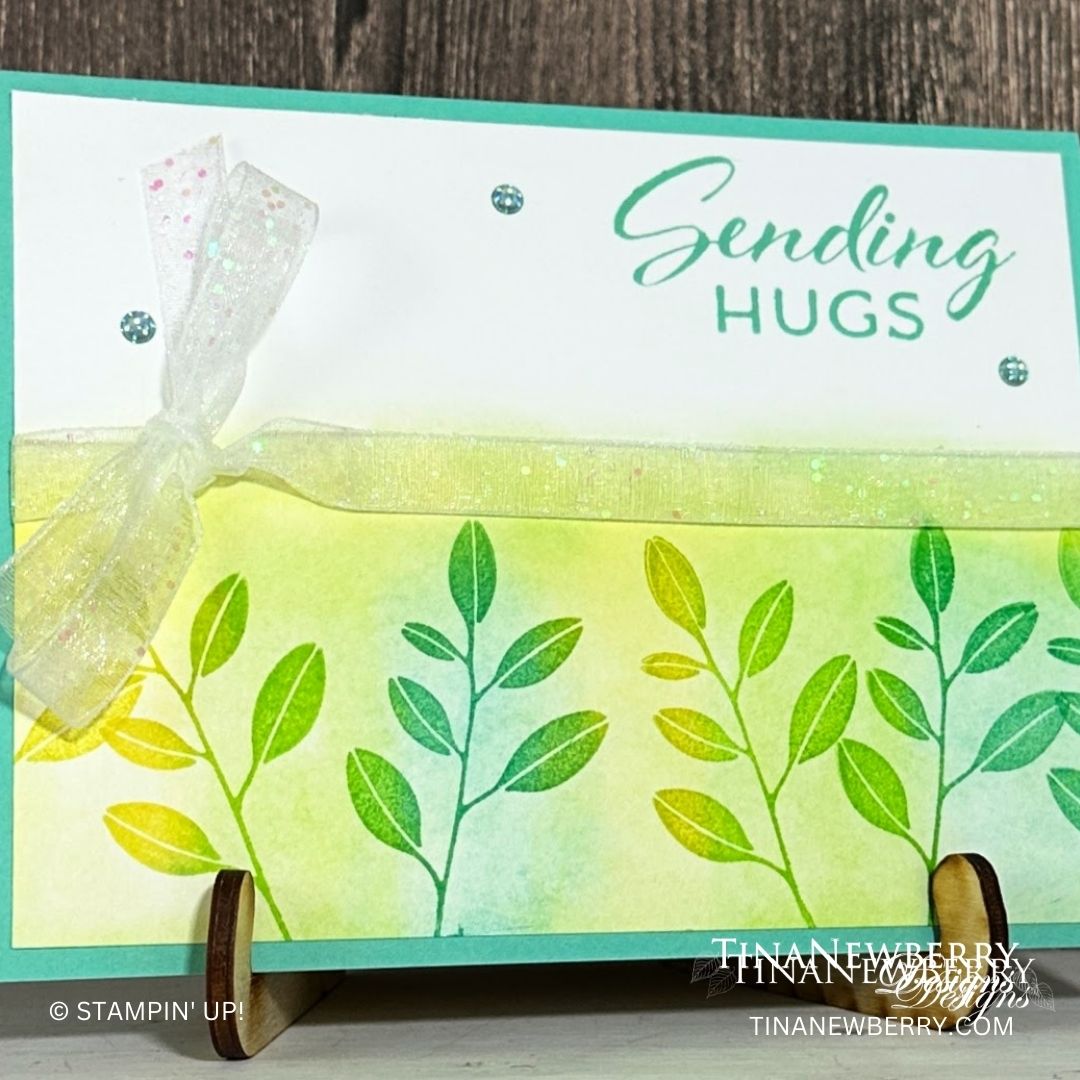
Create a beautiful background in minutes using the Soft Pastels. Keep reading for details on this technique.
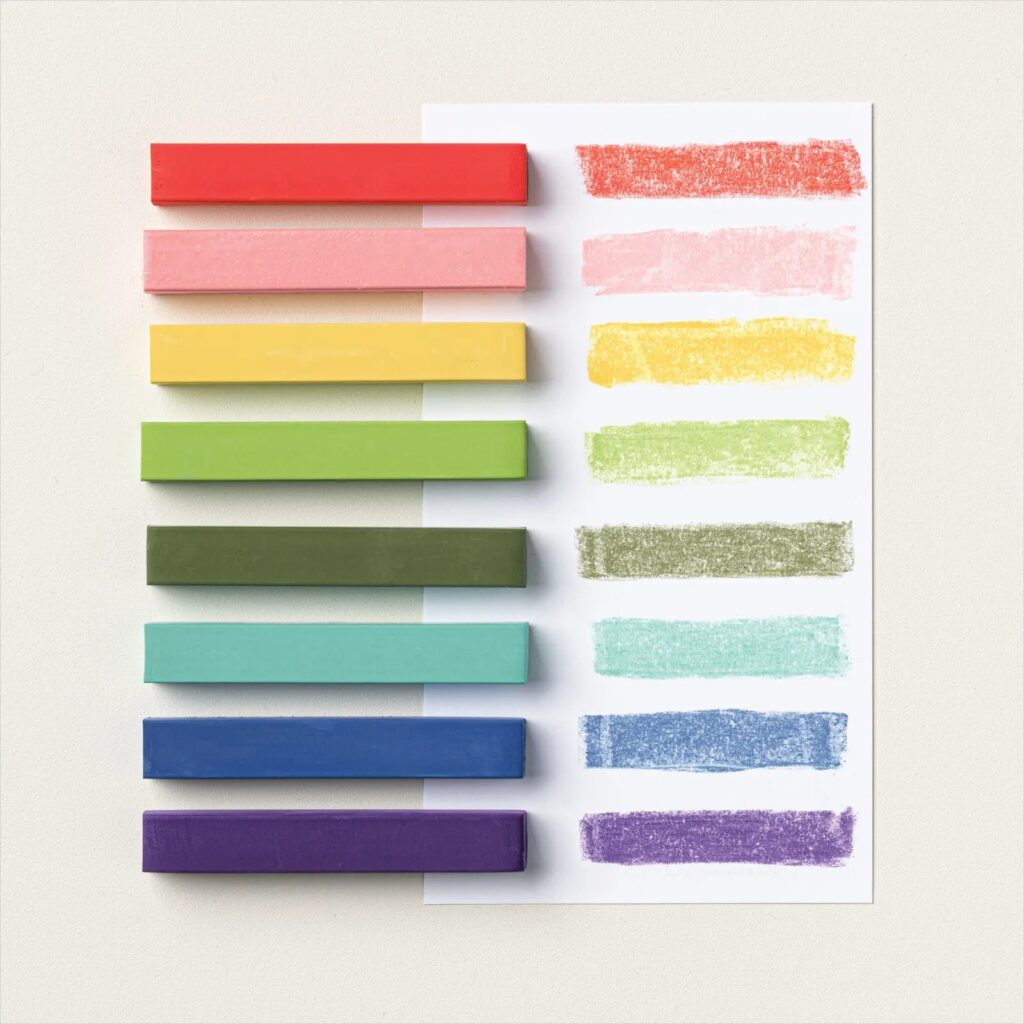
Expand your coloring repertoire with the Soft Pastels Assortment! These easy-to-use chalk pastels work with a variety of coloring tools like Stampin’ Up!’s Sponge Daubers, Blending Brushes, and Water Painters. Try scribbling a pastel chalk on a scrap piece of paper to create chalk dust, then use Water Painters to create your very own watercolor paints!
Measurements
Full list of supplies needed, listed below. A die cutting machine is needed for this card. Card Base Coastal Cabana 8 ½” x 5 ½”, scored at 4 ¼” Inside Layer Basic White 4” x 5 ¼” Top Layer Basic White 4” x 5 ¼” 2’ Organdy RIbbon 3 Glossy Dot gems
Let’s Create
Cut Card Base Coastal Cabana 8 ½” x 5 ½”, score at 4 ¼”
Cut Inside Layer Basic White 4” x 5 ¼”
Cut Top Layer Basic White 4” x 5 ¼”
Adhere inside layer. Optional – stamp one of the leaves in the corner in Versamark and add coordinating color of Soft Pastels. Use your finger to run the pastels in to the ink and paper.
Stamp leaves in a pattern along the bottom of the top layer, using Versamark.
Use side of pastel stick to add color. Going from left to right, add a little of the yellow (Daffodil Delight), then the green (Granny Apple Green), then the Coastal Cabana. Repeat. Add a skinny layer of Daffodil Delight color along the top of the leaves. Use your finger to rub the pastels into the ink and paper. Clean your finger of residue before moving on to the next color.
Stamp sentiment in upper right corner.
Wrap ribbon around this layer and tie a bow.
Adhere layer to card front. Sprinkle on a few gems.
Order online from the convenience of your own home or send me your order and I’ll take care of you. ❤ Either way, please use the host code KBSZKQ3A. Order online AND, if your order is $50 or more using host code KBSZKQ3A between now and the end of the month you’ll receive a free pack of embellishment as a THANK YOU gift from me. ❤ If your order is over $150, skip the host code, earn Stampin’ Rewards for free stuff yourself and I’ll still send you a free pack of embellishment as a THANK YOU gift from me. ❤

")


 Specialty Designer Series Paper")


")


 Glittered Organdy Ribbon")