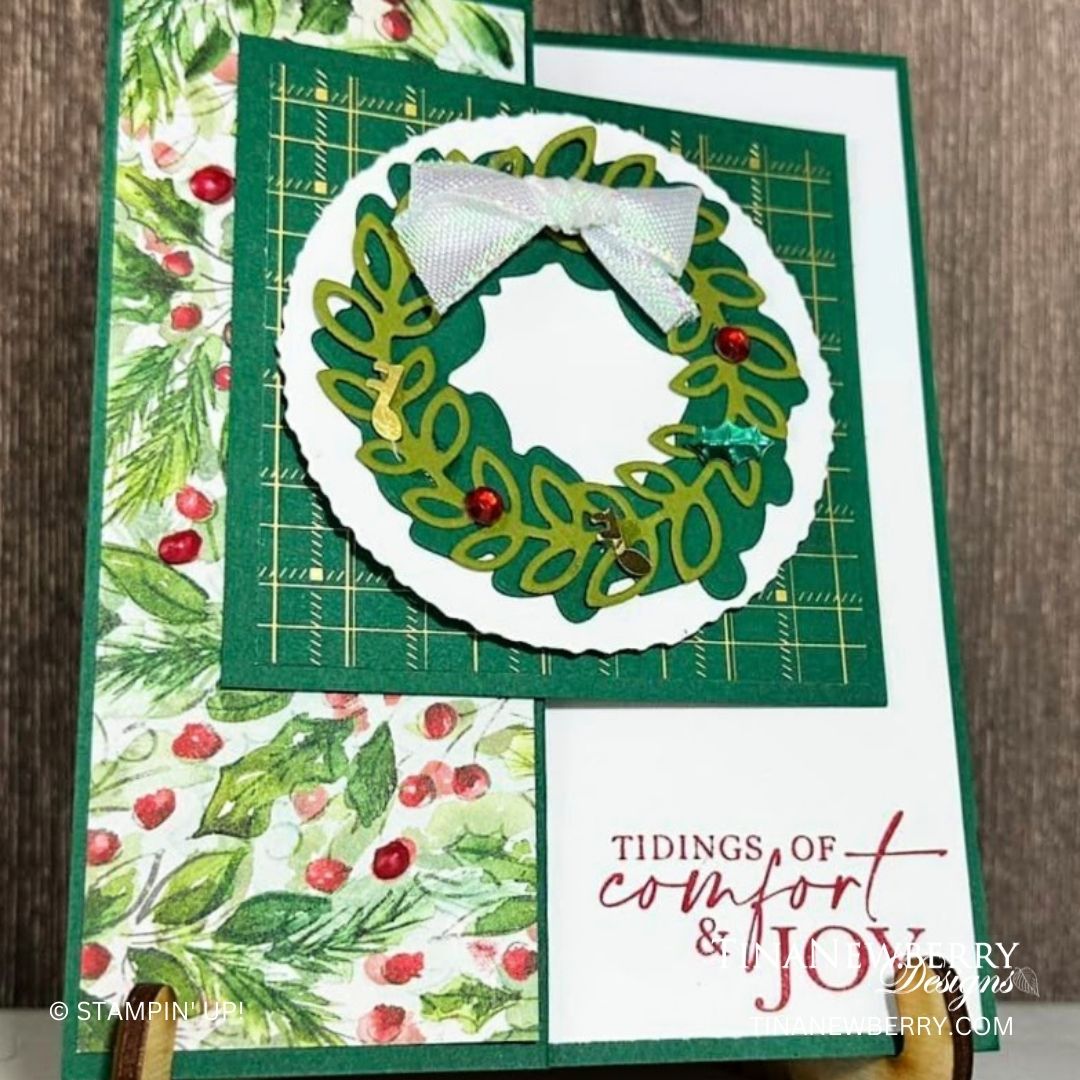
More of that beautiful Joy of Christmas Designer Series Paper and Joyful Specialty Designer Series Pare are featured on this beautiful card along with a beautiful wreath added as a focal image in a jiffy with the Country Wreath Dies.
Measurements
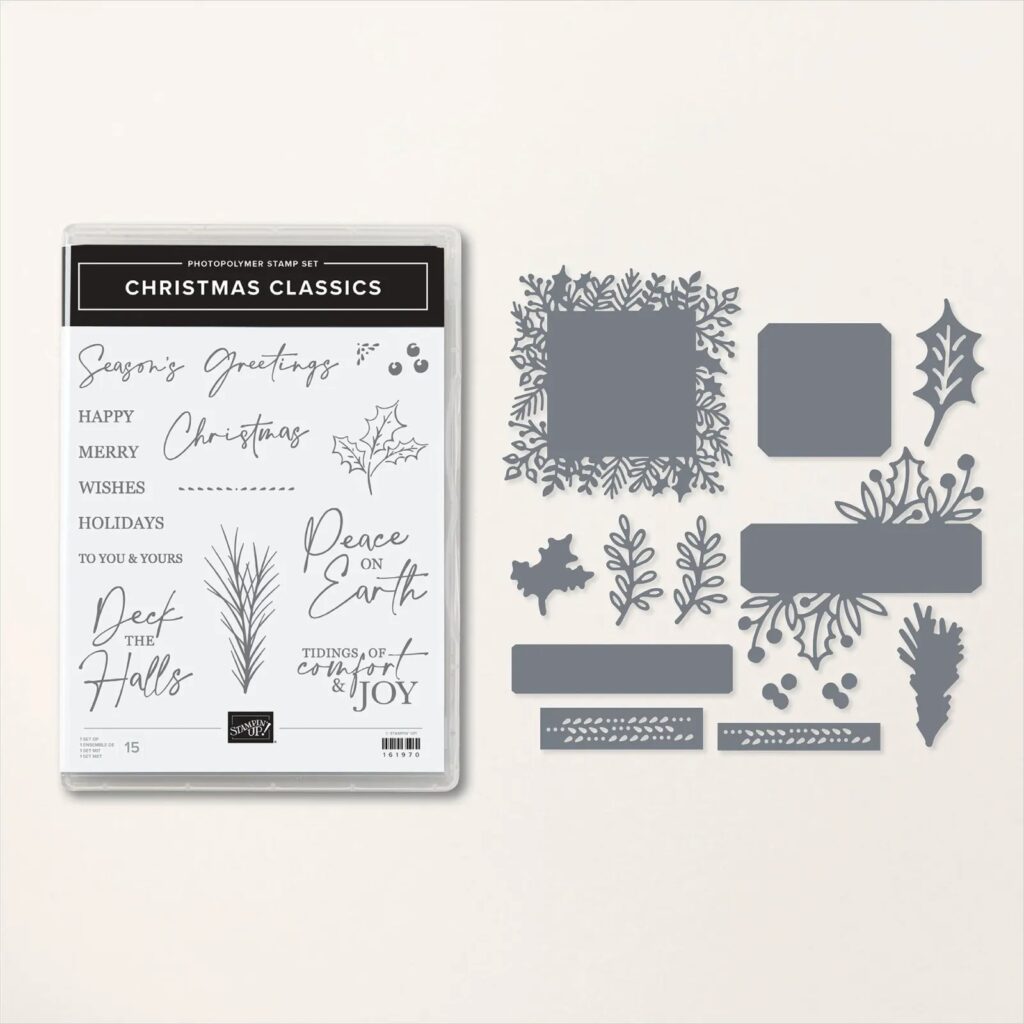
Full list of supplies needed, listed below. A die cutting machine is needed for this card.
Card Base Basic Shaded Spruce 8 ½” x 5 ½”, score at 4 ¼” and 2 ⅛”
Cut Joy of Christmas Designer Series Paper at 2” x 5 ¼”
Cut Basic White at 4” x 5 ¼”
Cut Shaded Spruce square at 3 ¼”
Cut Joyful Specialty Paper Shaded Spruce Grid Pattern at 3”
Die-Cut Basic White Deckled Circle ~ 2 ⅞”
Die-Cut Country Wreath wreath in Shaded Spruce
Die-Cut Country Wreath wreath in Old Olive
Let’s Create
- Affix all stamps to Acrylic Blocks.
- Cut Card Base Basic Shaded Spruce 8 ½” x 5 ½”, score at 4 ¼” and 2 ⅛”
- Fold the Card Base on the score lines using a Bone Folder to sharpen the creases.
- Cut Designer Series Paper at 2” x 5 ¼”. Adhere to left side of front panel.
- Cut Basic White at 4” x 5 ¼”, Stamp sentiment and adhere to inside of card.
- Cut Shaded Spruce square at 3 ¼”
- Cut Specialty Paper Shaded Spruce Grid Pattern at 3”. Adhere to Shaded Spruce square. Adhere this panel to front card flap.
- Die-Cut Basic White Deckle Circle ~ 2 ⅞”. Adhere with Stampin’ Dimensionals to square.
- Die-Cut Cottage Wreath wreath in Shaded Spruce. Adhere to circle.
- Die-Cut Cottage Wreath wreath in Old Olive, Adhere to wreath.
- Decorate wreath by adding gems and beautiful bow with mini-glue dots.
Shopping List
")


 Designer Series Paper")
 Specialty Designer Series Paper")

 Iridescent Ribbon")

$39.00

$37.00
Recommended Stamper’s Toolkit
Product List
$12.00

$7.00

$4.25

$5.75

$5.50

$11.00

$26.00

$7.00

$6.50

$11.00

$20.00

$11.00

$80.75

$128.00


$16.00

$13.00


")
")


 Specialty Paper")


 Designer Series Paper")
 Wavy Trim")


")


 Inner Braid Ribbon")

