Boo

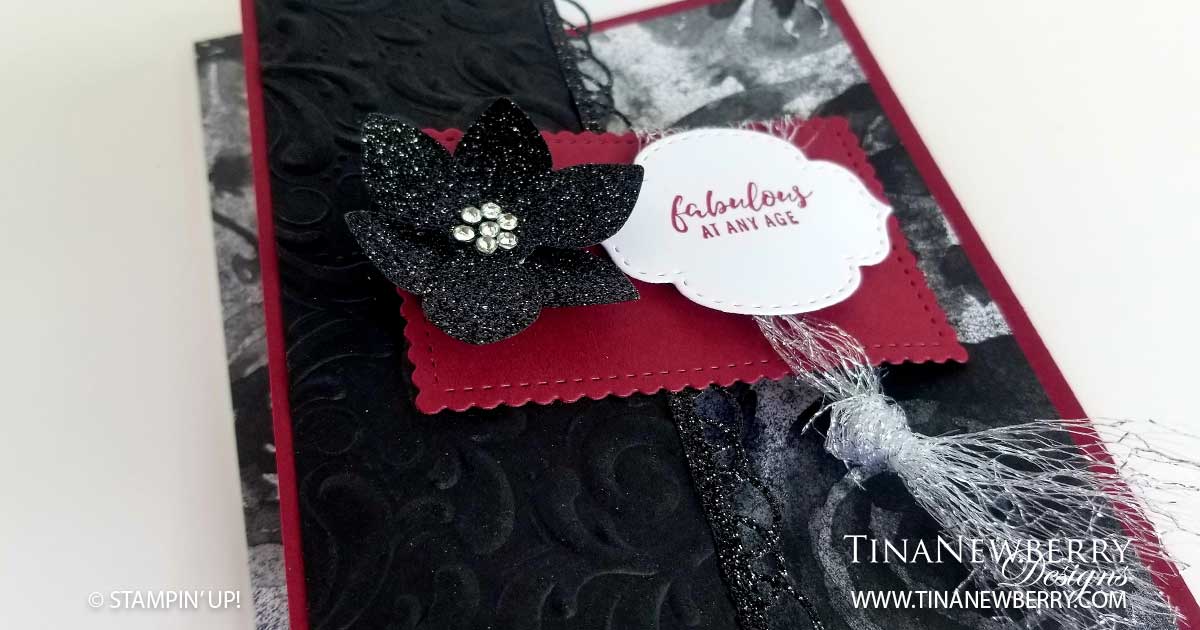
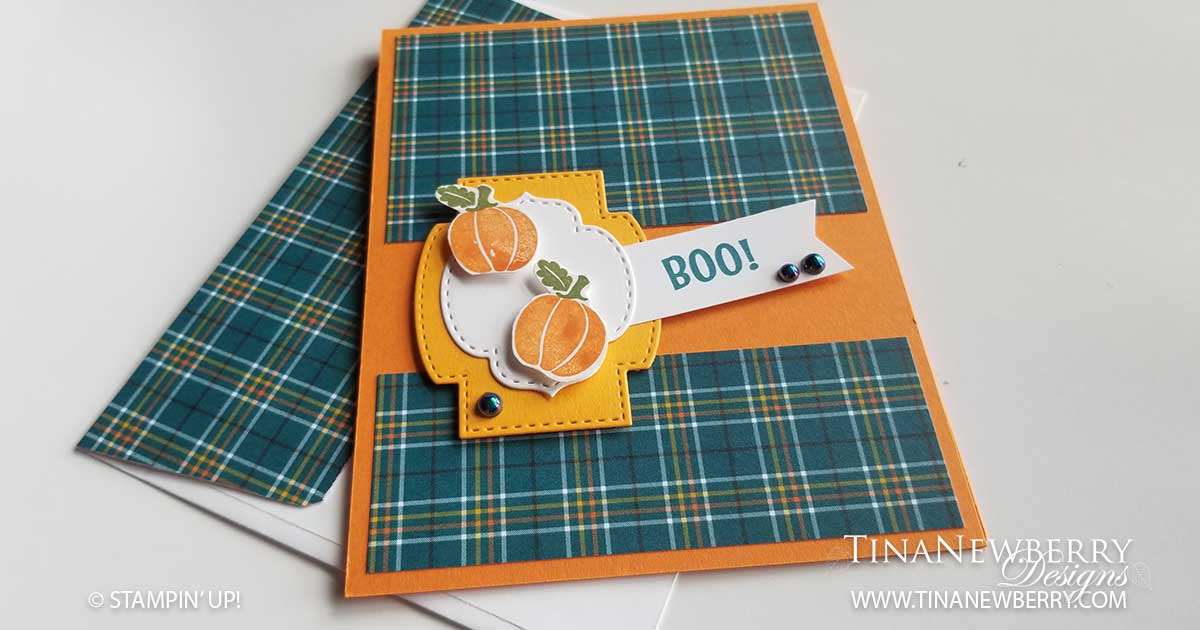
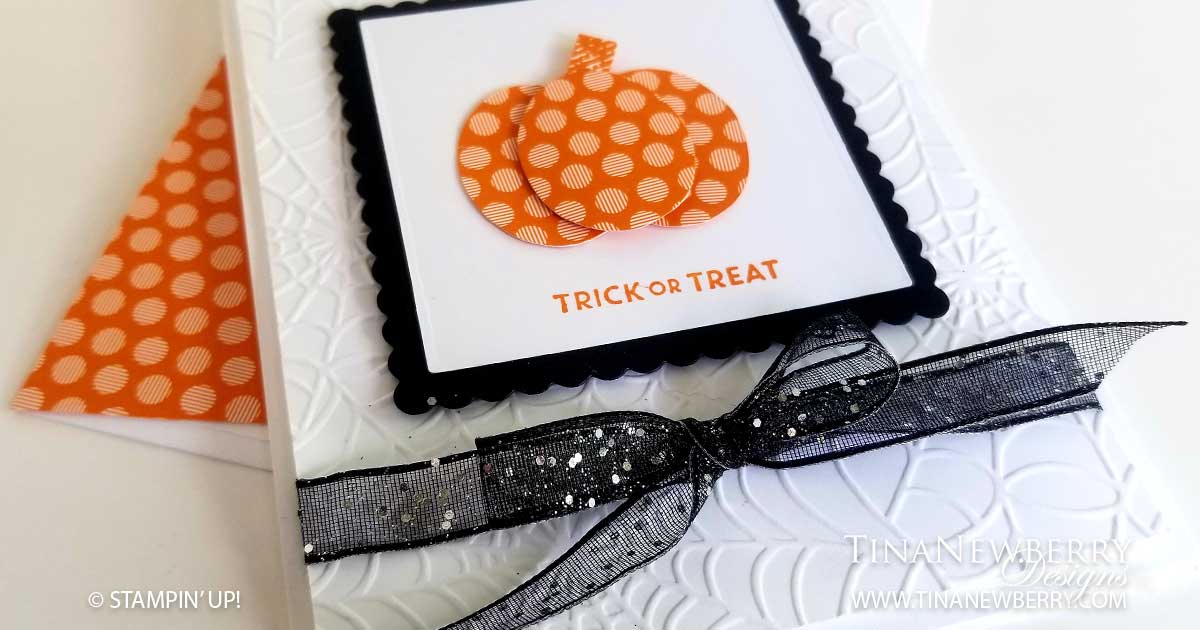
My New England friends are posting fall foliage and despite the hot temps here in FL, I’ve jumped into fall and the holidays with both feet! I’m all pumpkins and plaid and deep rich colors these days. So fun! The Banner Year Bundle consists of the Banner Year Stamp Set and Banner Pick-a-Punch (with 10% savings) and it’s full of fun seasonal messages. The sentiments cover holidays and also every-day wishes. I love that! And the little images are so cute – pumpkins, leaves, squirrels, holly, hearts, oh so fun!

Full list of supplies needed, listed below. A die cutting machine is needed for this card.
Card Base: Pumpkin Cardstock 8 1/2 h” x 5 1/2″ w folded to 5 1/2″ h x 4 1/4″ w.
Background: Plaid Tidings DSP 2 1/2″ h x 4″ w and 1 1/2″ h x 4″ w
Decorative Layers: Mango Melody Cardstock and Whisper White Cardstock with Stitched So Sweetly Dies.
Sentiment Layer: 
Whisper White Cardstock 3/4″ h x 2″ w trimmed with the Banner-Pick-a-Punch.

  1. Affix all stamps to Acrylic Blocks.
  2. Fold the Card Base in half using a Bone Folder to sharpen the crease.
  3. Attach the Background Layers using Stampin’ Seal.
  4. Stack the Decorative Layers with Stampin’ Seal and attach with Stampin’ Dimensionals.
  5. Stamp the Sentiment with Pretty Peacock Ink and attach with Stampin’ Seal or a Mini Glue Dot.
  6. On scrap Whisper White Cardstock, stamp two Pumpkins with Pumpkin Pie ink and two Stems and Leaves with Old Olive Ink and cut out with Stampin’ Snips. Attach with Stampin’ Dimensionals.
  7. Add some Iridescent Pearls.
  8. Decorate the Inside Layer and attach.
  9. Decorate the envelope.
  10. So cute! Now send it to someone special.

Shopping List

Recommended Stamper’s Toolkit ❤


15% off 15 Paper Packs

STOCK UP AND SAVE!

On Sale 1–31 October 2020

We all love gorgeous Designer Series Paper, and during this incredible sale, you can enjoy a 15%
discount on select papers from our current catalogs! Now is a great time to stock up and save on
some of our most popular paper designs!

With Gratitude

This Pretty peacock Paper is one of my favorite colors! I was so happy to see this pretty design in Pretty Peacock in the Magic In This Night paper pack. Oh so pretty! I used Itty Bitty Greetings and Butterfly Gala Stamp Sets to complete this #simplestamping card.

Full list of supplies needed, listed below. A die cutting machine is needed for this card.
Card Base: Whisper White Thick Cardstock 8 1/2 h” x 5 1/2″ w folded to 5 1/2″ h x 4 1/4″ w
Background: Magic in This Night DSP 5 1/4″ h x 4″ w
Background Strip: Pretty Peacock Cardstock 5 1/4″ h x 1 1/4″ w
Sentiment Layer: 
Whisper White Cardstock 2 3/8″ Stitched Circle Die
Greenery: Vellum Cardstock with the Sprig Punch (2)

  1. Affix all stamps to Acrylic Blocks.
  2. Fold the Card Base in half using a Bone Folder to sharpen the crease.
  3. Run the Background Strip through the Stampin’ Cut & Emboss Machine with the Scripty 3D Embossing Folder.
  4. Attach the Background and the Background Strip using the Stampin’ Seal.
  5. Stamp the Sentiment on the Sentiment Layer using Pretty Peacock ink.
  6. Attach the Greenery to the Sentiment Layer with Mini Glue Dots.
  7. Attach the Sentiment Layer using Stampin’ Dimensionals.
  8. Stamp the Butterfly images and bodies on scrap Whisper White Cardstock with Tuxedo Black Memento Ink and color with Pretty Peacock Ink and Coastal Cabana Ink using Sponge Daubers and punch with the Butterfly Punch.
  9. Attach the Butterflies with Mini Glue Dots.
  10. Decorate the Inside.
  11. Decorate the envelope.
  12. Pretty!! Who will you send it to?

Shopping List

Recommended Stamper’s Toolkit ❤


Fabulous At Any Age

Whether you’re friend is fierce, fabulous and forty or fifty and fabulous, you’re sure to get a laugh with a z-fold sparkle card in grim colors. Black glitter paper and sparkling rhinestones steal the show on this card featuring the Itty Bitty Greetings Stamp Set. With more than 30 sentiments for all occasions, this stamp set is a must have for every handmade cardmaker.

Full list of supplies needed, listed below. A die cutting machine is needed for this card.
Card Base: Merry Merlot 8 1/2 h” x 5 1/2″ w folded to 5 1/2″ h x 4 1/4″ h with the front scored at 2 1/8″ and folded back.
Background (inside): Magic In This Night DSP 5 1/4″ h x 4″ w
Background (outside): Basic Black Cardstock 5 1/4″ h x 2″ w
Sentiment Matte: 
Merry Merlot Cardstock with the 2″ h x 3″ w Stitched so Sweetly Die
Sentiment: Whisper White Cardstock with the Stitched so Sweetly Die
Trim: Black Glitter Paper die cut with the Painted Labels Die

  1. Affix all stamps to Acrylic Blocks.
  2. Fold the Card Base in half using a Bone Folder to sharpen the crease. Then fold the front at the score mark and fold back.
  3. Attach the Inside Background to the inside of the card using Stampin’ Seal.
  4. Run the Outside Background through the Parisian Flourish Embossing Folder and attach to the front flap with Stampin’ Seal.
  5. Attach the Trim to the edge of the flap with Fine Tip Glue
  6. Attach the Sentiment Matte to the flap with Stampin’ Seal.
  7. Tie a knot around the Sentiment Matte with Mesh Ribbon
  8. Stamp the Sentiment with Merry Merlot Ink on the Sentiment Layer and attach with Stampin’ Dimensionals.
  9. Punch two of the Perennial Flower Punches from Black Glitter paper, stack, offset and adhere together with a Mini Glue Dot. Add Rhinestones to the center of the flower and attach to the Sentiment Layer with Stampin’ Dimensionals.
  10. Decorate the envelope.
  11. Ta Da! Now who will you send this one to?

Shopping List

Recommended Stamper’s Toolkit ❤