I have been helping small businesses, non-profits and institutions of higher education with a variety of print and digital solutions since 2000. From Save-the-Date postcards to eCommerce websites, I am prepared to help you grow your business without breaking the budget.
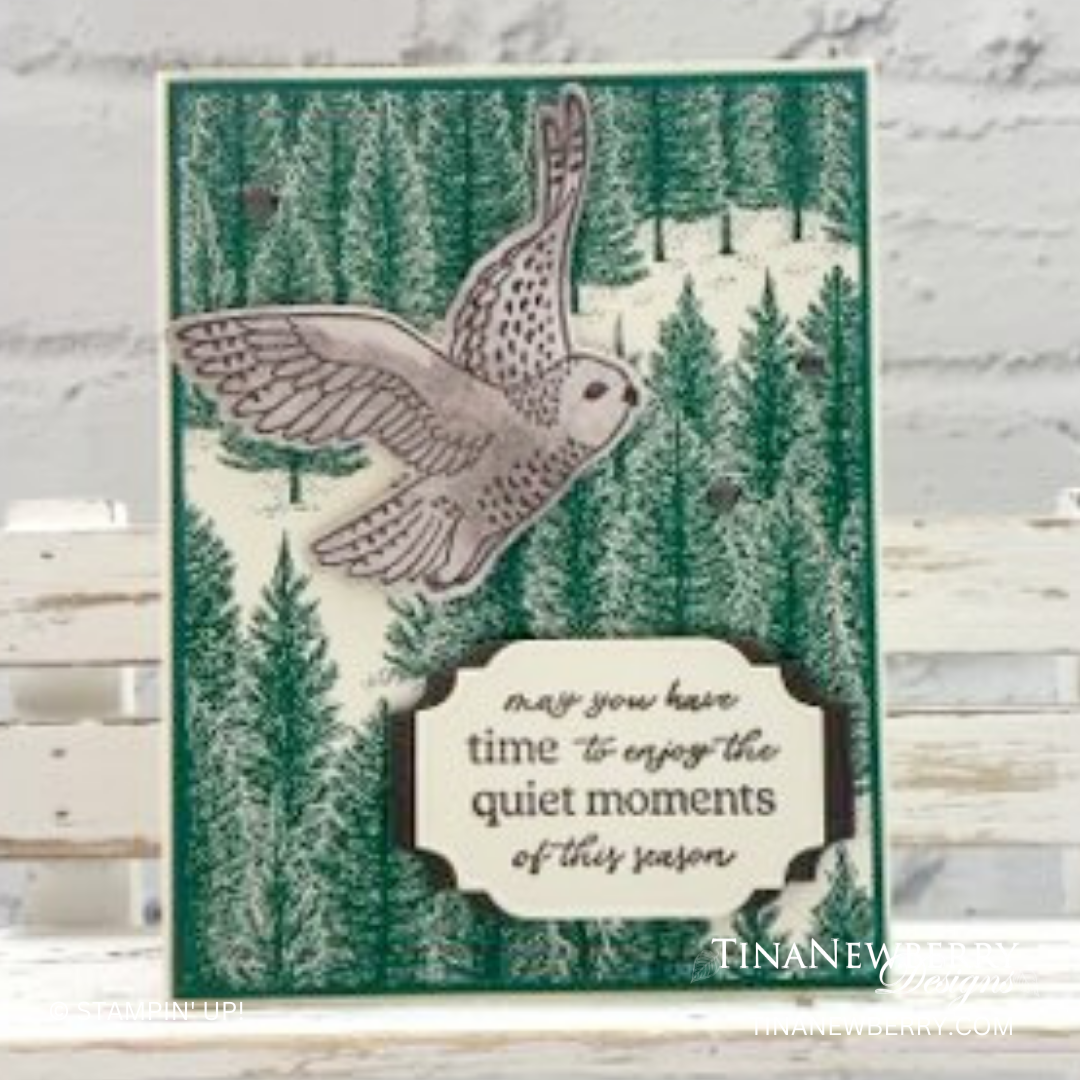
Can you imagine stamping all of those individual trees to make this forest background? I can’t either! Lucky for us we don’t have to! Use the Fragrant Forest background stamp with Shaded Spruce ink and this becomes a Quick & Easy card! My fave.
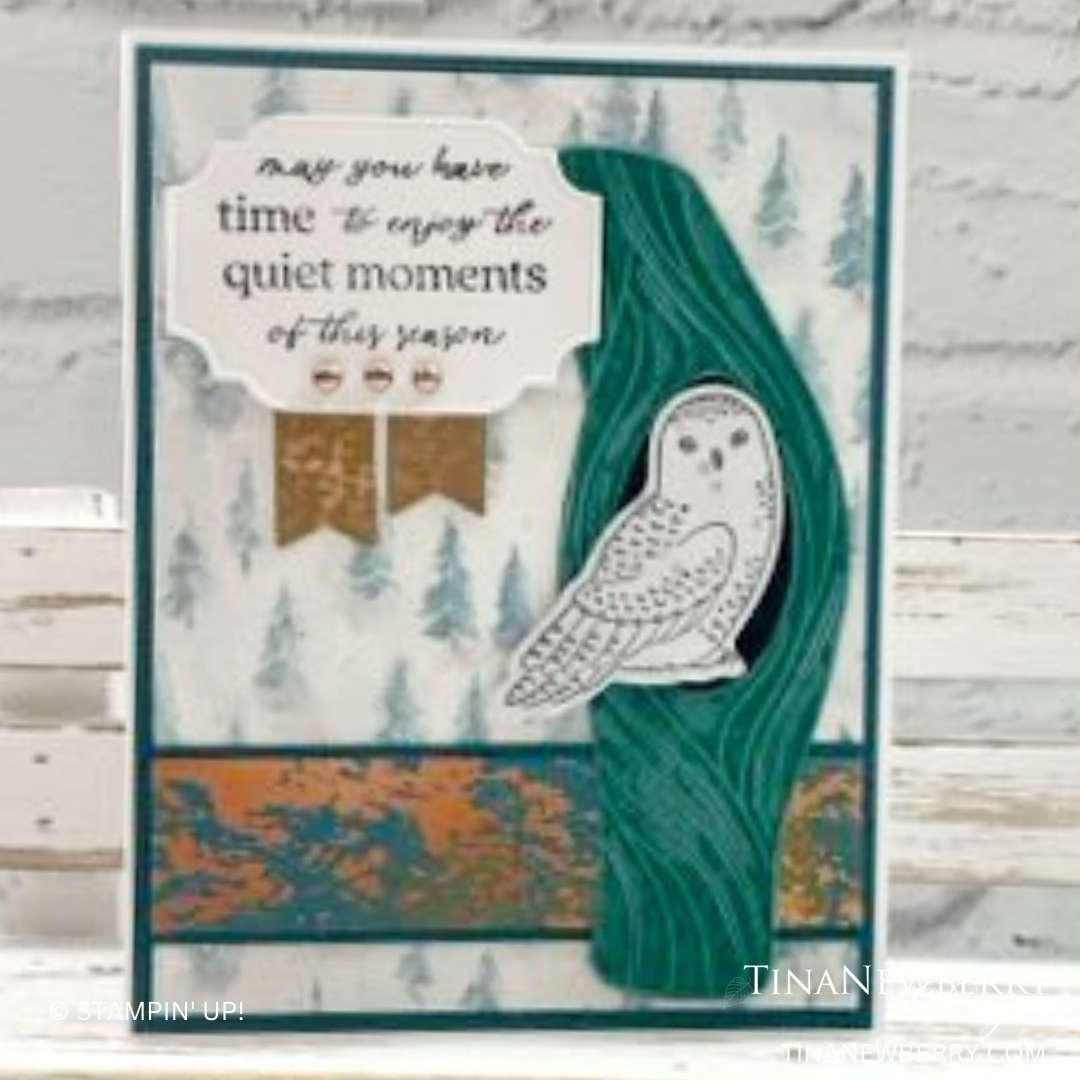
You’ll never have to wing it with the Winter Owls bundle (available while supplies last)! You can build your own woodland scene with detailed owl stamps and nature pieces that you can easily cut out with the coordinating dies. You can stamp and die cut plain paper and then add your own color or use some of our Designer Series Paper for unique patterns and textures. Use these stamps in the summer or winter and explore the many possibilities for creating a memorable paper craft.
Measurements
Full list of supplies needed, listed below. A die cutting machine is needed for this card.
Very Vanilla
5 ½” x 8 ½” scored and folded on the long-side at 4 ¼”
5 ¼” x 4” for background
2 ¾” x 2” (for stamping and die cutting sentiment)
Shaded Spruce
5 ⅜” x 4 ⅛”
Early Espresso
2 ¾” x 2” (for die cutting mat around the sentiment)
Winter Meadow Designer Series Paper
3 ¼” x 3 ¼” (Mottled Print with brown coloring for stamping and die cutting flying owl)
Let’s Create
Affix all stamps to Acrylic Blocks.
Fold the Card Base in half using a Bone Folder to sharpen the crease.
Using Shaded Spruce Ink pad and the Fragrant Forest Background stamp, create the background onto the 5 ¼” x 4” Very Vanilla piece of cardstock.
Using Early Espresso ink, stamp the flying owl onto the 3 ¼” x 3 ¼” Winter Meadow Designer Series Paper.
Using Early Espresso ink, stamp the sentiment onto the 2 ¾” x 2” Very Vanilla cardstock and die cut using the label die from the “All That” die set. Cut a label die using this same die from the 2 ¾” x 2” Early Espresso cardstock. Cut this die cut label in half and adhere to the back of the die cut sentiment so that it shows about ¼” on each side of the Very Vanilla sentiment.
Assemble the card: Adhere the 5 ⅜” x 4 ⅛” shaded spruce cardstock onto the folded Very Vanilla card base.
Adhere the stamped Very Vanilla panel to the card. Using Stampin’ Dimensionals, adhere the owl towards the upper left of the card. Using Stampin’ Dimensionals, adhere the layered sentiment toward the lower right of the card.
Randomly place 3 of the Pebbled Path Adhesive Backed Dots from the 2023-2024 In Color Dots Assortment.
Be sure to decorate the inside of the card and the envelope before sending to brighten someone’s day!
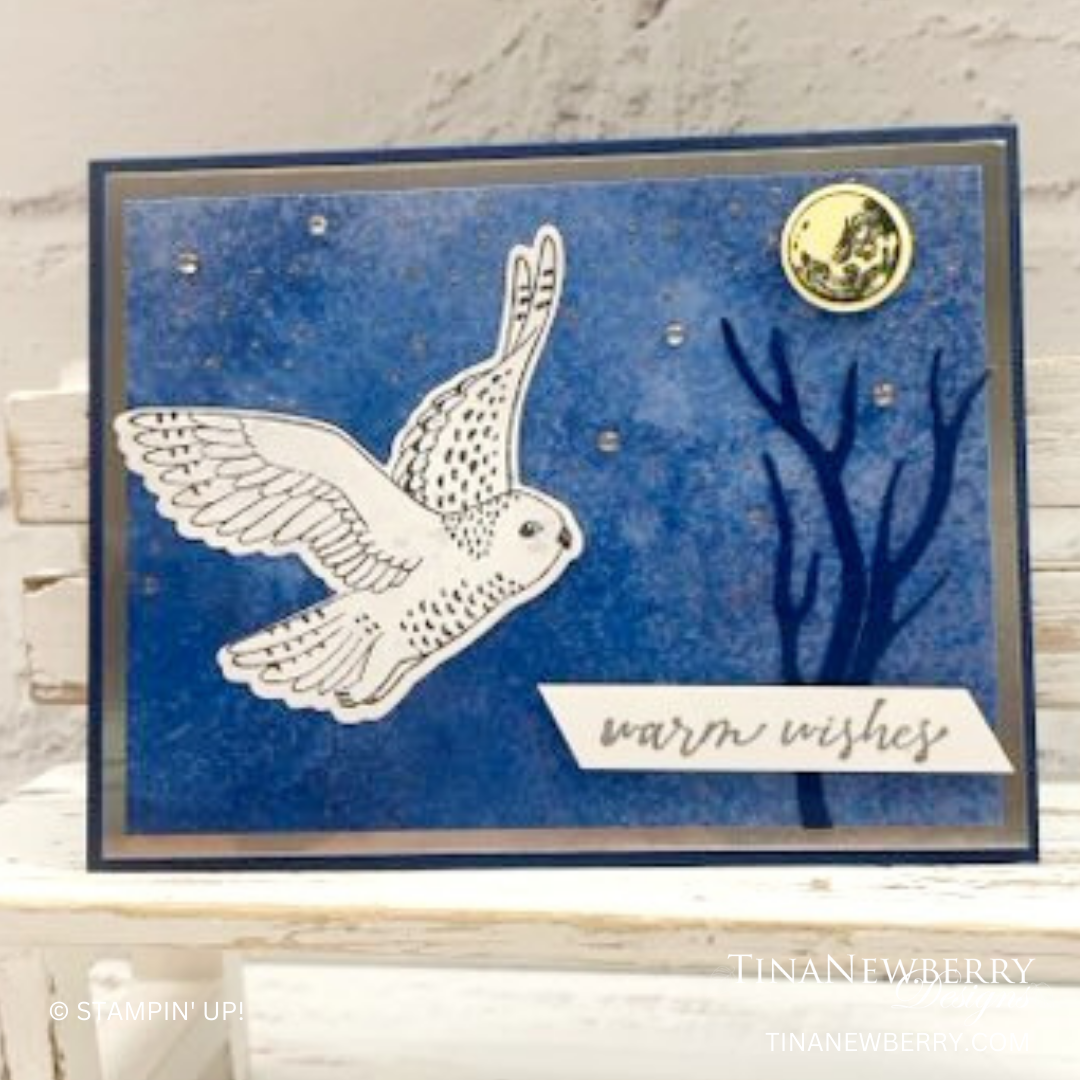
Create a night scene to show off the majestic flying owl in the Winter Owls bundle. Use prints from the Winter Meadow Designer Series Paper pack to set the scene.
You’ll never have to wing it with the Winter Owls bundle! You can build your own woodland scene with detailed owl stamps and nature pieces that you can easily cut out with the coordinating dies. You can stamp and die cut plain paper and then add your own color or use some of our Designer Series Paper for unique patterns and textures. Use these stamps in the summer or winter and explore the many possibilities for creating a memorable paper craft.
Measurements
Full list of supplies needed, listed below. A die cutting machine is needed for this card.
Night of Navy
5 ½” x 8 ½” scored and folded on the long-side at 4 ¼”
3 ½” x 2” (for die cutting branches)
Silver Foil
5 ⅜” x 4 ⅛”
Basic White
3” x ½” (for stamping/embossing the sentiment)
Lemon Lolly
1 ¼” x 1 ¼” (for stamping and die cutting the moon)
Winter Meadow Designer Series Paper
5” x 3 ¾” (Blue “cloudy” print)
3 ¼” x 3 ¼” (White with Gray Cloudy print for stamping and die cutting flying owl)
Let’s Create
Affix all stamps to Acrylic Blocks.
Fold the Card Base in half using a Bone Folder to sharpen the crease.
Using a versamark ink pad randomly stamp the speckled/stars from the Winter Owls stamp set along the top half of the 5” x 3 ¾” Blue Winter Meadow Designer series Paper. Emboss with Silver Embossing Powder and the heat tool.
Using Night of Navy ink pad, stamp the flying owl onto the Gray Cloudy print of the Winter Meadow Designer Series Paper. Die cut using the coordinating die from the Winter Owls die set.
Using Night of Navy ink pad, stamp the moon onto small scrap of Lemon Lolly cardstock and die cut using the coordinating die from the Winter Owls die set.
Using both branches from the Winter Owls die set, cut branches from Night of Navy cardstock.
Using a versamark ink pad stamp the “warm wishes” sentiment onto 3” x ½” Basic White cardstock. Emboss with Silver embossing powder and heat tool. Cut both ends of the strip of Basic White at a slight angle.
Assemble your card: Adhere the 5 ⅜” x 4 ⅛” Silver Foil to the folded Night of Navy card base. Adhere the stamped and embossed Designer Series Paper to the Silver Foil.
Adhere the owl toward the left side of the card. Adhere the Night of Navy branches toward the right side of the card.
Using a stampin’ Dimensional, adhere the moon just above the branches.
Using Stampin’ Dimensionals, adhere the sentiment toward the lower right side of the card over the base of the branches.
Randomly place 5 Basic Rhinestone Jewels on the card amongst the “stars”.
Be sure to decorate the inside of your card and your envelope!
Your card is ready to send off to wish “warm wishes” to someone special.
Joy! Shouldn’t we all be striving for joy? Joy for ourselves. Joy for others. This simple, stunning card made me think of Joy in the Morning, a beautiful worship song by Tauren Wells. Here’s the first verse:
Everything happens for a reason, but you don’t know what you don’t know And you’ll never have peace if you don’t let go of tomorrow ‘Cause it ain’t even faith till your plan falls apart but you still choose to follow, uh If it doesn’t make sense right now, it will when it’s over
[Chorus] There will be joy in the morning There will be joy in the morning
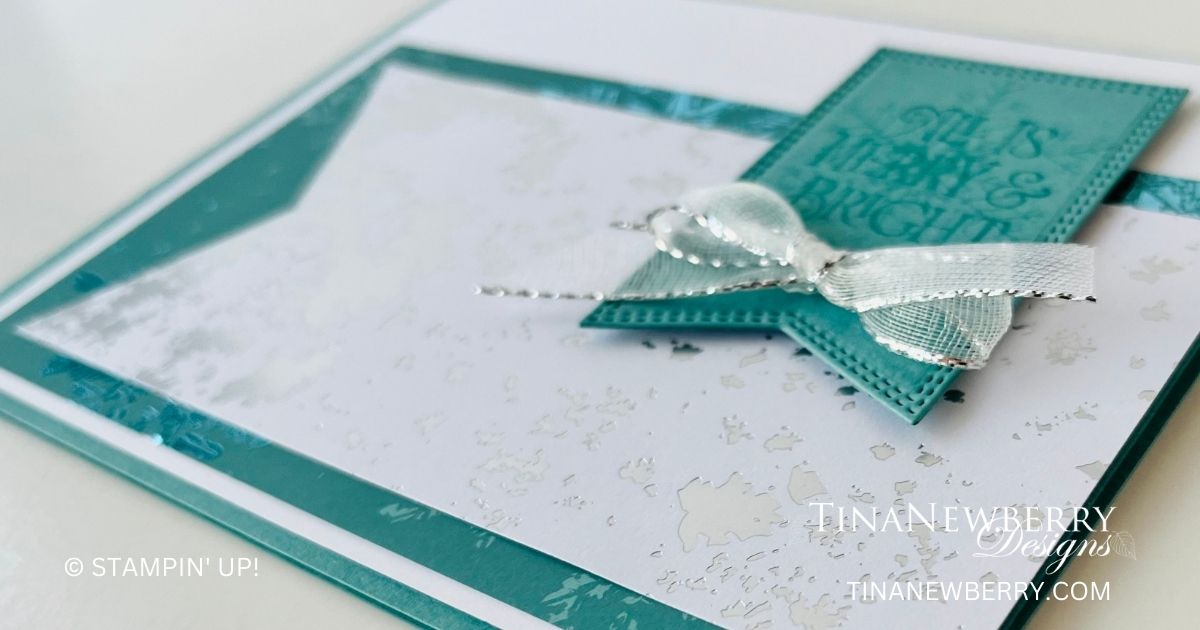
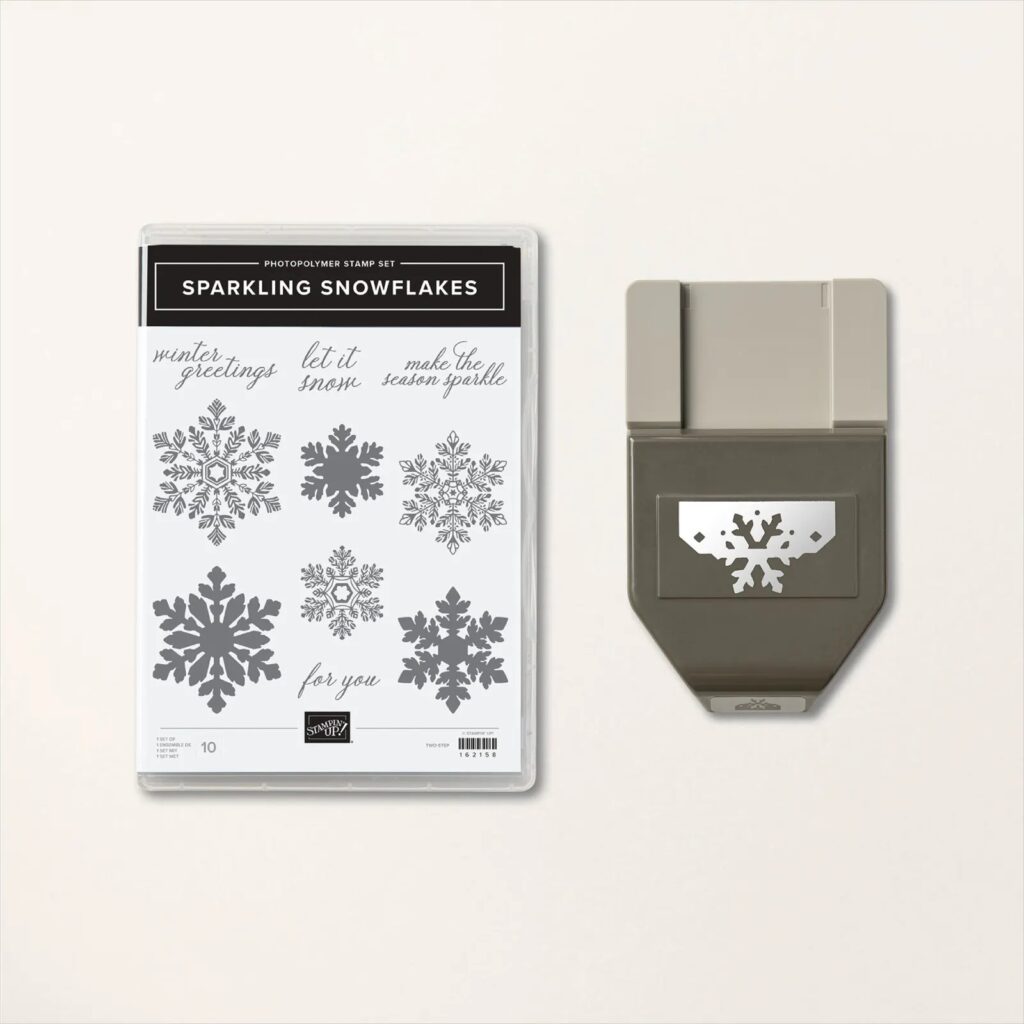
Create your own tags with this coordinating stamp and punch in the Snowflake Magic bundle! Stamp snowflakes and sentiments, then punch out quick tags and labels. Or use the snowflakes and sentiments on their own for cards and other paper crafting projects.
Measurements
Full list of supplies needed, listed below. A die cutting machine is needed for this card.
Card Base – Lost Lagoon Cardstock: 5 ½” x 8 ½, scored at 4 ¼”
Basic White Cardstock:
4” x 5 ¼”
Scrap for stamping and die cutting
Snowflake Magic – White and silver Pattern and Blue foil snowflake pattern: Scrap for die cutting
Let’s Create
Affix all stamps to acrylic blocks.
Fold and burnish card base using bone folder. Stamp snowflake from Season of Chic randomly on the card front using Lost Lagoon ink
Take the largest hexagon shape from the Nested Essentials dies and cut out from the White and silver dsp.
Take the second smallest hexagon shape from the Nested Essentials dies and cut out from the blue foil dsp.
Layer the 2 shapes from Step 3 and 4 using glue.
Attach the shape from Step 5 to the card front using glue making sure to center it on all sides.
Die cut the large snowflake from the dies with White.
Glue the snowflakes to the card front randomly. See photo above for placement.
Stamp the sentiment from Brightest Glow stamp set using Lost Lagoon ink on a scrap of White. Die cut using the smallest rectangle from Nested Essentials dies.
Add the sentiment layer to the middle of the card front centering it on all sides using dimensionals.
Tie a bow using the White and Silver ribbon and add to the lower right hand corner of the sentiment.
Add the sentiment to the card front using dimensionals making sure to center on the hexagon shape.
Use glue to sprinkle some Loose Silver sequins on the sentiment panel.
Stamp the large snowflake from the Season of Chic stamp set randomly on the 4” x 5 ¼” white panel using Lost Lagoon ink. Glue to the inside of card.
Randomly stamp the snowflake on the left side of the envelope using Lost Lagoon ink.

")
")


 Designer Series Paper")


")
")


 Specialty Designer Series Paper")

 Sheer Ribbon")

