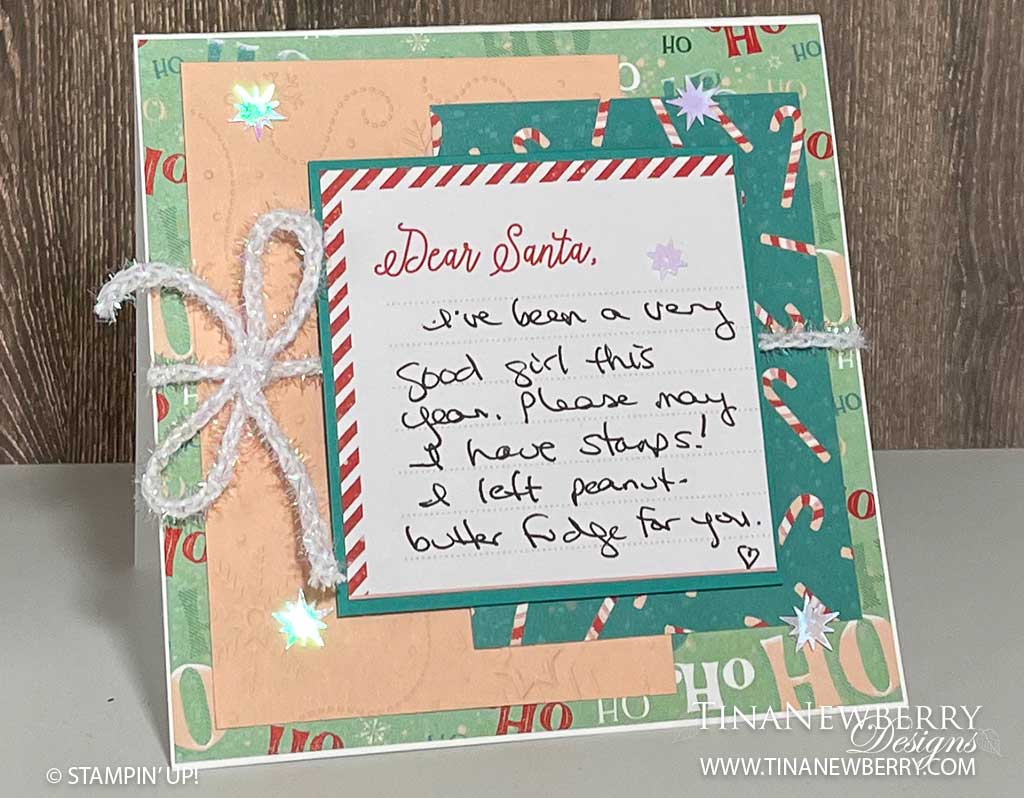
A sketch, a kit, and a few scraps from your stash is all you need to make this quick & easy card for a friend.
You’re sure to bright up someone’s day with the Hello Hollyhocks Kit! With colorful hollyhock designs, this kit’s all-occasion cards can help you send a friendly hello or a note of thanks to flower-loving friends and loved ones. Pair the desired sentiment, designed die cuts, and images from the kit to quickly create timeless cards. The printed sentiments are available in English, French, German, and Dutch.
Measurements
Full list of supplies needed, listed below.
Basic White Thick Cardstock: 8 ½” x 5 ½”, score at 4 ¼”
Basic White Cardstock: 4” x 5 ¼”
Calypso Coral Cardstock: 5″ x 1 1/8″ (3)
Hello Hollyhock kit cardbase: 4 ⅞” x 1”
Let’s Create
Fold the Calypso Coral Card Base in half using a Bone Folder to sharpen the crease.
Adhere three Hello Hollyhock strips to three Calypso Coral strips using Stampin’ Seal.
Adhere three Calypso Coral panels centered on Basic White Panel wit Stampin’ Seal.
Lay a 2’ length of ribbon across the panel, wrap twice and tie a bow on the left side.
Adhere entire panel to card front with Stampin’ Dimensionals.
Adhere sentiment from Hello Hollyhock kit with Stampin’ Dimensionals.
As soon as I saw it, I HAD to get the Hello Hollyhocks kit. The colors and flowers are gorgeous, but I also really love that everything I need to make 9 cards is in the box. That’s A LOT of fun for only $14. I veered away from the kit instructions and whipped up this cute alternative with just a few supplies from my stash. Grab a kit and Let’s Kit Together on the last Tuesday of the month on Zoom.
You’re sure to bright up someone’s day with the Hello Hollyhocks Kit! With colorful hollyhock designs, this kit’s all-occasion cards can help you send a friendly hello or a note of thanks to flower-loving friends and loved ones. Pair the desired sentiment, designed die cuts, and images from the kit to quickly create timeless cards. The printed sentiments are available in English, French, German, and Dutch.
Measurements
Full list of supplies needed, listed below. A die cutting machine is needed for this card. Card Base: Calypso Coral Cardstock : 11″ h x 4 ¼” w scored at 5 ½”
Petal Pink Cardstock: 2 ¾” h x 3” w
Helly Hollyhocks Kit:
Petal Pink dotted Cardbase: 5” h x 2 ½” w
Three flower die cut
Pretty Peacock die cut sprigs
Old Olive die cut sprigs
Sentiment
Let’s Create
Affix all stamps to Acrylic Blocks.
Use a Bone Folder to burnish the Card Base at the scoreline to create the card base.
Use Paper Snips to trim a banner tip in each end of the Petal Pink dotted panel and attach at an angle with Stampin’ Seal.
Run the Petal Pink cardstock panel through the Stampin’ Cut & Emboss machine with the Distressed Brick Embossing Folder and Attach with Stampin’ Seal.
Arrange the Three Flower die cut and two die cut sprigs. Attach with Mini Glue Dots.
Attach Sentiment with Stampin’ Dimensionals.
Tie a bow with Iridescent ½” Striped Trim and attach with Mini Glue Dot.
Sprinkle on some Adhesive-backed sparkle gems from the Hello Hollyhocks Kit.
Use Sketch #2 from the Annual Catalog and a die cut from the By Your Side kit to create this sweet kitty card.
Celebrate the special people around you with the By Your Side Kit. Featuring lovely cat and dog designs, use this kit to make uplifting cards you can share with a pet loving friend, a relative, a special someone, and more! Choose a dog or cat die-cut image depending on which furry friend you or your recipient loves most, and complete your projects with embellishments and the stamped sentiment of your choice to create a card with the right message you want to share. Great for all occasions, you’ll love the possibilities this kit offers!
Measurements
Full list of supplies needed, listed below. A die cutting machine is needed for this card.
Card base – Flirty Flamingo Cardstock: 5 ½” x 8 ½” scored at 4 ¼”
Basic White Cardstock: 4” x 5 ¼”
Crumb Cake from back of Kit card base: 3 7/8” x 5 1/8”
Sketch 2 from page 22 of the ’24-’25 Stampin’ Up! Annual Catalog
Let’s Create
Fold and burnish card base at the score line using bone folder.
Add the White panel to the card front using Stampin’ Seal.
Using the Exposed Brick embossing folder emboss the Crumb Cake panel. Add this panel to the White panel on the card front using Tear & Tape.
From the ByYour Side Kit, seperate out the die cut of the cat sitting on the green cushion.
Add a strip of Tear & Tape to the middle of the back of the cat die cut.
Use the Flirty Flamingo twine to add to the back of the cat having loops on each side. Make sure to catch the twine in the Tear & Tape. Add another piece of Tear & Tape over the first strip to secure the twine in place.
Attach the cat to the center of the card front using Stampin’ Dimensionals.
Stamp the fish across the bottom of the inside of the card using Flirty Flamingo.
Stamp the fish across the bottom of the envelope using Flirty Flamingo.
Sprinkle on some gems (optional)
Stamp and decorate the inside and attach with Stampin’ Seal.
Use the notecards and envelopes as the base for this super cute card. Much of the cutting and punching and die-cutting has been done for you. Simply gather your ink pads, stamps, blocks, snips and adhesives.
All aboard the Santa Express! Santa has a new way to deliver Christmas cheer with the Santa Express Suite Collection, which means you have a fun and playful way to express your holiday wishes! Build a train full of Christmas supplies and send cards decorated with North Pole friends. This collection is the perfect way to celebrate a wonderfully jolly season.
Measurements
Full list of supplies needed, listed below. A die cutting machine is needed for this card.
The following cutting and scoring instructions are provided for when you want to repeat these instructions for your own use. You may need to cut the Designer Series Paper, and fussy-cut some of the images.
Card Bases Shaded Spruce Memories and More Note Card
Card Frame Shaded Spruce Memories and More Note Card (cut to 5 ½” x 8 ½”, scored at 4 ¼”)
DIe-Cut Fabulous Frame
Memories and More Card Pack (Let it Snow pattern)
Memories and More Card Pack (Snowflake Window Sheet)
Let’s Create
Start with two Shaded Spruce Memories and More note cards. Wrap trim around the larger note card and tie a bow. Sprinkle a few snowflakes near the edges. Set larger note card aside.
Cut second note card to 5 ½” x 8 1/2”, score at 4 ¼”.. Open this note card, and roll it through the Stampin’ Cut & Emboss Machine with the largest Fabulous Frames die centered on the front of the card.
Set the small rectangle aside and use it for another card.
Cut down the Memories and More Card Pack window card (snowflake pattern) to size. Adhere Memories and More Card Pack window card to frame with Tear-n-Tape. Place Foam Strips all along the back of the frame.
Cut down one of the Memories and More Card Pack cards (Let it Snow pattern) and adhere it to the inside of the Memories and More note card with the image showing through the frame in a pleasing manner. Adhere the edges of note card to the inside so that this smaller card is now one layer.
Adhere the frame to the opening in the center. It should fit perfectly.
Adhere smaller note card to larger note card with Stampin’ Dimensionals.
Die-cut two train cars out of Designer Series Paper. Adhere to card front with Stampin’ Dimensionals.
Stamp puffs of smoke in Memento Black on Basic White. Die-cut little puffs of smoke, and highlight with Balmy Blue Light Blend. Adhere puffs to card front with Mini Stampin’ Dimensionals.
Sprinkle on the snowflakes.
Stamp and decorate the inside and attach with Stampin’ Seal.
Cards comes together in jiff with the Memories & More card pack. Add a bit of cardstock and be on your way.
All aboard the Santa Express! Santa has a new way to deliver Christmas cheer with the Santa Express Suite Collection, which means you have a fun and playful way to express your holiday wishes! Build a train full of Christmas supplies and send cards decorated with North Pole friends. This collection is the perfect way to celebrate a wonderfully jolly season.
Measurements
Full list of supplies needed, listed below. A die cutting machine is needed for this card.
When you open the Santa Express Memories & More Card Pack, you will see much of the cutting and punching and die-cutting has been done for you. Simply gather your ink pads, stamps, blocks, snips and adhesives. The following cutting and scoring instructions are provided for when you want to repeat these instructions for your own use. You may need to cut the Designer Series Paper, and fussy-cut some of the images.
Basic White Thick Cardstock: 5 ¼” x 10 ½”, score at 5 ¼”
Petal Pink Cardstock: at 3 ¼” x 4 ¾”
Bermuda Bay Cardstock: 3 ¼” x 3 ¼”
Santa Express Designer Series Paper (DSP): 5 ⅛” x 5 ⅛”
Santa Express Memories & More Card Pack (M&M):
2 ⅞” w x 4” h (candy cane pattern)
3 ⅛” x 3 ⅛” (Dear Santa pattern)
Let’s Create
Affix all stamps to Acrylic Blocks.
Fold the Card Base in half using a Bone Folder to sharpen the crease.
Run Petal Pink cardstock through Stampin’ Cut & Emboss Machine with the Wintry 3D Embossing Folder (snowy pattern). . Use Stampin Seal to adhere to card front.
Adhere 2 ⅞” x 4” M&M card (candy cane pattern) to card front with Stampin’ Seal.
On the 3 ⅛” x 3 ⅛” Dear Santa M&M write a little note to Santa, and adhere to Bermuda Bay layer with Stampin’ Seal.
Wrap Iridescent Trim around card front, and tie a bow on the left side.
Adhere Dear Santa panel to card front with Stampin’ Dimensionals.
Sprinkle on the gems.
Stamp and decorate the inside and attach with Stampin’ Seal.
Square Card fits into a 5 ½” x 5 ½” Square Envelope from your M&M Pack.